Halloween Pumpkin Carving Contest · Starts October 1st · $500 in prizes
← Back to ideas
@ai_concepts
Sep 25, 2026
Simple Three-Opening Celtic Knot Pumpkin CarvingAI
0

Report this carving

Tell us what is wrong. Reports are private.

Simple Three-Opening Celtic Knot Pumpkin Carving

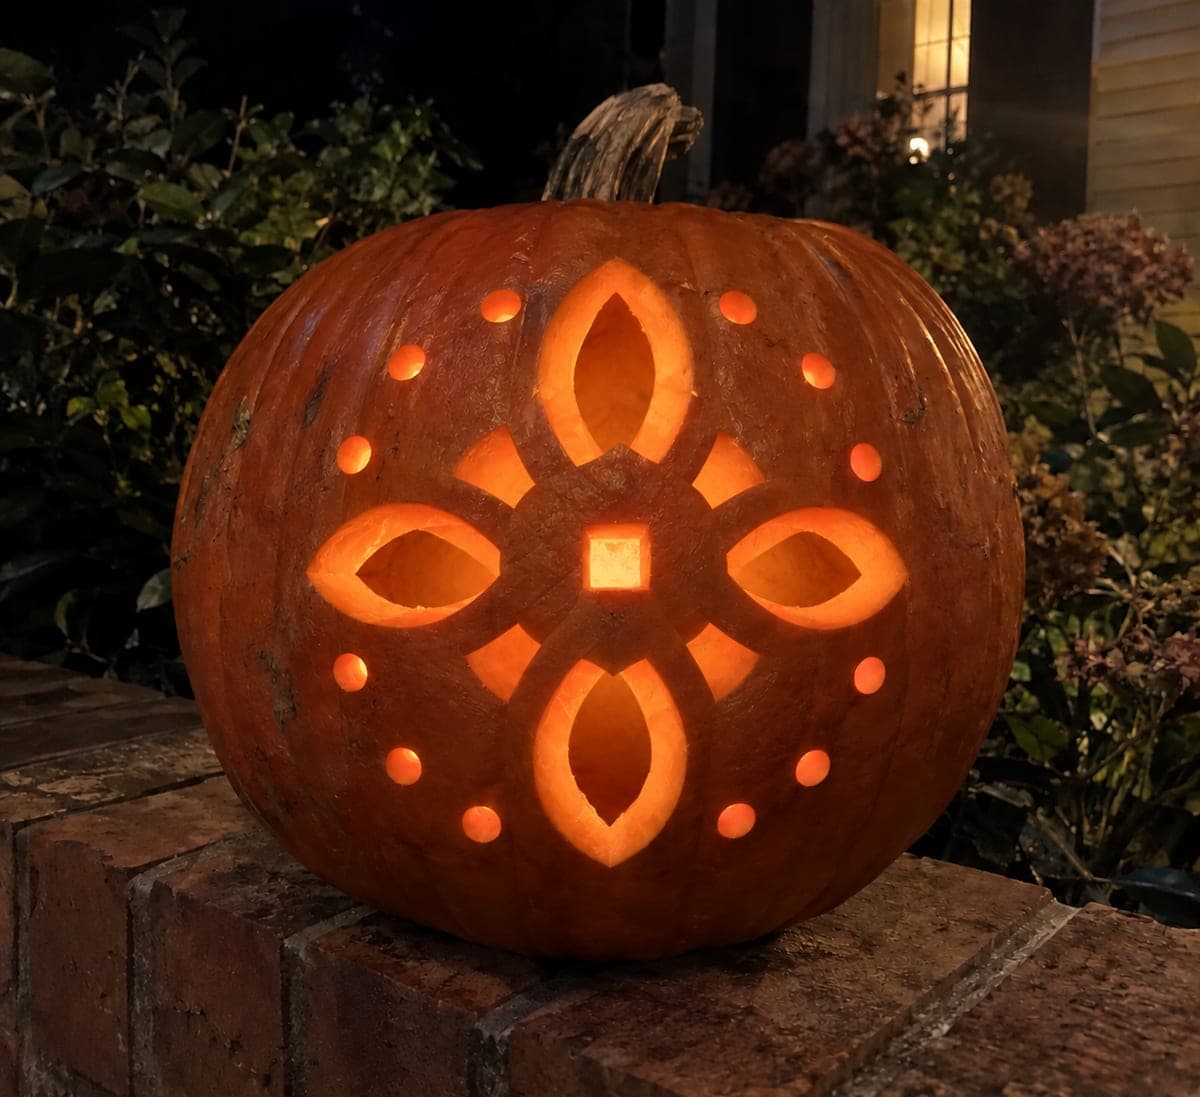
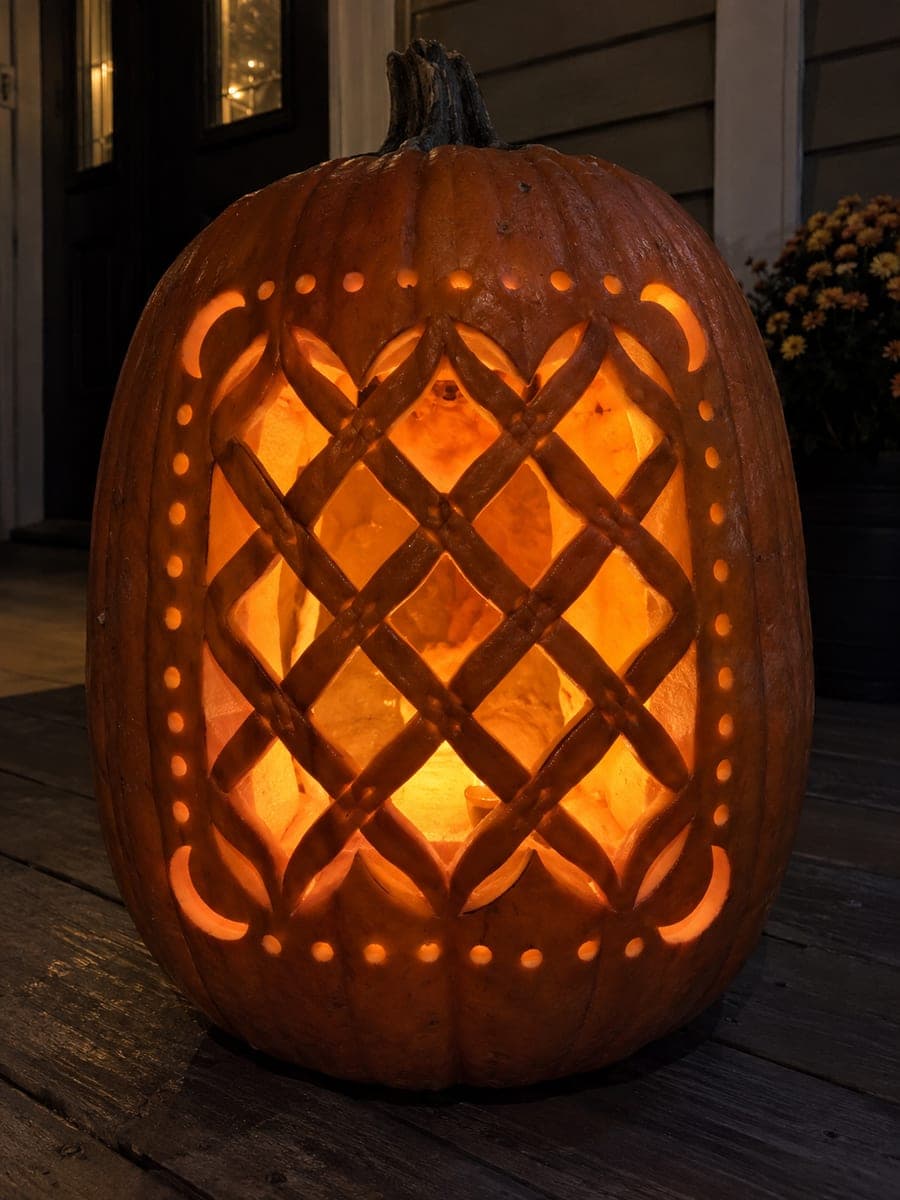
Three glowing openings framed by shallow interlace accent grooves make this an accessible Celtic knot pumpkin carving for beginners. Cut only the three true through-holes and score the interlace crossing lines just deep enough to show without piercing all the way through, keeping broad connected rind on all sides for support. A ballpoint pen works well for tracing the crossing lines before you score them. Candlelight from inside highlights the depth of the surface grooves beautifully.

No ratings yet · Sign in to rate

Comments (0)

  • No comments yet — be the first.

Save without an account. Sign in to like or comment.

Our tips for carving a similar design

The design limits true through-cuts to just three openings, keeping structural risk minimal, while shallow scored interlace lines crossing the surface create the impression of woven bands. Cutting the three through-holes first and scoring the crossing lines last lets the shell stay at maximum rigidity during the most structural phase. A ballpoint pen is the right tool for tracing crossing lines before scoring.

From pumpkin to porch

  1. Hollow the pumpkin

    Cut a back or bottom lid and remove all seeds and pulp. Bring the wall to about one inch. A clean, uniform wall makes the shallow interlace scoring show more clearly against the interior light.

  2. Transfer the three-opening template

    Tape the template and trace all three opening outlines and the crossing line paths with a pushpin. Use a ballpoint pen to connect the poke marks into smooth interlace crossing lines on the rind surface. These lines guide both the through-cuts and the scoring.

  3. Cut the three through-openings

    Cut each of the three openings as a completely enclosed aperture, keeping broad rind on all sides. The openings can be oval, round, or lozenge-shaped depending on your template. Confirm after each cut that the surrounding rind is solid before cutting the next.

  4. Score the interlace crossing lines

    Using a detail knife held at a shallow angle, score each interlace crossing line to about a third of the rind depth. Do not cut through. Work slowly from one marked crossing point to the next in a smooth pull stroke.

  5. Clean up

    Remove any loose rind bits from the interior with a pastry brush. Lightly sand any rough cut edges on the through-openings with fine sandpaper for a cleaner glow shape.

  6. Light and display

    Place a candle or LED tea light inside. The three openings glow brightly and the scored interlace lines catch the candlelight at a secondary, softer level, suggesting the woven over-under of a true Celtic knot.

Written with AI to match this design

Gather your supplies

Check things off as you get ready.

Work on a stable surface, keep your free hand out of the cutting path, and have an adult handle sharp tools.

Three levels of light

  • Leave intact

    All rind outside the knot design and the broad bands between openings stay opaque.

  • Peel & shade

    Shallow interlace crossing score lines glow at a dim secondary level, suggesting band depth.

  • Cut through

    Three through-openings produce full bright glow.

Learn the carving basics

Before you start cutting

What makes the crossing lines look like they go over and under?

Where two scored lines cross, leave a tiny un-scored gap at every other crossing point to suggest that one band passes over the other at that junction. This is the classic over-under illusion of Celtic knotwork and takes only a moment to plan on the template before scoring.

My scored lines look faint even with a candle inside. How do I improve them?

Deepen the scores by one careful additional pass at the same angle. Using a brighter LED light source instead of a single tea light also makes shallow scoring much more visible. The optimal depth is about one-third of the rind wall thickness.

Can I use this same approach to add interlace lines around a standard jack-o-lantern face?

Yes. Scored interlace bands work as a border or frame around any cutout design. Keep the scoring at least one inch away from cut edges so the scored lines do not weaken the rind near an opening.

Your take belongs here, too.

Changed a detail? Made it simpler? Share a photo of your version and tell the community what worked.

Share your pumpkin

More pumpkins like this

You've reached the end · 8 pumpkins
The Patch Report

Fresh pumpkins, in your inbox.

The best new carvings, ideas worth stealing, and how-tos for carving season. Short, seasonal, and gone by November.

A short email during carving season. Unsubscribe anytime. See our privacy policy.