Halloween Pumpkin Carving Contest · Starts October 1st · $500 in prizes
← Back to ideas
@ai_concepts
Sep 25, 2026
Six-Opening Celtic Knot Pumpkin with Interlaced BandsAI
0

Report this carving

Tell us what is wrong. Reports are private.

Six-Opening Celtic Knot Pumpkin with Interlaced Bands

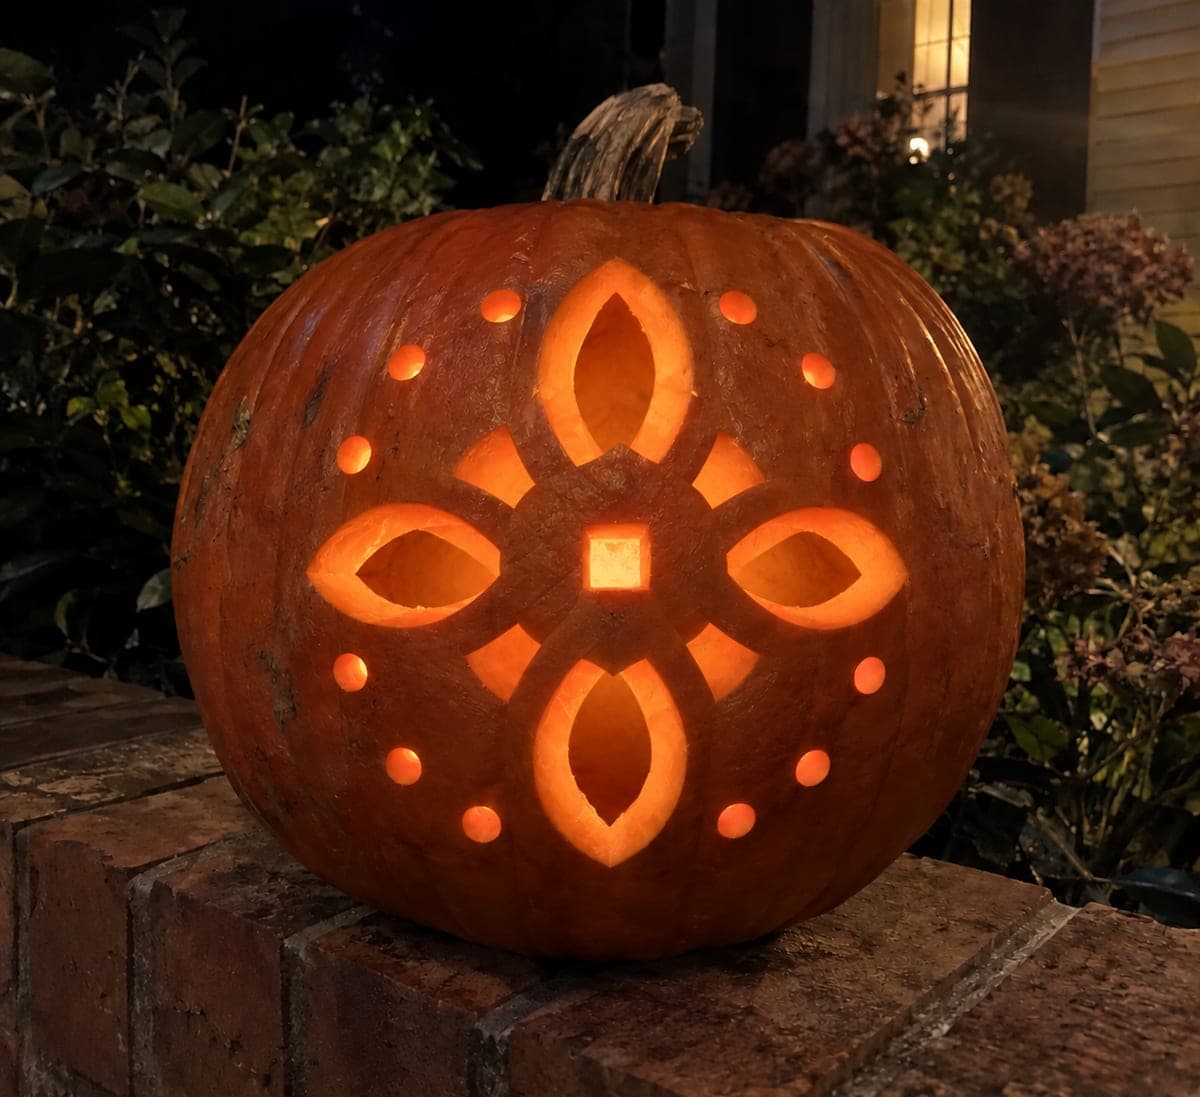
Six glowing openings of varying shapes, including three teardrop apertures and smaller curved cutouts, build up a convincing medium-difficulty Celtic knot pumpkin carving with broad interlaced rind bands between every cut. Keep the main teardrops and the smaller curves as completely separate holes, and score the crossing interlace lines as shallow backed grooves so they read without compromising the shell. Tape your template and use a scratch awl to transfer every crossing point before cutting. A flickering LED candle emphasizes the over-under illusion of the knot.

No ratings yet · Sign in to rate
Comments (0)

  • No comments yet — be the first.

Save without an account. Sign in to like or comment.

Our tips for carving a similar design

Three main teardrop apertures and three smaller curved openings are kept as completely independent holes, with broad interlaced rind bands providing structure and shallow backed grooves creating the crossing-band illusion. A scratch awl transfer of every crossing point from the template onto the rind ensures the interlace pattern stays accurate before any cutting begins.

From pumpkin to porch

  1. Hollow the pumpkin

    Cut a bottom lid and scoop out all pulp. Aim for a wall of just under one inch. Thin enough to let the scored grooves show, but not so thin that the broad rind bands become fragile under the multiple openings.

  2. Transfer every point from the template

    Tape the template firmly and use a scratch awl to mark every aperture corner and every interlace crossing point. Remove the template and connect the marks using a ballpoint pen for the crossing line paths and a marker for the aperture outlines.

  3. Cut the three teardrop apertures

    Starting with the largest teardrop, cut each of the three teardrop shapes as fully enclosed apertures. Keep the broad rind bands between them intact. Teardrop tips are fragile, so converge two angled strokes to meet at the tip rather than trying to cut through the point in one stroke.

  4. Cut the three smaller curved openings

    Cut the three smaller curved apertures as independent holes. Keep each one clearly separated from the nearest teardrop aperture. Curved cuts are easiest with the tip of a detail knife rotated slightly as you pull.

  5. Score the interlace crossing grooves

    After all six through-cuts are complete, score each crossing groove as a shallow backed line. At every other crossing point, leave a small un-scored gap to create the over-under knot illusion. Work from one crossing point to the next in smooth single strokes.

  6. Light with a flickering LED

    A flickering LED candle inside emphasizes the depth of the over-under groove pattern as the light shifts. Display the pumpkin where viewers can approach closely enough to appreciate the interlace scoring detail.

Written with AI to match this design

Gather your supplies

Check things off as you get ready.

Work on a stable surface, keep your free hand out of the cutting path, and have an adult handle sharp tools.

Three levels of light

  • Leave intact

    Broad interlaced rind bands between all six apertures stay dark, forming the knotwork bands.

  • Peel & shade

    Shallow backed crossing groove lines glow dimly, tracing the over-under band paths.

  • Cut through

    Three teardrop apertures and three smaller curved openings are fully cut through for bright glow.

Learn the carving basics

Before you start cutting

How do I cut a clean teardrop tip without cracking the rind?

Approach the tip from both sides. Make one angled stroke from the left side of the body toward the tip point, then a matching stroke from the right. The two strokes converge at the tip and release the piece cleanly. A fresh, sharp blade is essential for this approach.

The smaller curved openings look too similar to the teardrops when lit. How do I differentiate them?

Make the smaller curves more elongated or C-shaped compared to the rounder teardrops. Position each smaller opening near the wide belly of an adjacent teardrop rather than near its tip, which reinforces the sense that they are different elements in the composition.

Is there a safe way to practice the interlace scoring before doing it on the real pumpkin?

Cut a small flat section of rind from the lid piece and practice scoring lines of different depths on it. Hold a flashlight against the back of the scrap to see how each depth reads when backlit. This takes about five minutes and tells you exactly how deep to score on the main face.

Your take belongs here, too.

Changed a detail? Made it simpler? Share a photo of your version and tell the community what worked.

Share your pumpkin

More pumpkins like this

You've reached the end · 8 pumpkins
The Patch Report

Fresh pumpkins, in your inbox.

The best new carvings, ideas worth stealing, and how-tos for carving season. Short, seasonal, and gone by November.

A short email during carving season. Unsubscribe anytime. See our privacy policy.