Halloween Pumpkin Carving Contest · Starts October 1st · $500 in prizes
← Back to ideas
@ai_concepts
Sep 25, 2026
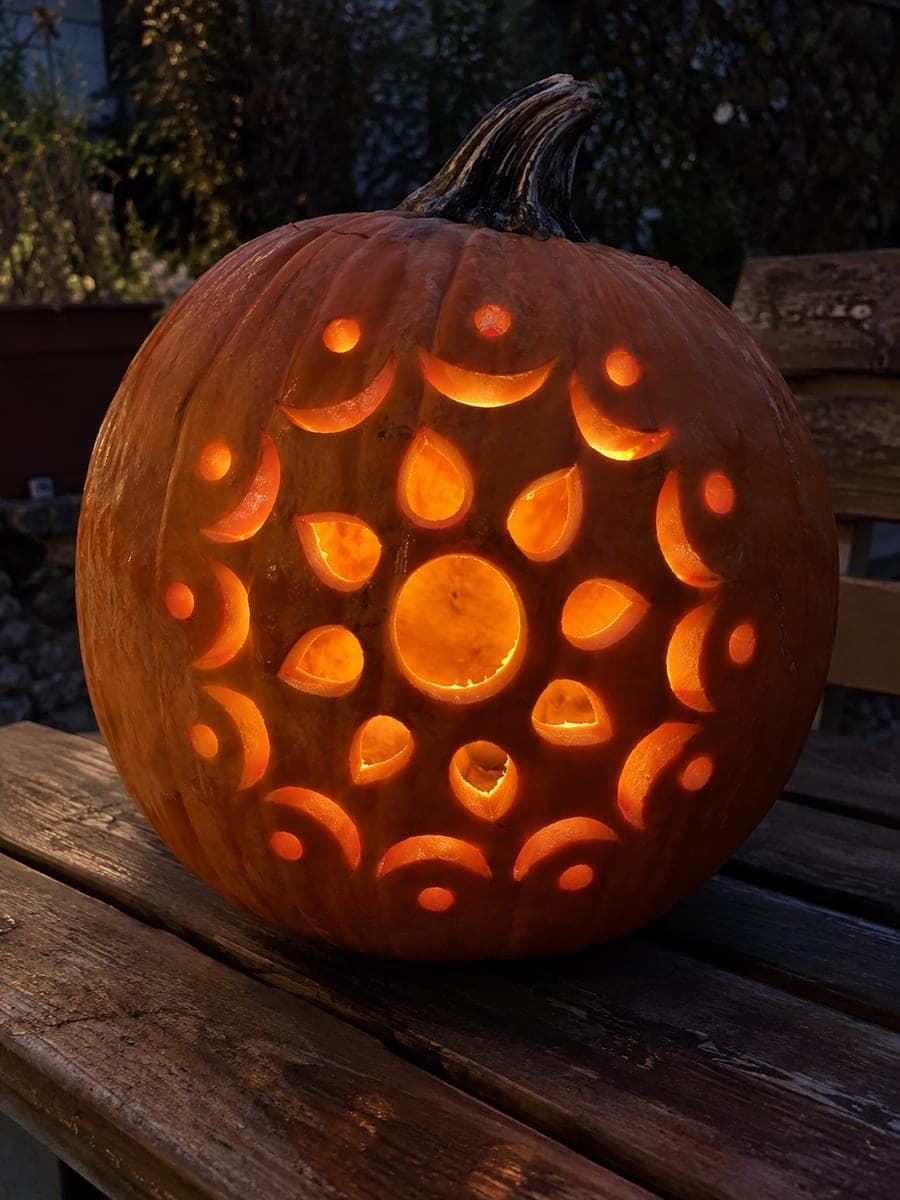
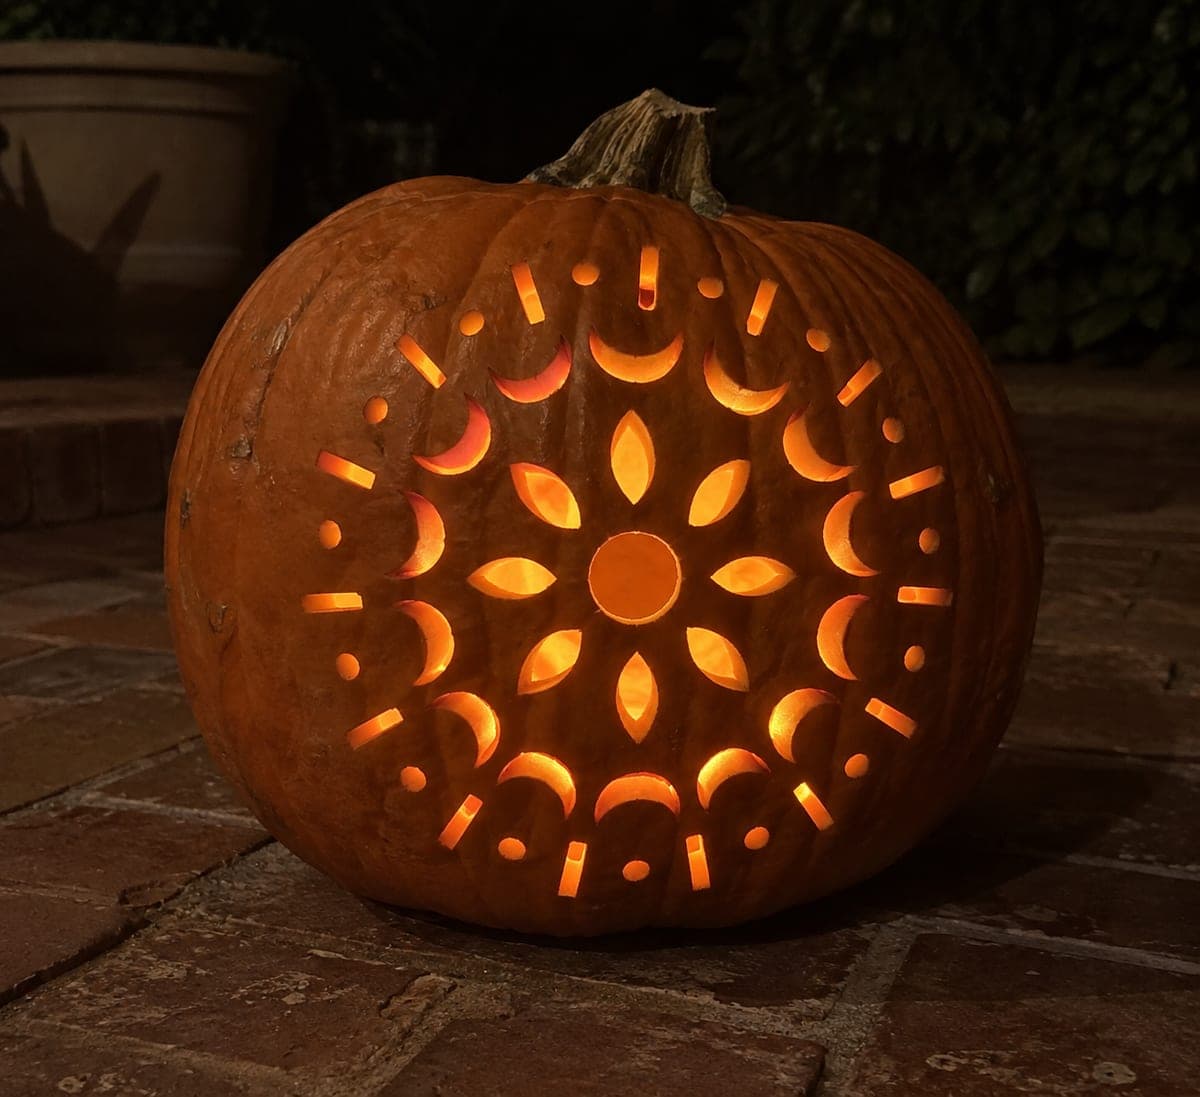
Glowing Teardrop and Crescent Mandala Pumpkin CarvingAI
0

Report this carving

Tell us what is wrong. Reports are private.

Glowing Teardrop and Crescent Mandala Pumpkin Carving

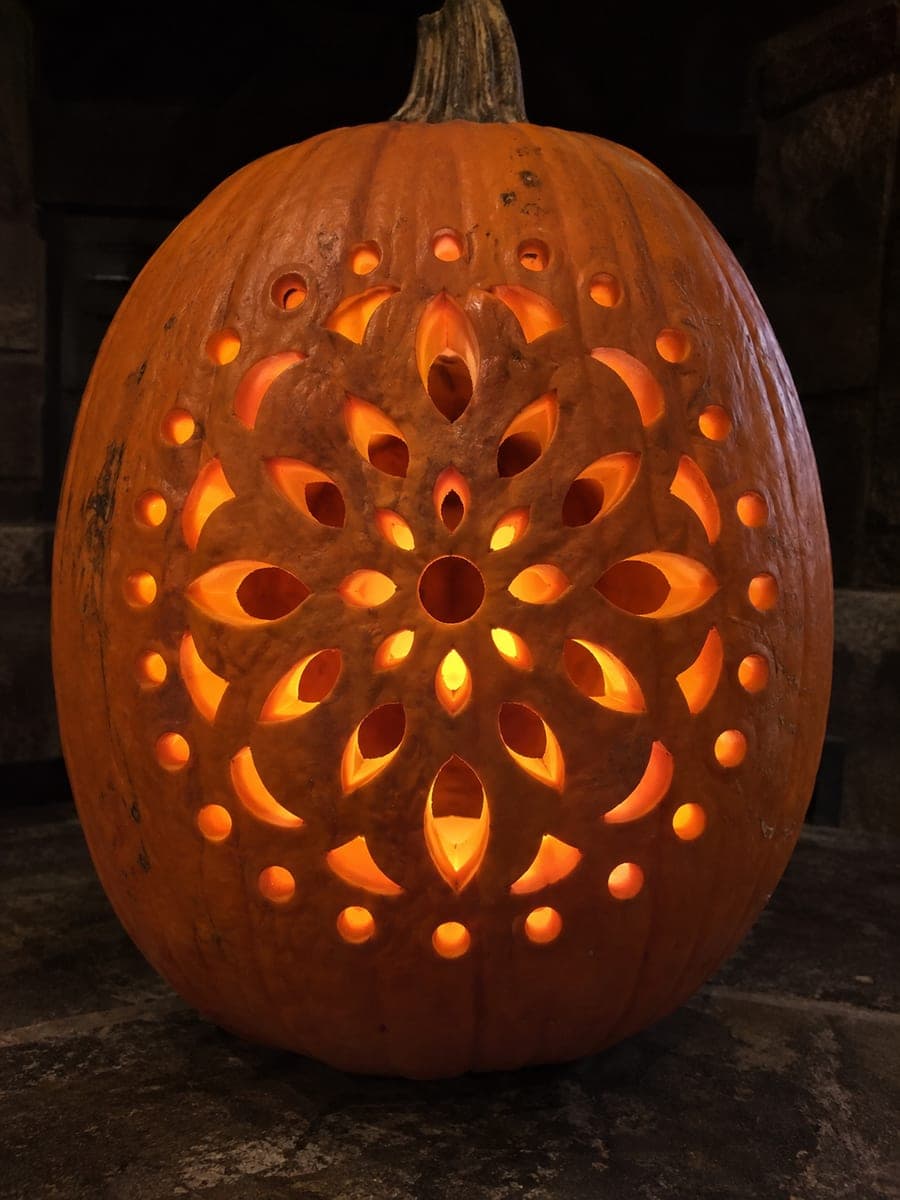
Teardrops, crescent shapes and accent dots form the radiating rings of this medium-difficulty mandala pumpkin carving, each element glowing independently against the carved shell. Keep all apertures separate and preserve the broad radial spokes and circumferential bands that give the design its structure. A transfer wheel or carbon paper helps place the repeating shapes symmetrically before you cut. Once lit, an LED flicker bulb adds depth to the layered rings.

No ratings yet · Sign in to rate
Comments (0)

  • No comments yet — be the first.

Save without an account. Sign in to like or comment.

Our tips for carving a similar design

Teardrop apertures, crescent-shaped cuts, and small accent dots are arranged in independent radiating rings, with broad radial spokes and circumferential bands of intact rind keeping the design together. Symmetrical placement is the main technical challenge, handled best by a printed template and carbon paper transfer. A flickering LED bulb adds depth to the layered rings once the carving is complete.

From pumpkin to porch

  1. Hollow and prep

    Cut a back lid and hollow out completely to a one-inch wall. Because this design has radiating elements from a center point, the wall thickness at the center of the face matters most for even glow. Dry the inside surface before working.

  2. Transfer the pattern precisely

    Use carbon paper or a transfer wheel to copy the mandala template onto the pumpkin face. This design's symmetry requires accurate placement: even a small offset in the crescent or teardrop positions looks uneven once lit.

  3. Cut the outermost ring first

    Starting with the apertures in the outermost ring, cut each teardrop or crescent as a completely independent shape. Keep the broad radial spokes between ring elements intact. Complete the full outer ring before moving inward.

  4. Work inward ring by ring

    Proceed to each inner ring in turn, repeating the same isolated-aperture approach. After completing each ring, pause to check that the radial spokes and circumferential rind bands are still solid and unbroken.

  5. Add accent dots

    Use a round punch or scratch awl to cut the small accent dots between the rings last. These are the smallest, most precise elements and are easiest to place accurately when the surrounding ring structure is already visible.

  6. Light with a flickering LED

    Place an LED flicker bulb inside and view in a dark room. The flickering light animates the layered rings, making the mandala appear to pulse gently. Display where viewers can watch from a few feet away to appreciate the full composition.

Written with AI to match this design

Gather your supplies

Check things off as you get ready.

Work on a stable surface, keep your free hand out of the cutting path, and have an adult handle sharp tools.

Three levels of light

  • Leave intact

    Radial spokes, circumferential bands between rings, and all background rind stay fully dark.

  • Peel & shade

    None for this cutout design.

  • Cut through

    All teardrop apertures, crescent cuts, and accent dots are fully cut through for layered glow.

Learn the carving basics

Before you start cutting

My crescent shapes keep ending up lopsided. How do I improve them?

Draw both inner and outer arcs of each crescent with a compass or curved template before cutting. Cut the outer arc first, then the inner arc. Using a bevel angle on both cuts so they meet at a thin point on both crescent tips produces the cleanest shape.

How many teardrop apertures per ring works best for this design?

Six or eight teardrops per ring are the most common counts for a clean mandala. Six leaves more rind between each shape, making the design more structurally forgiving. Eight gives a fuller, more detailed look but requires more precise spacing.

Can I mix teardrop and crescent shapes in the same ring?

You can, but alternating the shapes in a consistent pattern, teardrop, crescent, teardrop, crescent, produces a more intentional look than random mixing. Keep all the shapes in each ring roughly the same size so the ring reads as a unified band of light.

Your take belongs here, too.

Changed a detail? Made it simpler? Share a photo of your version and tell the community what worked.

Share your pumpkin

More pumpkins like this

You've reached the end · 8 pumpkins
The Patch Report

Fresh pumpkins, in your inbox.

The best new carvings, ideas worth stealing, and how-tos for carving season. Short, seasonal, and gone by November.

A short email during carving season. Unsubscribe anytime. See our privacy policy.