Halloween Pumpkin Carving Contest · Starts October 1st · $500 in prizes
← Back to ideas
@ai_concepts
Sep 25, 2026
Octagon and Diamond Tessellation Expert Geometric PumpkinAI
0

Report this carving

Tell us what is wrong. Reports are private.

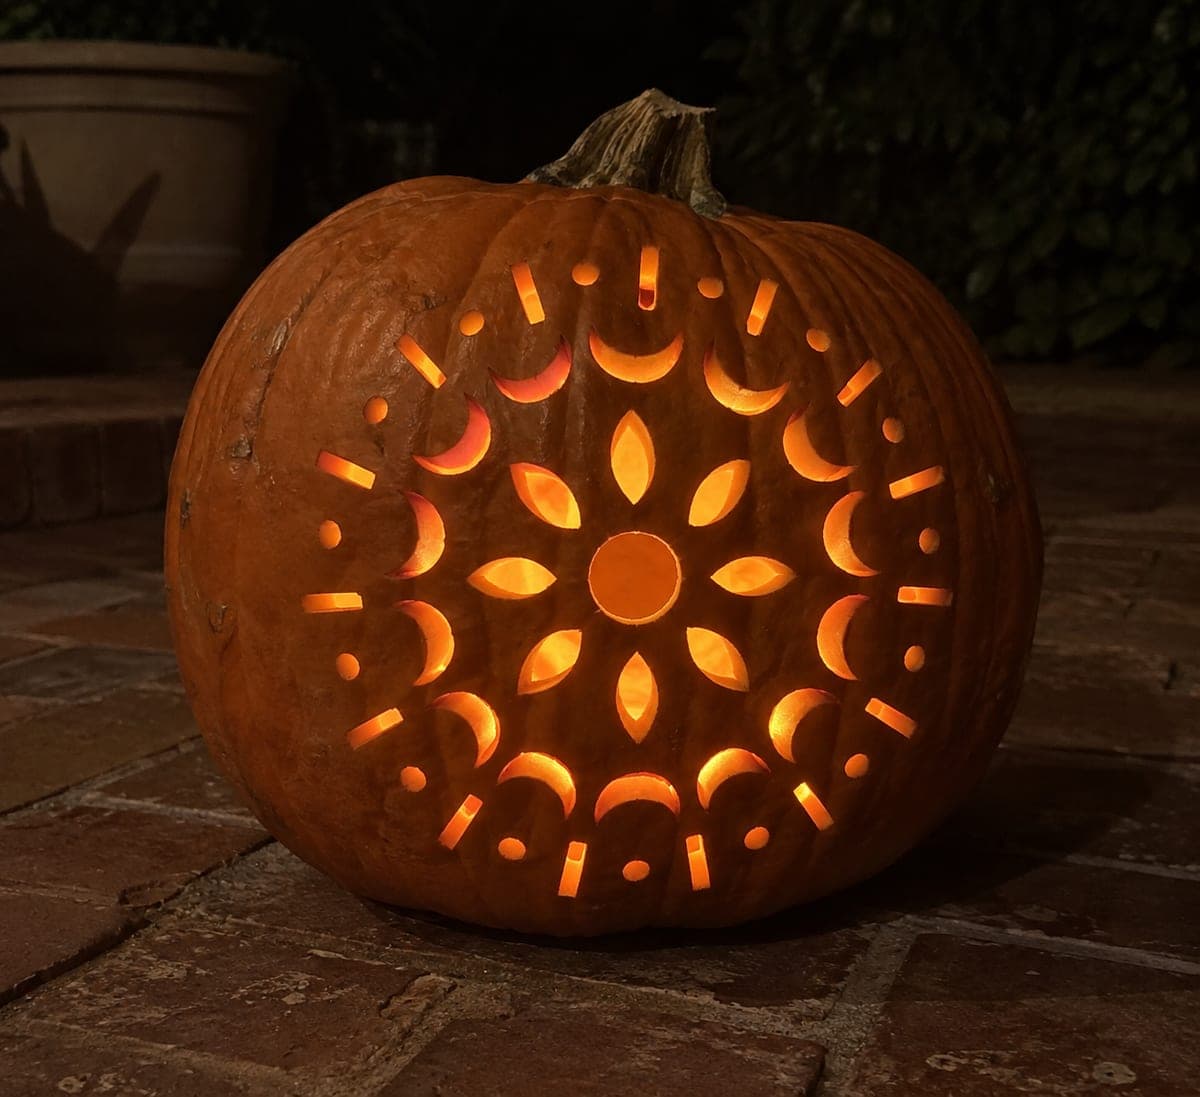
Octagon and Diamond Tessellation Expert Geometric Pumpkin

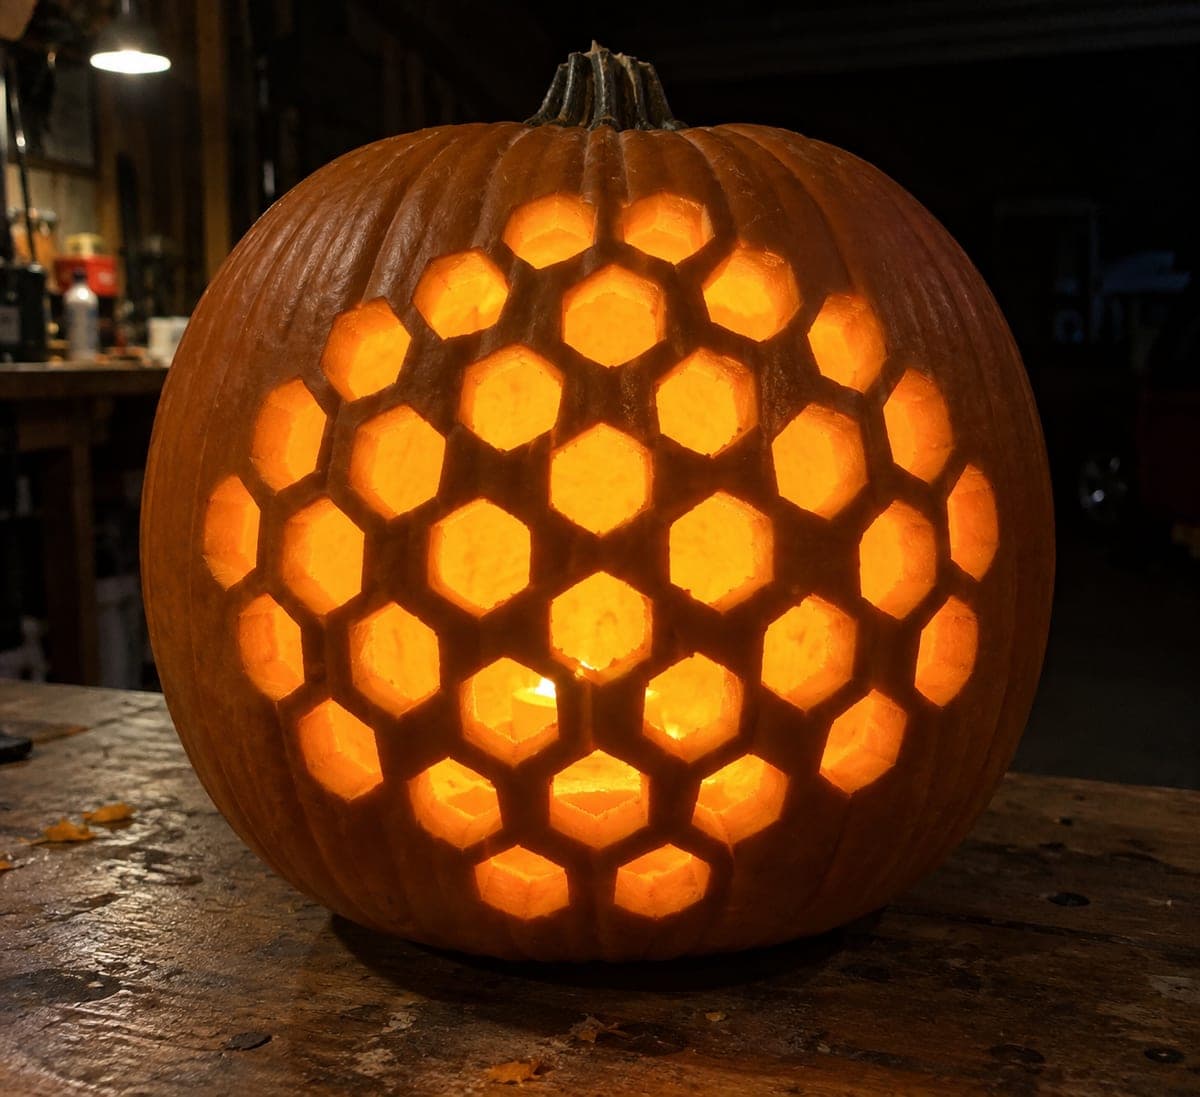
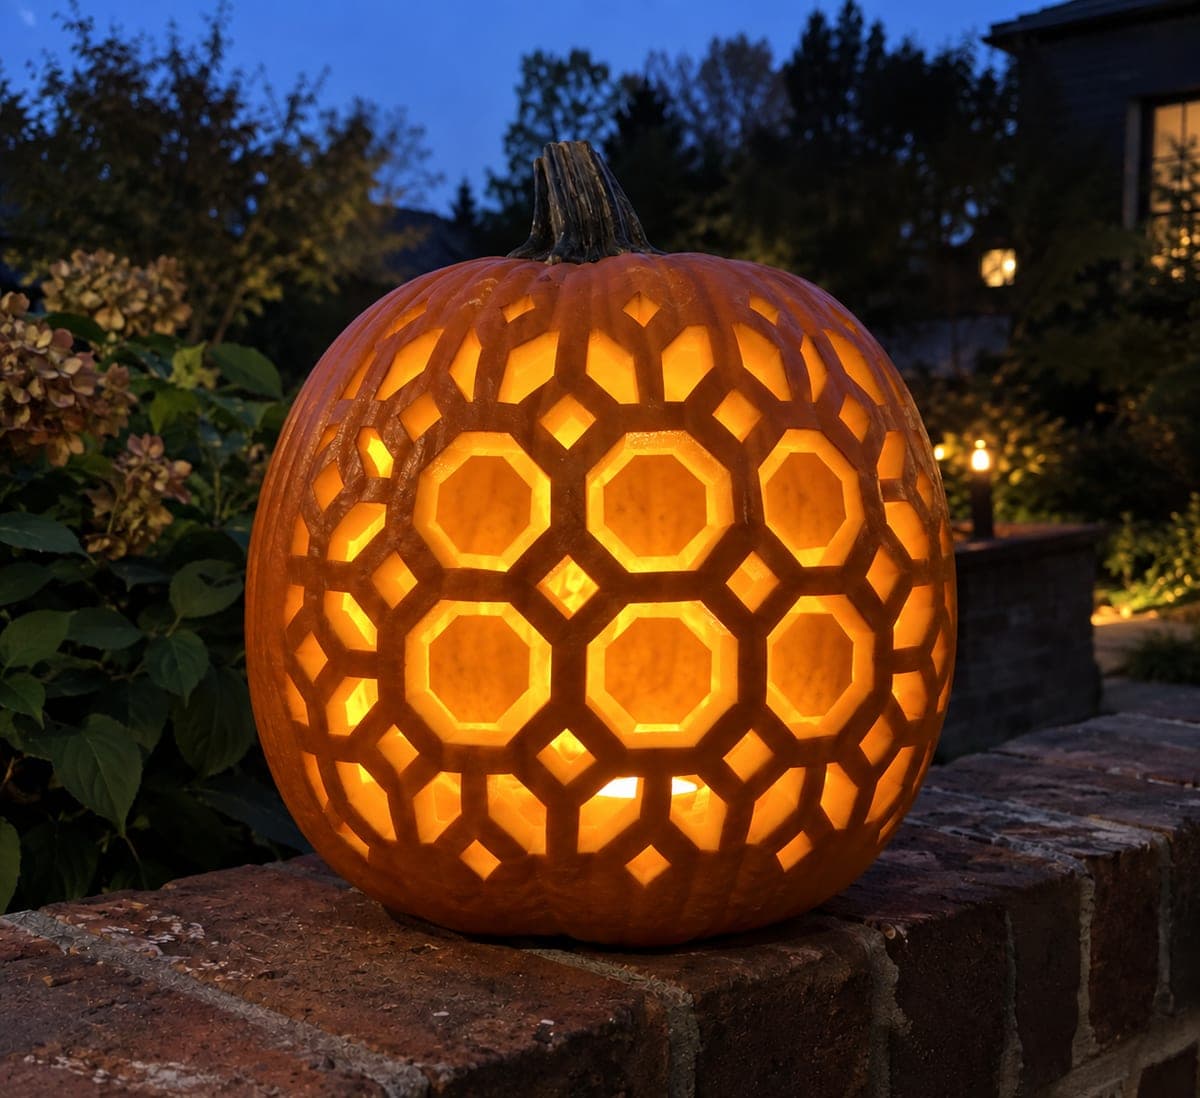
Dozens of individual octagonal and diamond-shaped apertures in a precise interlocking tessellation cover the face of this expert geometric pumpkin carving, with every retained edge forming a continuous sturdy lattice connected to an intact border. No central polygon floats free and no detached ring appears anywhere in the design. Plot the tessellation on paper first and number each row before transferring it to the pumpkin with a needle-poke grid. A bright white LED rather than a warm flame makes the tessellation look most like cut glass when lit.

No ratings yet · Sign in to rate
Comments (0)

  • No comments yet — be the first.

Save without an account. Sign in to like or comment.

Our tips for carving a similar design

The octagon-and-diamond tessellation is a mathematically precise pattern where every retained edge forms a continuous lattice connected to an intact border; no central polygon can float free. Plotting the tessellation on paper first, numbering each row, and then transferring with a needle-poke grid is the only reliable approach on a curved surface. A bright white LED rather than a warm-toned candle makes the tessellation read most like cut glass because the cooler light emphasizes the precise geometry.

From pumpkin to porch

  1. Design the tessellation on paper first

    Draw the octagon-and-diamond tessellation on a flat paper sheet sized to the pumpkin face. Number each row and column of apertures. Verify that every retained edge connects to the border; trace a path from every interior rind piece back to the outer frame without crossing an aperture. Fix any connectivity issue on paper before transferring.

  2. Hollow and prepare the pumpkin

    Hollow through a base plug to a 30 mm wall. The dense detail of this design requires a thick wall so the narrow rind ribs between polygons stay structurally sound. Transfer the tessellation with a full needle-poke grid, poking every corner point of every aperture.

  3. Cut the border-adjacent apertures first

    Start with the apertures that are closest to the outer border, cutting each one and verifying that the rib connecting it to the border remains at least 8 mm wide. Working from the outside inward means the outer lattice is established before you reach the more confined interior.

  4. Work inward in bands

    Cut apertures in horizontal bands from the outer border toward the center, alternating between octagon and diamond shapes as the pattern requires. Clear each cut piece with tweezers rather than fingers in the denser interior sections to avoid flexing nearby ribs.

  5. Complete the center apertures last

    Cut the central apertures last, when the surrounding lattice is complete and stable. Use a narrow craft knife rather than a saw for the smallest interior diamond shapes. Score each side independently before pushing through.

  6. Light with cool white and display near a reflective surface

    Place a bright cool-white LED inside through the base. Position the pumpkin near a mirrored surface or white wall so the tessellation projects outward and also reflects back. The cool light through the geometric lattice reads as polished glass rather than pumpkin at night.

Written with AI to match this design

Gather your supplies

Check things off as you get ready.

Work on a stable surface, keep your free hand out of the cutting path, and have an adult handle sharp tools.

Three levels of light

  • Leave intact

    All rind ribs forming the continuous lattice, including the outer intact border

  • Peel & shade

    None; every surface element is either full rind or full aperture

  • Cut through

    All octagonal and diamond-shaped apertures within the tessellation field

Learn the carving basics

Before you start cutting

How do I confirm no polygon is floating before I start cutting?

On your paper template, use a highlighter to trace from each retained rind piece back to the outer border. If the highlighter path crosses an aperture at any point, that piece is an island. Add a thin connecting bridge to the nearest intact rind piece on the paper design before transferring.

The narrow rind ribs between octagons and diamonds are less than 8 mm on my pumpkin. What should I do?

Scale up the entire tessellation by 10 to 15 percent before transferring, or switch to a larger pumpkin. Ribs under 8 mm are too fragile to hold for more than a day or two and will cause the lattice to collapse as the pumpkin dries.

How long does this design take to complete?

Expect three to five hours of focused cutting for a full tessellation field on a large pumpkin, not counting the planning and transfer stages. Work in two sessions over two days if possible, refrigerating the pumpkin between sessions to keep the flesh firm and the ribs stable.

Your take belongs here, too.

Changed a detail? Made it simpler? Share a photo of your version and tell the community what worked.

Share your pumpkin

More pumpkins like this

You've reached the end · 8 pumpkins
The Patch Report

Fresh pumpkins, in your inbox.

The best new carvings, ideas worth stealing, and how-tos for carving season. Short, seasonal, and gone by November.

A short email during carving season. Unsubscribe anytime. See our privacy policy.