Halloween Pumpkin Carving Contest · Starts October 1st · $500 in prizes
← Back to ideas
@ai_concepts
Sep 25, 2026
Easy Oval Petal Mandala Pumpkin with Round CutoutsAI
0

Report this carving

Tell us what is wrong. Reports are private.

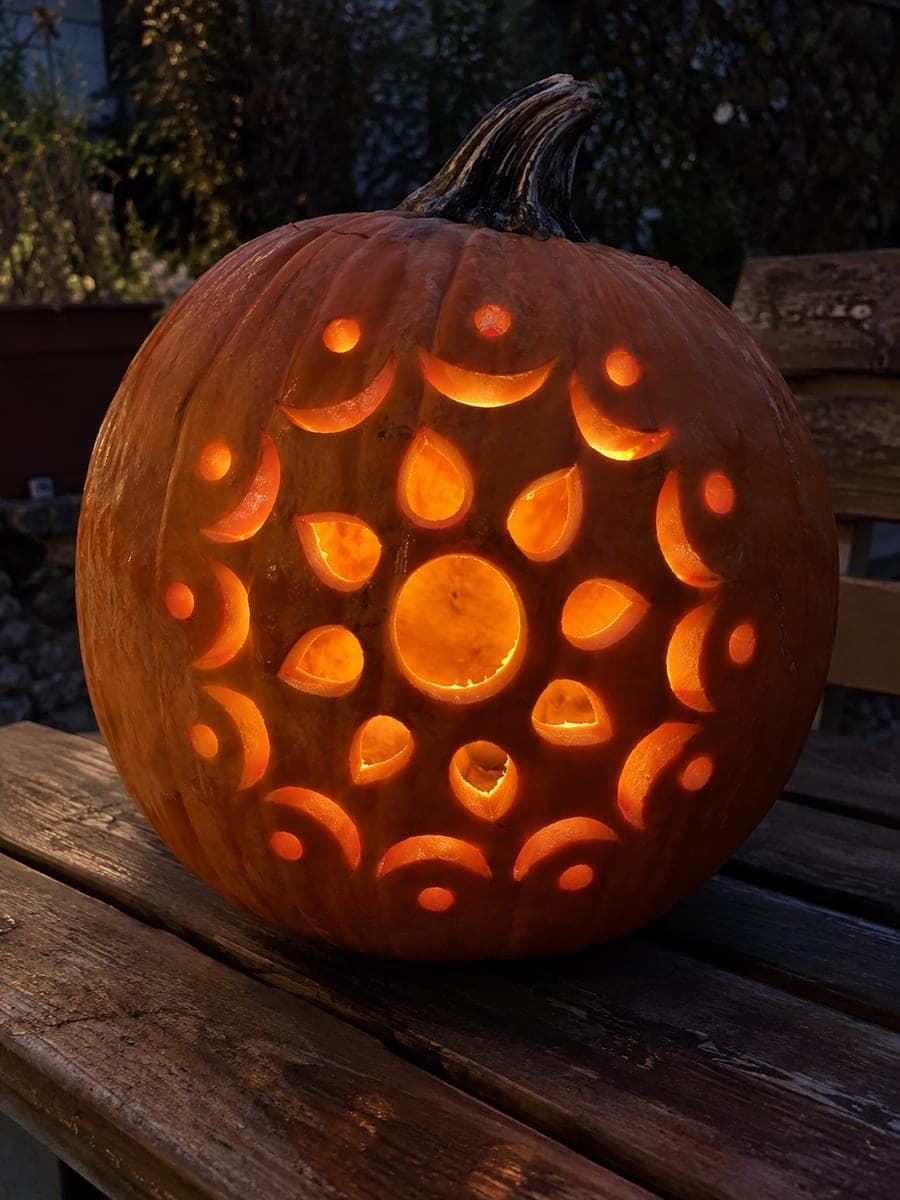
Easy Oval Petal Mandala Pumpkin with Round Cutouts

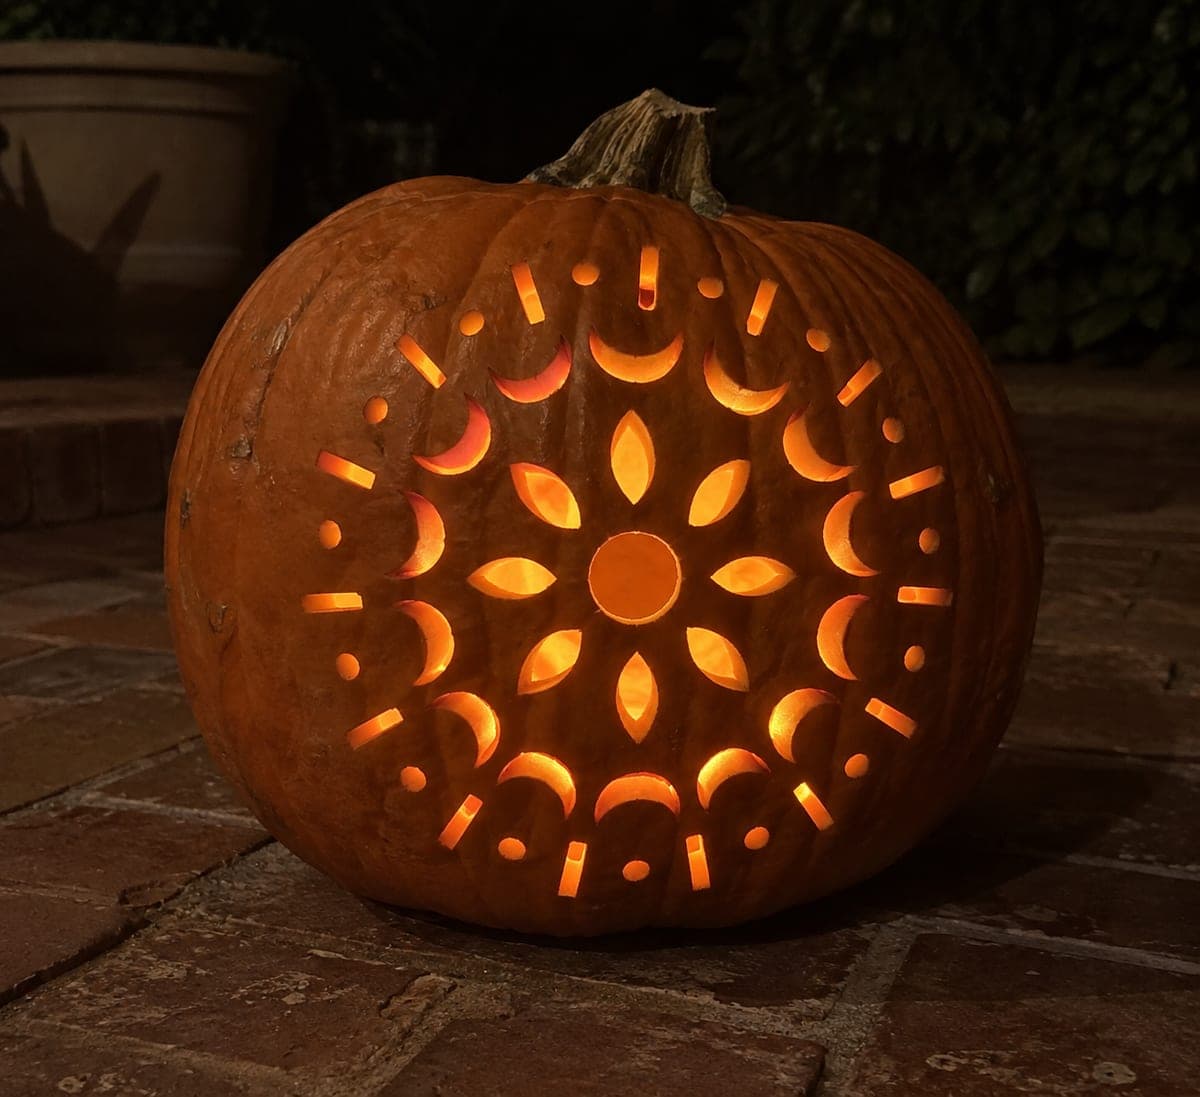
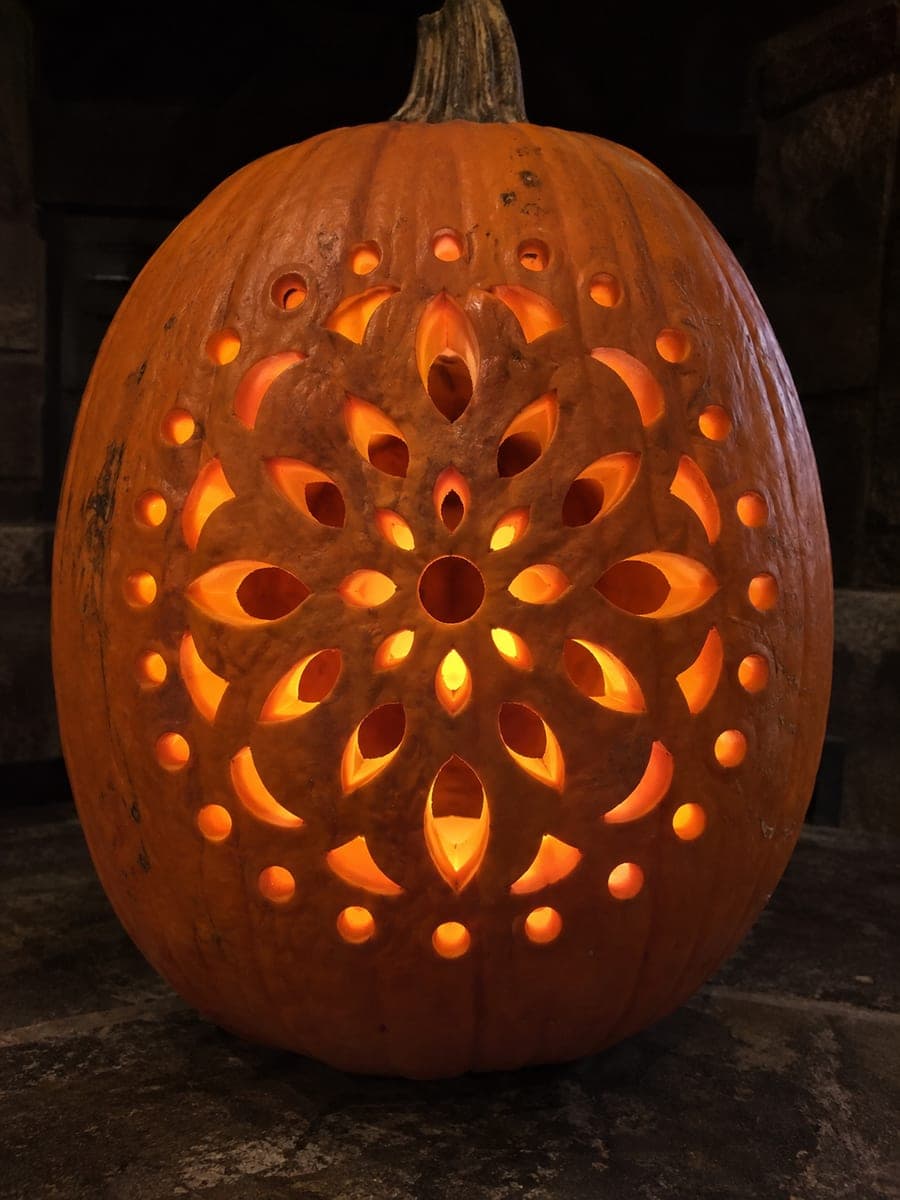
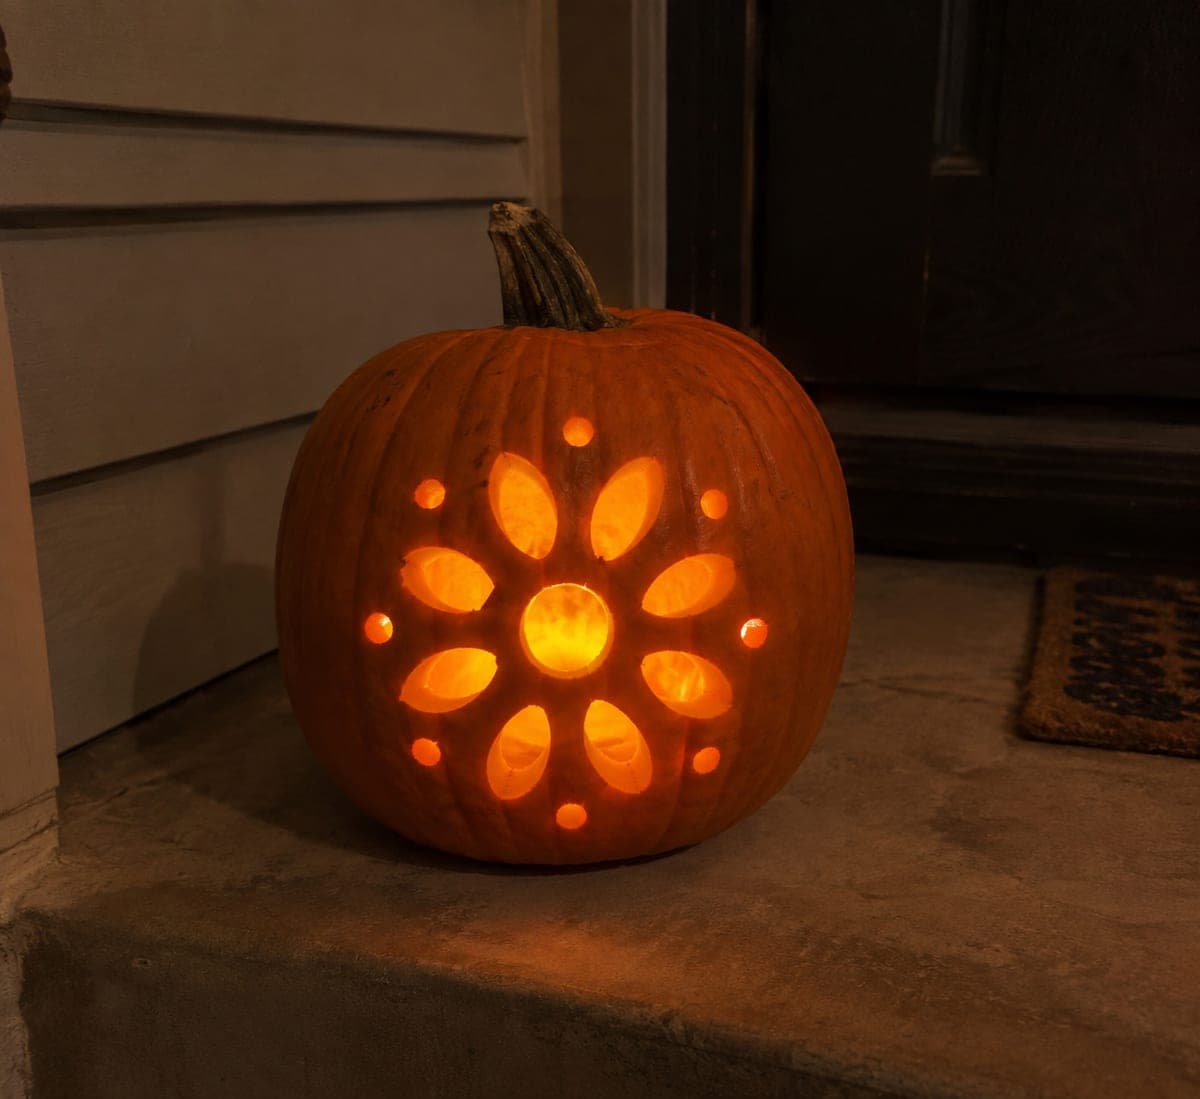
This beginner-friendly mandala pumpkin carving idea features a ring of oval petals radiating outward from a center cluster of round cutouts, all glowing softly against the orange shell. Cut each hole as a completely separate opening, leaving broad connected rind between every aperture so the design stays sturdy. Transfer your pattern with a poking tool before cutting, and start from the outermost ring working inward. A single tea light inside casts an even glow through all the openings.

No ratings yet · Sign in to rate

Comments (0)

  • No comments yet — be the first.

Save without an account. Sign in to like or comment.

Our tips for carving a similar design

A ring of oval petal apertures surrounds a central cluster of round holes, with every opening cut as a completely separate shape to keep broad connected rind between them at all times. The design reads as a mandala because of the radial symmetry, but structurally it is just a set of independent holes arranged in concentric rings. Transferring the pattern with a poking tool and starting from the outer ring inward keeps the process organized.

From pumpkin to porch

  1. Hollow the pumpkin

    Cut a back or bottom lid and scoop out seeds and pulp. Bring the wall to about one inch. A uniform wall thickness produces even glow across both the outer oval petals and the inner round holes.

  2. Transfer the mandala pattern

    Print a petal-and-center template sized to fit the pumpkin face, tape it on, and use a pushpin to poke a pilot hole at the center of every petal and every round hole. Remove the template and trace each shape outline lightly in marker.

  3. Cut the outer ring of oval petals

    Working around the outer ring, cut each oval petal as a fully enclosed aperture. Keep at least a half-inch of rind between adjacent petals. The oval shape is forgiving for beginners: a slightly uneven oval still reads as a petal once it glows.

  4. Cut the inner ring of petals

    Repeat the same process for any inner petal ring, keeping each aperture isolated. After completing this ring, check that the rind between all rings is still solid and even.

  5. Cut the center cluster of round holes

    Use a round punch, drill bit, or the tip of a detail knife to cut each small round hole in the center cluster. Finish this step last so the center of the design, the most handled area, is carved when the surrounding structure is fully established.

  6. Light and display

    Place an LED tea light inside and view in a dark room. The radiating oval petals and round center holes should produce a clear, symmetrical mandala glow. Display the pumpkin at tabletop height for the best direct viewing angle.

Written with AI to match this design

Gather your supplies

Check things off as you get ready.

Work on a stable surface, keep your free hand out of the cutting path, and have an adult handle sharp tools.

Three levels of light

  • Leave intact

    Broad connected rind between all petals and rings stays dark, providing the mandala's structural frame.

  • Peel & shade

    None for this straightforward cutout design.

  • Cut through

    All oval petal apertures and round center holes are fully cut through for complete glow.

Learn the carving basics

Before you start cutting

How do I keep the oval petals evenly spaced around the ring?

Divide the petal ring into equal sections before cutting. For eight petals, mark lines at 45-degree intervals from the center to the ring edge, then center each petal on a marked line. A printed template handles this math automatically.

Can I make the oval petals pointed at the tips instead of rounded?

Yes. Pointed petals give a more classic mandala look. Cut to a sharp point at both ends of each aperture by converging two angled strokes. Keep the points small and well-separated from adjacent petals to prevent fragile thin rind at the tips.

The center round holes are very small and hard to cut cleanly. Any tips?

A leather or craft punch tool pressed firmly with a single downward push gives much cleaner small circles than a knife. A small apple corer works for slightly larger center holes. Drill bits in a hand drill are the fastest option for many identical small circles.

Your take belongs here, too.

Changed a detail? Made it simpler? Share a photo of your version and tell the community what worked.

Share your pumpkin

More pumpkins like this

You've reached the end · 8 pumpkins
The Patch Report

Fresh pumpkins, in your inbox.

The best new carvings, ideas worth stealing, and how-tos for carving season. Short, seasonal, and gone by November.

A short email during carving season. Unsubscribe anytime. See our privacy policy.