Halloween Pumpkin Carving Contest · Starts October 1st · $500 in prizes
← Back to ideas
@ai_concepts
Jul 22, 2026
Skunk With Striped Tail Painted PumpkinAI
0

Skunk With Striped Tail Painted Pumpkin

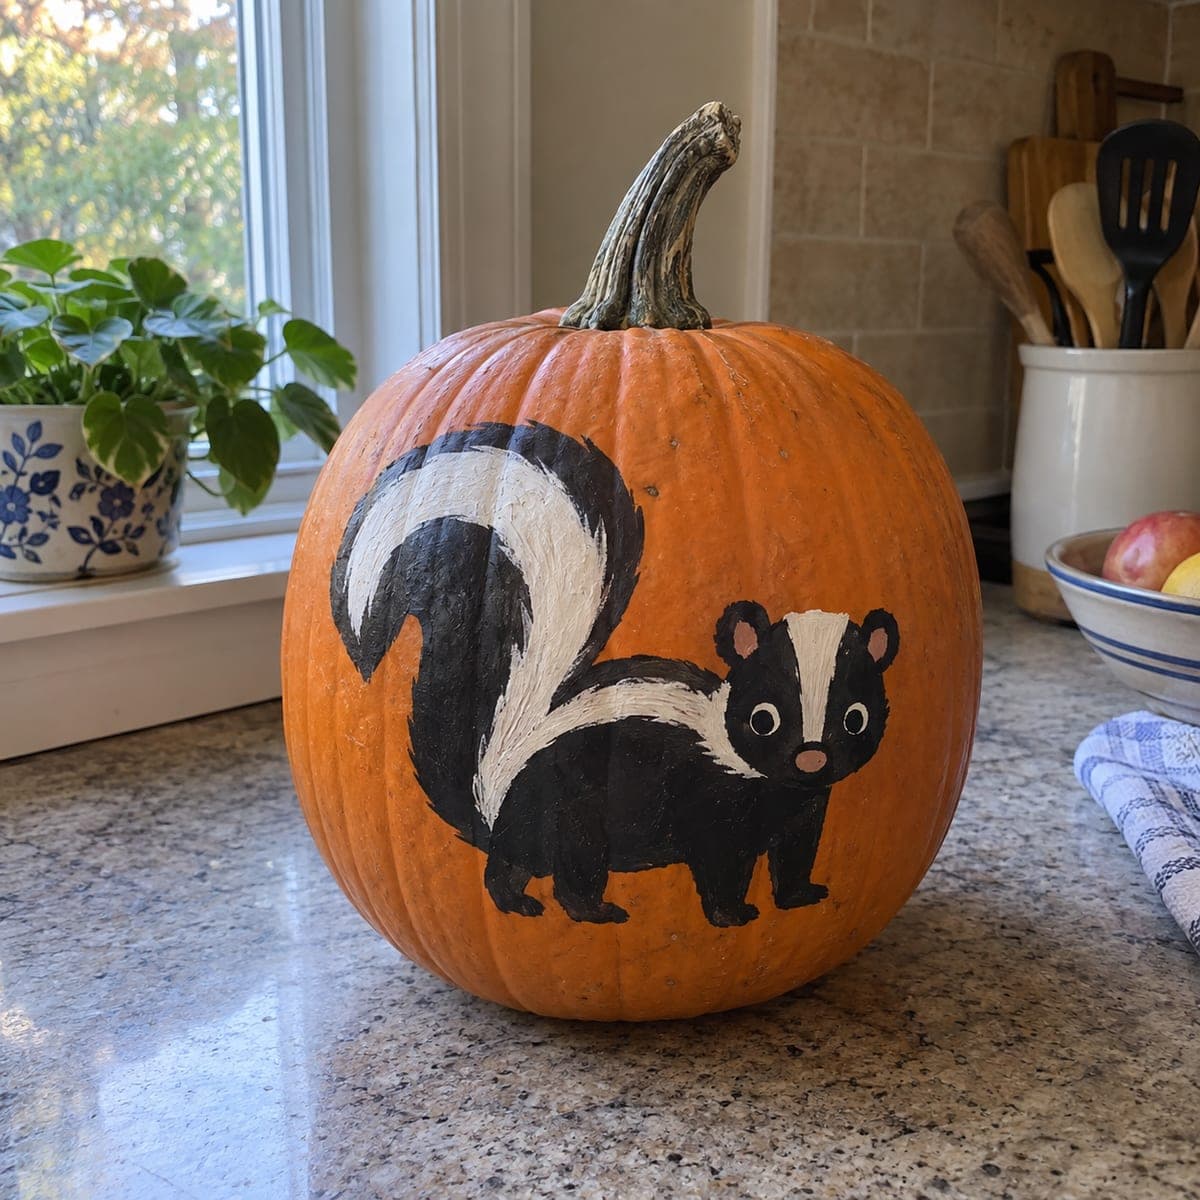
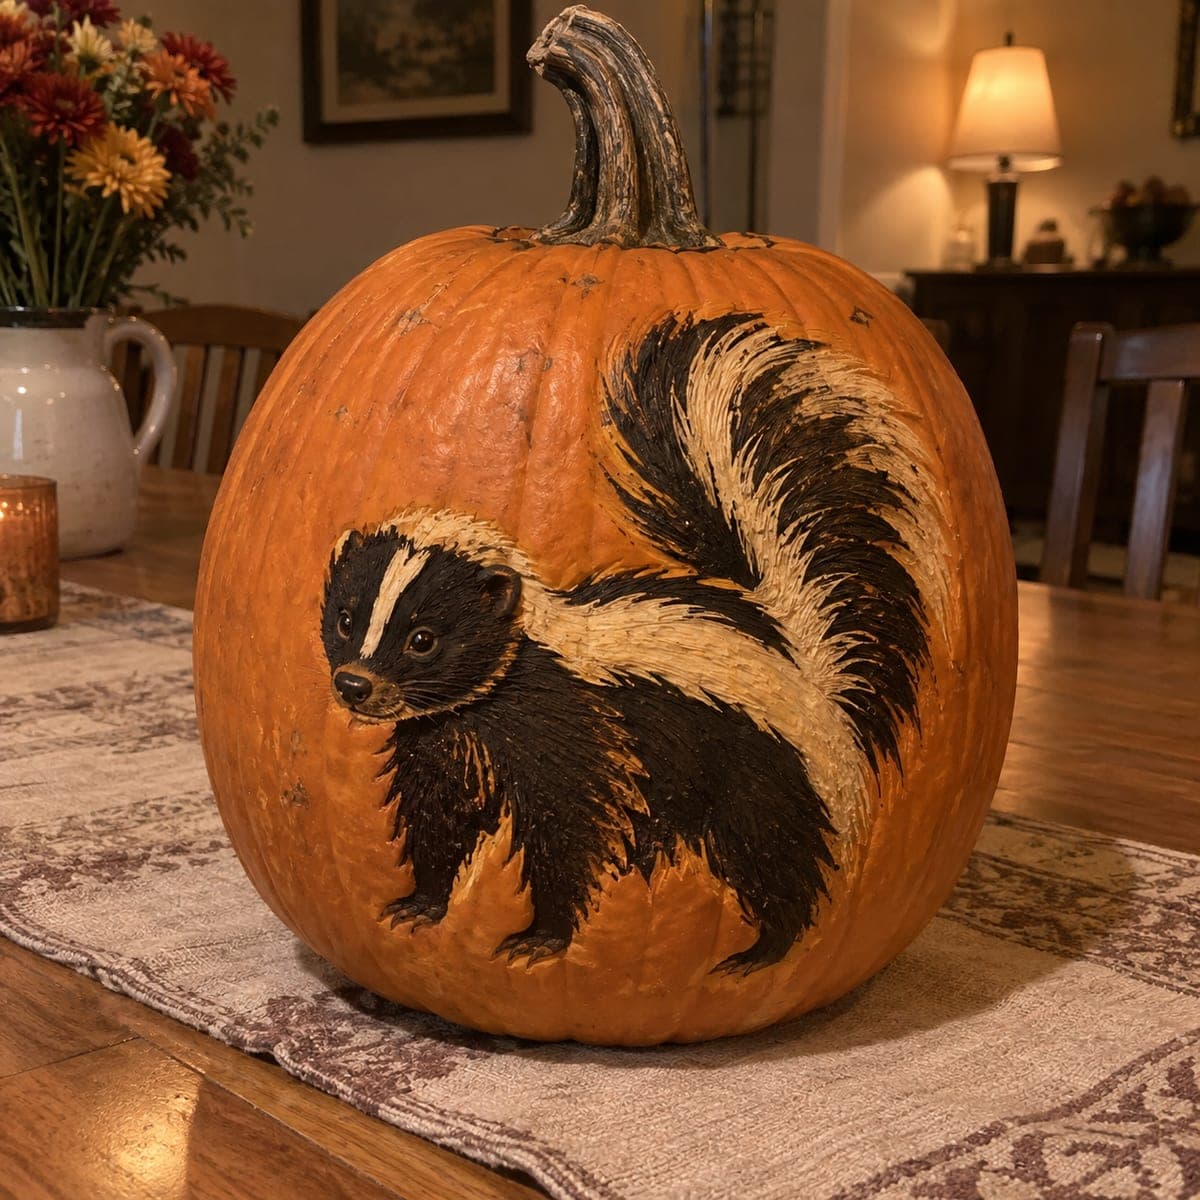
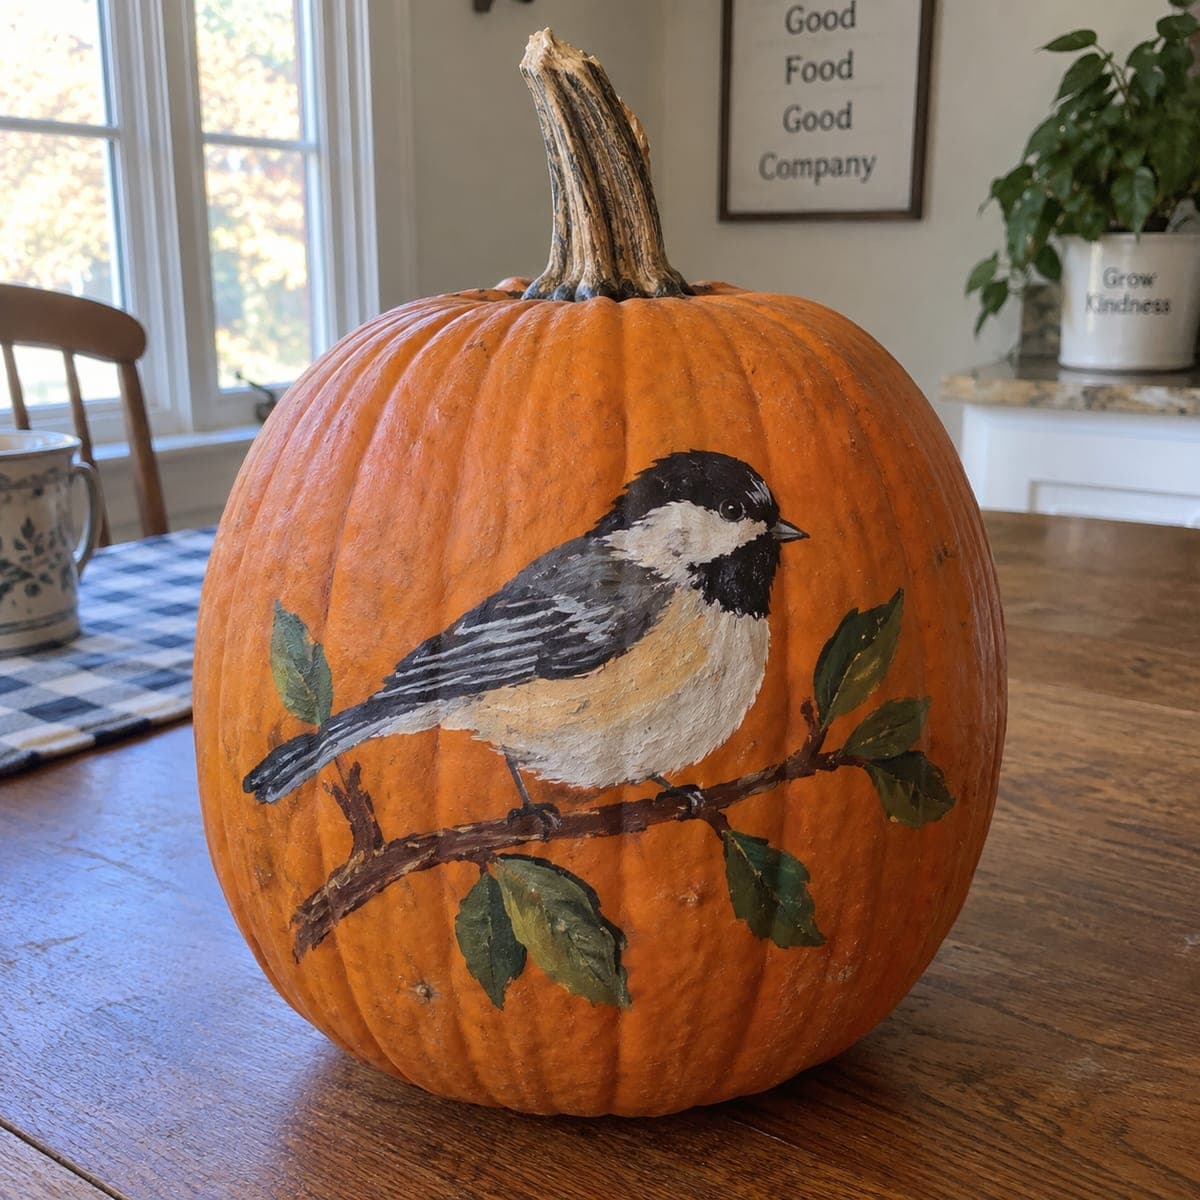
A bold black-and-white skunk with its fluffy, arched tail takes center stage on a large orange pumpkin, painted with careful brushwork that captures the fur's layered texture. The classic skunk stripe running from head to tail makes this design immediately recognizable and charming. Acrylic paints in black, white, and tan do the heavy lifting for this no-carve pumpkin idea. Use a fine liner brush for the individual fur strokes and work light colors over dark to build highlights.

This is an AI-generated concept image: a realistic, carvable design idea rather than a photo of a finished carve. AI concepts are always labeled and sit out the leaderboard and the contest.

No ratings yet · Sign in to rate
Comments (0)

  • No comments yet — be the first.

Save without an account. Sign in to like or comment.

Our tips for carving a similar design

The core trick here is layered fur strokes: paint the dark base first, then flick lighter tan and white over it with a fine liner brush so the coat looks textured instead of flat. Since this is a fully painted, no-carve idea, the whole design lives on the surface, which means no scooping and no cutting. Plan the bold black-and-white stripe running from the head over the arched tail as your anchor, then build the body around it.

Written by PumpkinCarvingIdeas.com, inspired by the image above. These are our suggestions, not instructions from the uploader. This approach to the AI concept has not been tested on a real pumpkin.

From pumpkin to porch

  1. Wipe down and sketch the layout

    Clean the pumpkin skin with a damp cloth and let it dry so paint grips well. Lightly pencil the skunk's body low on the front and swing the big arched tail up toward the upper right. Keep the head in profile with the nose pointed left. Mark the single white stripe path from the forehead, down the back, and up the tail so you can protect it later.

  2. Block in the black base

    Using craft acrylic and a medium flat brush, fill the body, legs, head, and the dark half of the tail with solid black. Leave your penciled stripe areas unpainted for now. Two thin coats look better than one thick one and dry faster. Let each coat dry fully before moving on.

  3. Add the white stripe and tail plume

    Paint the classic stripe from the forehead down the spine, then fan it out into the fluffy tail. Use white acrylic and follow the curve of the tail so the fur flows the same direction. Don't worry about a crisp edge yet, since the fur strokes in the next step will blend the border naturally.

  4. Flick the fur texture

    Switch to a fine liner brush and pull short, quick strokes in the direction the fur grows. Work tan and off-white over the black edges, and a touch of gray over the white, so the two colors feather into each other. Layer light colors over dark to build highlights along the back and tail. Keep the strokes small near the face and longer on the plume.

  5. Detail the face

    Paint the eyes with a small dark dot, then add a tiny white catchlight in each so they look alive. Give the nose a soft tan-and-black blend and a subtle sheen dot. Refine the ears and the little white blaze on the forehead. Step back often to check that both eyes match.

  6. Seal and stage the photo

    Once everything is bone dry, brush on a thin coat of matte acrylic sealer to protect the paint from scuffs. Set the pumpkin on a runner with a warm LED tucked nearby, never a candle, since nothing here is cut open. Photograph it in soft evening light to show off the fur texture. A few fall stems in the background finish the scene.

Gather your supplies

Check things off as you get ready.

Work on a stable surface, keep your free hand out of the cutting path, and have an adult handle sharp tools.

Three levels of light

  • Leave intact

    The bare orange pumpkin skin stays untouched as the warm background around the skunk.

  • Peel & shade

    This is a no-carve design, so there is no shaved glow layer; the tan and off-white fur strokes stand in for that soft midtone.

  • Cut through

    Nothing is cut through on this painted pumpkin, so the brightest accents come from the white stripe and the tiny catchlights in the eyes.

Learn the carving basics

Before you start cutting

Do I need to carve or gut the pumpkin at all?

No, this is a fully painted, no-carve design, so you can skip the messy scooping entirely. That also means it keeps longer than a cut pumpkin. Just clean and dry the surface before you start painting.

How do I make the fur look layered instead of flat?

Always paint your dark base first and let it dry, then flick lighter colors over it with a fine liner brush. Pull short strokes in the direction the fur grows and let a little of the darker layer show through. Building light over dark is what creates the soft, textured coat.

Since it is an AI concept, can a real pumpkin look like this?

Yes, this exact scene was generated as inspiration, but the technique is completely doable by hand. Any large orange pumpkin with a smooth front panel gives you a good canvas. Trace a skunk stencil to get the proportions right before you commit to paint.

Your take belongs here, too.

Changed a detail? Made it simpler? Share a photo of your version and tell the community what worked.

Share your pumpkin

More pumpkins like this

You've reached the end · 8 pumpkins
The Patch Report

Fresh pumpkins, in your inbox.

The best new carvings, ideas worth stealing, and how-tos for carving season. Short, seasonal, and gone by November.

A short email during carving season. Unsubscribe anytime. See our privacy policy.