Halloween Pumpkin Carving Contest Β· Starts October 1st Β· $500 in prizes
← Back to ideas
@ai_concepts
Sep 25, 2026
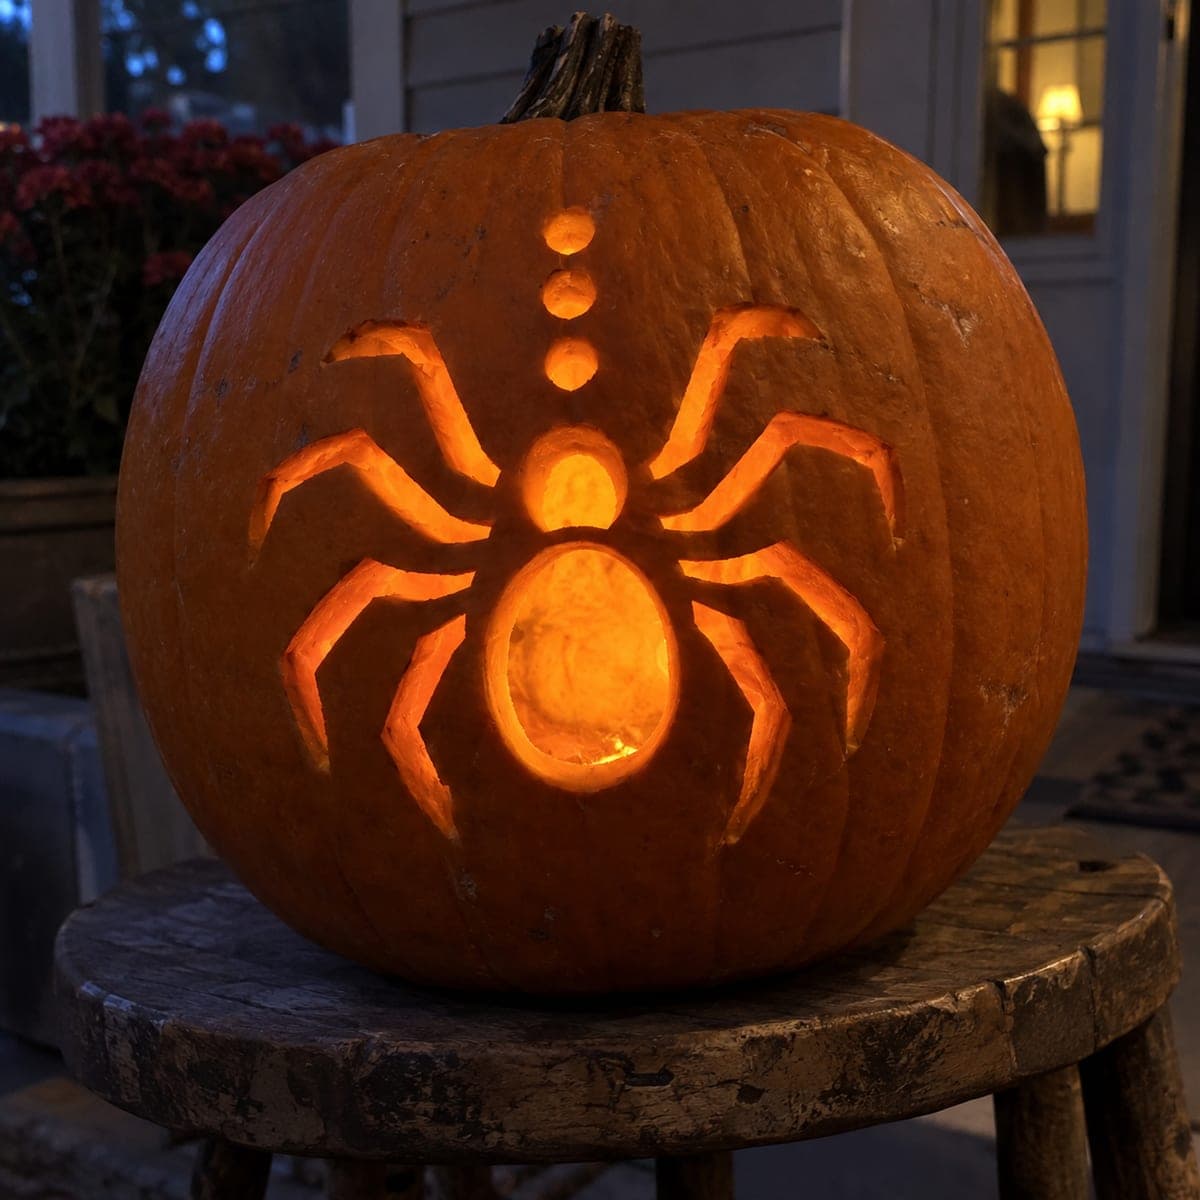
Spider With Oval Body and Hanging Thread PumpkinAI
0

Report this carving

Tell us what is wrong. Reports are private.

Spider With Oval Body and Hanging Thread Pumpkin

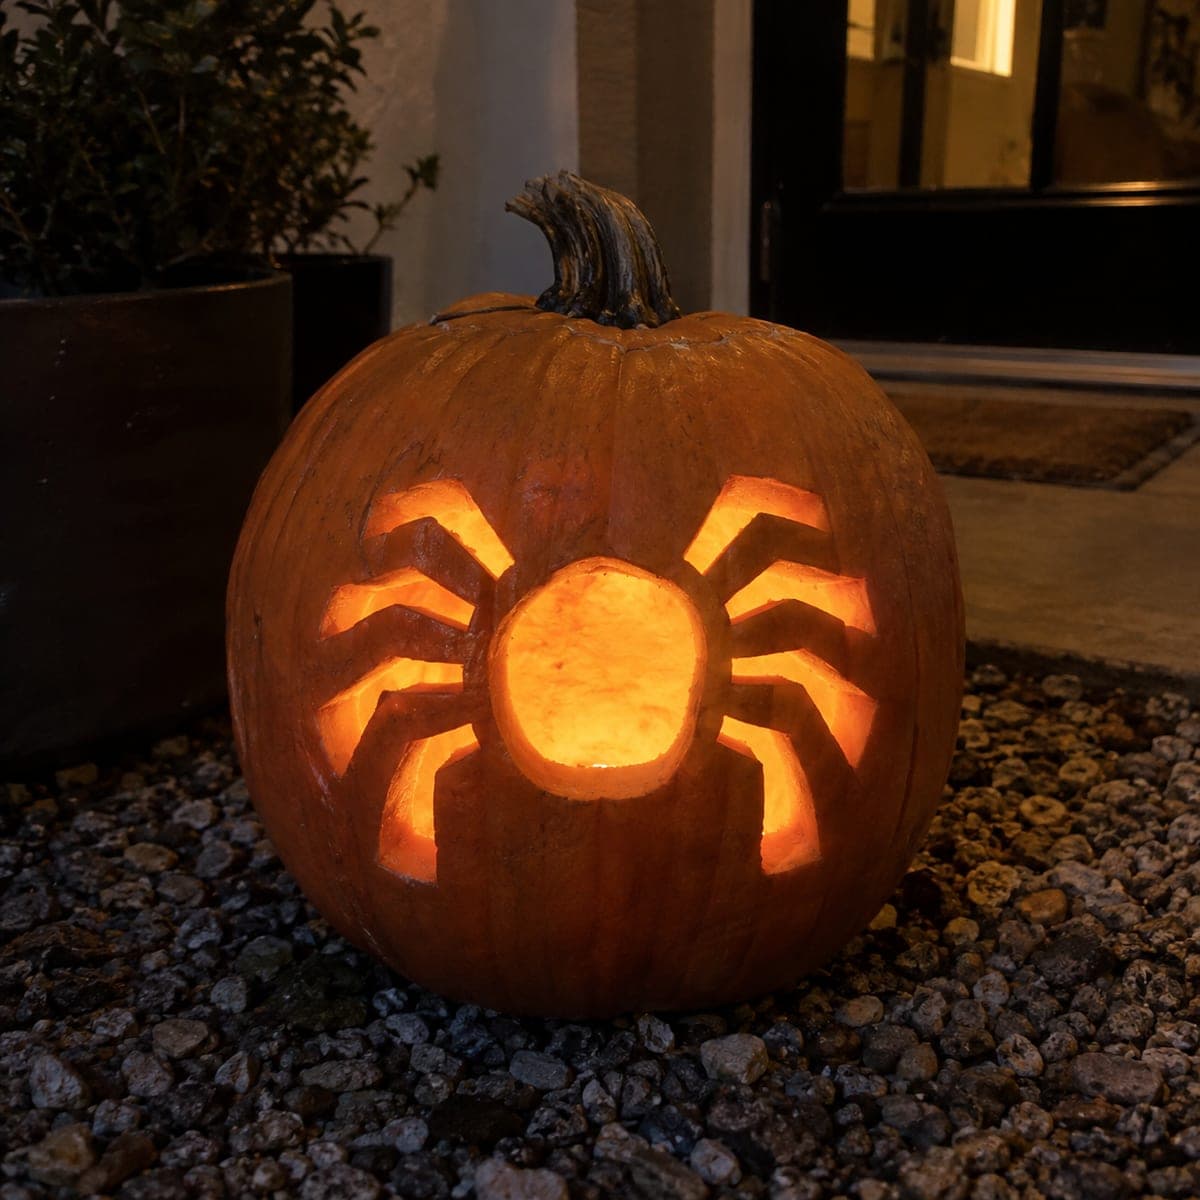
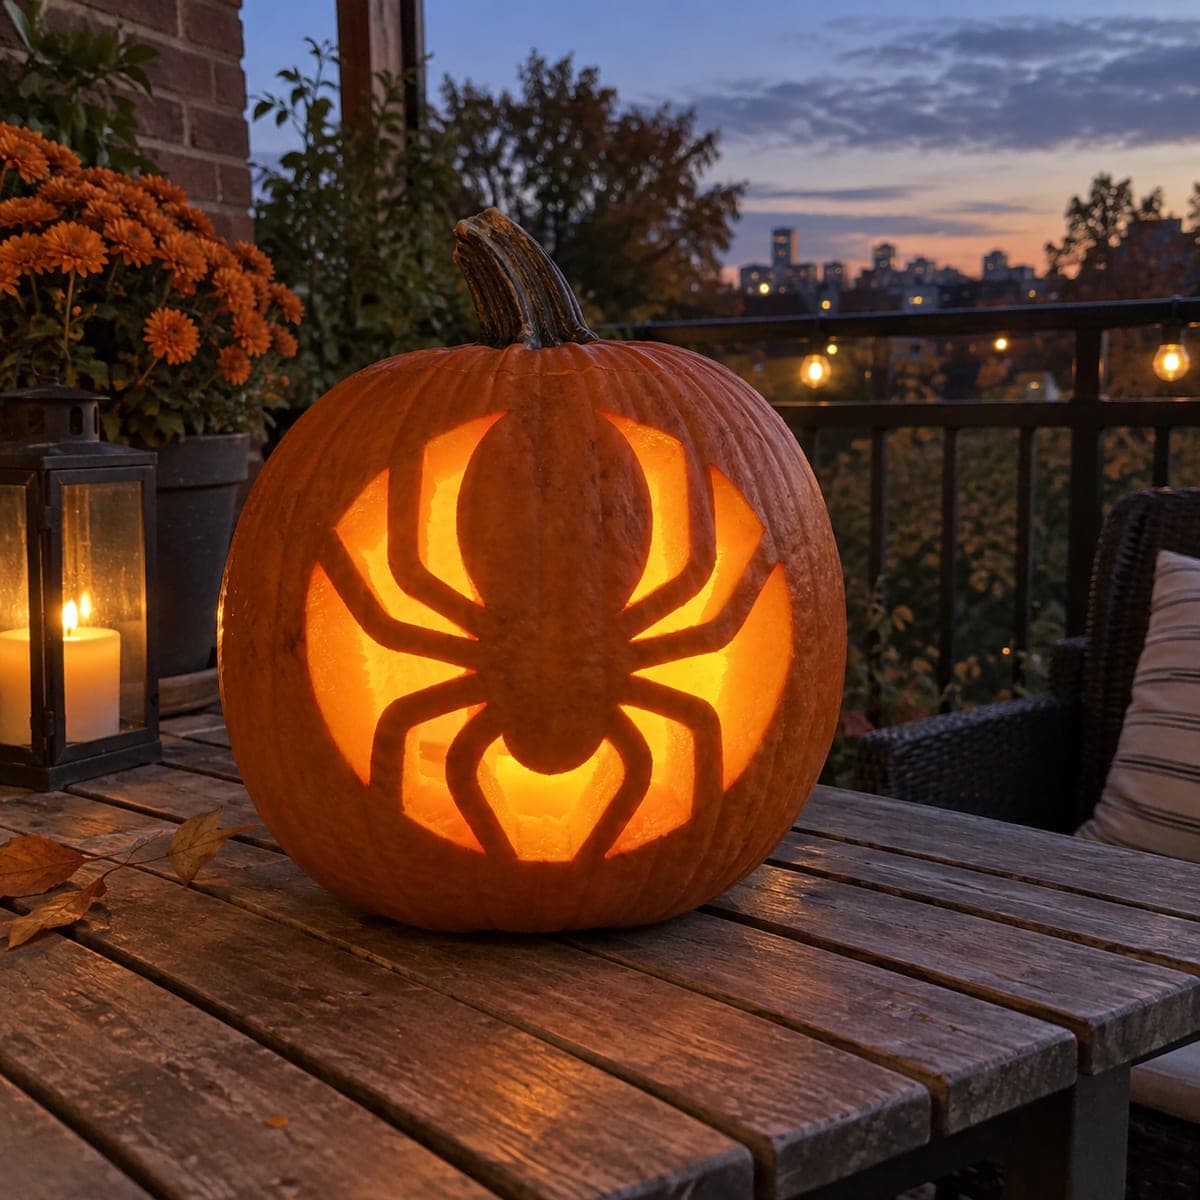
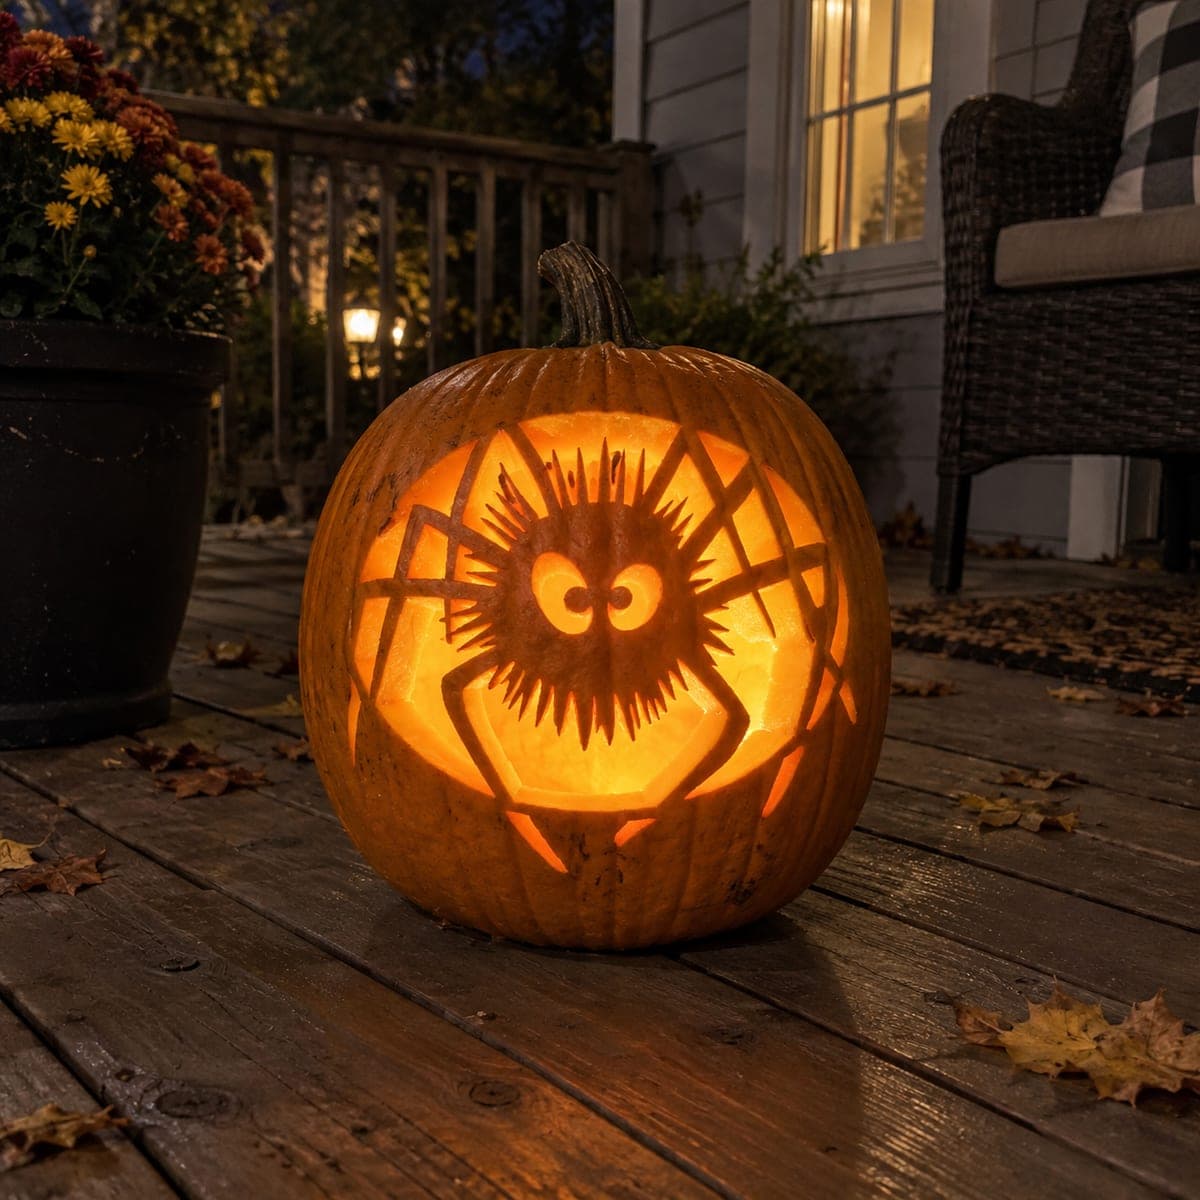
An oval body, curved leg slots, and a dotted hanging thread line are carved as separate apertures on a pumpkin, each element isolated by generous solid rind bridges for a spider pumpkin carving idea with mid-level detail. Start with the oval body, then cut the head circle above it before tackling the curved legs, which require slow pivoting cuts to maintain the arc. The dotted hanging thread, made by drilling a vertical line of holes below the body, adds the impression of a spider descending from above.

No ratings yet Β· Sign in to rate

Comments (0)

  • No comments yet β€” be the first.

Save without an account. Sign in to like or comment.

Our tips for carving a similar design

The oval body, separate round head, curved leg slots, and dotted thread line are all carved as independent apertures, each isolated by generous rind bridges. The oval and head are cut first to establish the center mass, then the curved legs work outward, and the dotted hanging thread is created last as a vertical drill-hole line descending from the body. The combination reads immediately as a spider frozen mid-descent.

From pumpkin to porch

  1. Hollow and plan layout

    Hollow the pumpkin to about an inch wall thickness. Position the template so the hanging thread line descends naturally toward the bottom of the pumpkin. Transfer and perforate all elements.

  2. Cut the oval body

    Carve the oval body as the first and largest central aperture. An oval requires slow pivoting strokes at both ends to maintain the curve. Free the piece and confirm stability.

  3. Cut the head circle above the body

    The smaller round head sits just above the oval body with a narrow rind bridge between them. Carve the head circle carefully, confirming the bridge to the body stays at least three-quarters of an inch wide.

  4. Cut the curved leg slots

    Work the legs in opposite pairs, using slow pivoting strokes to maintain each arc. Start with the horizontally opposed legs to establish balance, then add the diagonal legs. Confirm rind between adjacent legs is generous throughout.

  5. Add the dotted hanging thread

    Using a small drill bit, drill a vertical column of holes below the spider body, spacing them about half an inch apart to suggest a descending silk thread. Four to six holes is sufficient.

  6. Light and display

    Place the LED inside and display with the hanging thread at the bottom. Positioning the pumpkin against a pale wall lets the thread drill holes project a dotted line shadow that extends the thread illusion beyond the pumpkin surface.

Written with AI to match this design

Gather your supplies

Check things off as you get ready.

Work on a stable surface, keep your free hand out of the cutting path, and have an adult handle sharp tools.

Three levels of light

  • Leave intact

    All rind between the body, head, and leg apertures, including the thread zone between holes

  • Peel & shade

    None

  • Cut through

    Oval body, round head, all curved leg slots, and dotted thread holes

Learn the carving basics

Before you start cutting

How do I keep the rind bridge between the head and body intact when cutting both?

Cut the oval body first and stop the cut well clear of the head zone. Then cut the head circle as a completely independent shape, making sure both outlines stop at least three-quarters of an inch from each other.

My curved legs look kinked rather than smoothly arced. How do I fix that?

Kinked curves usually happen when the blade direction changes abruptly rather than pivoting gradually. On curved sections, make multiple short back-and-forth strokes rather than pushing straight through, and rotate the pumpkin into the blade rather than changing the blade angle.

Can I vary the dot spacing in the hanging thread?

Yes. Closer dots near the body and wider spacing lower down suggests the thread is taut at the top and swinging freely below, which adds dynamism to the composition.

Your take belongs here, too.

Changed a detail? Made it simpler? Share a photo of your version and tell the community what worked.

Share your pumpkin

More pumpkins like this

You've reached the end Β· 8 pumpkins
The Patch Report

Fresh pumpkins, in your inbox.

The best new carvings, ideas worth stealing, and how-tos for carving season. Short, seasonal, and gone by November.

A short email during carving season. Unsubscribe anytime. See our privacy policy.