Halloween Pumpkin Carving Contest · Starts October 1st · $500 in prizes
← Back to ideas
@ai_concepts
Sep 25, 2026
Spider in Connected Glowing Web Pumpkin LanternAI
0

Report this carving

Tell us what is wrong. Reports are private.

Spider in Connected Glowing Web Pumpkin Lantern

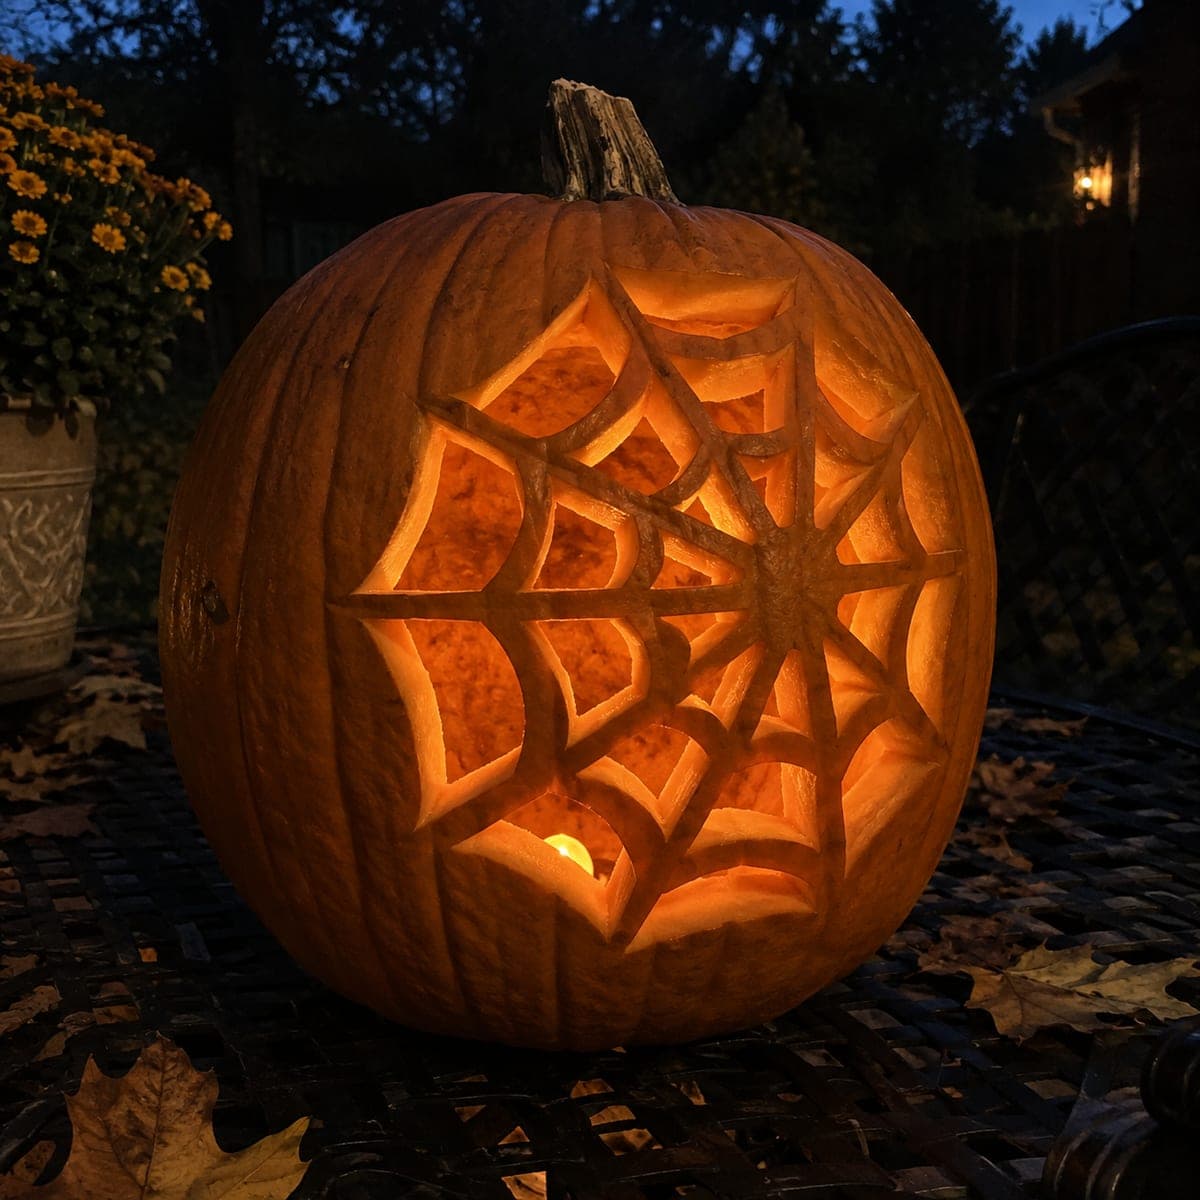
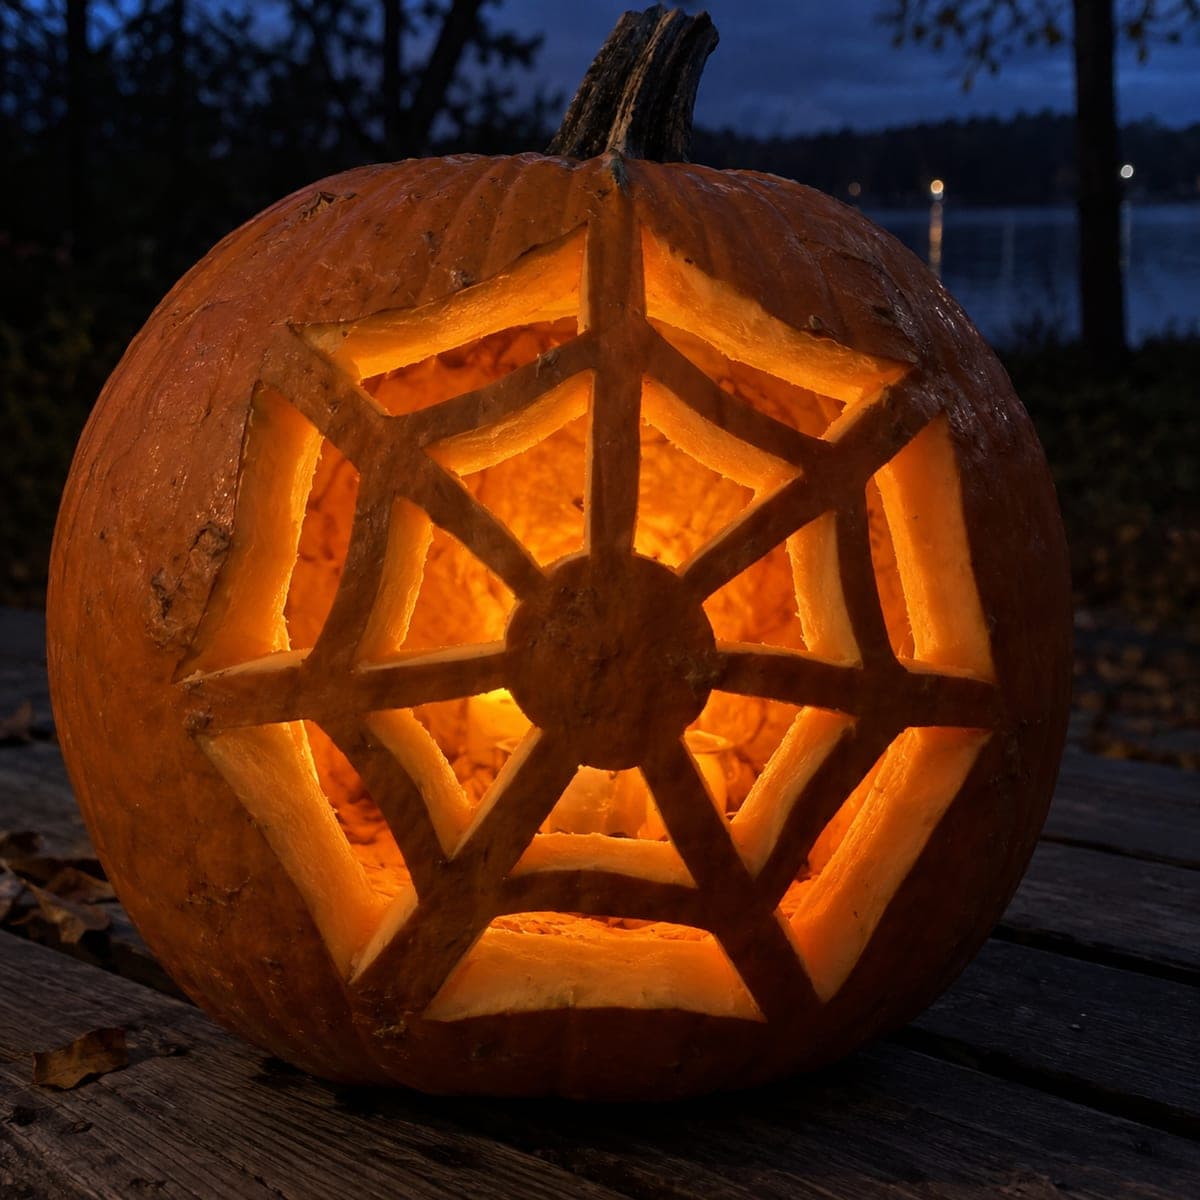
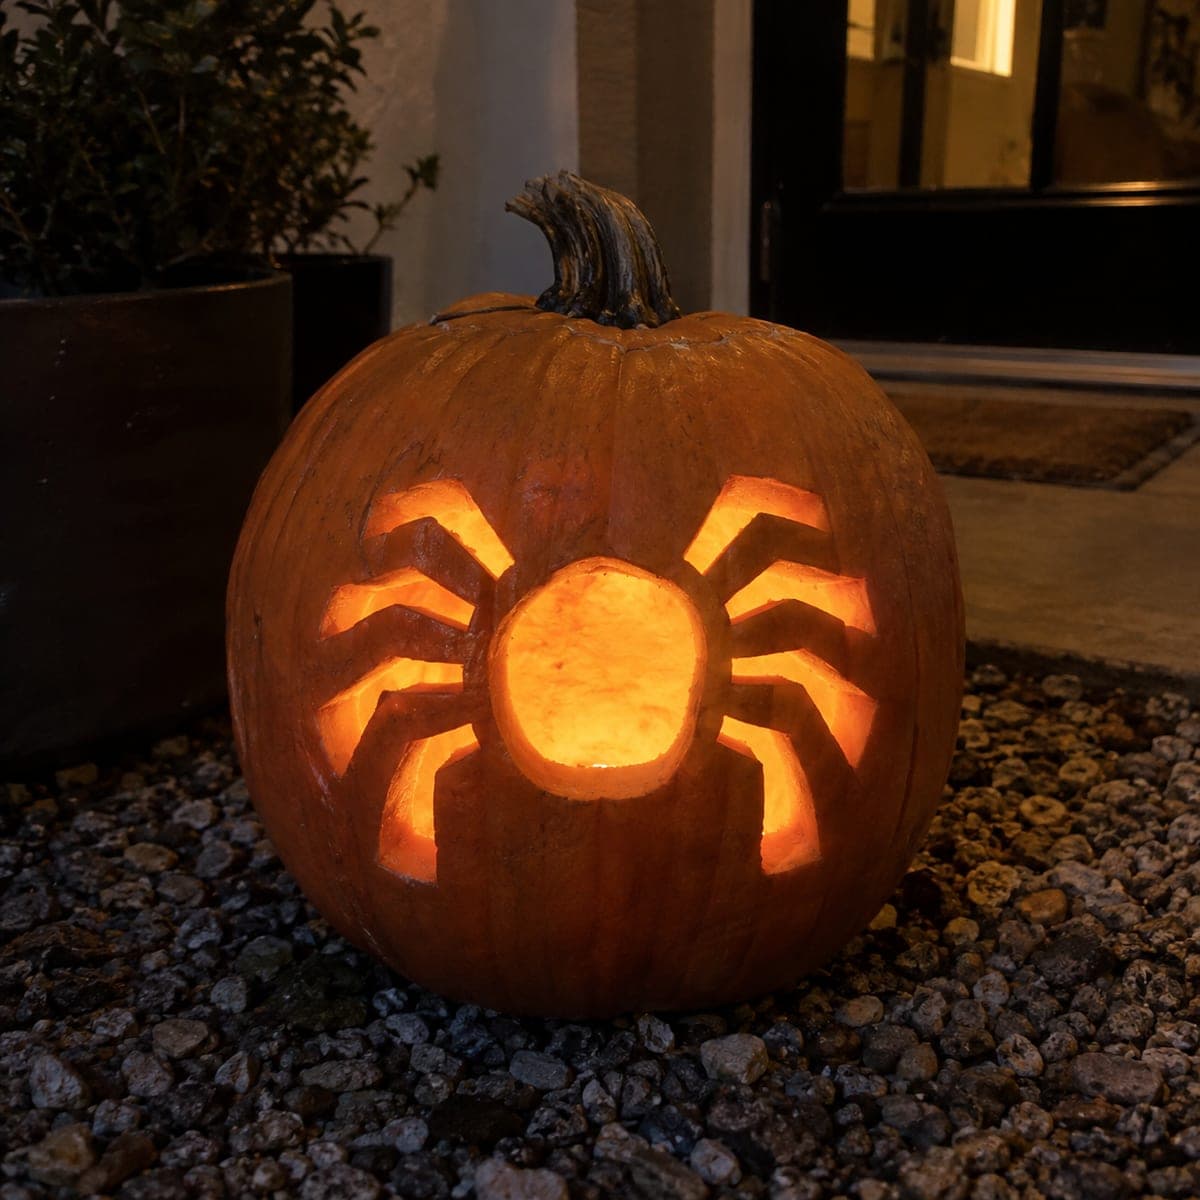
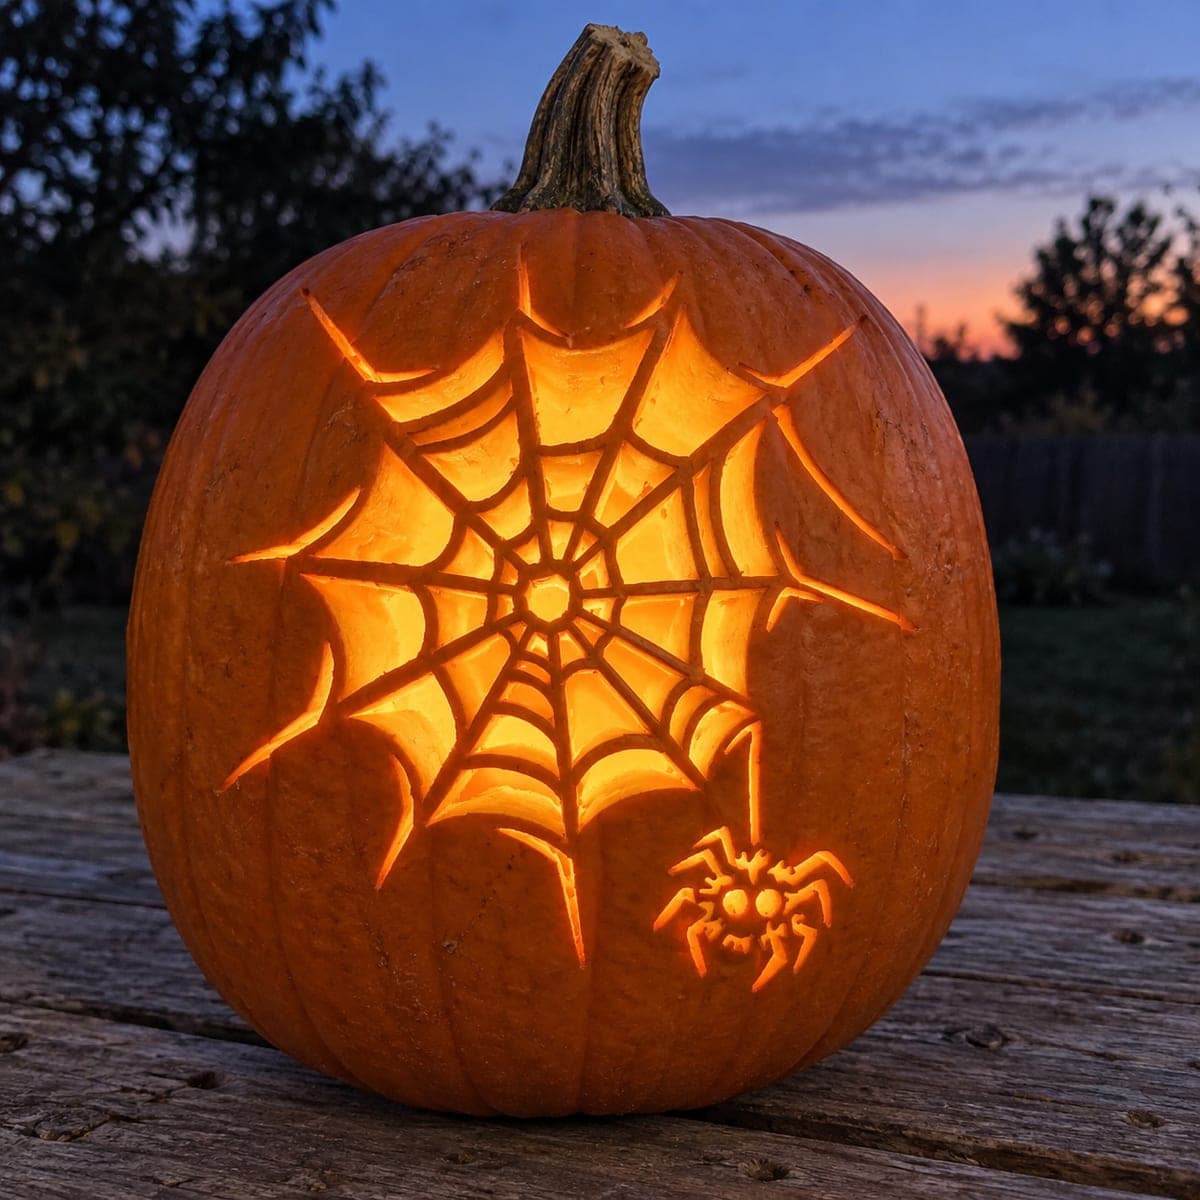
A spider merged with its web hub and leg ribs is carved into a pumpkin, with separate web cell holes leaving a connected rind lattice across the whole design, creating an expert-level spider pumpkin carving idea that is more web than spider. Map all the cell shapes before cutting anything, confirming that every cell is surrounded on all sides by rind at least a quarter-inch wide, then cut from the center outward so the spider-and-hub anchor is established first. Lit from inside, the web lattice projects a dramatic geometric shadow across any nearby wall.

No ratings yet · Sign in to rate

Comments (0)

  • No comments yet — be the first.

Save without an account. Sign in to like or comment.

Our tips for carving a similar design

The spider body merges with the web hub and radial spokes, which are all retained, while the web cells are cut through as separate holes leaving a connected rind lattice. The key planning rule is that every cell must be surrounded on all sides by at least a quarter inch of rind before the first cut is made. Working from the center spider and hub outward ensures the strongest anchor is established before the lattice cells that depend on it are opened.

From pumpkin to porch

  1. Map the entire lattice before cutting

    Hollow through the back lid and choose a pumpkin with very uniform walls of at least an inch and a quarter. Transfer the lattice template and trace every cell boundary in marker. Walk around the design and confirm that every cell is surrounded by rind at minimum a quarter inch wide before making a single cut.

  2. Carve the spider body and hub

    Any detail holes within the retained spider body are cut first while the shell is at maximum rigidity. Then confirm the hub-and-spoke structure is fully marked and connected before opening any web cells.

  3. Cut center cells first

    Begin with the web cells immediately surrounding the hub. Cut each cell as a fully enclosed shape and pop it free. Confirm the spokes around it are still rigid before moving outward.

  4. Work outward in concentric rings

    Move outward one ring of cells at a time, checking spoke width after each ring is opened. If any spoke feels thin or flex is detected, stop and reinforce with craft glue from the interior before continuing.

  5. Cut the outer ring cells last

    The outer cells are the largest and connect to the shell edge. Cut them as the final step, maintaining broad attachment at the outer shell for every spoke end.

  6. Light and display

    Center the LED inside and display in a darkened room or against a pale wall where the projected geometric shadow lattice is fully visible. The shadow extends several feet beyond the pumpkin at close range.

Written with AI to match this design

Gather your supplies

Check things off as you get ready.

Work on a stable surface, keep your free hand out of the cutting path, and have an adult handle sharp tools.

Three levels of light

  • Leave intact

    All retained spokes, the spider body and hub, and all outer shell rind

  • Peel & shade

    None

  • Cut through

    All web cell holes between the spokes

Learn the carving basics

Before you start cutting

How do I keep the spoke widths from narrowing as I cut adjacent cells?

Cut each cell by entering the blade at the cell's center and working outward to the cell boundary, rather than cutting along the spoke edges directly. This reduces the risk of the blade drifting into the spoke during the cut.

The outer cells are bigger than the inner cells. Does that change the cutting approach?

Larger cells are actually easier to cut than small ones because there is more room for the blade. The challenge is managing the larger open area structurally; confirm the spokes bordering each outer cell are still well-attached to the shell edge before and after cutting.

How long will this design hold up before the spokes soften?

A fresh pumpkin carved the day before display typically holds a lattice design for two to three days before softening becomes noticeable. Applying a thin coat of petroleum jelly to all cut edges after carving slows moisture loss significantly.

Your take belongs here, too.

Changed a detail? Made it simpler? Share a photo of your version and tell the community what worked.

Share your pumpkin

More pumpkins like this

You've reached the end · 8 pumpkins
The Patch Report

Fresh pumpkins, in your inbox.

The best new carvings, ideas worth stealing, and how-tos for carving season. Short, seasonal, and gone by November.

A short email during carving season. Unsubscribe anytime. See our privacy policy.