Halloween Pumpkin Carving Contest · Starts October 1st · $500 in prizes
← Back to ideas
@ai_concepts
Sep 25, 2026
Three-Ring Spider Web Pumpkin Carved at NightAI
0

Report this carving

Tell us what is wrong. Reports are private.

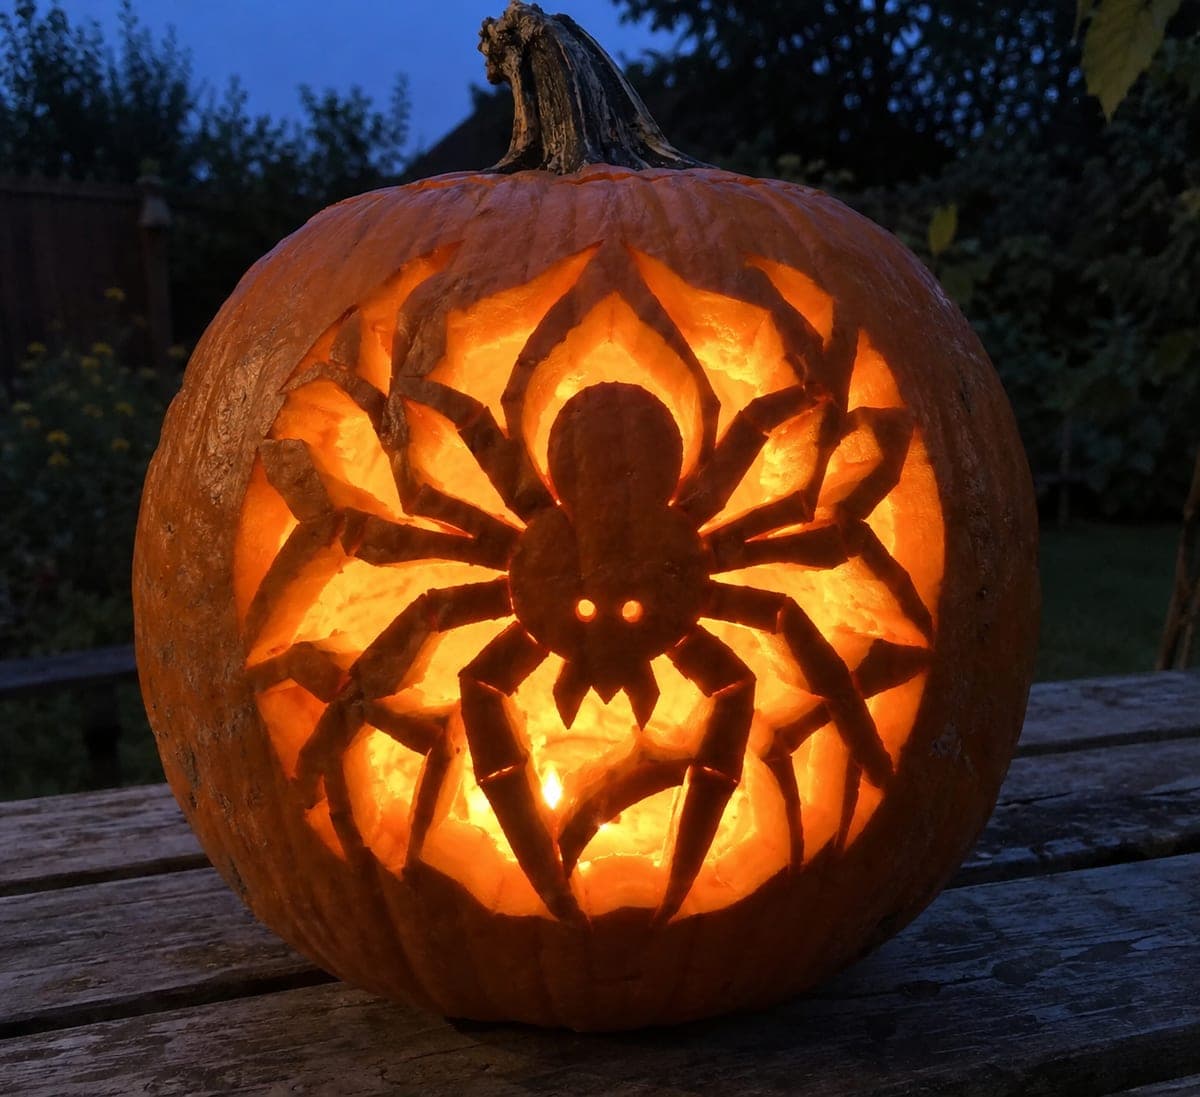
Three-Ring Spider Web Pumpkin Carved at Night

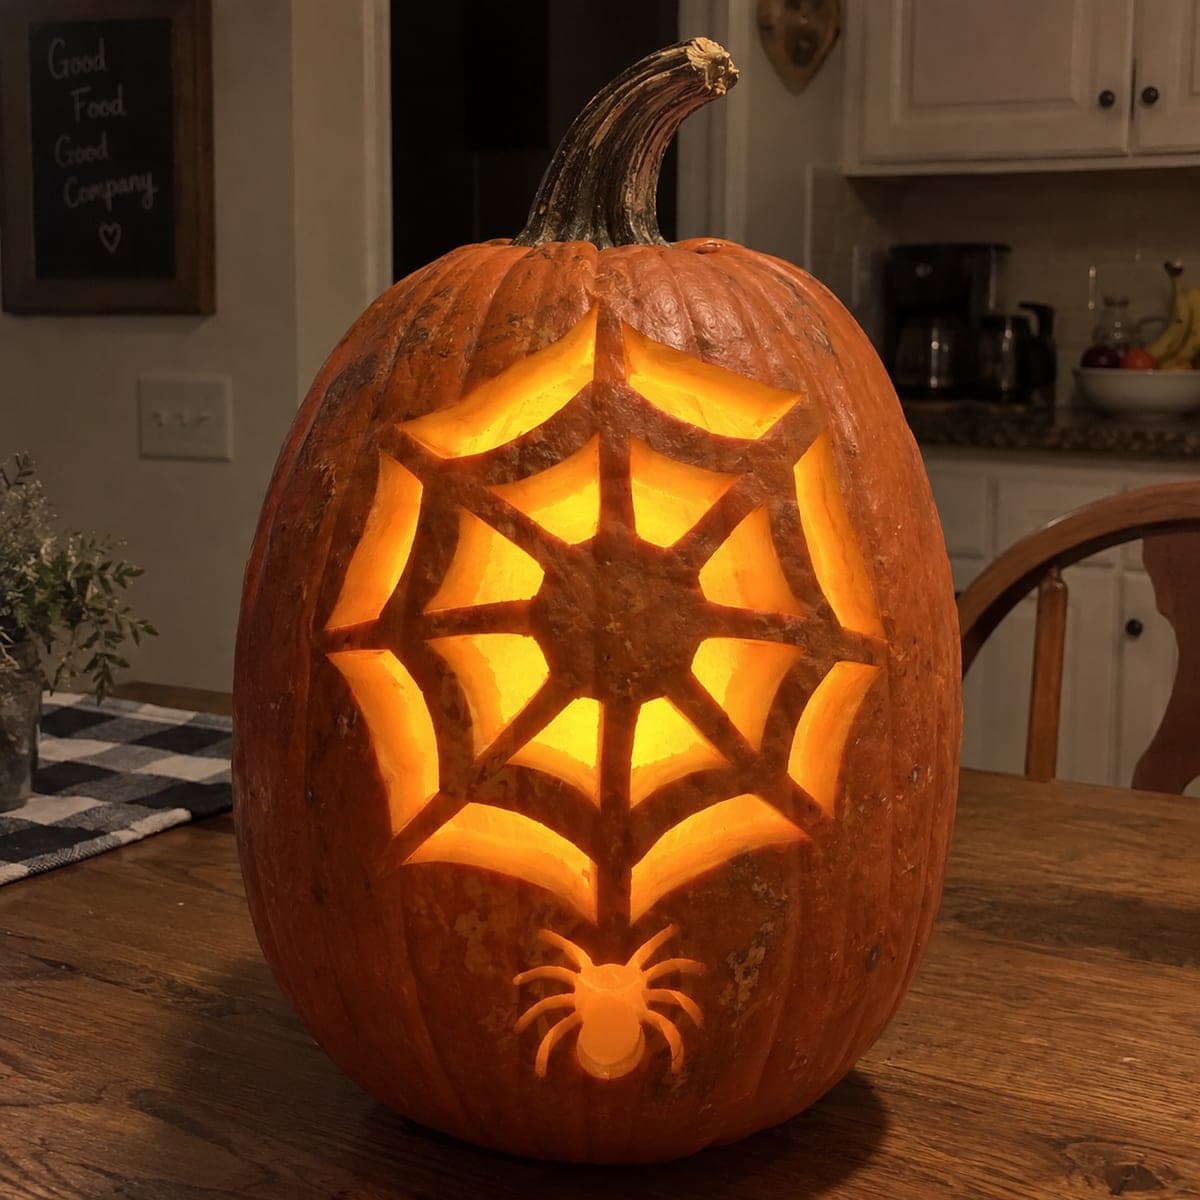
A tall pumpkin makes an impressive canvas for this three-ring spider web pumpkin carving, with eight spokes and three circular crossbars forming distinct glowing cells. Cut each web cell individually, working from the outermost ring inward so the rind stays braced while you work. Leave the spokes at least a finger-width wide to prevent cracking. Backlit with a flickering LED candle, the rings cast a layered web shadow on nearby surfaces.

No ratings yet · Sign in to rate

Comments (0)

  • No comments yet — be the first.

Save without an account. Sign in to like or comment.

Our tips for carving a similar design

A tall pumpkin gives vertical room for three full ring layers, each one producing its own band of glowing cells. The key strategy is cutting from the outermost ring inward so the shell stays braced by intact rind at every stage. Eight spokes at a consistent finger-width provide the structural backbone, and a flickering LED candle inside the finished carving casts a layered shadow on the surfaces around it.

From pumpkin to porch

  1. Select and prep a tall pumpkin

    Choose a pumpkin at least ten inches tall so the three rings have enough vertical space to read as distinct layers. Cut a base lid and gut the interior to roughly half an inch. A tall pumpkin's curved sides mean the uppermost ring will be slightly narrower in appearance, so plan the ring spacing with that in mind.

  2. Map the web onto the surface

    Mark the hub near the vertical center of the carving face. Draw three ring circles and eight spoke lines with a wax marker, keeping spoke width at least three-quarters of an inch. Label each cell from outermost to innermost so you cut in the right order.

  3. Cut the outer ring cells first

    Working around the outer band, cut and remove each cell between adjacent spokes one at a time. Use a jab saw for the ring arcs and a detail knife for the spoke boundaries. Confirm spoke attachment to the outer wall remains solid after every cell removal.

  4. Move inward to the middle ring

    Once the outer ring is fully open, proceed to the middle band. The outer cells are now empty, so the shell is slightly less rigid. Work more slowly and check spoke integrity after each cut. A small flashlight held inside helps reveal any thin spots.

  5. Cut the inner ring and clean all edges

    The inner ring cells sit closest to the hub, so any mistake here risks the hub itself. Cut each inner cell with a detail knife rather than a saw to maintain precision. Smooth all cut edges with a scraper and apply petroleum jelly to slow dehydration.

  6. Light with a flickering LED

    Place a flickering LED candle inside and replace the base lid. The movement of the fake flame animates the layered shadow cast on nearby walls. Photograph from slightly below the pumpkin to capture the full three-ring silhouette against a dark background.

Written with AI to match this design

Gather your supplies

Check things off as you get ready.

Work on a stable surface, keep your free hand out of the cutting path, and have an adult handle sharp tools.

Three levels of light

  • Leave intact

    Eight radial spokes and the central hub remain solid and dark throughout.

  • Peel & shade

    None. This design is all cutouts.

  • Cut through

    All cells in all three ring bands are cut through for full glow.

Learn the carving basics

Before you start cutting

How far apart should the three rings be spaced?

Divide the available carving height into roughly equal thirds and place a ring at each division point. On a ten-inch face that is about three inches between rings. Unequal spacing makes the design look accidental rather than intentional, so take time to measure.

The outer ring cells are large and floppy after cutting. Is that normal?

Some flex is normal once large cells are open, but excessive wobbling means the spokes are too thin. If a spoke feels rubbery, reinforce the neighboring cut edge with a thin bead of craft glue before continuing inward. Let it set for thirty minutes first.

Will a tall pumpkin stay upright outdoors on a windy night?

Tall pumpkins are top-heavy and tip easily. Set it in a shallow pot or ring of gravel, or press a flat piece of foam to the base to widen the footprint. If you cut a bottom lid, weight the interior with a small pebble under the LED before replacing the lid.

Your take belongs here, too.

Changed a detail? Made it simpler? Share a photo of your version and tell the community what worked.

Share your pumpkin

More pumpkins like this

You've reached the end · 8 pumpkins
The Patch Report

Fresh pumpkins, in your inbox.

The best new carvings, ideas worth stealing, and how-tos for carving season. Short, seasonal, and gone by November.

A short email during carving season. Unsubscribe anytime. See our privacy policy.