Halloween Pumpkin Carving Contest · Starts October 1st · $500 in prizes
← Back to ideas
@ai_concepts
Sep 25, 2026
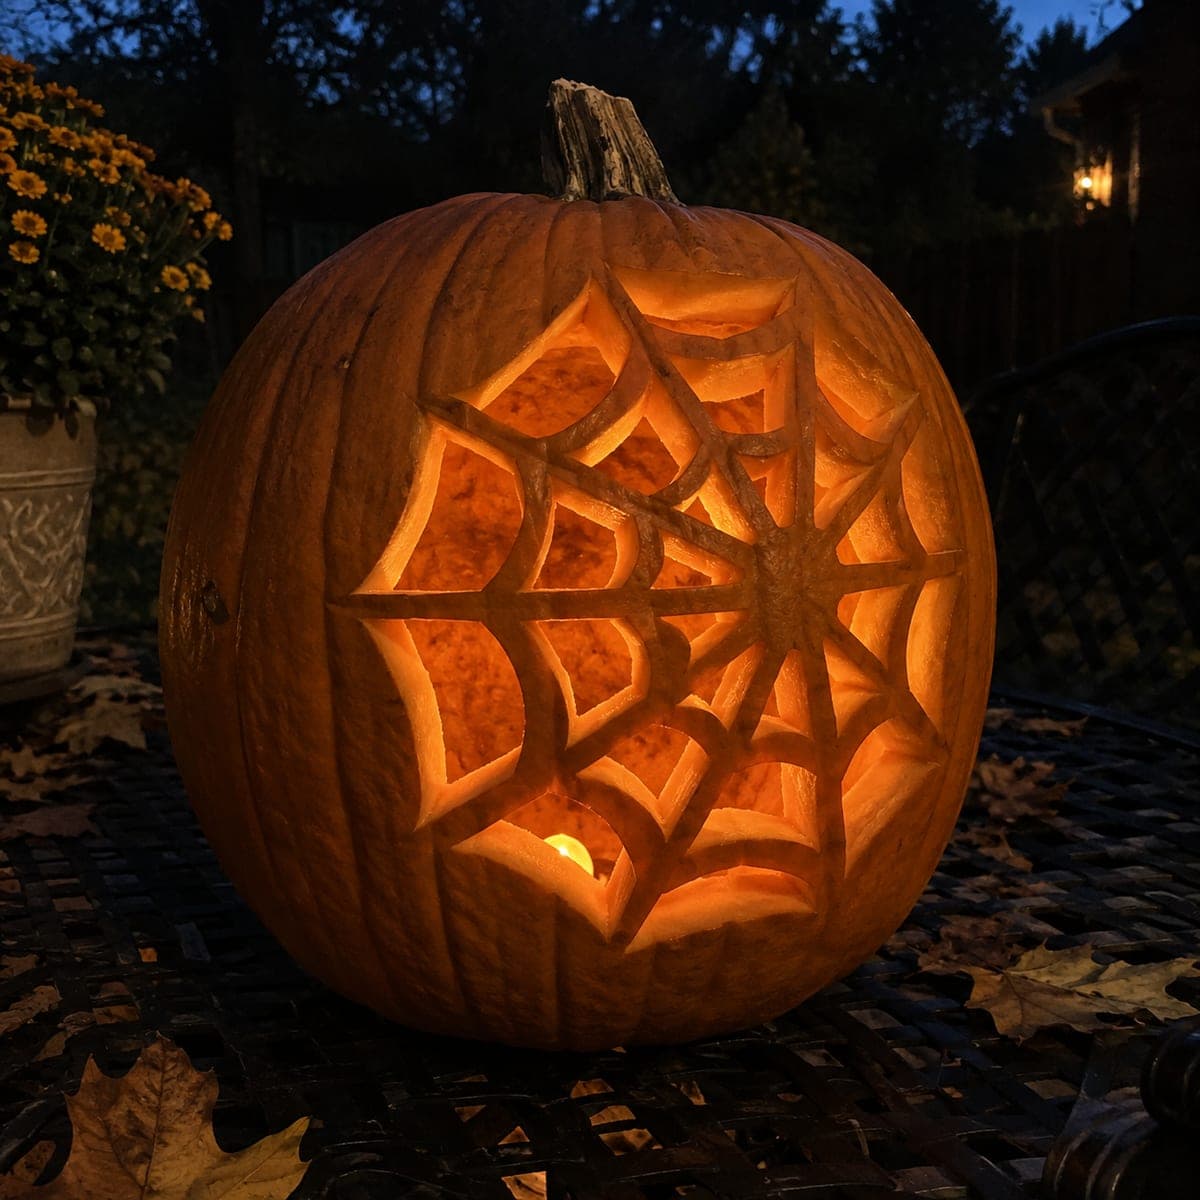
Off-Center Spider Web Pumpkin with Curved RingsAI
0

Report this carving

Tell us what is wrong. Reports are private.

Off-Center Spider Web Pumpkin with Curved Rings

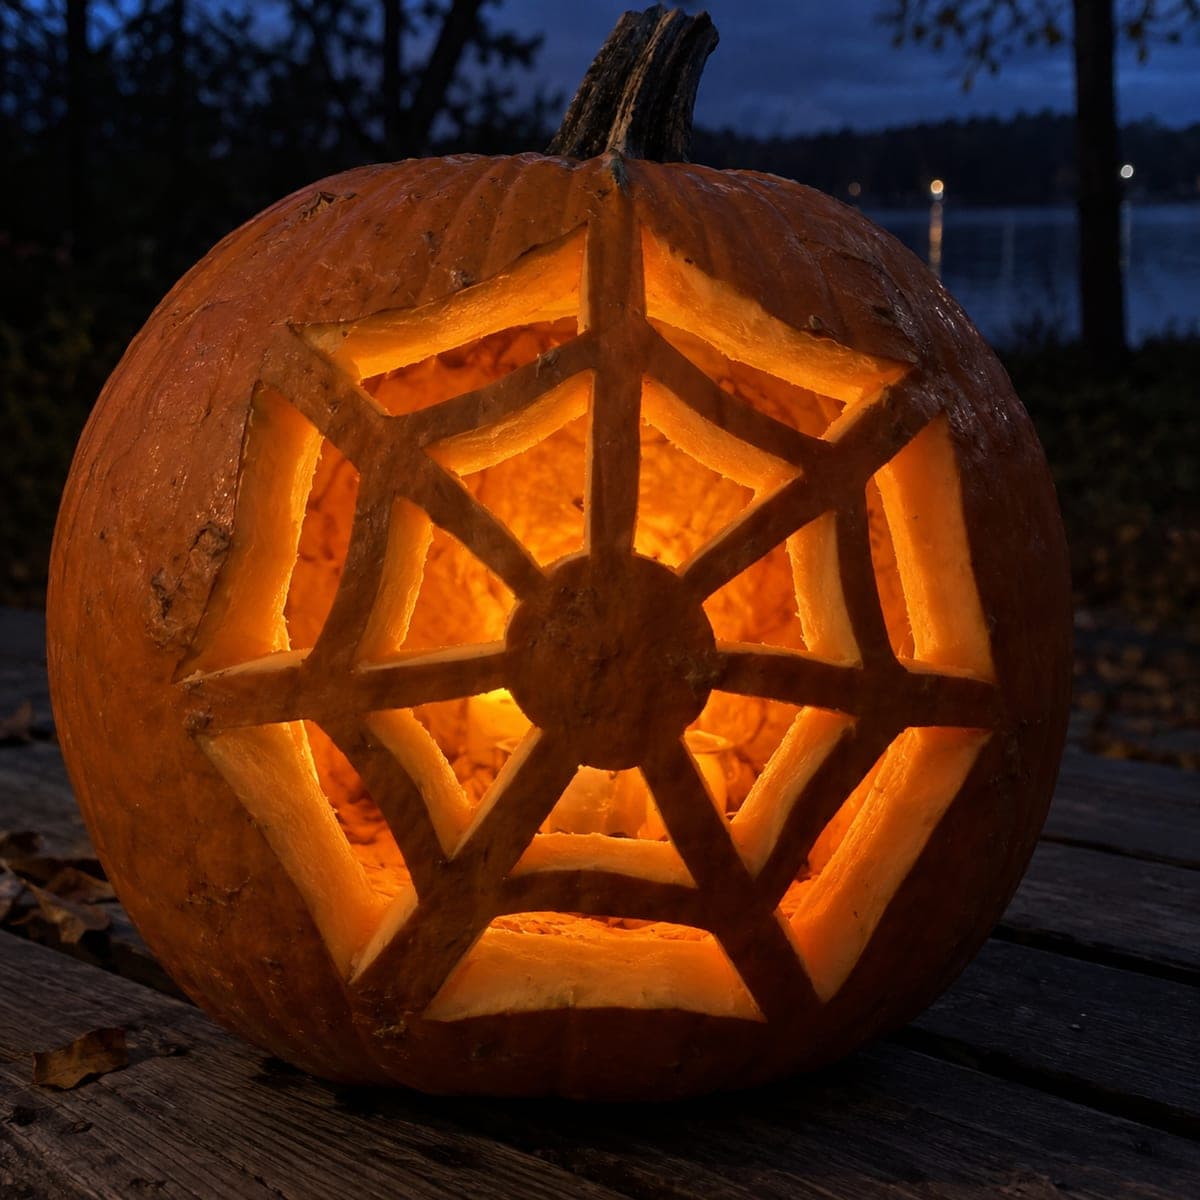
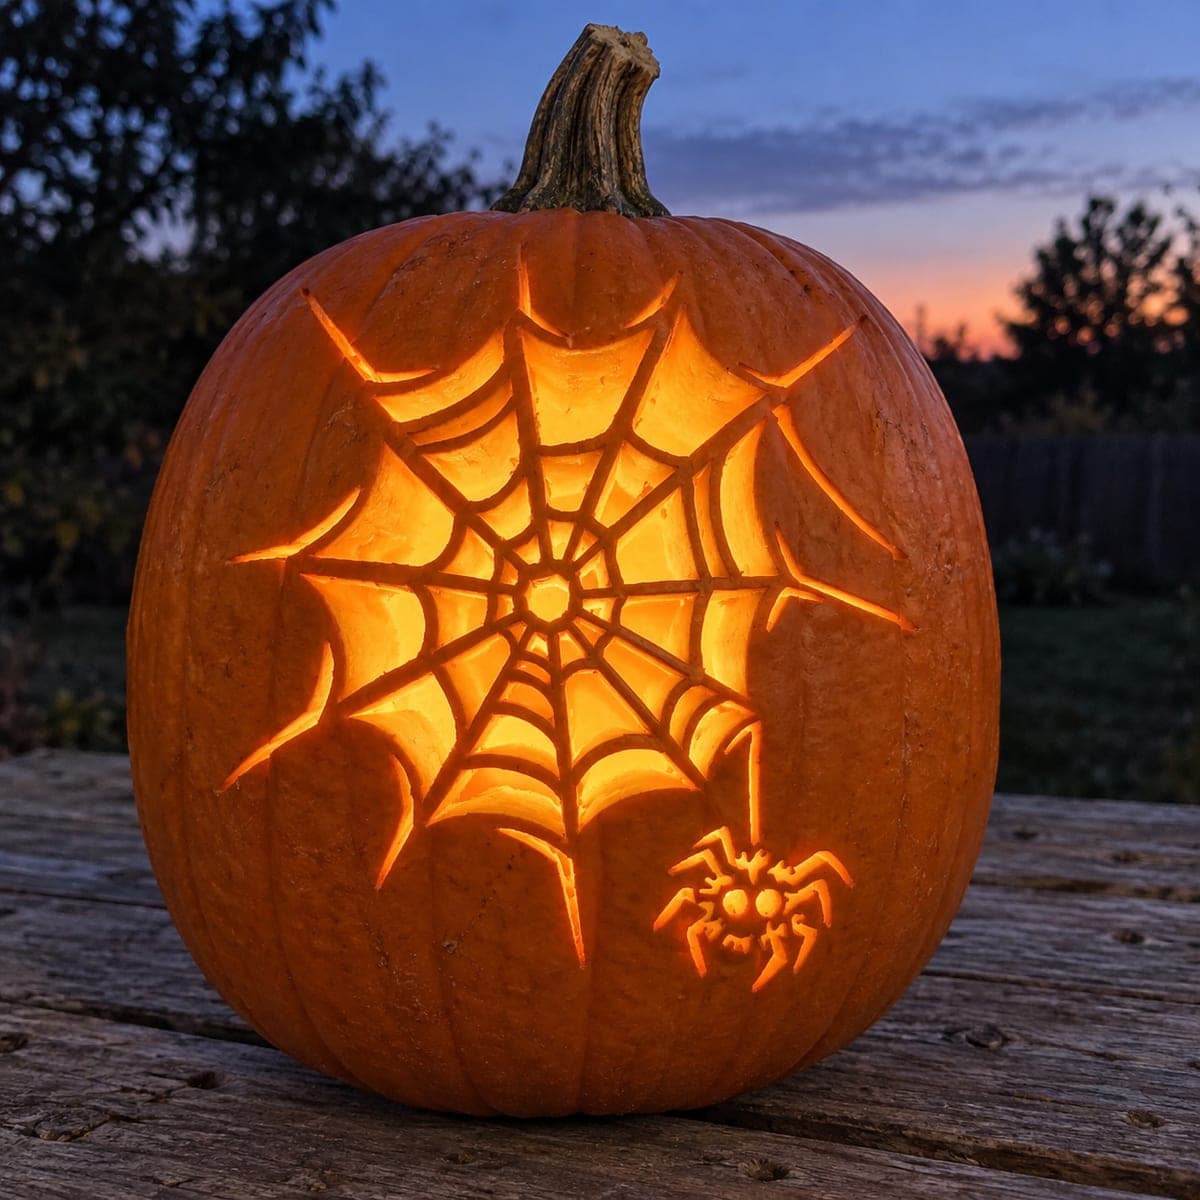
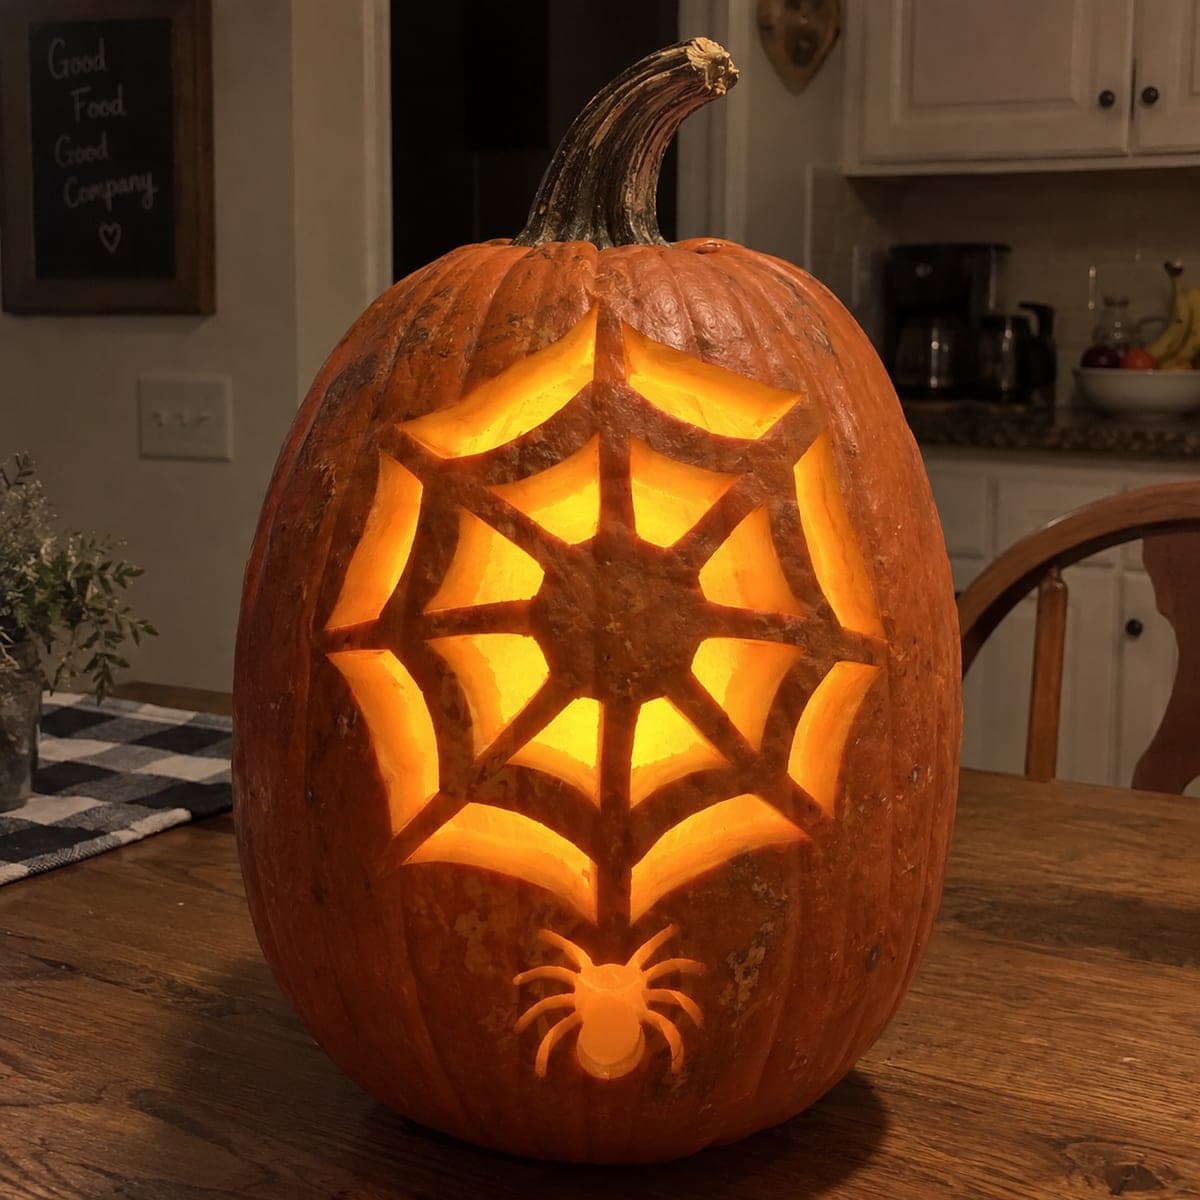
This expert spider web pumpkin carving uses an off-center hub and gently curved rings to mimic the organic look of a real web, with numerous separate apertures between substantial radial spokes. Transfer the design with carbon paper to preserve the asymmetric spacing, then cut the smallest apertures last to keep the shell rigid during carving. Wide rind bridges between the curved rings are critical, so resist thinning them. Lit from below, the off-center design casts a dramatically uneven web glow.

No ratings yet · Sign in to rate

Comments (0)

  • No comments yet — be the first.

Save without an account. Sign in to like or comment.

Our tips for carving a similar design

Unlike a regular web, the off-center hub here means no two apertures are the same size, which demands precise pre-planning to keep the rind bridges consistent. Curved rings mimic the natural drape of a real spider web and require steady freehand cuts or careful template transfer to maintain smooth arcs. Cutting the smallest apertures last and resisting the urge to thin the bridges are the two rules that keep this advanced design intact.

From pumpkin to porch

  1. Transfer the design with carbon paper

    Print or draw the asymmetric web at full scale, then use carbon paper to trace it onto the pumpkin surface. The irregular spacing is too complex to replicate freehand accurately. Double-check that every spoke measures at least three-quarters of an inch at its narrowest point before committing to the layout.

  2. Gut and equalize wall thickness

    Scoop the interior to a consistent half-inch thickness across the entire carving face. Uneven walls will cause some apertures to glow brighter than others and may cause thin areas to crack under carving pressure. Use a wall-thickness gauge or skewer to check as you scoop.

  3. Establish the curved ring lines first

    Use a flexible strip of thin cardboard as a curved guide to score each ring line before cutting. Score each arc twice, once to confirm the curve looks right, then a second pass to deepen the line. Correct any kinks now because they are much harder to fix after adjacent cuts are made.

  4. Cut larger outer apertures first

    Remove the outermost ring's apertures one at a time, starting with the largest cells on the side opposite the off-center hub. This preserves maximum shell rigidity while the most structurally complex inner zone is still intact. Use a detail knife and cut at a slight inward angle to bevel the edges for a crisper lit appearance.

  5. Progress inward and cut smallest cells last

    Move ring by ring toward the hub, always leaving the smallest and most intricate cells to the final pass. Near the hub, switch entirely to a detail knife and make multiple light passes rather than one deep cut. Check rind bridges between each removal.

  6. Light from below for the off-center effect

    A light source placed low and slightly toward the off-center hub exaggerates the asymmetric shadow pattern on a wall or ceiling. Use a dimmable LED so you can tune the intensity to the ambient light level. Photograph from straight on to show the full web, or from the side to capture the dimensional shadow.

Written with AI to match this design

Gather your supplies

Check things off as you get ready.

Work on a stable surface, keep your free hand out of the cutting path, and have an adult handle sharp tools.

Three levels of light

  • Leave intact

    The off-center hub and all curved radial spokes remain fully intact.

  • Peel & shade

    None. This is a pure cutout design.

  • Cut through

    Every aperture between the curved rings and spokes is cut through for full light.

Learn the carving basics

Before you start cutting

How do I keep the curved ring cuts smooth rather than jagged?

Score the arc with very light strokes several times before cutting through, and rotate the pumpkin toward you rather than moving the knife in an arc. Short, overlapping strokes along the scored line produce a cleaner curve than one long sweeping cut.

If the off-center spacing makes some apertures much larger, do I need to add extra bridges?

Yes. Any cell wider than about two inches benefits from a narrow mid-cell bridge that echoes an extra spoke. This keeps large open areas from sagging or cracking under their own weight as the rind dries.

This design has many small cells. How do I avoid accidentally removing the wrong piece?

Number or letter each cell on the template before you begin, then mark the same numbers on the pumpkin through the carbon transfer. Cross off each number as you remove that cell. This prevents the disorientation that comes from working on a complex layout for an extended session.

Your take belongs here, too.

Changed a detail? Made it simpler? Share a photo of your version and tell the community what worked.

Share your pumpkin

More pumpkins like this

You've reached the end · 8 pumpkins
The Patch Report

Fresh pumpkins, in your inbox.

The best new carvings, ideas worth stealing, and how-tos for carving season. Short, seasonal, and gone by November.

A short email during carving season. Unsubscribe anytime. See our privacy policy.