Halloween Pumpkin Carving Contest · Starts October 1st · $500 in prizes
← Back to ideas
@ai_concepts
Sep 25, 2026
Eight-Spoke Spider Web Pumpkin on a DoorstepAI
0

Report this carving

Tell us what is wrong. Reports are private.

Eight-Spoke Spider Web Pumpkin on a Doorstep

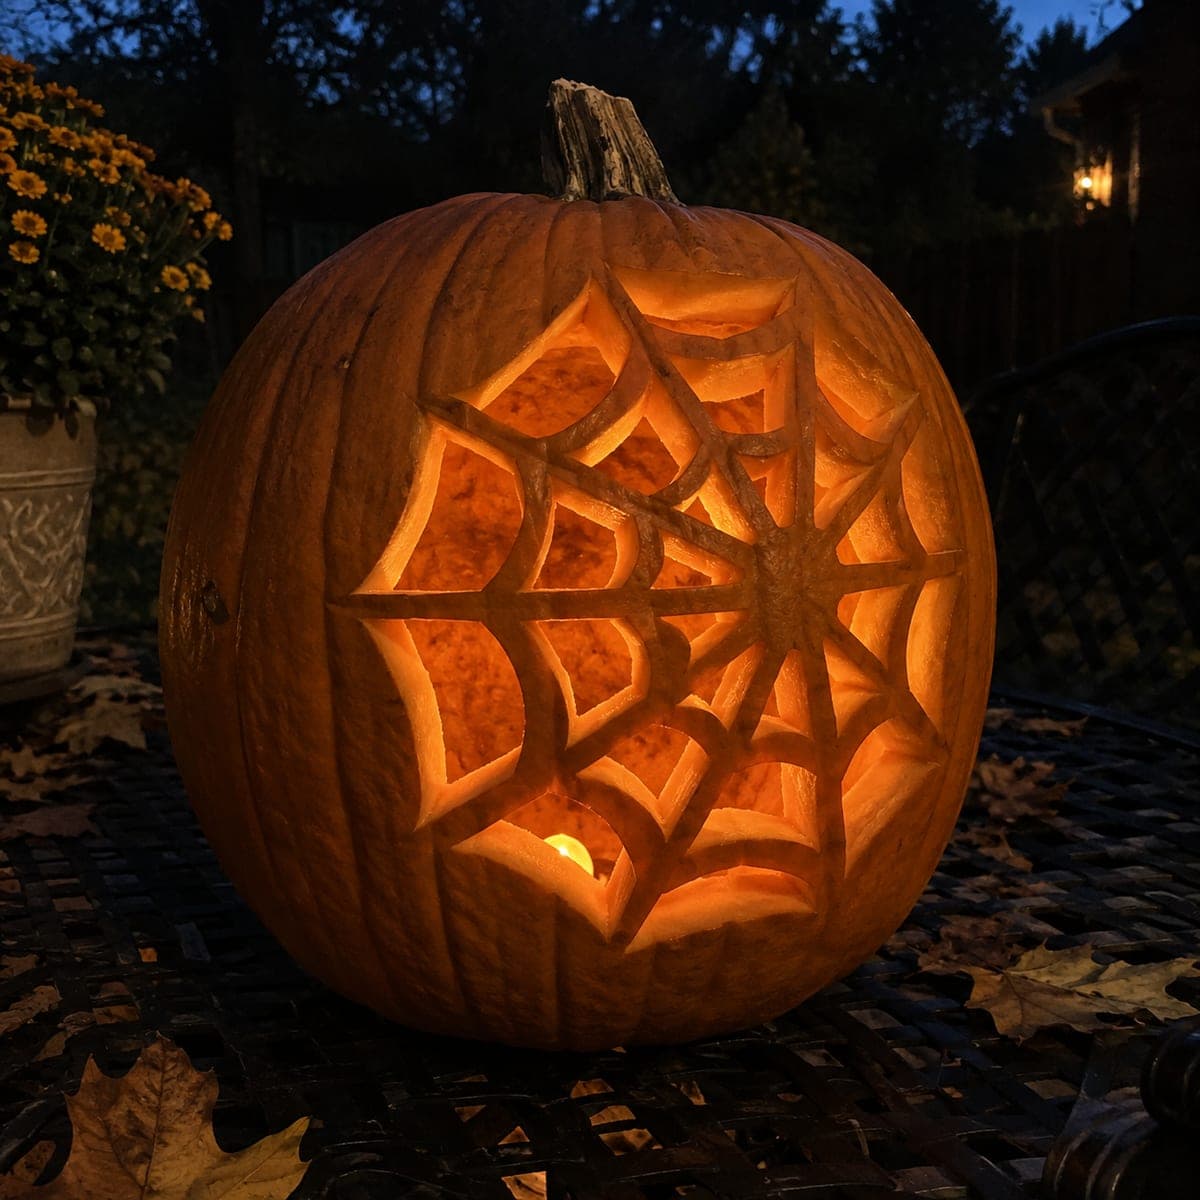
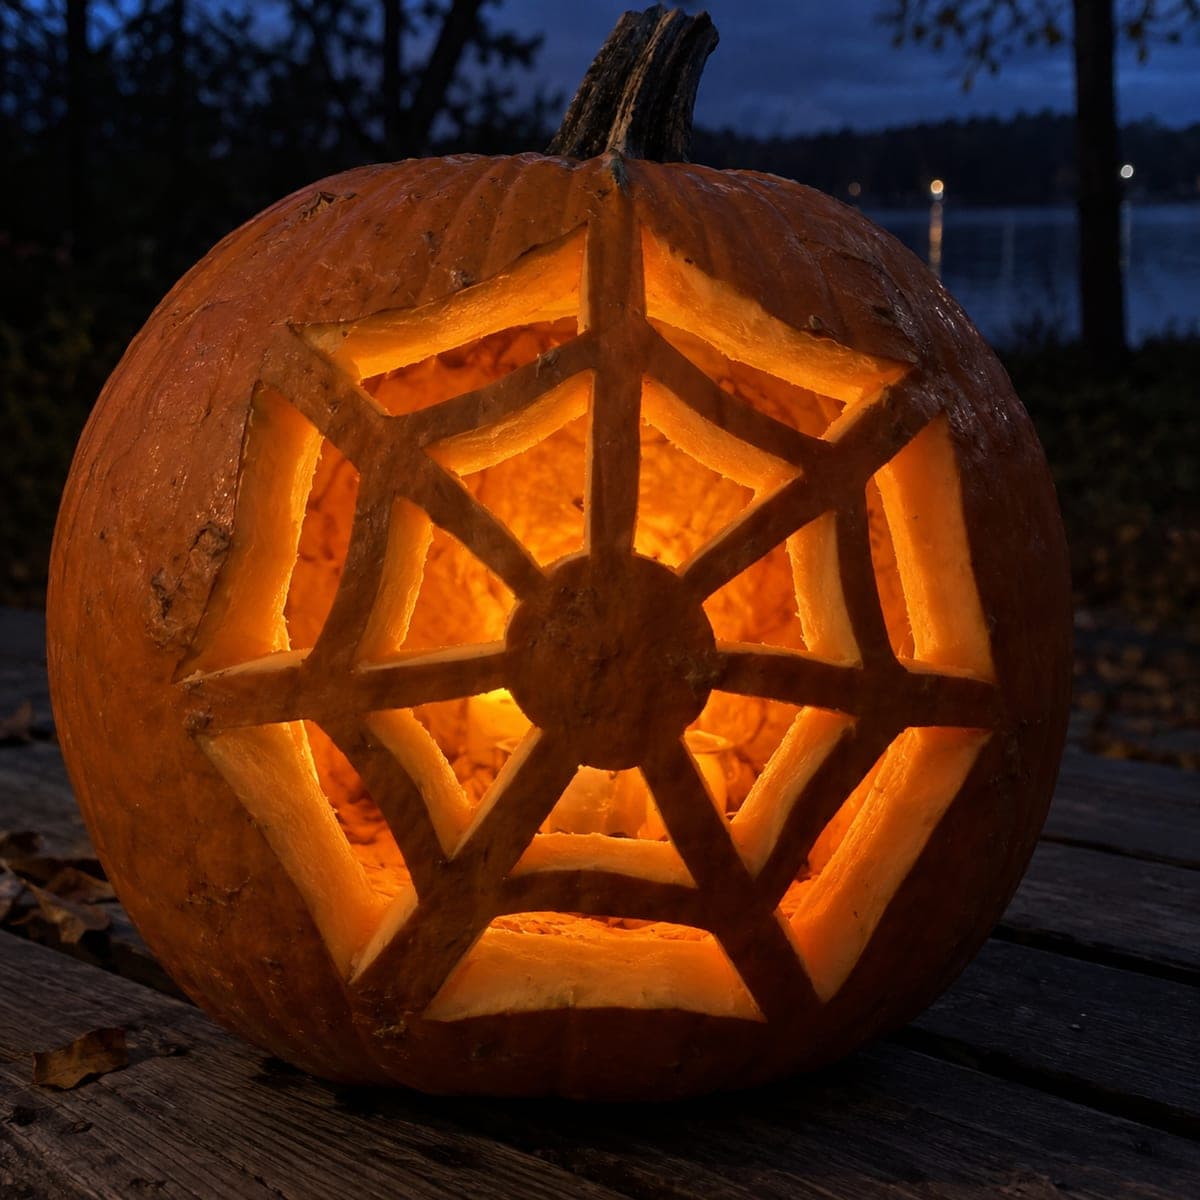
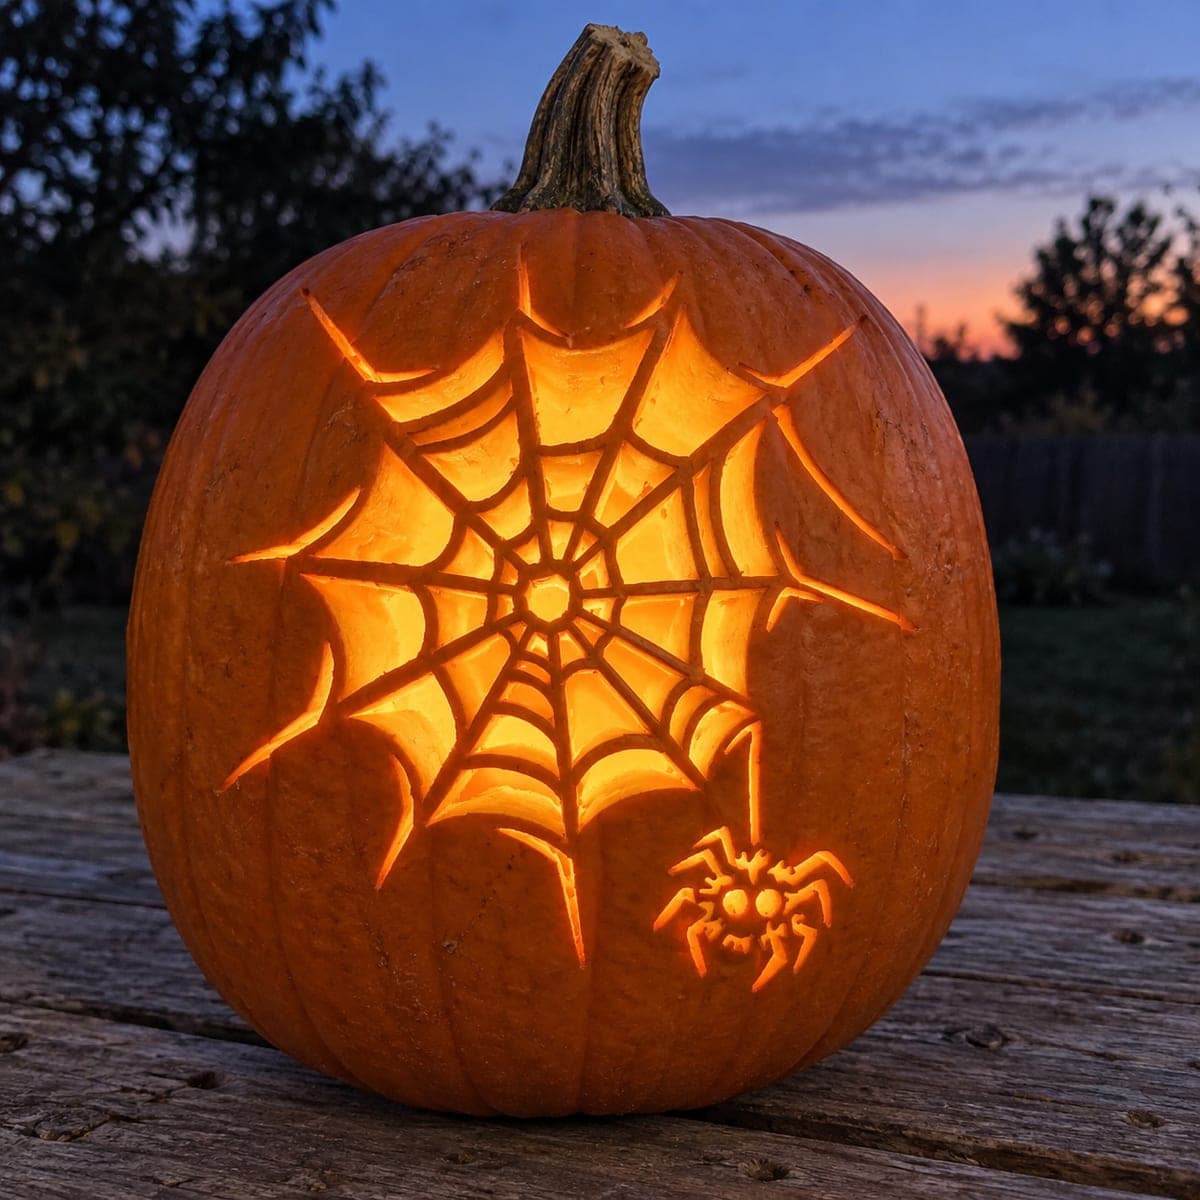
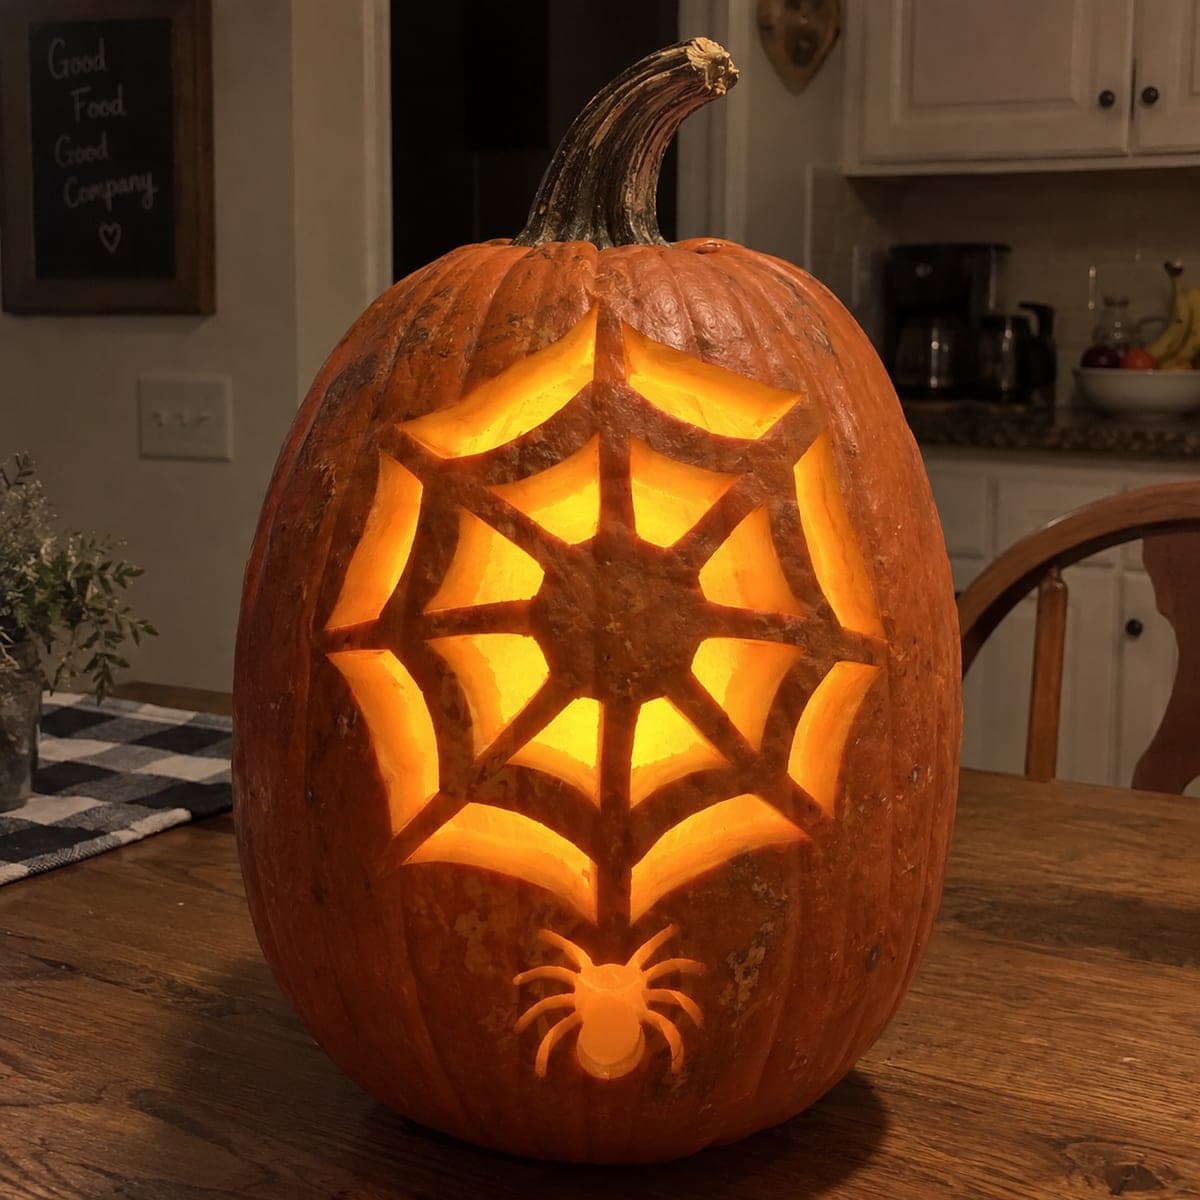
This spider web pumpkin carving idea features eight wedge-shaped cutouts radiating from a solid central hub, creating bold glowing spokes when lit. To carve it, cut each wedge separately and leave generous rind between them so every spoke stays firmly connected. Start from the center outward and check spoke thickness as you go. A single tea light placed low inside throws the web pattern cleanly across your porch.

No ratings yet · Sign in to rate

Comments (0)

  • No comments yet — be the first.

Save without an account. Sign in to like or comment.

Our tips for carving a similar design

The design works by cutting eight wedge-shaped holes that radiate outward from a solid hub, letting the uncut rind between them form the glowing spokes. Because each wedge is a standalone opening, there are no fragile bridges to worry about, just thick, confident strips of rind. a single LED tea light set low inside throws the web pattern cleanly across a dark porch.

From pumpkin to porch

  1. Prep and gut the pumpkin

    Cut a lid from the bottom of the pumpkin so it sits flat and the LED light stays hidden. Scoop out seeds and stringy pulp until the inner wall is roughly half an inch thick. Dry the interior with a paper towel so transferred lines stay visible.

  2. Mark the hub and spokes

    Draw a small circle at the visual center of the carving face for the solid hub. Use a ruler or long skewer to mark eight evenly spaced radial lines from the hub to the outer edge. Then sketch the wedge openings between the lines, keeping the rind strips at least a finger-width wide.

  3. Score the wedge outlines

    Use a detail knife to score along each wedge boundary before cutting through. Scoring first lets you check that every spoke remains adequately wide. Adjust any wedge that would leave a spoke thinner than three-quarters of an inch.

  4. Cut each wedge individually

    Work from the center hub outward, removing one wedge at a time. Use a small jab saw for the inner curves near the hub and a detail knife for the outer tapering edge. Keep your non-cutting hand well clear and brace the pumpkin against a stable surface.

  5. Check spoke thickness and clean edges

    After removing all wedges, hold the pumpkin up to a lamp to see where the rind is thinnest. Scrape any rough inner edges smooth with a spoon. Rub the cut surfaces lightly with petroleum jelly to slow drying.

  6. Light and display

    Place a battery-powered LED tea light low inside the pumpkin so the beam travels up through the spokes. Set the pumpkin on a doorstep and adjust its angle until the web shadow fans across the porch floor. Replace the bottom-cut lid to keep pests out between display sessions.

Written with AI to match this design

Gather your supplies

Check things off as you get ready.

Work on a stable surface, keep your free hand out of the cutting path, and have an adult handle sharp tools.

Three levels of light

  • Leave intact

    The solid central hub and the eight radial spoke strips stay fully dark.

  • Peel & shade

    None. This design uses cutouts only.

  • Cut through

    All eight wedge-shaped openings between the spokes are cut through for full glow.

Learn the carving basics

Before you start cutting

How wide should I keep the rind spokes?

Aim for at least three-quarters of an inch, ideally a full inch. Narrower spokes are prone to cracking when the pumpkin starts to dry. If you are unsure, err on the side of wider wedge gaps rather than thinner spokes.

Do I need to carve all eight wedges, or can I do fewer?

Fewer wedges work fine and produce a simpler starburst look. Six wedges give a snowflake feel; four produce a plus sign. Eight is the sweet spot for a convincing web, but the design reads well at any even number.

Why place the tea light low rather than centered?

A low light source angles the beam upward through the spokes, which throws longer web shadows on the wall or door behind the pumpkin. A centered light washes the design evenly but loses the dramatic shadow projection.

Your take belongs here, too.

Changed a detail? Made it simpler? Share a photo of your version and tell the community what worked.

Share your pumpkin

More pumpkins like this

You've reached the end · 8 pumpkins
The Patch Report

Fresh pumpkins, in your inbox.

The best new carvings, ideas worth stealing, and how-tos for carving season. Short, seasonal, and gone by November.

A short email during carving season. Unsubscribe anytime. See our privacy policy.