Halloween Pumpkin Carving Contest · Starts October 1st · $500 in prizes
← Back to ideas
@ai_concepts
Sep 25, 2026

Two-Ring Concentric Spider Web Jack-O-LanternAI
0

Report this carving

Tell us what is wrong. Reports are private.

Two-Ring Concentric Spider Web Jack-O-Lantern

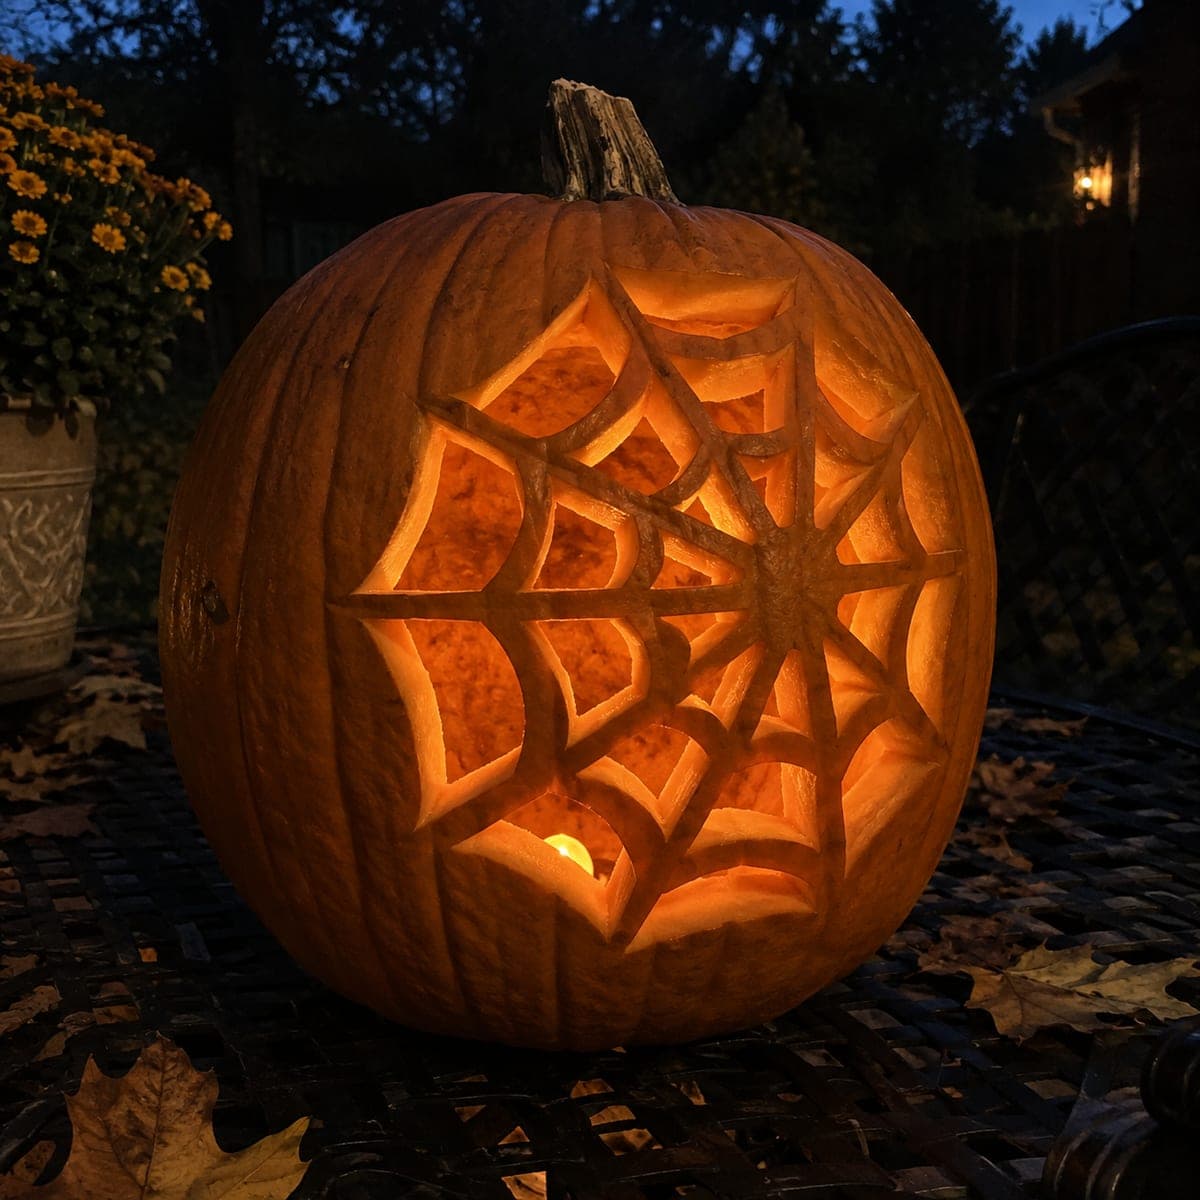
Two concentric crossbar rings divide this spider web pumpkin carving into separate glowing cells, with thick radial spokes connecting each ring back to the central hub and out to the uncut outer wall. Cut the spokes first as your structural skeleton, then remove the cells between rings one at a time to keep the rind stable. Confirm every spoke stays attached at both its inner and outer ends before clearing the adjacent cell. A candle placed at the center casts the spoke shadows in a dramatic radiating pattern on the ceiling above.

No ratings yet · Sign in to rate

Comments (0)

  • No comments yet — be the first.

Save without an account. Sign in to like or comment.

Our tips for carving a similar design

The trick here is treating the spokes as a structural skeleton and cutting the cells between rings only after every spoke is confirmed solid at both ends. Two concentric crossbars create distinct inner and outer cells that glow at different depths, giving the design a layered quality that a single-ring web cannot match. Cutting the larger outer cells last keeps the shell stable throughout the process.

From pumpkin to porch

  1. Gut and thin the walls

    Remove the top or bottom lid and scoop out the interior to a consistent half-inch wall thickness. A thin, even wall lets the spoke shadows read cleanly and reduces the risk of a cell cracking under its own weight.

  2. Draw the full web layout

    Mark the central hub, then draw the two concentric ring lines and the radial spoke lines with a wax marker. Check that every spoke is at least three-quarters of an inch wide before you commit. Number each cell so you can track which ones remain to be cut.

  3. Cut the radial spokes first

    Use a detail knife to score and then cut cleanly along each spoke edge from hub to outer wall, without removing any rind yet. These cuts define the boundaries of every cell. Confirm each spoke is anchored at both the inner hub and the outer uncut wall before proceeding.

  4. Remove inner cells first

    Cut out the cells in the innermost ring first, working around the hub one cell at a time. Pop out each piece and clean the edges with a paring blade. The hub and spokes keep the shell rigid while the outer cells are still intact.

  5. Remove outer cells and clean up

    Work through the outer ring cells one at a time, confirming spoke attachment after each removal. If a spoke feels loose, stop and leave that cell intact. Scrape inner cut edges smooth and coat them lightly with petroleum jelly.

  6. Light and position

    Place a candle or LED at the center to throw spoke shadows in a radiating pattern on the ceiling. Step back after lighting to verify that every cell glows cleanly and no spoke appears darker than its neighbors, which would signal a structural weakness.

Written with AI to match this design

Gather your supplies

Check things off as you get ready.

Work on a stable surface, keep your free hand out of the cutting path, and have an adult handle sharp tools.

Three levels of light

  • Leave intact

    All radial spokes and the solid central hub remain fully uncut and dark.

  • Peel & shade

    None. This is a pure cutout design.

  • Cut through

    Every cell between the concentric rings and between adjacent spokes is cut through for full light.

Learn the carving basics

Before you start cutting

How do I draw even concentric rings freehand?

Tie a loop of string around a toothpick stuck at the hub, then hold a marker at the desired ring radius and rotate it around the hub to trace a circle. Adjust the string length for the second ring. A compass works even better if you have one long enough.

What if a spoke starts to crack while I am cutting cells?

Stop immediately and leave the adjacent cells uncut. A thin bead of craft glue or wood glue pressed into the crack and allowed to dry for an hour usually stabilizes hairline fractures. Do not force the cut further until the repair has set.

Can I add a spider cutout to this design?

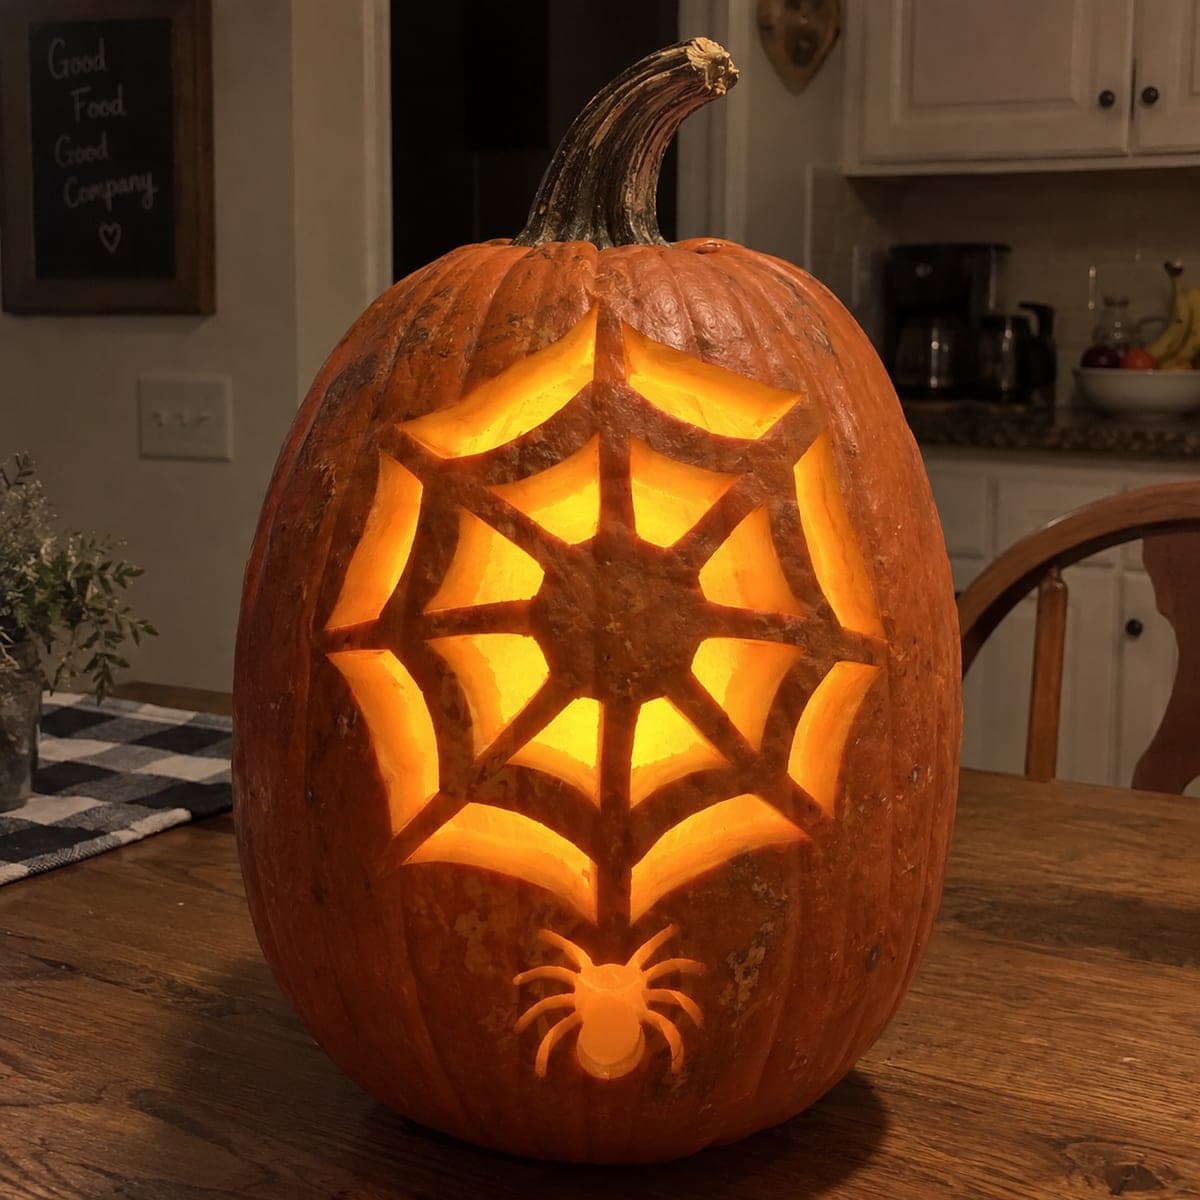
Yes. Sketch a small spider shape on one of the outer cells before cutting it, then carve the body and leg openings inside that cell rather than removing the whole cell. Keep the leg strands at least a quarter-inch wide or they will break off within a day or two.

Your take belongs here, too.

Changed a detail? Made it simpler? Share a photo of your version and tell the community what worked.

Share your pumpkin

More pumpkins like this

You've reached the end · 8 pumpkins
The Patch Report

Fresh pumpkins, in your inbox.

The best new carvings, ideas worth stealing, and how-tos for carving season. Short, seasonal, and gone by November.

A short email during carving season. Unsubscribe anytime. See our privacy policy.