Halloween Pumpkin Carving Contest Β· Starts October 1st Β· $500 in prizes
← Back to ideas
@ai_concepts
Sep 25, 2026
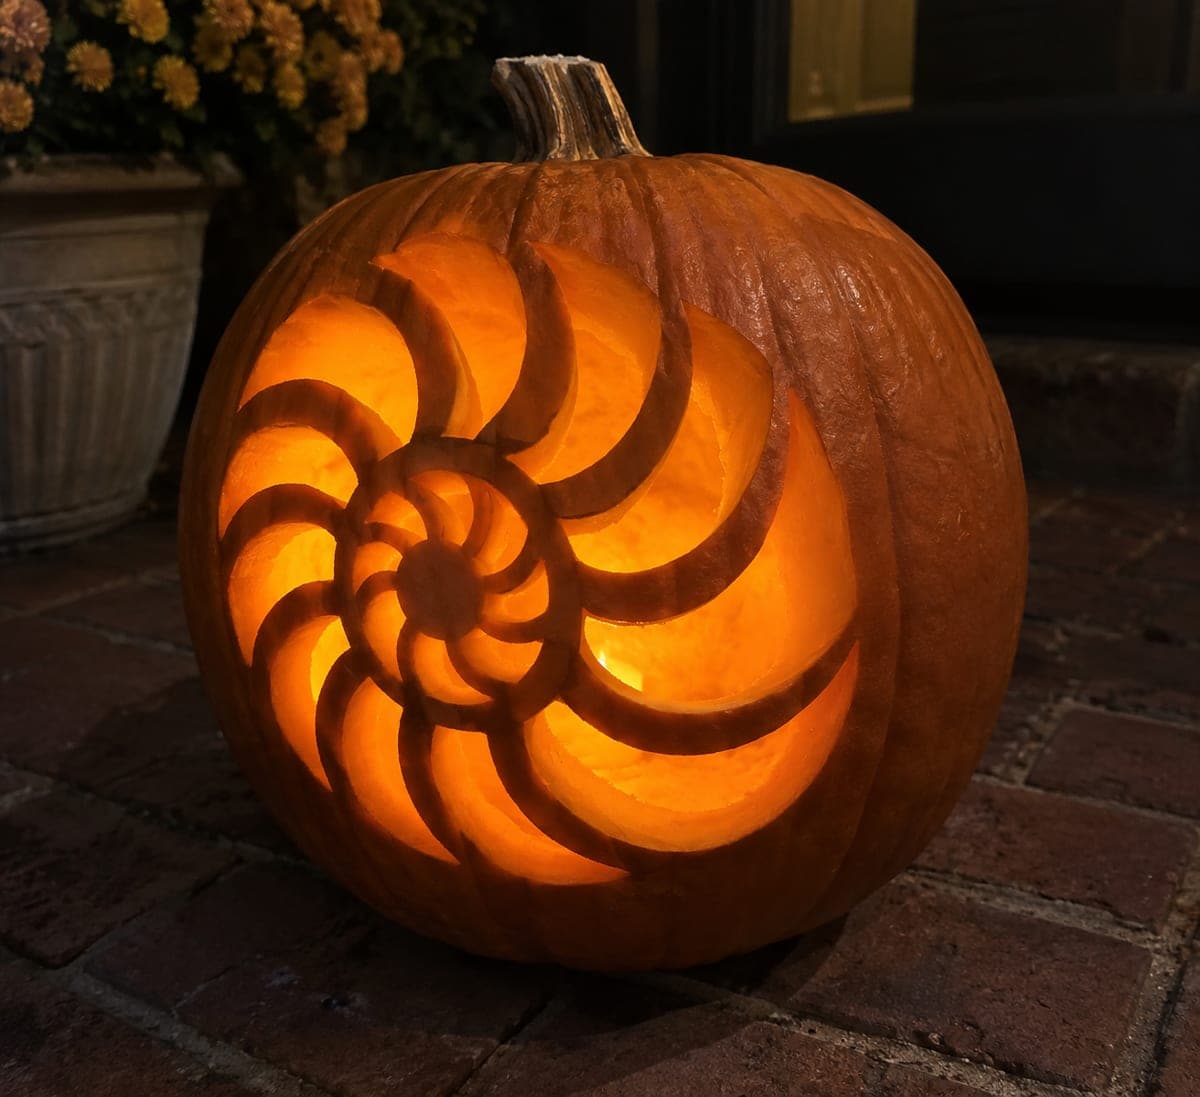
Spiral Seashell Pumpkin With Segmented Wedge OpeningsAI
0

Report this carving

Tell us what is wrong. Reports are private.

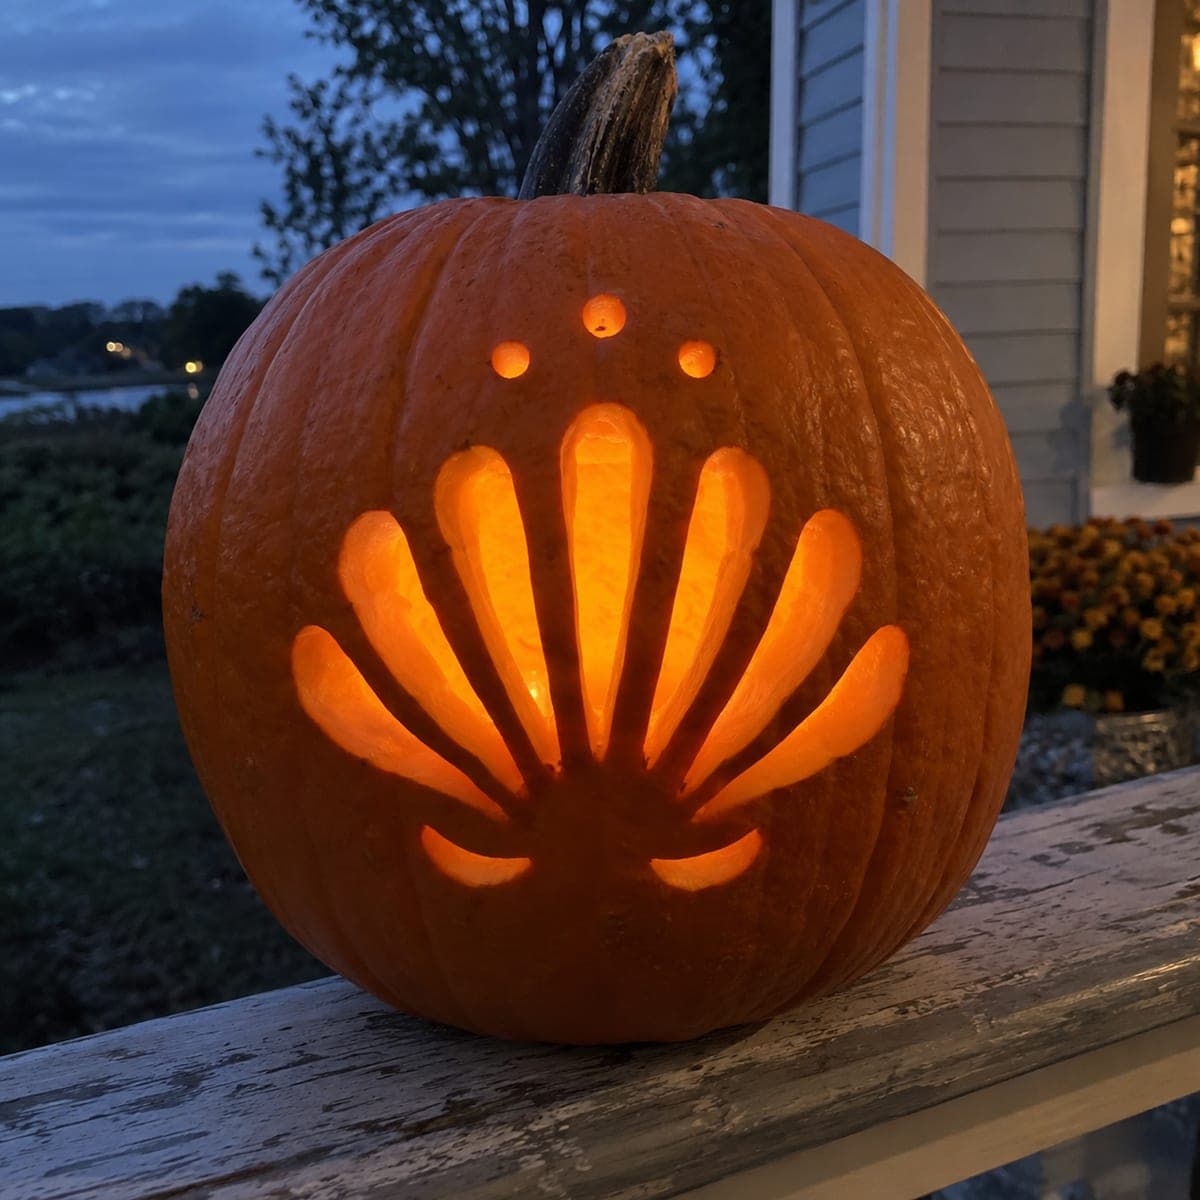
Spiral Seashell Pumpkin With Segmented Wedge Openings

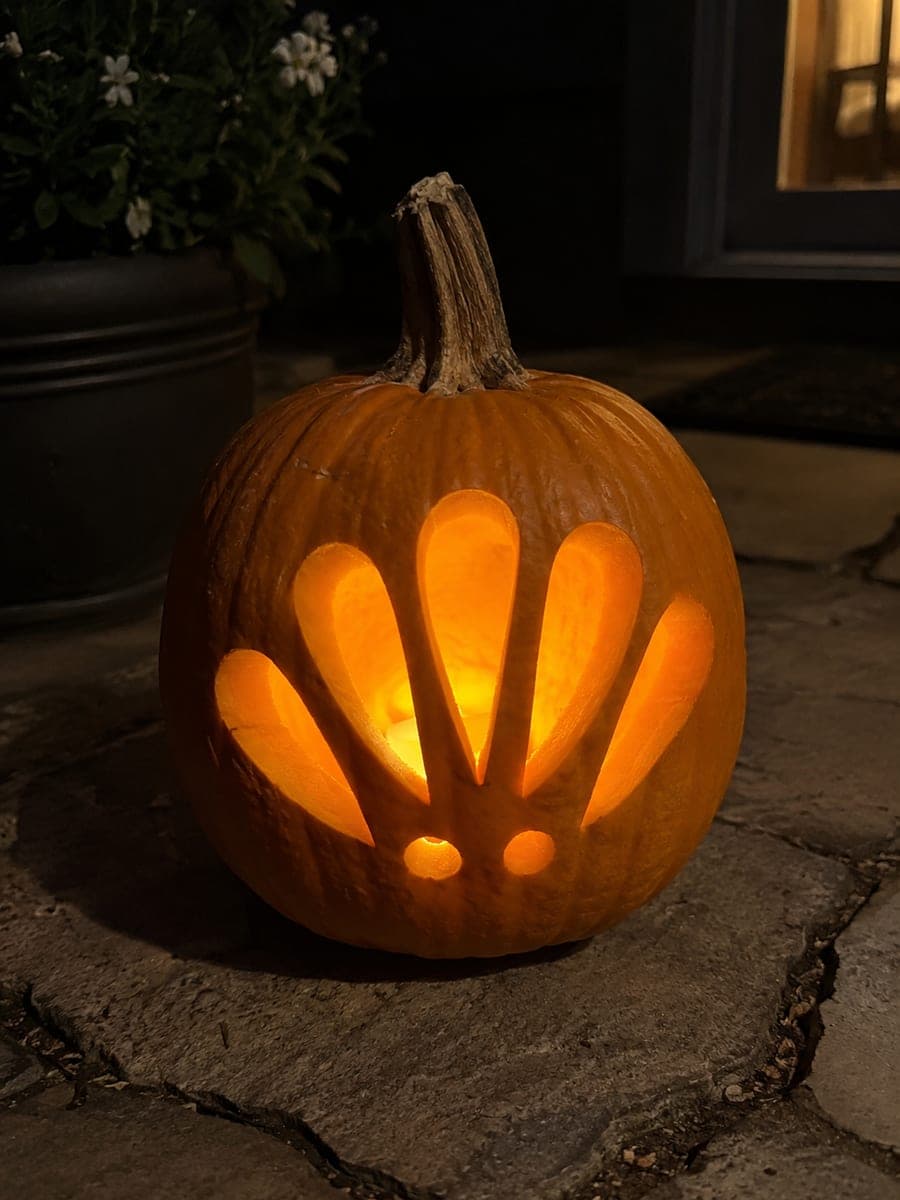
Segmented spiral apertures form the whorls of a conch-style shell on this hard seashell pumpkin carving, with connected radial ribs, a central hub, and broad spiral bands preserving the structure throughout. The key to this design is mapping the spiral sequence before cutting: each wedge must align so that the ribs between them form a convincing spiral path. Begin at the outermost whorl and work inward so the shell shape becomes readable early. Lighting from below rather than inside intensifies the shadow play along the spiral bands.

No ratings yet Β· Sign in to rate

Comments (0)

  • No comments yet β€” be the first.

Save without an account. Sign in to like or comment.

Our tips for carving a similar design

The spiral illusion depends entirely on the wedge apertures aligning so the solid radial ribs between them trace a convincing spiral path from the outer rim to the central hub. Planning the spiral sequence with a pencil before cutting any piece is not optional, it is what makes the design readable. Beginning at the outermost whorl and working inward keeps the shell shape visible from the first cut.

From pumpkin to porch

  1. Plan the spiral before cutting

    Draw the full spiral sequence on the template or directly on the pumpkin face with a soft pencil before transferring to perforation. Number each wedge aperture in cutting order around the spiral from outermost to innermost. Verify the path makes a convincing clockwise or counterclockwise spiral before picking up a saw.

  2. Prepare and transfer the template

    Scoop the interior to a firm, even wall and chill the pumpkin before carving. Perforate the outer edge of each wedge aperture and the central hub boundary line. The hub stays as solid rind and anchors the entire radial structure.

  3. Cut the outermost whorl apertures first

    Begin at the outermost ring of wedge apertures. Cut each one in sequence around the spiral, moving inward one level at a time. Keeping the cuts in spiral order lets you step back and check the illusion is developing correctly before committing to the inner whorls.

  4. Work inward through each spiral layer

    Continue cutting the next ring of wedge apertures, confirming that each new cut leaves a rib that lines up with the adjacent ribs from the outer layer to form a continuous spiral band. If a rib is misaligned, stop and trim carefully to correct the path before proceeding.

  5. Preserve the central hub and broad spiral bands

    The broad spiral bands of solid rind between each whorl are the structural backbone of the design. Never cut across them. The central hub should be the last thing you look at, confirming it is fully intact before considering the design finished.

  6. Light from below for shadow play

    Place an LED spotlight below the pumpkin pointing upward, or use a bottom-entry LED to light the design from beneath rather than from inside. This grazes the spiral bands from below and intensifies the shadow depth along each rib edge, making the shell look three-dimensional.

Written with AI to match this design

Gather your supplies

Check things off as you get ready.

Work on a stable surface, keep your free hand out of the cutting path, and have an adult handle sharp tools.

Three levels of light

  • Leave intact

    The connected radial ribs, the central hub, and the broad spiral band surfaces stay solid and dark.

  • Peel & shade

    None, all illuminated areas are full through-cuts.

  • Cut through

    Each segmented wedge aperture in the spiral sequence is cut through for full backlit or uplighted glow.

Learn the carving basics

Before you start cutting

How do I make sure the spiral reads correctly before I start cutting?

Trace the spiral path in marker on your printed template and follow it with your finger from the outer edge inward. The ribs, not the apertures, should form the spiral ribbon. If the ribs form a convincing spiral when viewed as a continuous band, the design will read correctly when lit.

What is the minimum rib width I should allow between wedge apertures?

Keep every rib at least three-eighths of an inch wide, and wider for the outermost ribs where the leverage on thin sections is greatest. In a spiral design, if one rib breaks it can compromise the readability of the whole pattern, so there is no benefit to making them as narrow as possible.

Can I display this with a standard LED tea light inside instead of a spotlight?

Yes, an interior LED tea light works and produces a warm amber glow through the wedge apertures. The lighting from below is a suggestion for maximizing shadow depth along the spiral bands, which adds dimensionality. Either approach looks striking as long as the surrounding display area is dark.

Your take belongs here, too.

Changed a detail? Made it simpler? Share a photo of your version and tell the community what worked.

Share your pumpkin

More pumpkins like this

You've reached the end Β· 8 pumpkins
The Patch Report

Fresh pumpkins, in your inbox.

The best new carvings, ideas worth stealing, and how-tos for carving season. Short, seasonal, and gone by November.

A short email during carving season. Unsubscribe anytime. See our privacy policy.