Halloween Pumpkin Carving Contest · Starts October 1st · $500 in prizes
← Back to ideas
@ai_concepts
Jul 8, 2026
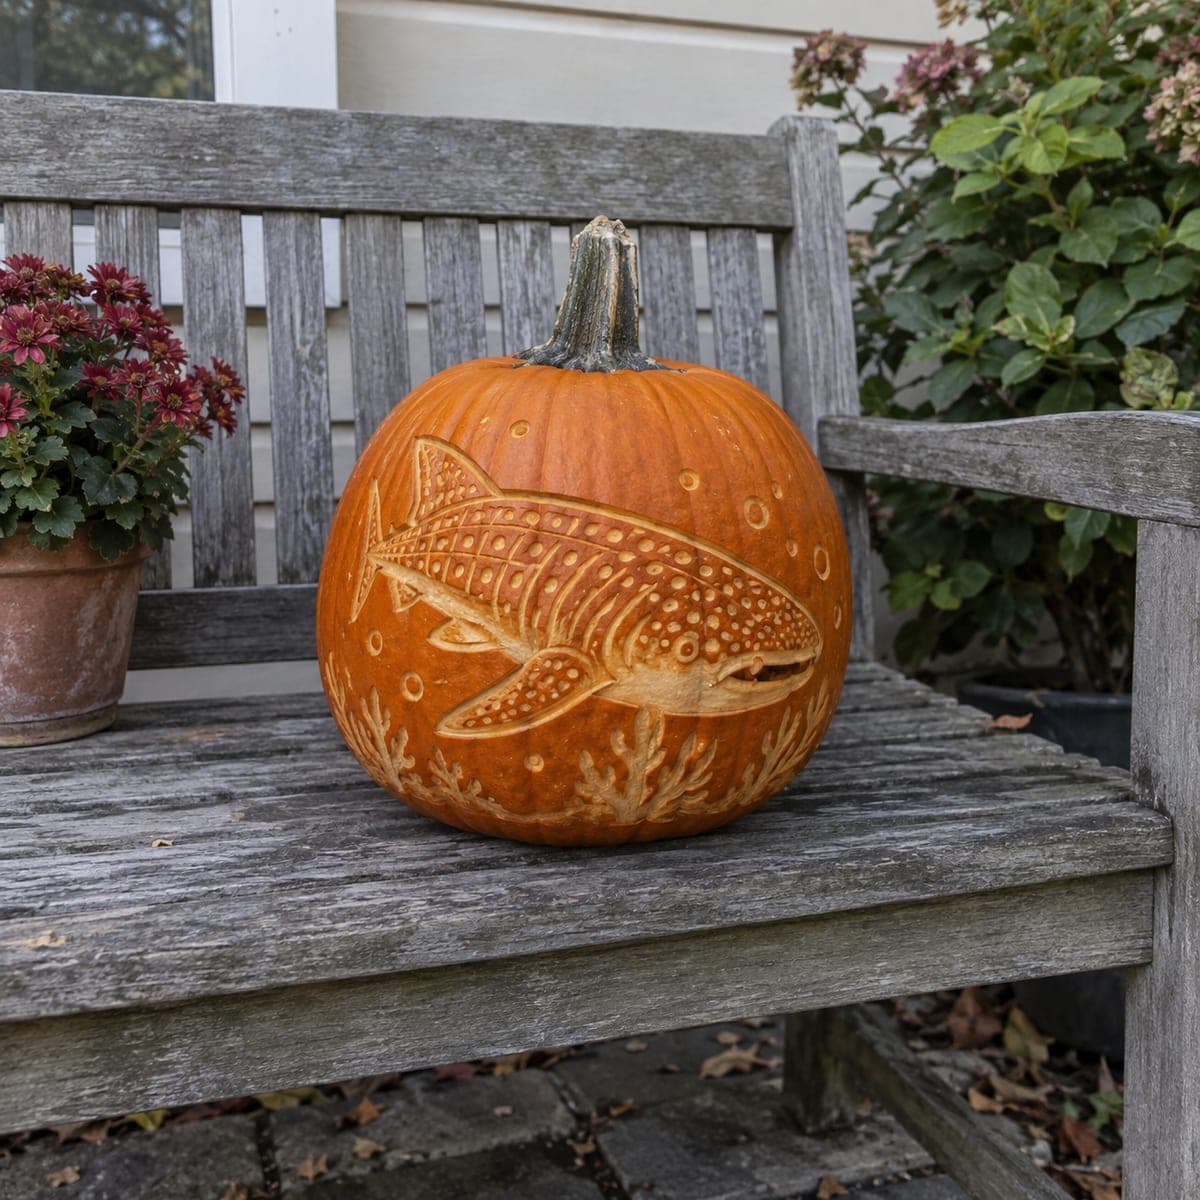
Spotted Eagle Ray Etched Pumpkin DesignAI
0

Spotted Eagle Ray Etched Pumpkin Design

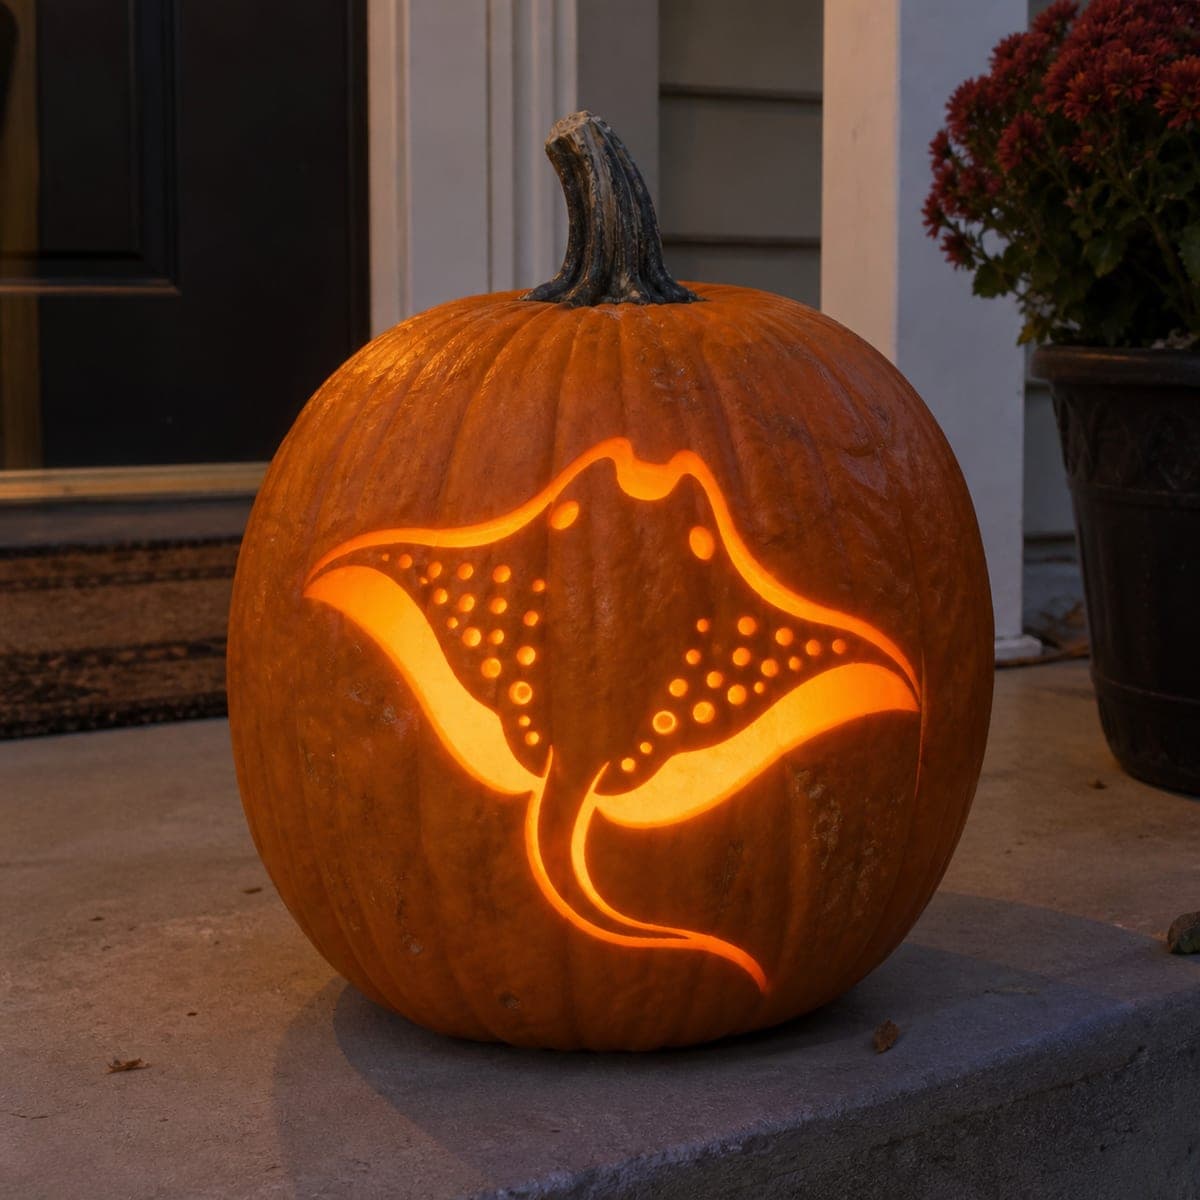
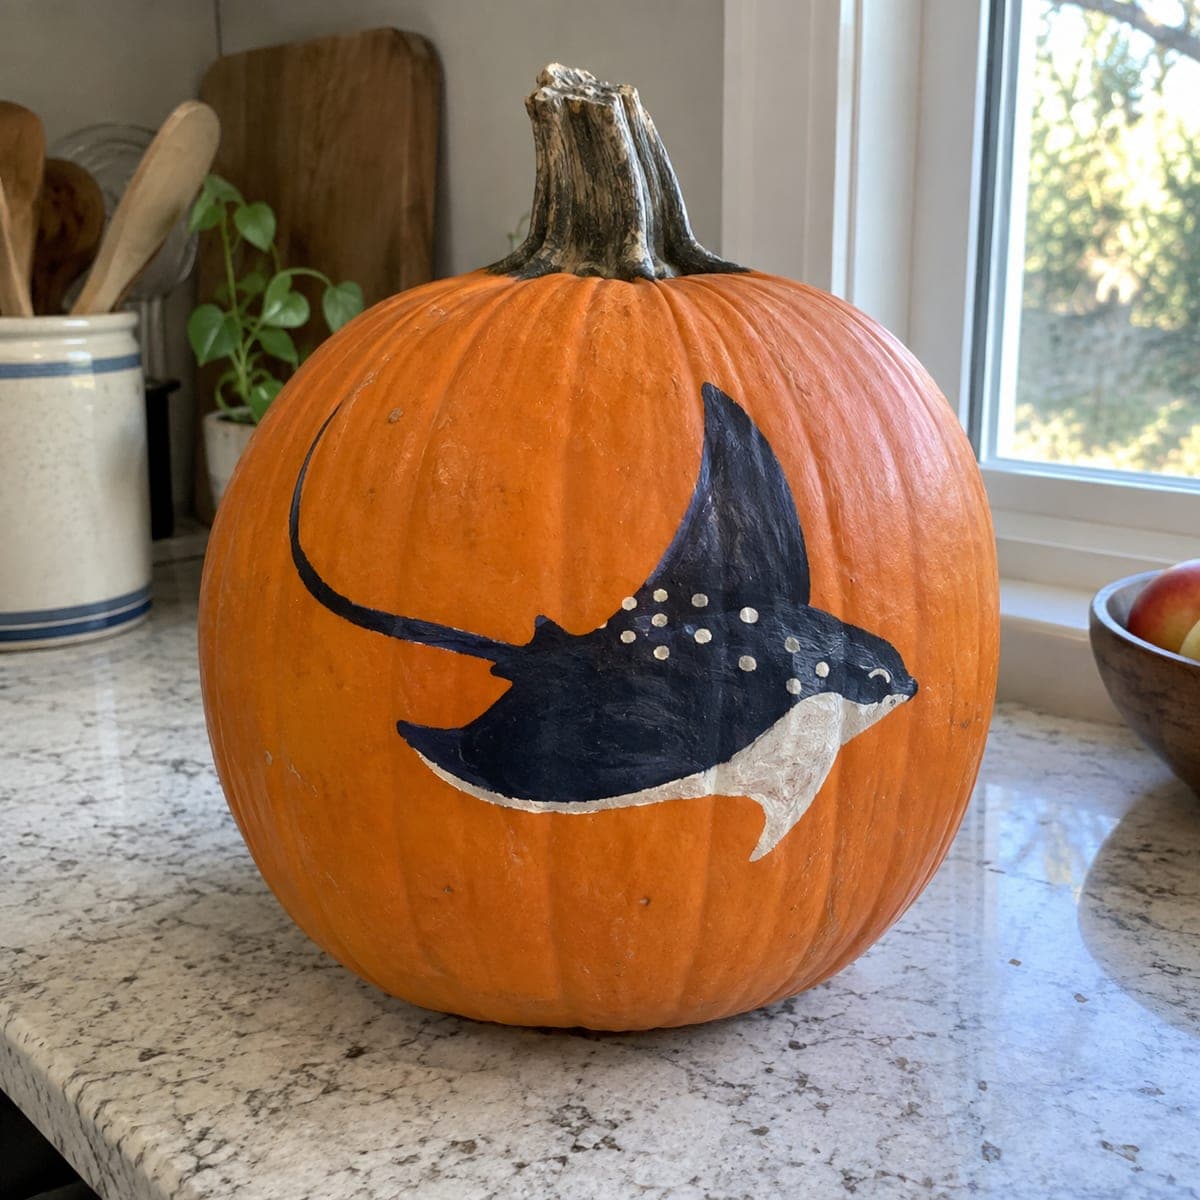
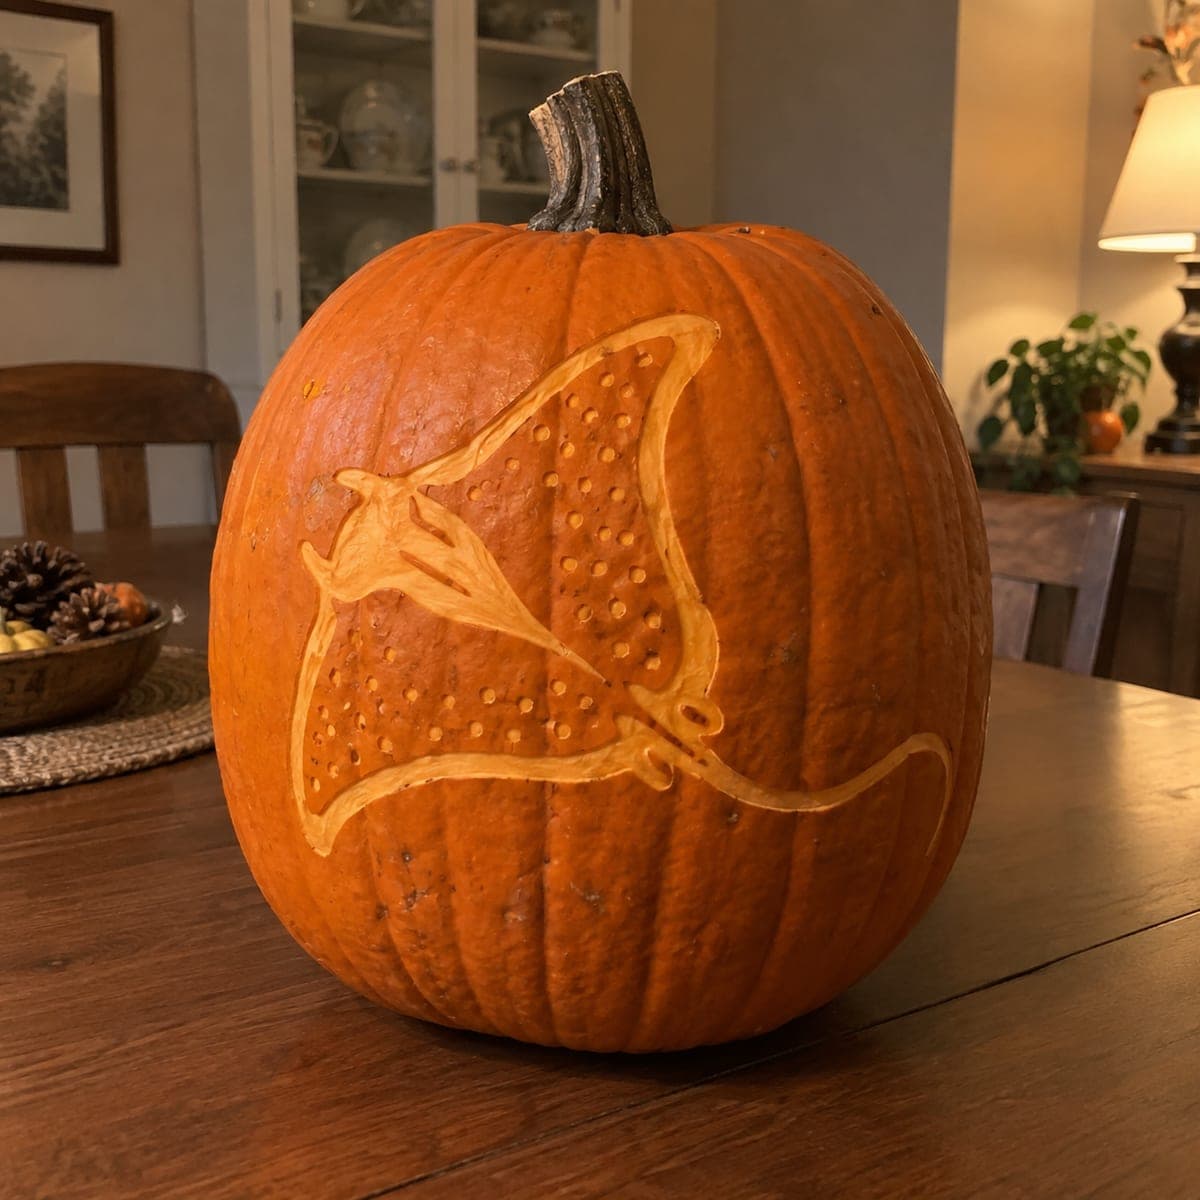
A spotted eagle ray glides diagonally across this pumpkin, its wide wings, dotted back, and long trailing tail traced in pale etched lines against the orange skin. The spots are quick dot-gouges and the outline is a shallow V-cut, so the whole ocean-themed design comes together faster than it looks. Sketch the diamond wing shape first and let the tail whip around the pumpkin's curve for movement. It displays well unlit, making it a good choice for daytime porch steps.

This is an AI-generated concept image: a realistic, carvable design idea rather than a photo of a finished carve. AI concepts are always labeled and sit out the leaderboard and the contest.

No ratings yet · Sign in to rate
Comments (0)

  • No comments yet — be the first.

Save without an account. Sign in to like or comment.

Our tips for carving a similar design

The core trick here is that almost nothing gets cut all the way through. The eagle ray's wings and long tail are traced as a shallow V-cut groove, and the dotted back is a scatter of quick, even dot-gouges into the skin. Because it stays mostly surface-deep, the whole piece reads as elegant line art and holds together with plenty of strength.

Written by PumpkinCarvingIdeas.com, inspired by the image above. These are our suggestions, not instructions from the uploader. This approach to the AI concept has not been tested on a real pumpkin.

From pumpkin to porch

  1. Pick a smooth panel and sketch the diamond

    Choose the flattest, cleanest face of the pumpkin so your lines flow without dodging bumps. Wipe it dry, then sketch the ray's wide diamond wings with a washable marker. Let the long tail whip around the curve of the pumpkin toward the back for a sense of motion. Step back and check the shape reads as a ray before you touch a blade.

  2. Transfer or firm up your outline

    If you are using a printed stencil, tape it on and poke the outline with a pin or a transfer wheel to leave a dotted guide. Otherwise, go over your marker lines so they are crisp and confident. Keep the wingtips and tail as continuous single lines, since those long sweeps are what sell the design. Do not scoop out a lid or gut the pumpkin yet.

  3. Cut the outline as a shallow V-groove

    With a small V-gouge or two angled passes of a detail knife, carve the outline about a quarter inch deep so it removes the orange skin and shows the pale flesh underneath. Aim for a steady, even groove rather than a deep cut, and let the line taper thinner at the wingtips and tail. Take your time on the long curves and pull the tool toward yourself only when your other hand is clear. An adult should handle all the sharp tools.

  4. Add the spotted back with dot-gouges

    Use a small round gouge, a clay loom tool, or the tip of a melon baller to press shallow round dots across the ray's back. Keep them larger near the center and smaller toward the wing edges so the pattern follows the body. You only want to remove the skin and dimple the flesh, not punch through. Scatter them loosely, since perfectly even rows look stiff.

  5. Skin-peel the body for a soft glow

    For extra contrast, scrape a thin layer of skin off the inside of the wing shapes with a ribbon tool so the body sits a shade lighter than the surrounding orange. Keep this shallow and blend it toward the outline. This step is optional but it makes the ray stand out both lit and unlit. Leave the background skin fully intact.

  6. Light it low and photograph

    If you want a nighttime version, cut a small access hole in the back or bottom and drop in an LED tea light or puck, never a candle. The etched lines will glow faintly while the skin stays dark. In daylight, the pale grooves already pop against the orange, so set it on the porch step and take your photo in soft morning light. Coat the cuts with a little petroleum jelly to slow browning.

Gather your supplies

Check things off as you get ready.

Work on a stable surface, keep your free hand out of the cutting path, and have an adult handle sharp tools.

Three levels of light

  • Leave intact

    The entire background and the fine spaces between the dots stay as untouched orange skin.

  • Peel & shade

    The ray's body inside the wings gets a thin skin-peel for a soft, dim orange glow.

  • Cut through

    The V-groove outline and the dot-gouges go deepest to catch the most light, though none fully pierce the wall.

Learn the carving basics

Before you start cutting

Do I need to cut all the way through anywhere?

No, this design is meant to stay surface-deep. The outline is a shallow V-groove and the spots are shallow dimples, so nothing pierces the pumpkin wall. That keeps the wide wings and long tail strong and lets the piece display well unlit.

How do I keep the long tail from looking wobbly?

Sketch the tail as one continuous line before carving and let it follow the natural curve of the pumpkin rather than fighting it. Carve it in smooth, unbroken passes and let it taper thinner as it trails off. A slightly curving whip line reads as graceful motion, while short choppy segments look broken.

What is the best way to space the back spots?

Work larger dots near the center of the body and shrink them toward the wing edges so the pattern hugs the ray's shape. Scatter them a little unevenly instead of in rigid rows, since real spots are irregular. Press just deep enough to remove the skin and dimple the flesh.

Your take belongs here, too.

Changed a detail? Made it simpler? Share a photo of your version and tell the community what worked.

Share your pumpkin

More pumpkins like this

You've reached the end · 8 pumpkins
The Patch Report

Fresh pumpkins, in your inbox.

The best new carvings, ideas worth stealing, and how-tos for carving season. Short, seasonal, and gone by November.

A short email during carving season. Unsubscribe anytime. See our privacy policy.