Halloween Pumpkin Carving Contest · Starts October 1st · $500 in prizes
← Back to ideas
@ai_concepts
Sep 25, 2026
Standing Labrador in Glowing Window Pumpkin with Paw AccentsAI
0

Report this carving

Tell us what is wrong. Reports are private.

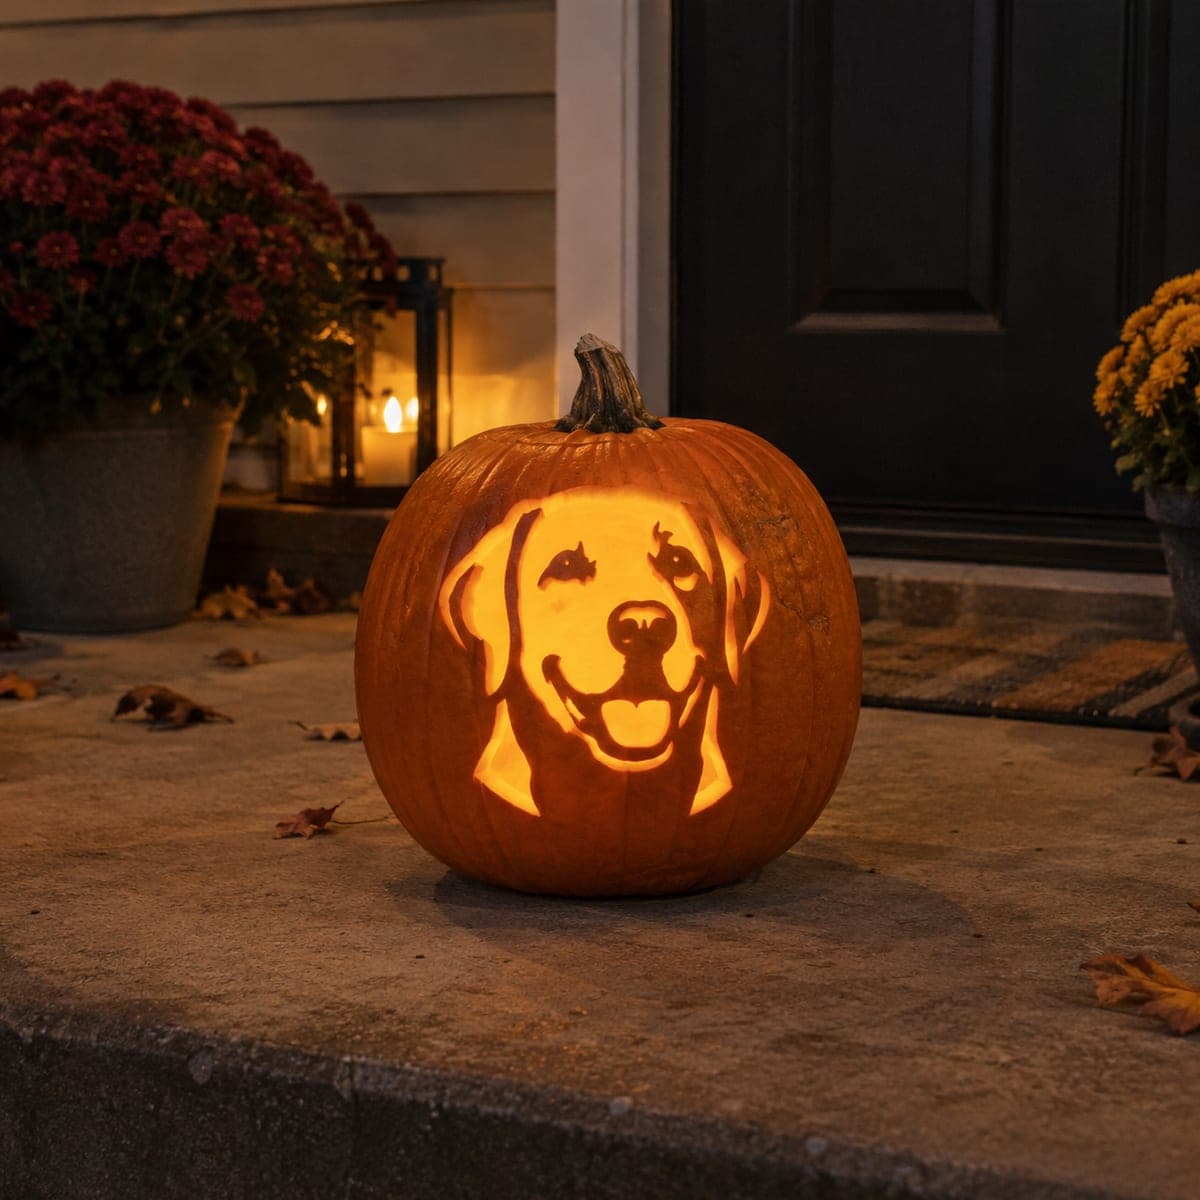
Standing Labrador in Glowing Window Pumpkin with Paw Accents

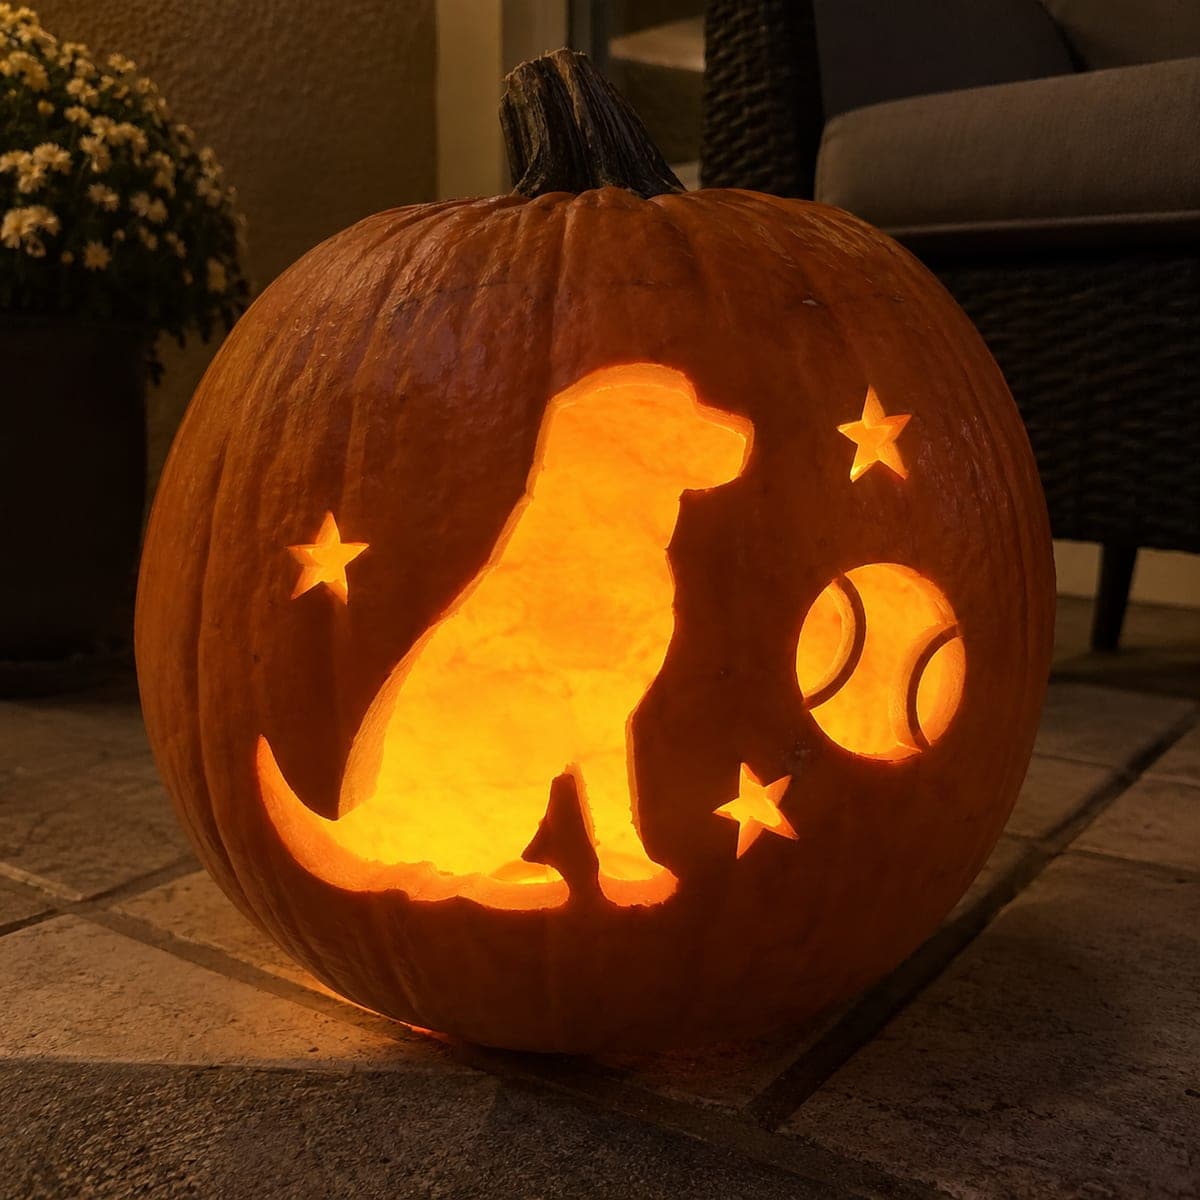
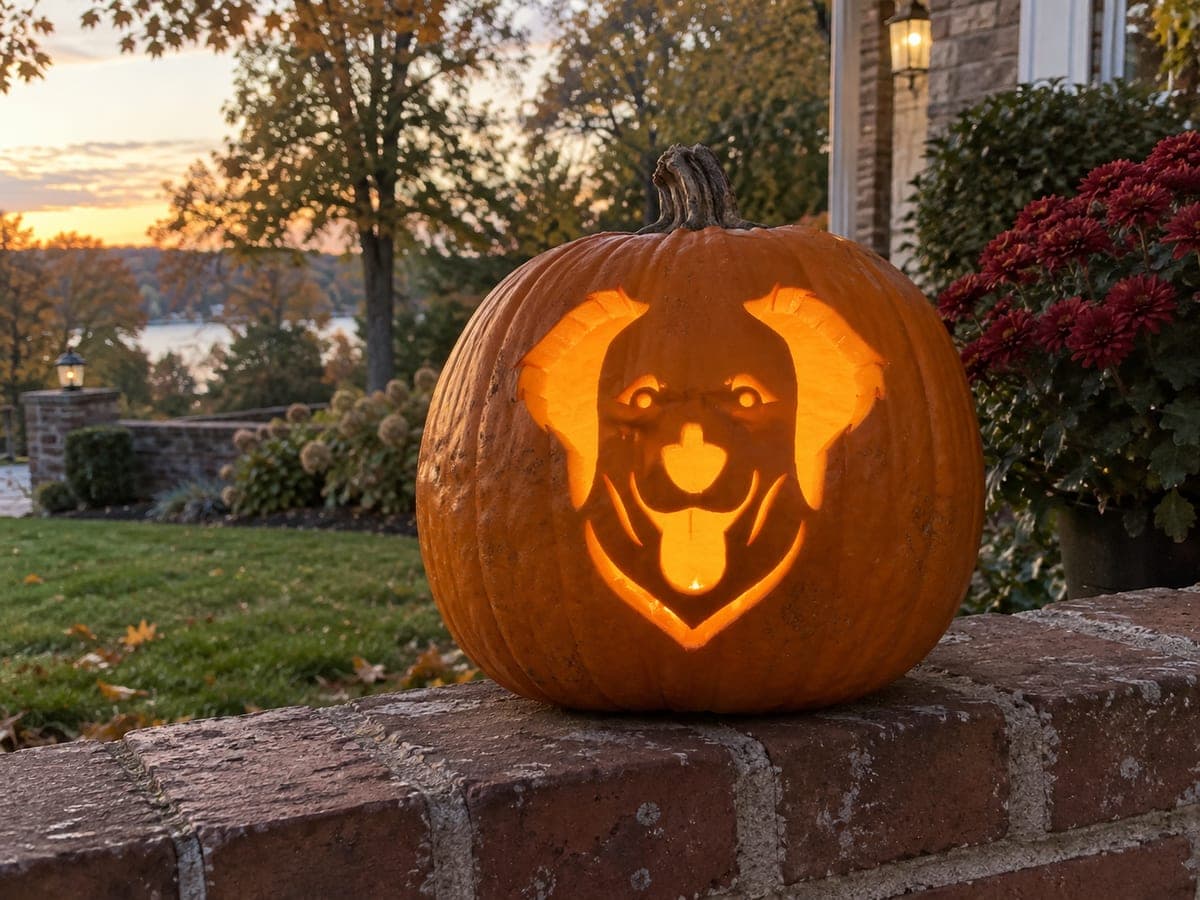
A detailed standing Labrador connects through its feet, snout and tail to a surrounding window frame, with short torso apertures preserving a broad body and shallow coat-detail scoring adding texture in this expert Labrador pumpkin stencil carving. Every foot and the snout connection are load-bearing, so widen them slightly beyond what the template shows to guard against splitting under pressure. Cut the window frame border first, then the dog outline from feet to tail, and score the coat grooves last.

No ratings yet · Sign in to rate

Comments (0)

  • No comments yet — be the first.

Save without an account. Sign in to like or comment.

Our tips for carving a similar design

Every connection point, the feet, the snout and the tail, is load-bearing and must be kept wider than the template strictly requires to guard against splitting under pressure. The window frame is cut first to establish the container, then the dog outline is cut from feet upward, and coat grooves are scored last. Short torso apertures preserve the broad body section throughout.

From pumpkin to porch

  1. Map all connection points

    Before transferring anything to the pumpkin, map the design on paper and mark every connection point between the dog and the window frame. Note minimum widths for each connection. This map is your reference for every decision during cutting.

  2. Hollow and prep

    Access from the back and scrape the interior to a consistent inch of wall thickness. With connection points at the top, bottom and sides of the window, even wall thickness throughout is essential for uniform structural performance.

  3. Transfer the complete design

    Poke-transfer the window frame border, the dog outline with all connection points marked, all torso apertures and all coat groove lines. Use separate colors for through-cuts and scored grooves. Confirm all connection points are visible and labeled before cutting.

  4. Cut the window frame first

    Use a detail saw to cut the full window border, leaving the interior intact. The window frame is the container that all connections relate to. Cut it cleanly and confirm the frame edges are solid before beginning any interior work.

  5. Cut the dog outline and torso apertures

    Work from the foot connections upward, cutting the dog outline and removing background sections. Widen each foot, snout and tail connection slightly beyond the template. Cut the short torso apertures preserving the broad body zone. Leave coat grooves untouched until all through-cuts are complete.

  6. Score the coat grooves last

    With the full carving structurally complete, use a detail knife to score coat grooves in the direction of fur growth across the dog's body, legs and head. Keep strokes shallow, maintain even depth and check frequently. A warm amber LED inside completes the effect.

Written with AI to match this design

Gather your supplies

Check things off as you get ready.

Work on a stable surface, keep your free hand out of the cutting path, and have an adult handle sharp tools.

Three levels of light

  • Leave intact

    The retained standing Labrador, which stays dark against the glowing window

  • Peel & shade

    Coat groove lines, which add surface texture contrast

  • Cut through

    Window frame background sections and short torso apertures, which glow around the dog

Learn the carving basics

Before you start cutting

Why should I widen the connection points beyond what the template shows?

Templates are drawn for visual appeal, which often means narrower connections than are structurally optimal on an actual pumpkin. Widening each foot, snout and tail connection by a few millimeters costs almost nothing visually and adds significant protection against splitting when the pumpkin is moved.

What are torso apertures and why keep them short?

Torso apertures are small openings cut through the dog's body area to let light show through without removing the broad body silhouette. Keeping them short and not extending them toward any connection point preserves the body's structural integrity. They add visual interest and help the dog read against the glowing background.

How do I safely score coat grooves near a connection point without accidentally weakening it?

Keep scoring strokes at least a centimeter away from any connection zone. Score toward a connection point but stop well short of it. If a fur groove line in the template runs through a connection zone, shorten it so it ends well clear of the load-bearing area.

Your take belongs here, too.

Changed a detail? Made it simpler? Share a photo of your version and tell the community what worked.

Share your pumpkin

More pumpkins like this

You've reached the end · 8 pumpkins
The Patch Report

Fresh pumpkins, in your inbox.

The best new carvings, ideas worth stealing, and how-tos for carving season. Short, seasonal, and gone by November.

A short email during carving season. Unsubscribe anytime. See our privacy policy.