Halloween Pumpkin Carving Contest · Starts October 1st · $500 in prizes
← Back to ideas
@ai_concepts
Jul 15, 2026
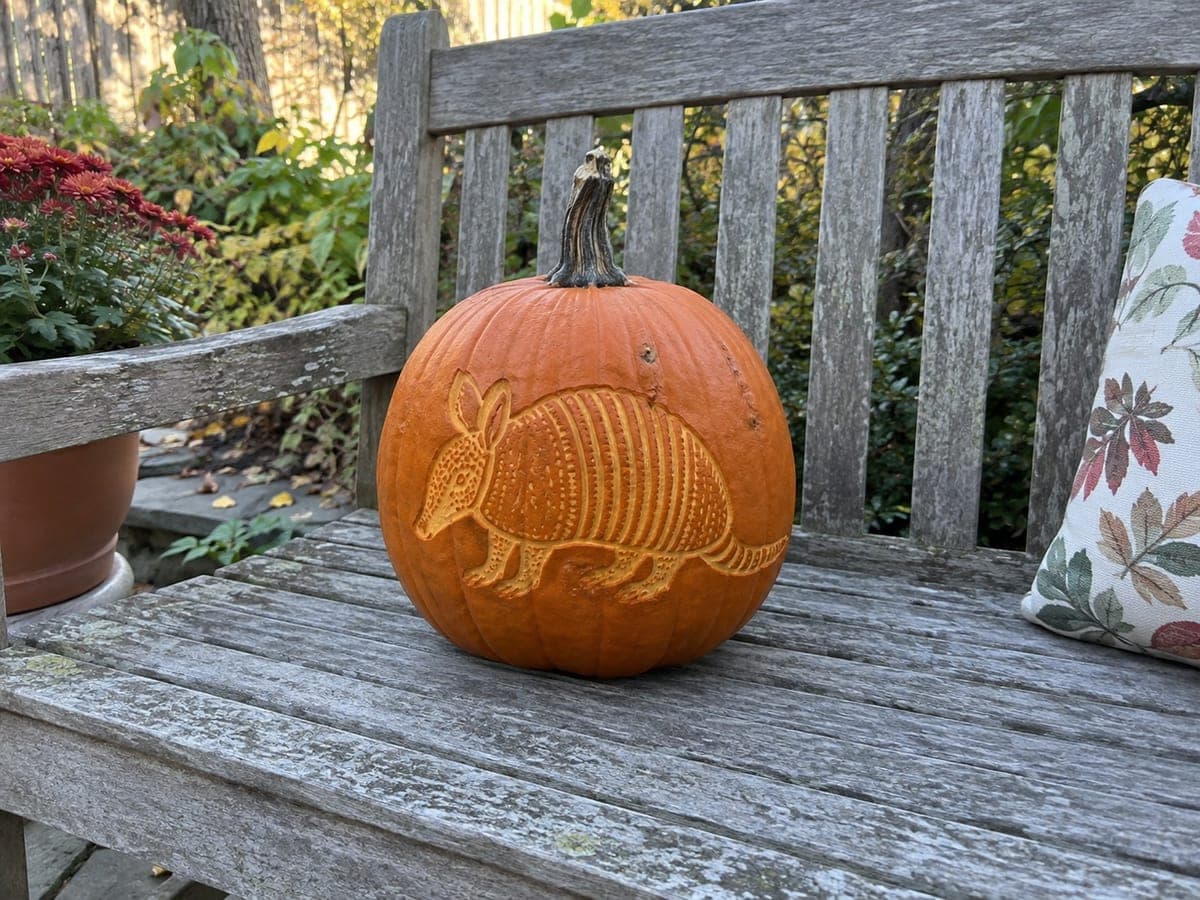
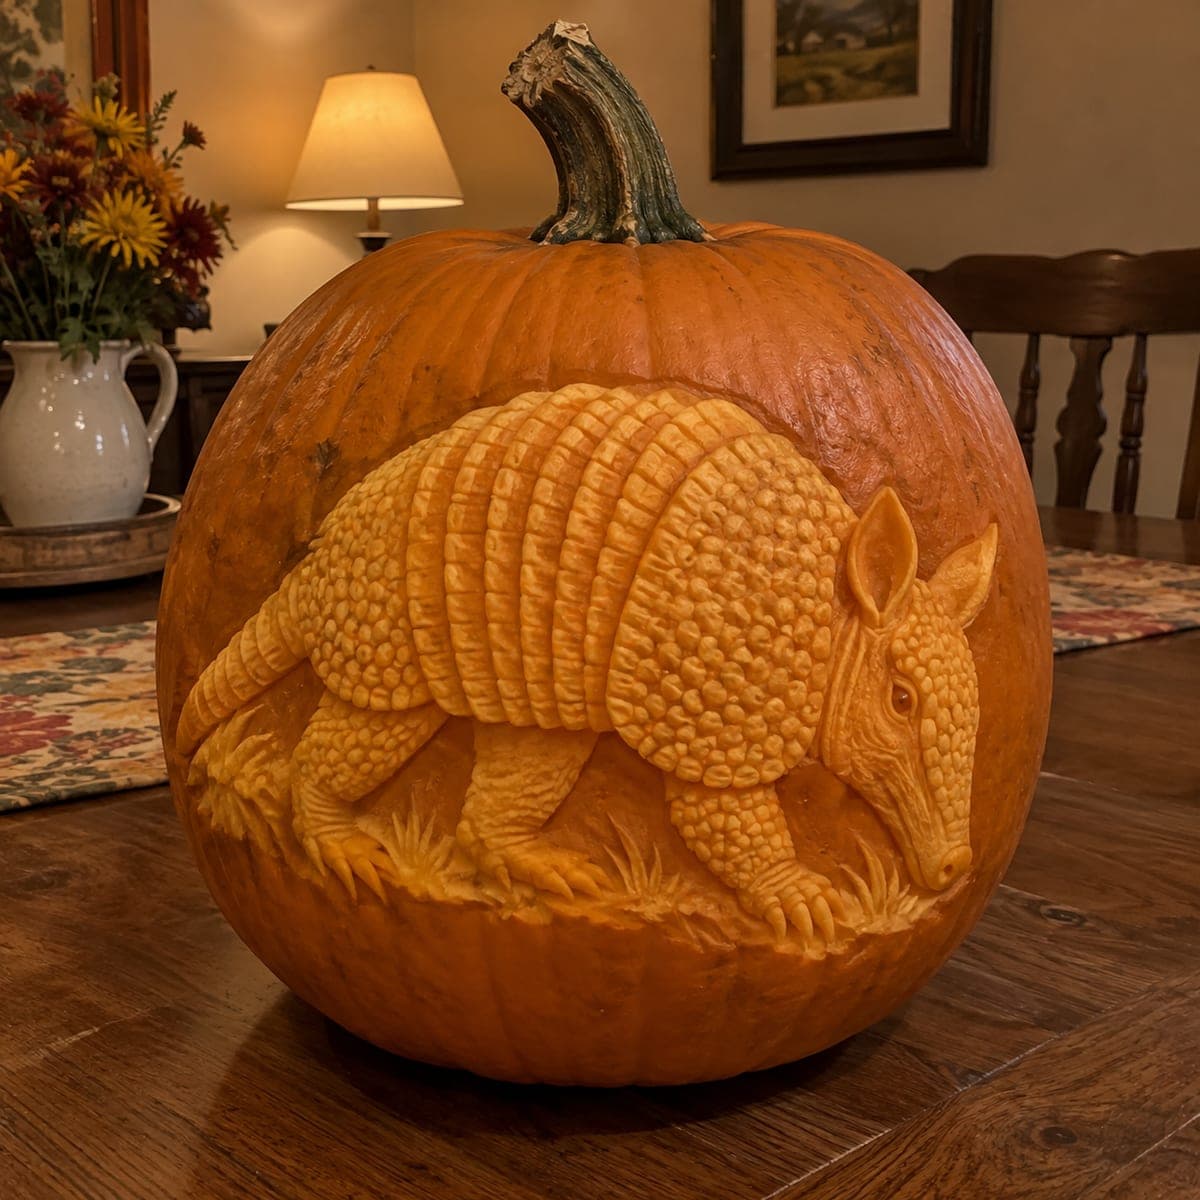
Strolling Armadillo Etched Pumpkin DesignAI
0

Strolling Armadillo Etched Pumpkin Design

An armadillo trundles across this pumpkin in crisp etched relief, its banded shell rendered as rows of carved scutes with a stippled texture. Because nothing cuts through, the design holds up in daylight on a garden bench where a lit carve would look blank. Score the shell bands first to keep them parallel, then stipple each band with the tip of a small gouge.

This is an AI-generated concept image: a realistic, carvable design idea rather than a photo of a finished carve. AI concepts are always labeled and sit out the leaderboard and the contest.

No ratings yet · Sign in to rate
Comments (0)

  • No comments yet — be the first.

Save without an account. Sign in to like or comment.

Our tips for carving a similar design

The whole trick here is that nothing cuts through the pumpkin wall. You build the armadillo entirely by scraping the skin away in layers, using parallel scored bands and a stippled dot texture to suggest the shell. Because the light stays inside the pumpkin, this design reads best in daylight on a bench or porch rather than as a glowing lantern.

Written by PumpkinCarvingIdeas.com, inspired by the image above. These are our suggestions, not instructions from the uploader. This approach to the AI concept has not been tested on a real pumpkin.

From pumpkin to porch

  1. Prep the pumpkin and pick a flat panel

    Choose a round pumpkin with a smooth, blemish free face and wipe it clean. Since this is a surface etch, you do not need to gut it fully, but scooping the back lightens it and helps it keep. Pick the flattest area facing your viewing spot for the armadillo. Set it on a towel so it does not roll while you work.

  2. Transfer the outline

    Print or draw the armadillo at a size that fits your panel with margin all around. Tape the pattern smoothly and poke a dotted outline through it with a pin or a poker tool, marking the body, head, legs, tail, and each shell band line. Remove the paper and connect the dots lightly with a washable marker if it helps. Keep the band lines evenly spaced so they stay parallel.

  3. Score the shell bands

    With a small detail knife or lino style gouge, lightly score along each band line first, working top to bottom across the shell. Aim for shallow, even grooves that only break the skin, not deep cuts. Doing all the band lines before any texturing keeps them crisp and parallel. Adults should handle the blades, and always cut away from your holding hand.

  4. Peel the body to a mid glow

    Use a ribbon or loop tool to scrape away just the top skin across the whole armadillo shape, leaving the dimpled orange flesh exposed. This gives the animal a warm, lighter tone that pops against the dark untouched background. Keep your scraping shallow and even so the surface stays smooth. Leave the scored band lines standing as slightly darker ridges.

  5. Stipple the shell texture

    Take the tip of a small gouge or a sturdy poker and press rows of little dots into each band, following the curve of the shell. Vary the density so the bands nearest the light look busier and the belly stays plainer. Add a few dots to the head and legs for the same pebbled feel. Work slowly, since this stippling is what sells the armadillo, and blow away debris often to see your progress.

  6. Clean up and stage it

    Step back and touch up any bands that drifted or any thin spots in the etch. Wipe the surface, then rub a little petroleum jelly on the cut flesh to slow drying and keep the tone bright. Set the pumpkin where daylight rakes across it, like a garden bench, so the shadows in the grooves and stipple stand out. Snap your photo in the morning or late afternoon when the light is low and warm.

Gather your supplies

Check things off as you get ready.

Work on a stable surface, keep your free hand out of the cutting path, and have an adult handle sharp tools.

Three levels of light

  • Leave intact

    The background around the armadillo and the scored band ridges stay as untouched dark skin.

  • Peel & shade

    The whole armadillo body, head, legs, and tail are skin-peeled to a mid orange glow.

  • Cut through

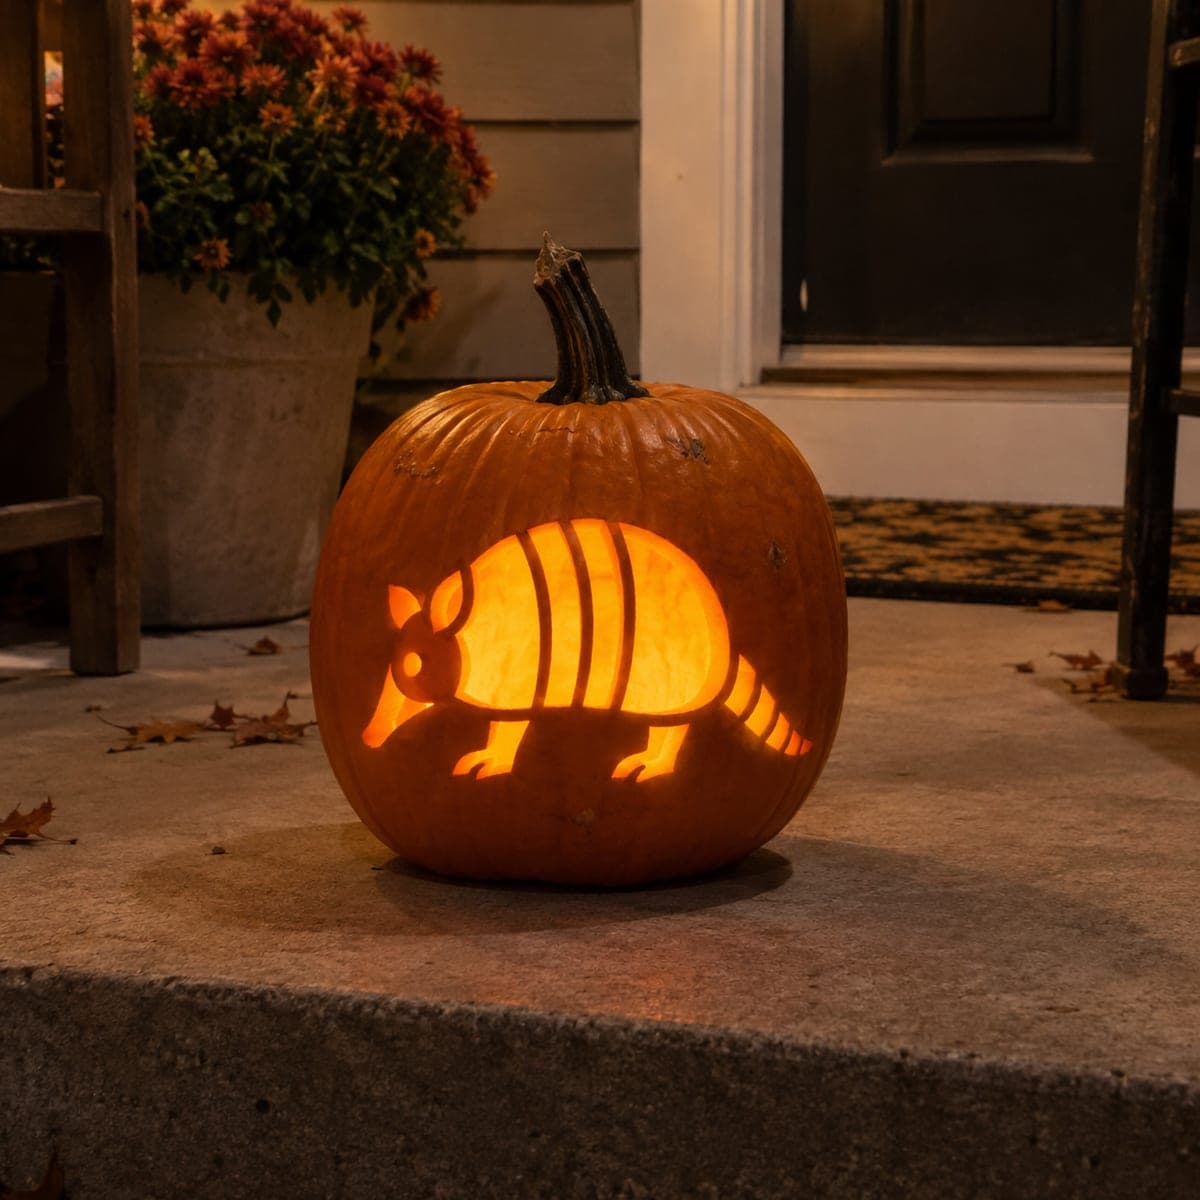
    Nothing is cut through on this design, which is why it reads in daylight rather than as a lantern.

Learn the carving basics

Before you start cutting

Will this design light up at night?

Not really, and that is by design. Since nothing cuts through the wall, an LED inside would leave the face looking blank. This is a daylight carve meant to be seen by natural light, so plan to display it on a bench or step during the day.

How do I keep the shell bands looking even?

Score every band line first, before you scrape or stipple anything. Mark them from your transferred dots and keep the spacing consistent as they curve over the shell. Working all the lines in one pass keeps your hand rhythm steady and the bands parallel.

How long will an etched pumpkin like this last?

Surface etches tend to last a few days to a week since the flesh is exposed to air. Rub the scraped areas with petroleum jelly to slow drying, and keep the pumpkin out of direct sun and heat. If it starts to dull, a light misting and a wipe can refresh it.

Your take belongs here, too.

Changed a detail? Made it simpler? Share a photo of your version and tell the community what worked.

Share your pumpkin

More pumpkins like this

You've reached the end · 8 pumpkins
The Patch Report

Fresh pumpkins, in your inbox.

The best new carvings, ideas worth stealing, and how-tos for carving season. Short, seasonal, and gone by November.

A short email during carving season. Unsubscribe anytime. See our privacy policy.