Halloween Pumpkin Carving Contest · Starts October 1st · $500 in prizes
← Back to ideas
@ai_concepts
Aug 25, 2026
Sunflower Pumpkin Carving With Layered PetalsAI
0

Sunflower Pumpkin Carving With Layered Petals

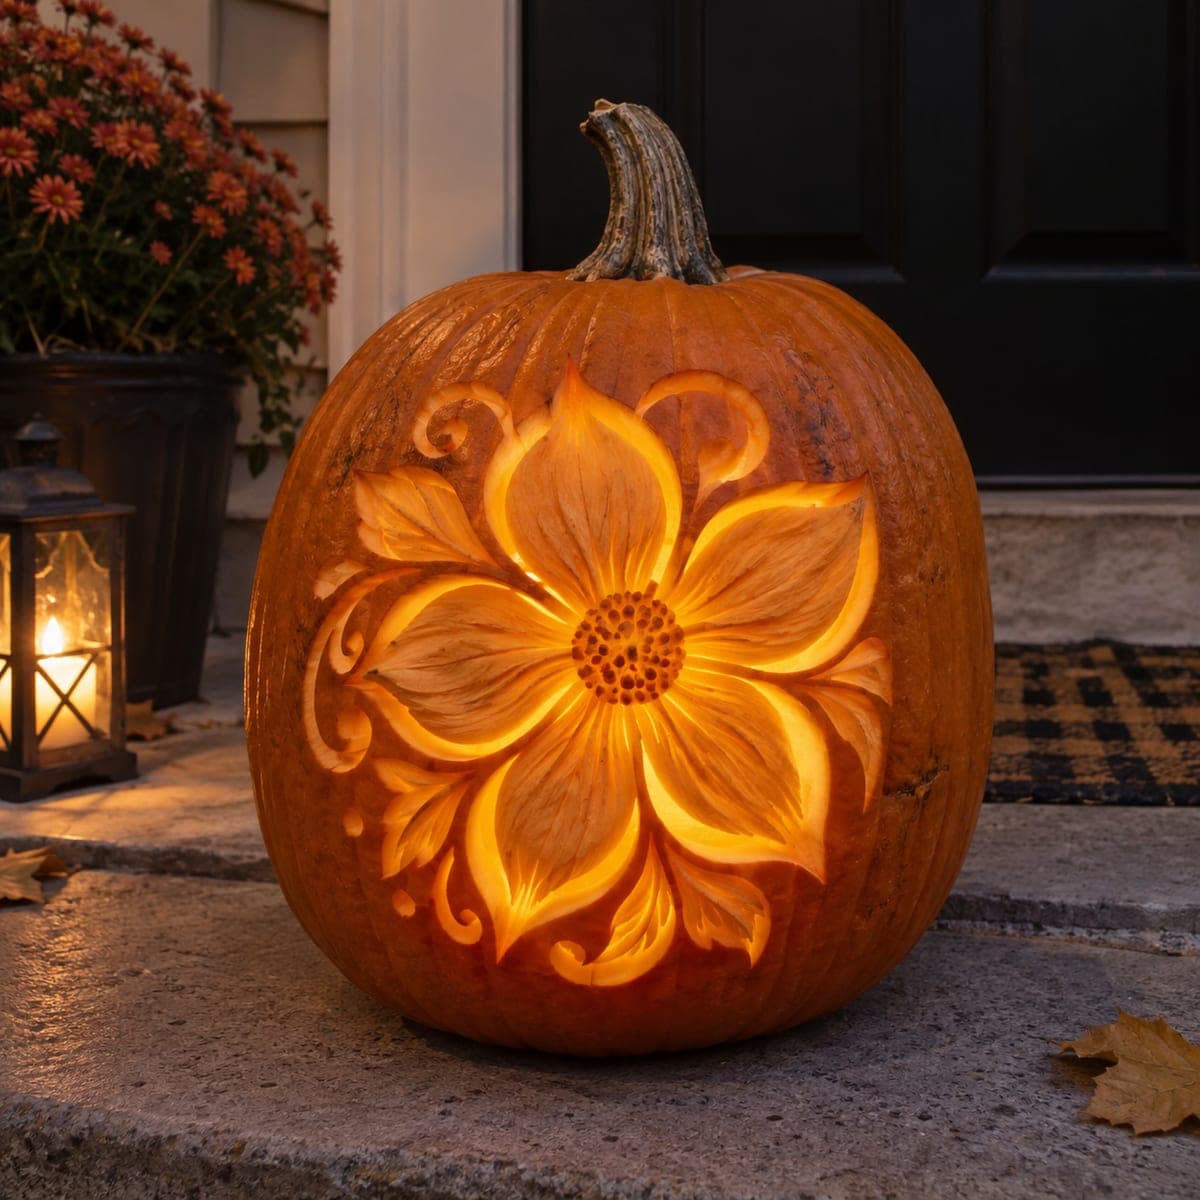
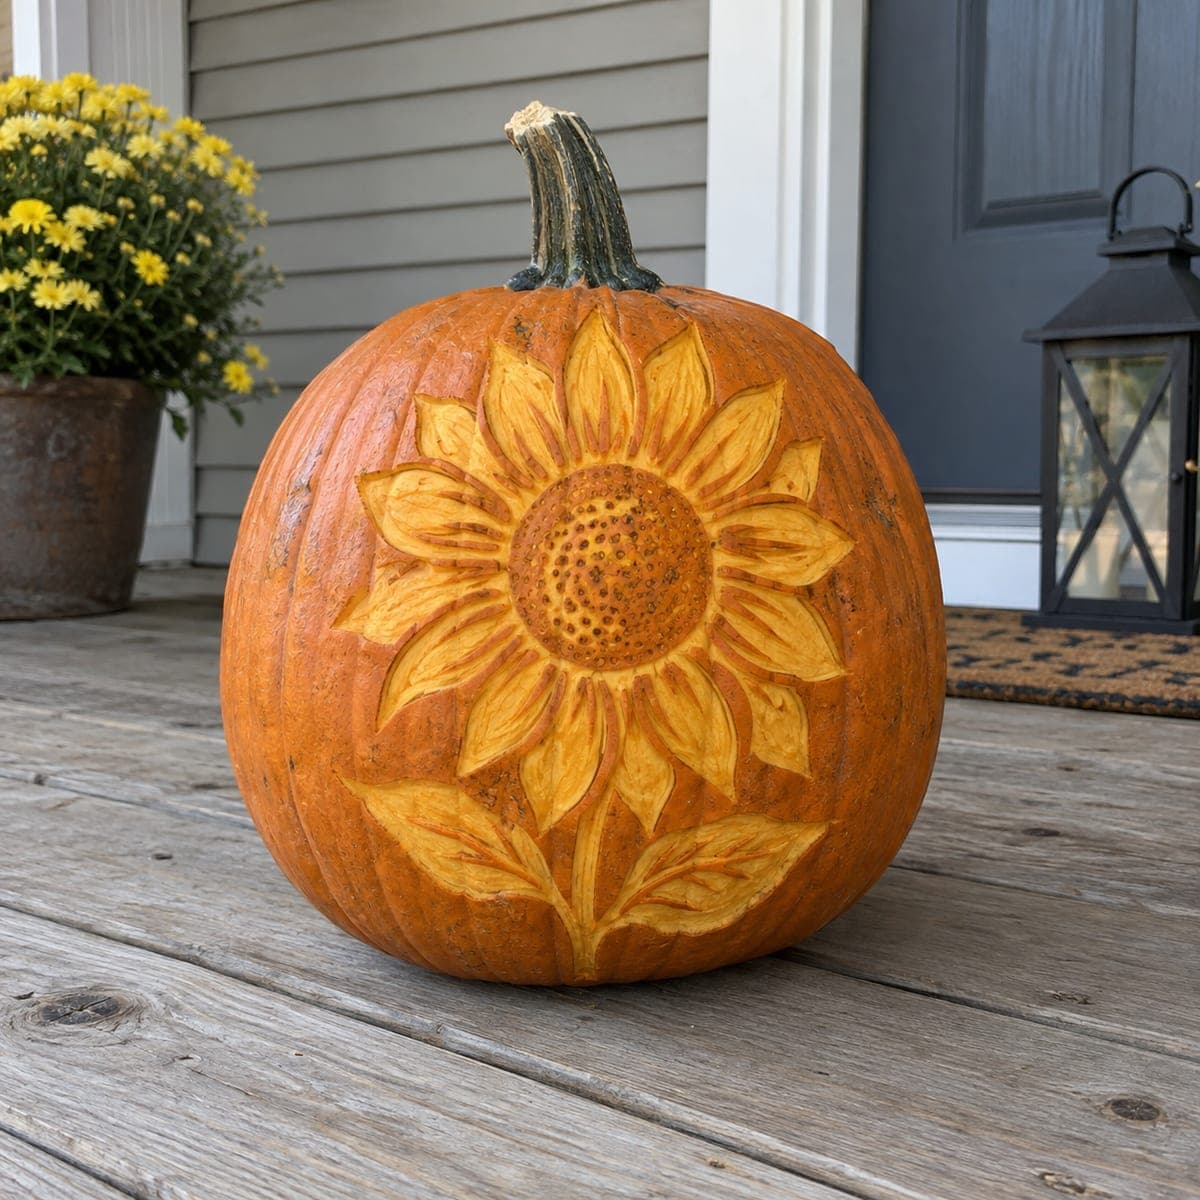
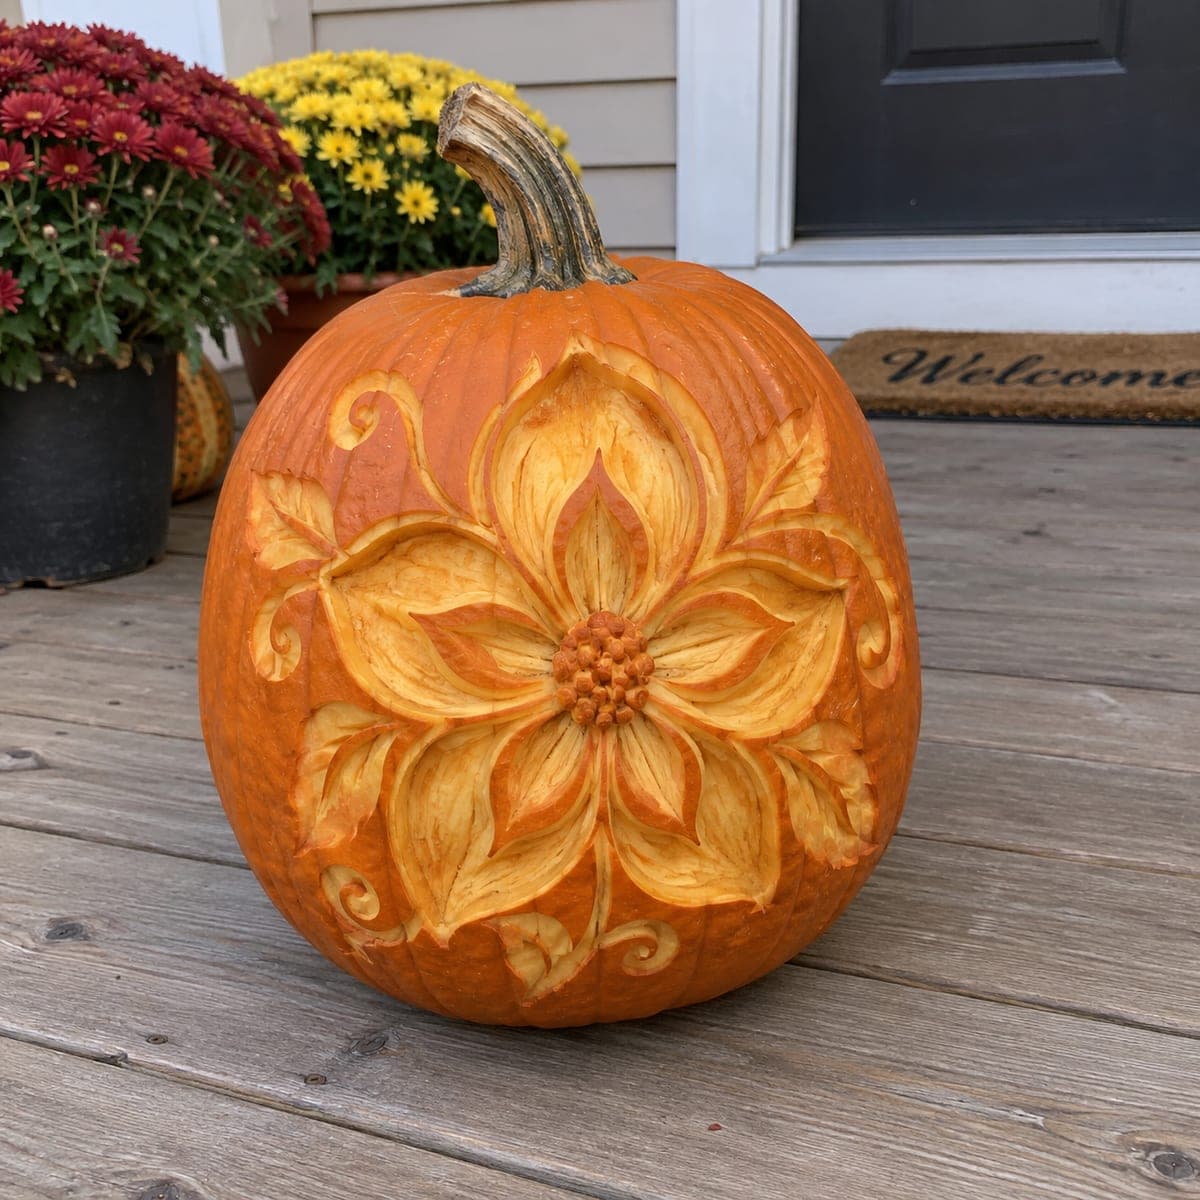
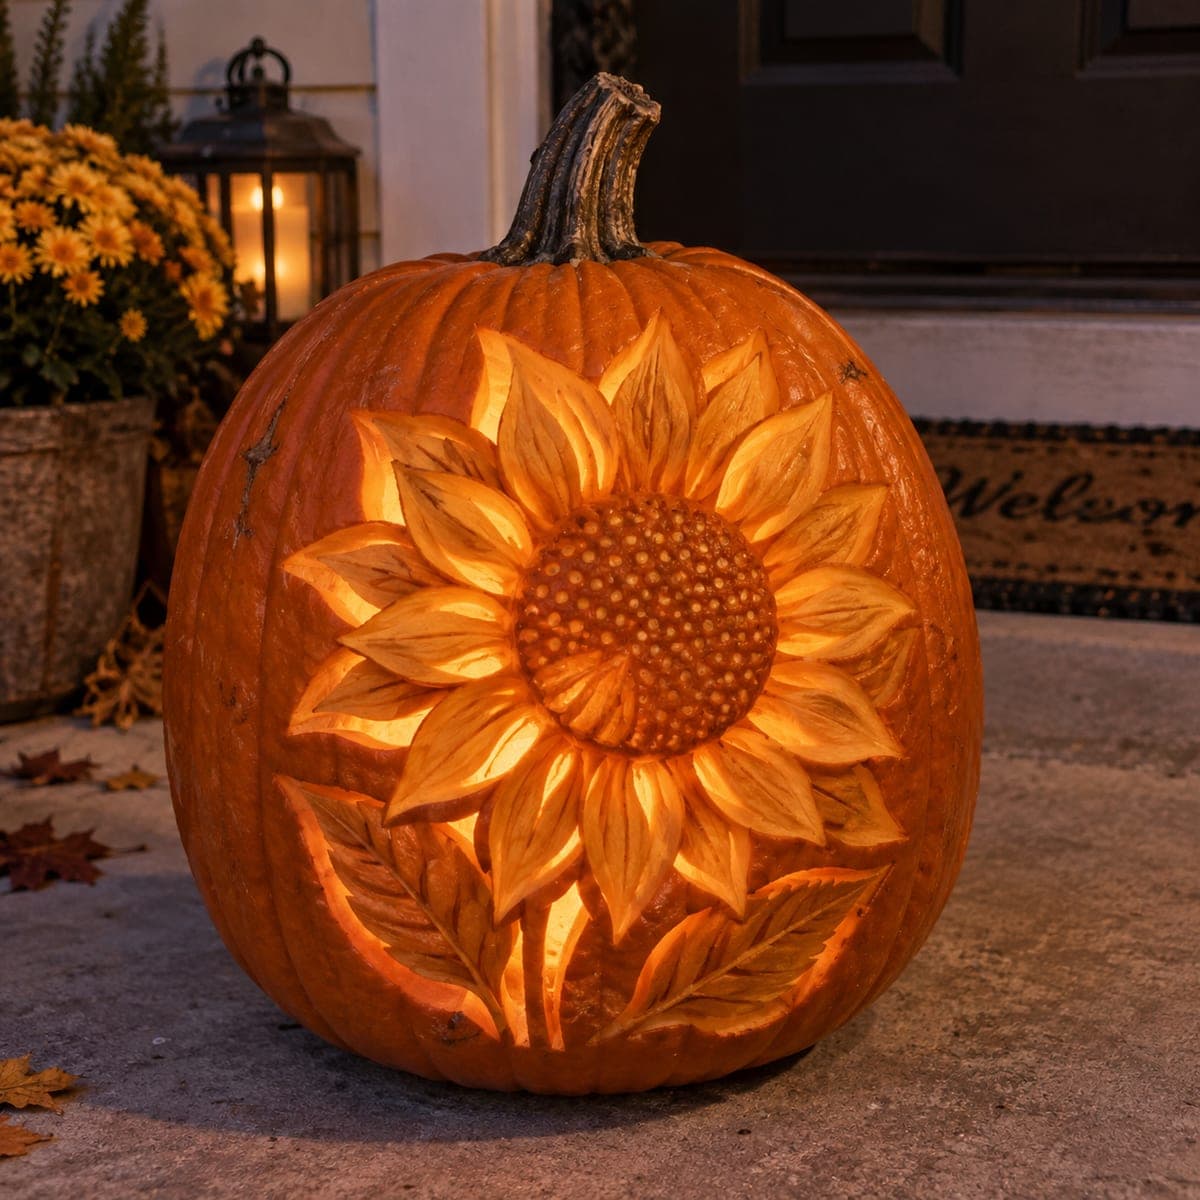
Radiating layers of pointed petals surround a stippled seed head in this sunflower pumpkin, glowing gold with a light inside. Petals are carved at two depths, brighter in front and dimmer behind, which creates the layered bloom effect, while the center is dimpled with a small gouge for seed texture. Carve the center disk first so the petal rows have a clean anchor. A warm harvest pumpkin idea that carries a porch from September into November.

This is an AI-generated concept image: a realistic, carvable design idea rather than a photo of a finished carve. AI concepts are always labeled and sit out the leaderboard and the contest.

No ratings yet · Sign in to rate
Comments (0)

  • No comments yet — be the first.

Save without an account. Sign in to like or comment.

Our tips for carving a similar design

The core trick here is relief carving at two depths, where you peel the pumpkin skin to different thicknesses so front petals glow bright and back petals stay dim, which fakes a layered bloom. You also stipple the round seed head with a small gouge for that dotted texture. The plan is to carve the center disk first as an anchor, then build the petal rows outward, and save any true cutouts for last.

Written by PumpkinCarvingIdeas.com, inspired by the image above. These are our suggestions, not instructions from the uploader. This approach to the AI concept has not been tested on a real pumpkin.

From pumpkin to porch

  1. Transfer the sunflower and plan your layers

    Pick the flattest, ripest face of the pumpkin and clean the surface. Tape your stencil on and poke the outlines with a pin or transfer tool, marking the center disk, the front petal row, the back petal row, and the lower leaves. Before you cut, decide which petals sit in front so you know which stay bright. Step back and check the flower fills the face nicely with room for leaves at the bottom.

  2. Open the lid and gut it well

    Cut a lid from the bottom or the back rather than around the stem so the front face stays uninterrupted. Scoop out the seeds and pulp, then thin the carving wall from inside to about one inch where the flower will be. A thinner wall makes shading easier and lets light pass through evenly. Take your time so the wall thickness stays consistent across the design.

  3. Carve the seed head center first

    Outline the round center disk with a detail knife so it has a clean edge. Peel the skin off the disk to a shallow depth, then use a small U gouge to press many little dimples across it for the stippled seed texture. Keep the dots close and even so it reads as a real seed head. This center is your anchor, so getting it crisp makes the petal rows line up around it.

  4. Shade the two petal rows

    Peel the skin from the front row of petals so they glow bright gold, carving small grooves down each petal for the veins. For the back row, peel a little less deep or leave a thin film of skin so those petals stay dimmer and appear to sit behind. Angle your gouge so each petal tapers to a point and casts a soft shadow against its neighbor. This depth difference is what creates the layered bloom, so compare brightness as you go.

  5. Detail the leaves and add light gaps

    Carve the lower leaves with the same peeling method, adding a center vein and side veins for realism. If you want a few brighter accents, cut fully through only in small slivers between petals or along a leaf edge, keeping thin ribs of skin between openings so nothing collapses. Save these full cutouts for last so the surface stays firm while you do the fine work. Keep openings small so the pumpkin holds its shape for weeks.

  6. Light it and photograph

    Drop in an LED puck or string light, never a candle, since the shaded areas are thin and warm easily. Turn it on in a dim room and check that front petals glow brighter than the back row. Touch up any petal that reads flat by peeling a touch deeper. Set it on the porch at dusk with your fall decor and take the photo while the light still glows gold against the sky.

Gather your supplies

Check things off as you get ready.

Work on a stable surface, keep your free hand out of the cutting path, and have an adult handle sharp tools.

Three levels of light

  • Leave intact

    The untouched outer skin of the pumpkin background around the flower stays dark.

  • Peel & shade

    The petals and leaves are skin-peeled, front row deeper for a brighter gold and back row shallower for a dim glow.

  • Cut through

    Only small slivers between petals or along leaf edges are cut fully through for the brightest accents.

Learn the carving basics

Before you start cutting

How do I make the front petals look brighter than the back ones?

Control it with peel depth. Peel more skin off the front row so more light shines through, and leave a slightly thicker layer on the back row so it stays dimmer. Check the difference with your light inside a dark room and adjust before you finish.

Do I have to cut all the way through anywhere?

Not much. This design relies mostly on shaded, peeled surfaces rather than open cutouts. If you want a few bright sparks, cut small slivers between petals last and keep thin ribs of skin between them so the flower stays strong.

How do I get the dotted texture in the center?

After peeling the center disk to a shallow depth, use a small U gouge to press repeated little dimples across it. Keep the dots close together and evenly spaced so they read as packed seeds. Work in rows so you do not miss patches.

Your take belongs here, too.

Changed a detail? Made it simpler? Share a photo of your version and tell the community what worked.

Share your pumpkin

More pumpkins like this

You've reached the end · 8 pumpkins
The Patch Report

Fresh pumpkins, in your inbox.

The best new carvings, ideas worth stealing, and how-tos for carving season. Short, seasonal, and gone by November.

A short email during carving season. Unsubscribe anytime. See our privacy policy.