Halloween Pumpkin Carving Contest Β· Starts October 1st Β· $500 in prizes
← Back to ideas
@ai_concepts
Sep 12, 2026
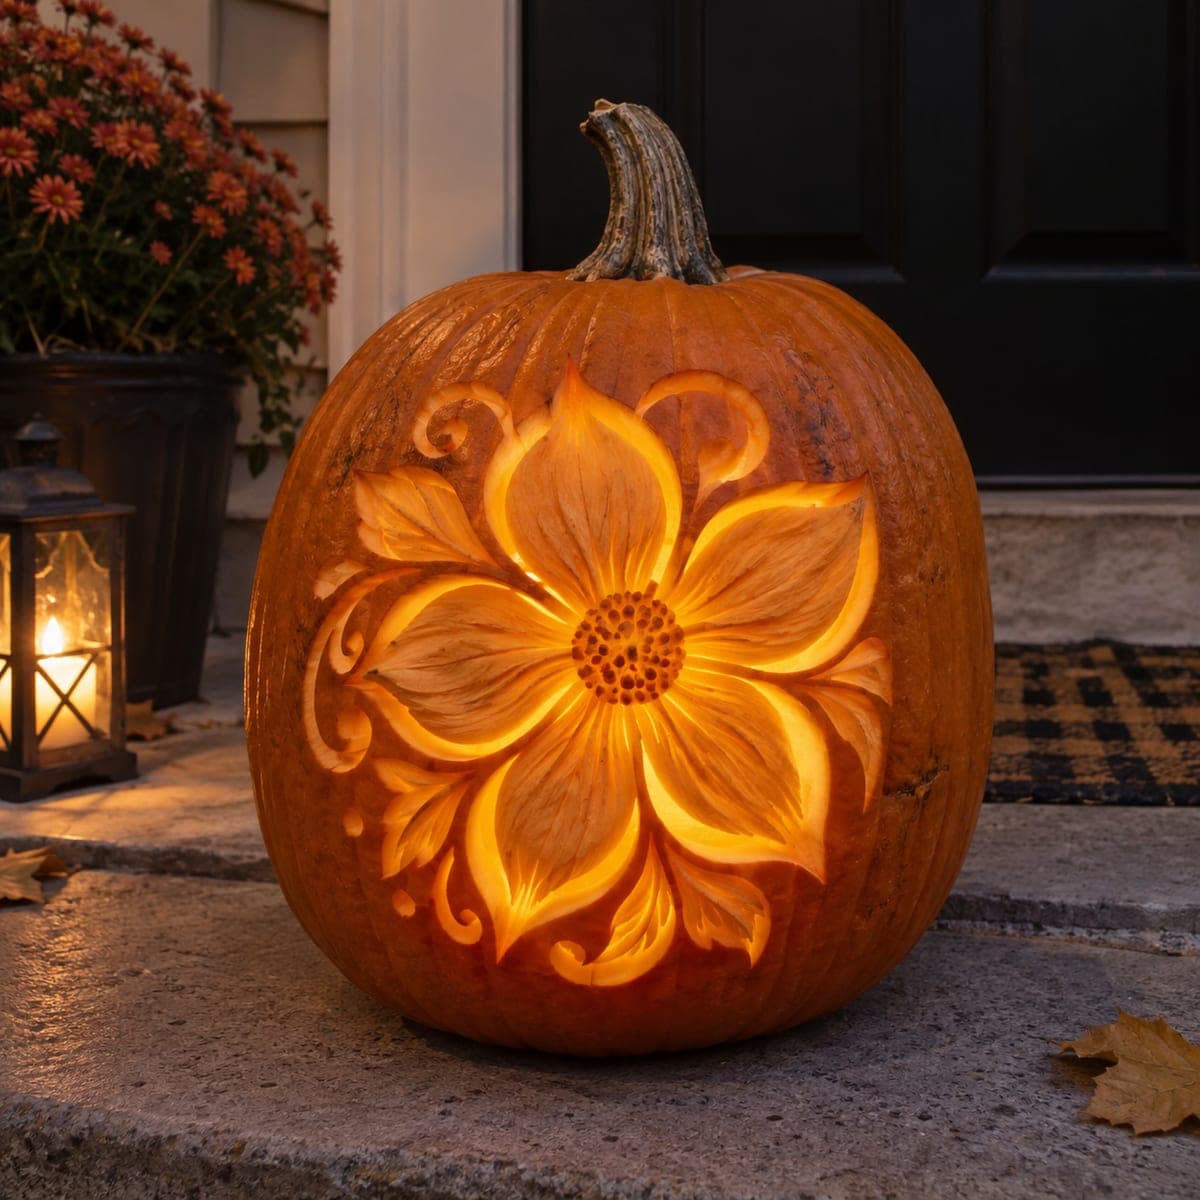
Glowing Magnolia Flower Carved PumpkinAI
0

Glowing Magnolia Flower Carved Pumpkin

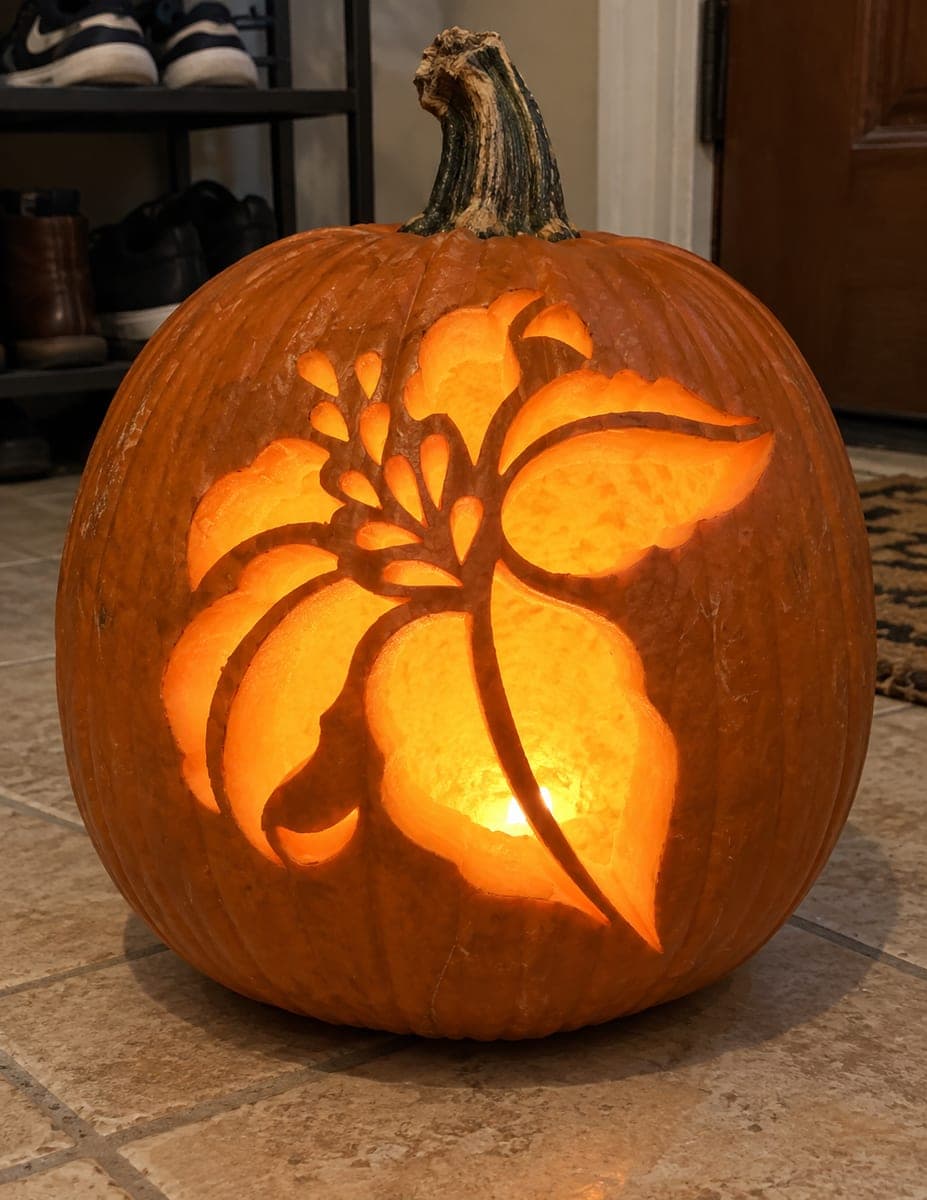
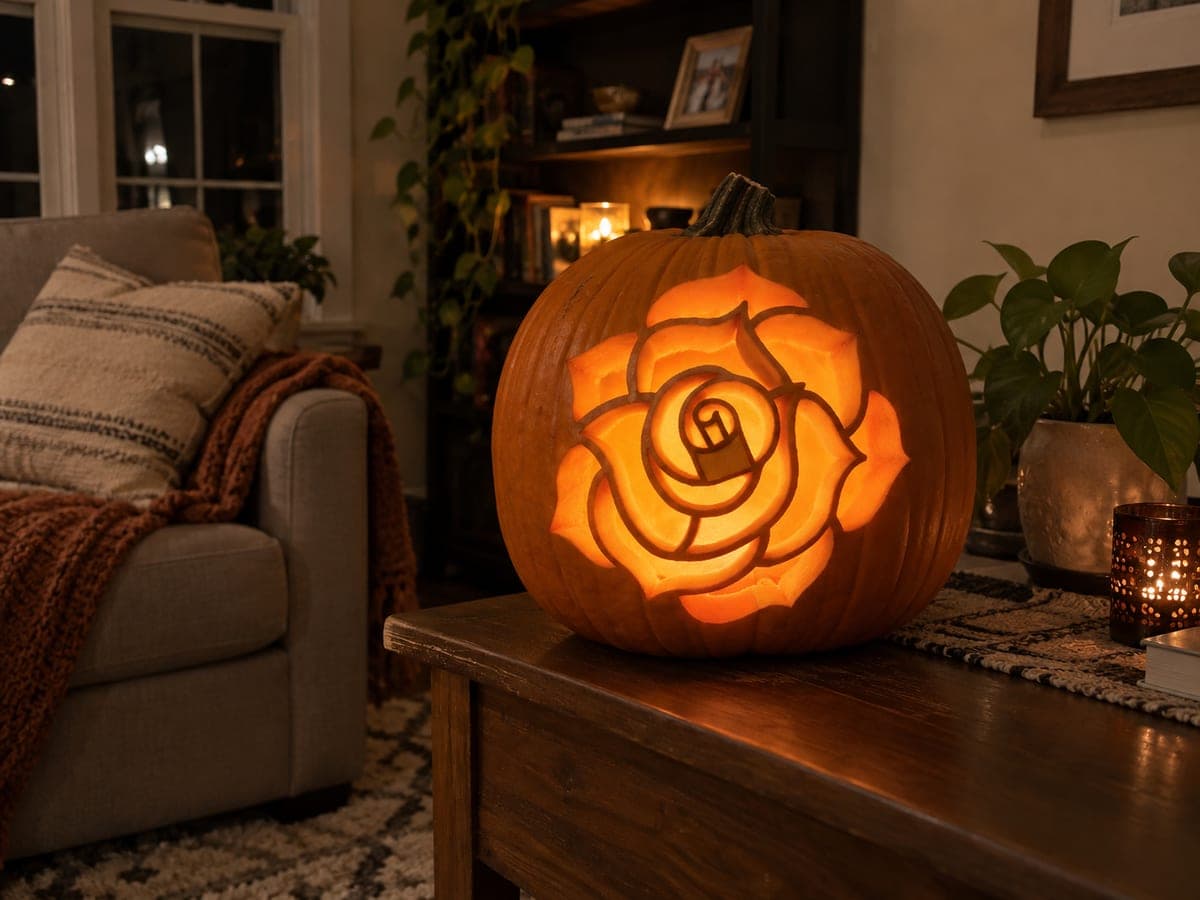
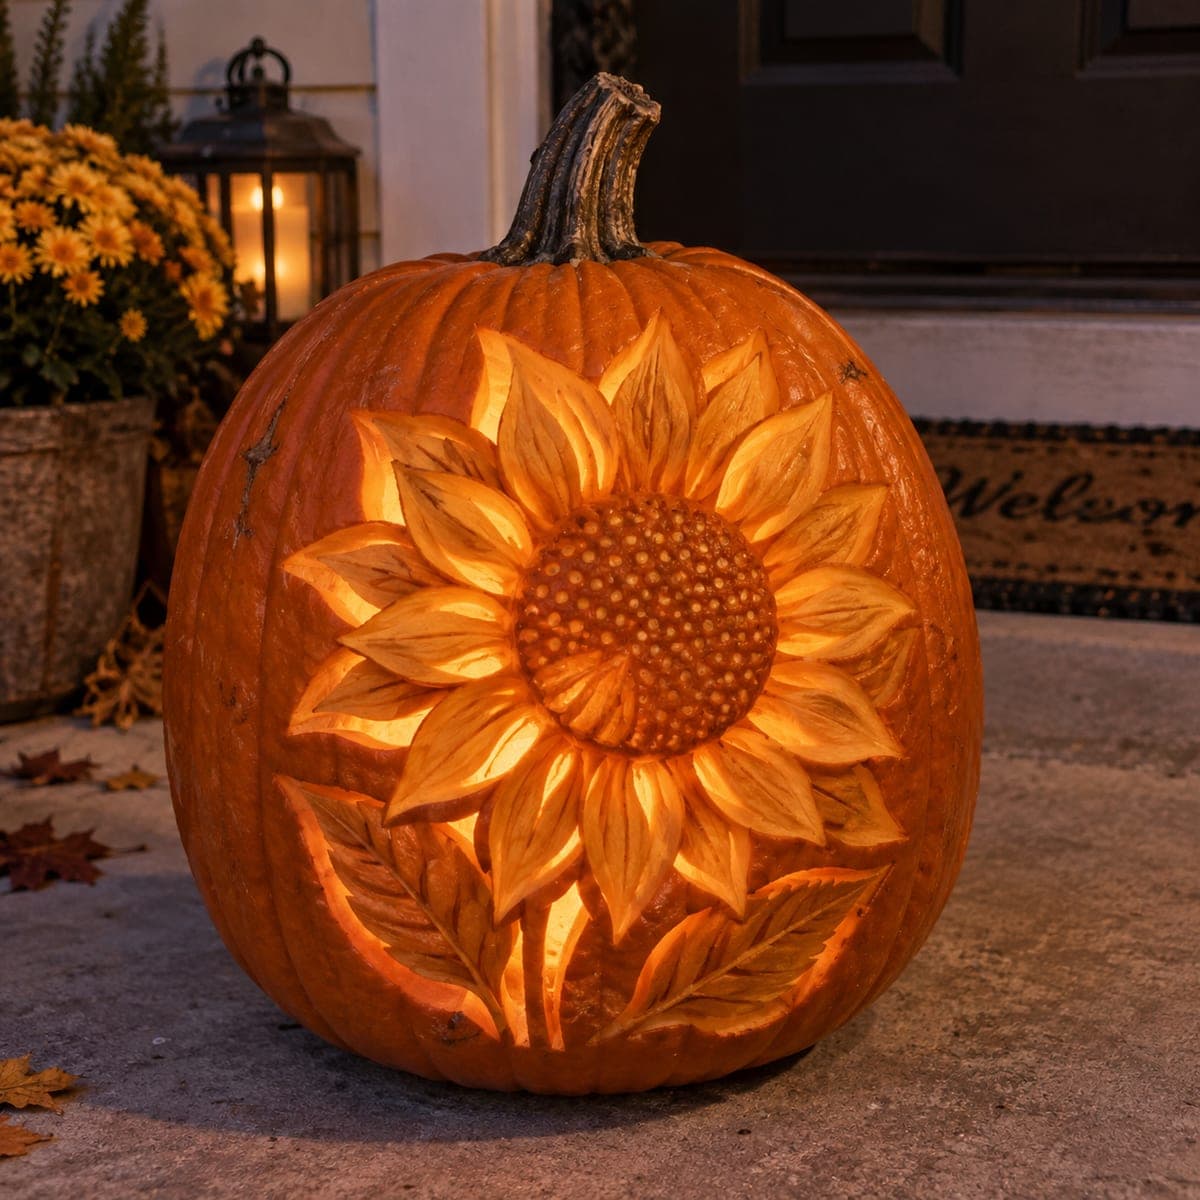
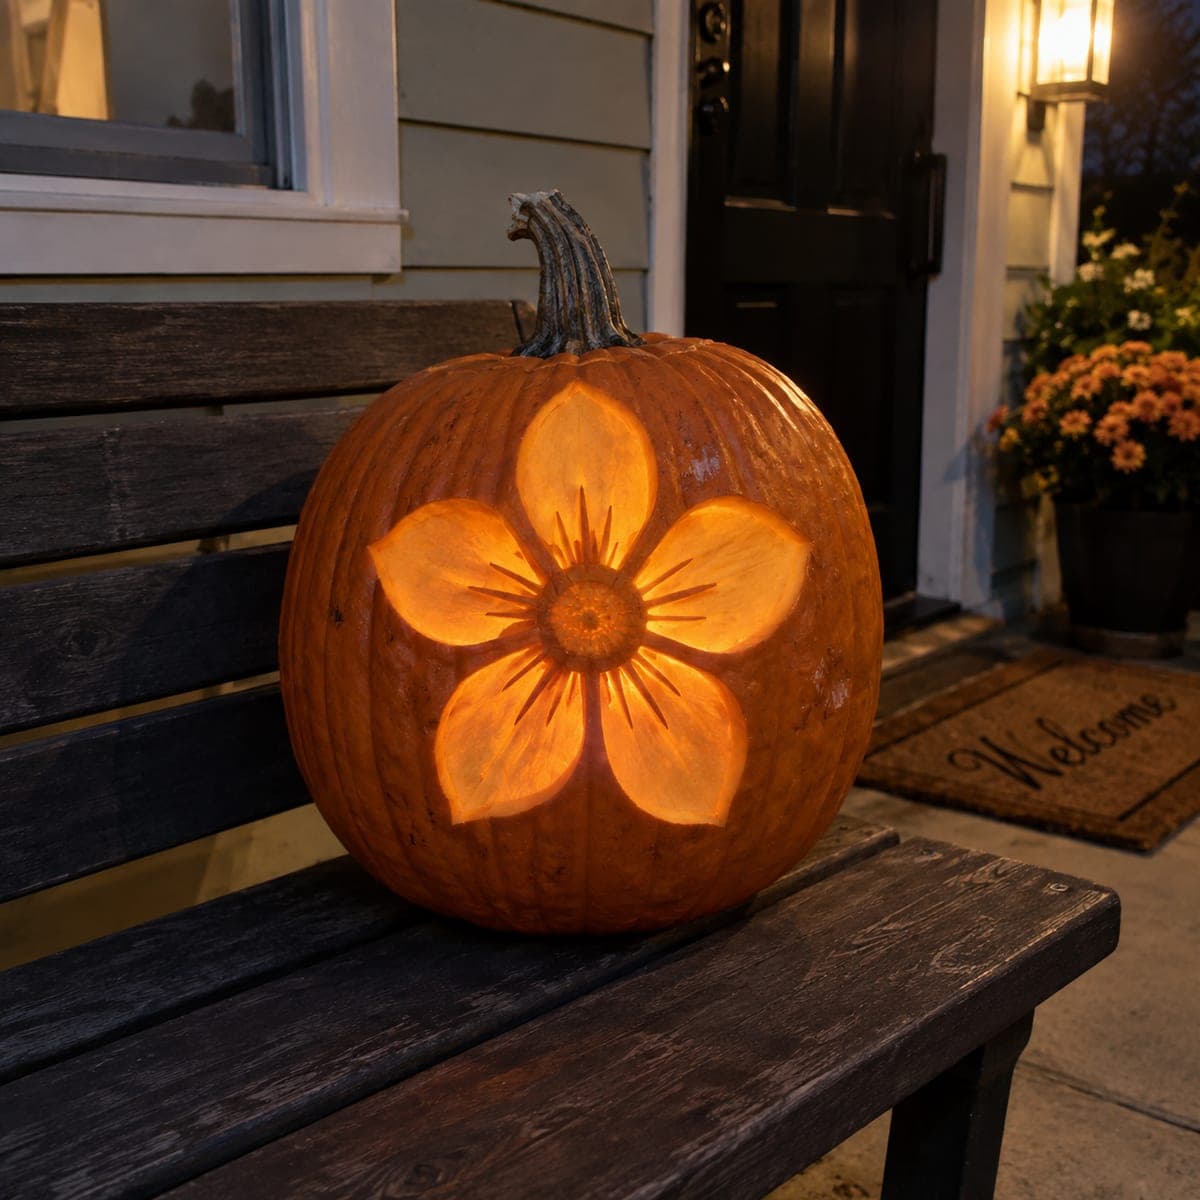
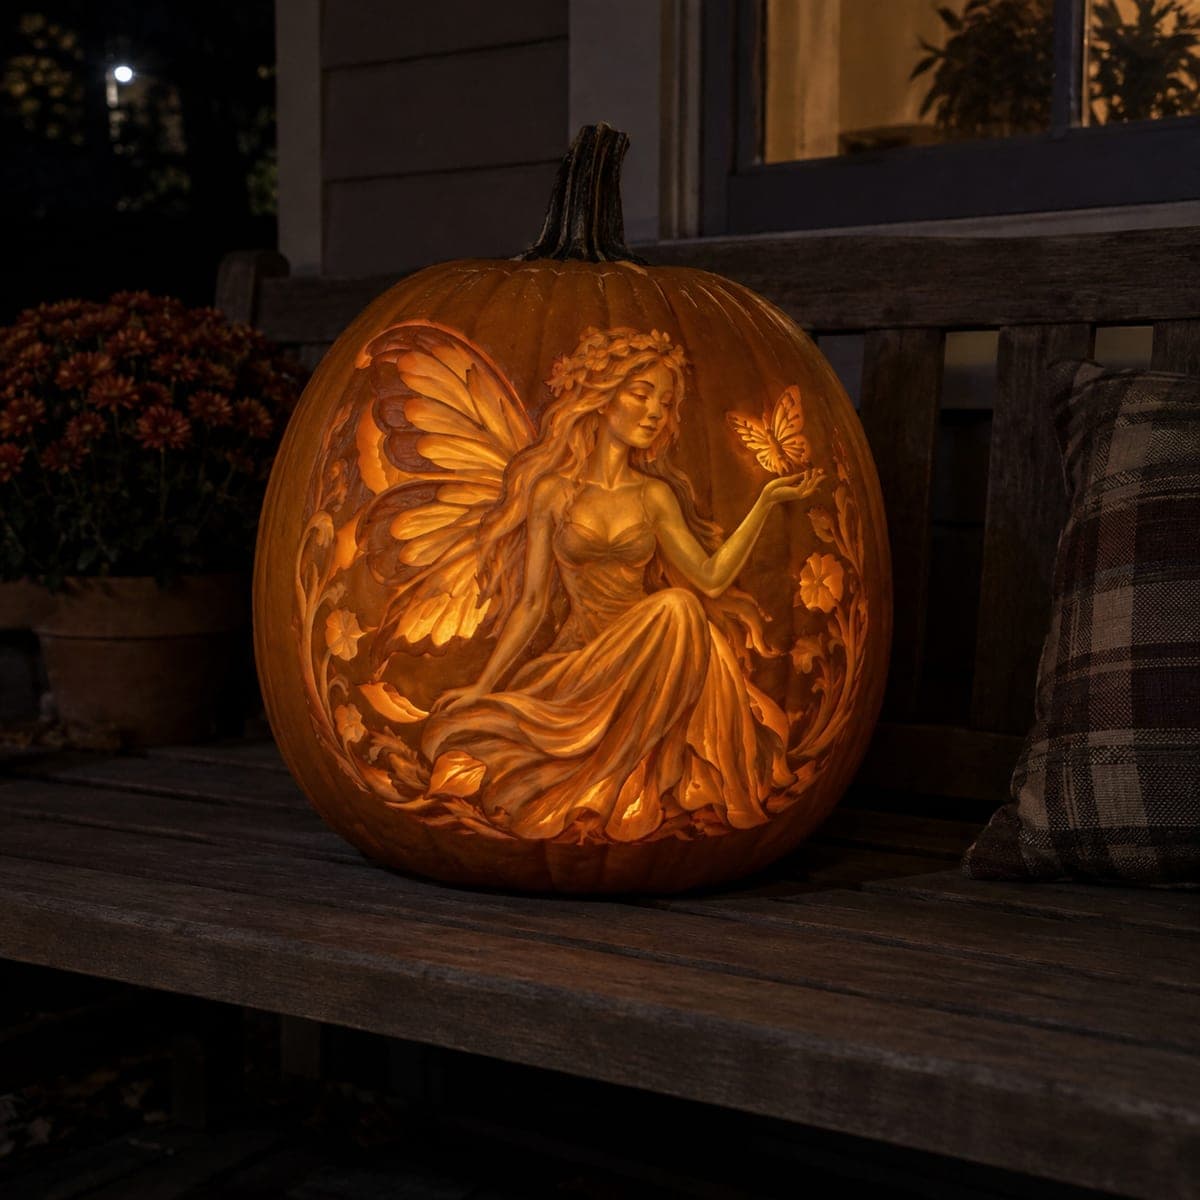
A large six-petal flower blooms across this pumpkin, its petals shaded at graduated depths so candlelight fades from bright centers to soft edges, with curling leaves and vines framing the corners. This look comes from sculpting the flesh at multiple levels rather than cutting through, thinning each petal toward its center vein. Carve the deep glowing center first to set your brightest value, then work outward. A stunning pumpkin carving idea for fans of decorative floral work.

This is an AI-generated concept image: a realistic, carvable design idea rather than a photo of a finished carve. AI concepts are always labeled and sit out the leaderboard and the contest.

No ratings yet Β· Sign in to rate

Comments (0)

  • No comments yet β€” be the first.

Save without an account. Sign in to like or comment.

Our tips for carving a similar design

The core trick here is relief carving at graduated depths rather than cutting all the way through. You sculpt each petal so the flesh is thinnest and brightest near the center, then thickens toward the tips so the glow fades to a soft edge. Set your brightest value first at the deep flower center, then work outward petal by petal, saving the curling leaves and vines for last.

Written by PumpkinCarvingIdeas.com, inspired by the image above. These are our suggestions, not instructions from the uploader. This approach to the AI concept has not been tested on a real pumpkin.

From pumpkin to porch

  1. Transfer the flower and plan your light

    Since this is an AI concept, no real pumpkin exists, but you can recreate the look on a firm, smooth pumpkin. Tape your six-petal stencil flat over the front face and poke the outlines with a transfer tool or pin. Mark the tight center circle, each petal spine, and the corner leaves and vines. Step back and picture where light should be brightest so you carve with a plan instead of guessing.

  2. Open and clean the pumpkin

    Have an adult cut a lid from the bottom rather than the top so the stem stays intact for display. Scoop the insides and scrape the front carving wall down to about one inch thick and even. A consistent wall is what lets your shading glow smoothly. Let the surface dry a few minutes before you start detailing.

  3. Carve the deep center first

    Use a small loop or gouge to hollow the flower center almost through, leaving just a thin translucent layer so it becomes your brightest point. Add the dotted seed texture by pressing shallow dimples in a ring, keeping a little more flesh between them for contrast. This sets your maximum brightness value. Everything else you carve will be judged against how bright this center reads.

  4. Shade the petals at graduated depths

    Work one petal at a time, thinning the flesh deepest near the center vein and leaving it thicker toward the outer tip. Drag the gouge along the petal in the direction it grows so the ridges catch light like real veining. Leave a slightly raised line between neighboring petals so each one stays defined. Keep testing with an LED light inside so you can see the fade develop as you go.

  5. Detail the leaves and curling vines

    Sculpt the corner leaves shallower than the petals so they stay dim and frame the bloom. Carve their center veins a touch deeper for a subtle glow. For the curling vines, remove just the outer skin so they read as soft orange lines rather than bright cutouts. These framing elements should support the flower, not compete with it.

  6. Light it and photograph

    Drop in a battery LED, never a candle, since the thin center could scorch. Set the brightness so the center pops without washing out the petal fade. Photograph at dusk on a step or porch to match the warm mood in the reference. If any petal looks flat, go back and thin it a hair more near its vein.

Gather your supplies

Check things off as you get ready.

Work on a stable surface, keep your free hand out of the cutting path, and have an adult handle sharp tools.

Three levels of light

  • Leave intact

    The background pumpkin skin and the vine backgrounds stay untouched and dark.

  • Peel & shade

    The curling vines, leaf bodies, and outer petal tips are skin-peeled or thinly shaded for a soft orange glow.

  • Cut through

    The deep flower center is carved almost through for the brightest point, with the seed dimples pushing light forward.

Learn the carving basics

Before you start cutting

How thin should I make the petals near the center?

Aim for the flesh near each center vein to be about a quarter inch, thickening toward the tip so light fades naturally. Keep testing with your LED inside as you go, since pumpkin walls vary. Stop thinning the moment you see a warm glow come through, because going too far leaves a fragile spot.

Do I need to cut all the way through anywhere?

Not really, this design relies on shading rather than open cuts. The deep flower center comes closest, left as a thin translucent layer rather than a full hole. Keeping everything as relief carving is what gives the soft graduated fade instead of harsh bright windows.

How do I keep the six petals looking even?

Trace them from a stencil first so the layout is symmetrical before you carve. Leave a slightly raised ridge between neighboring petals to define each one. Work them in the same order and to the same depth so no single petal jumps out brighter than the rest.

Your take belongs here, too.

Changed a detail? Made it simpler? Share a photo of your version and tell the community what worked.

Share your pumpkin

More pumpkins like this

You've reached the end Β· 8 pumpkins
The Patch Report

Fresh pumpkins, in your inbox.

The best new carvings, ideas worth stealing, and how-tos for carving season. Short, seasonal, and gone by November.

A short email during carving season. Unsubscribe anytime. See our privacy policy.