Halloween Pumpkin Carving Contest Β· Starts October 1st Β· $500 in prizes
← Back to ideas
@ai_concepts
Jul 29, 2026
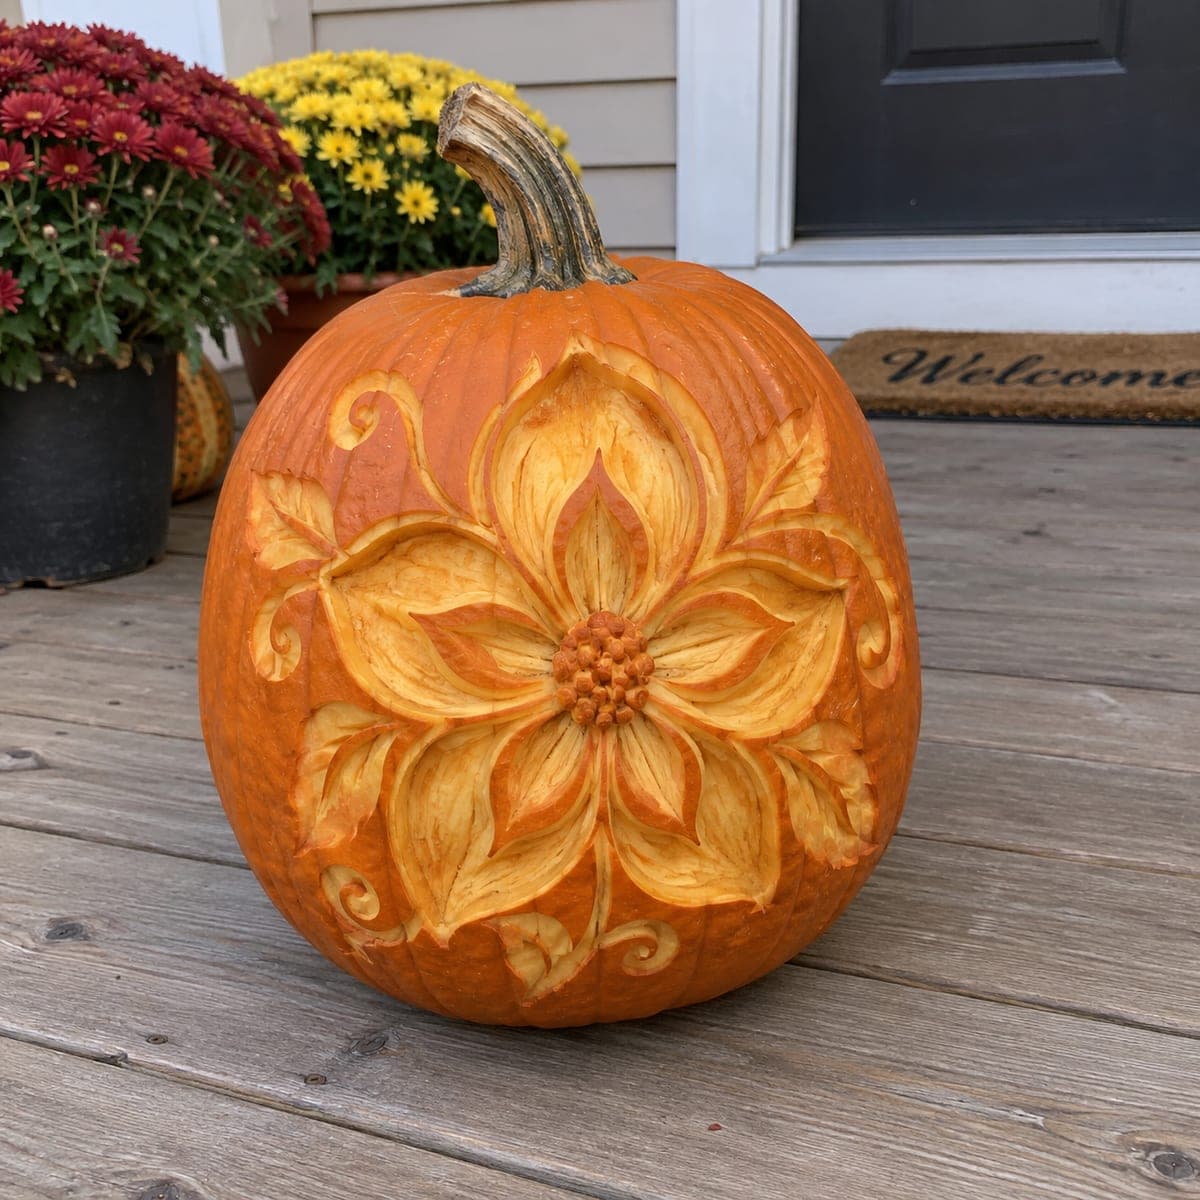
Layered Flower Relief Pumpkin for Fall PorchesAI
0

Layered Flower Relief Pumpkin for Fall Porches

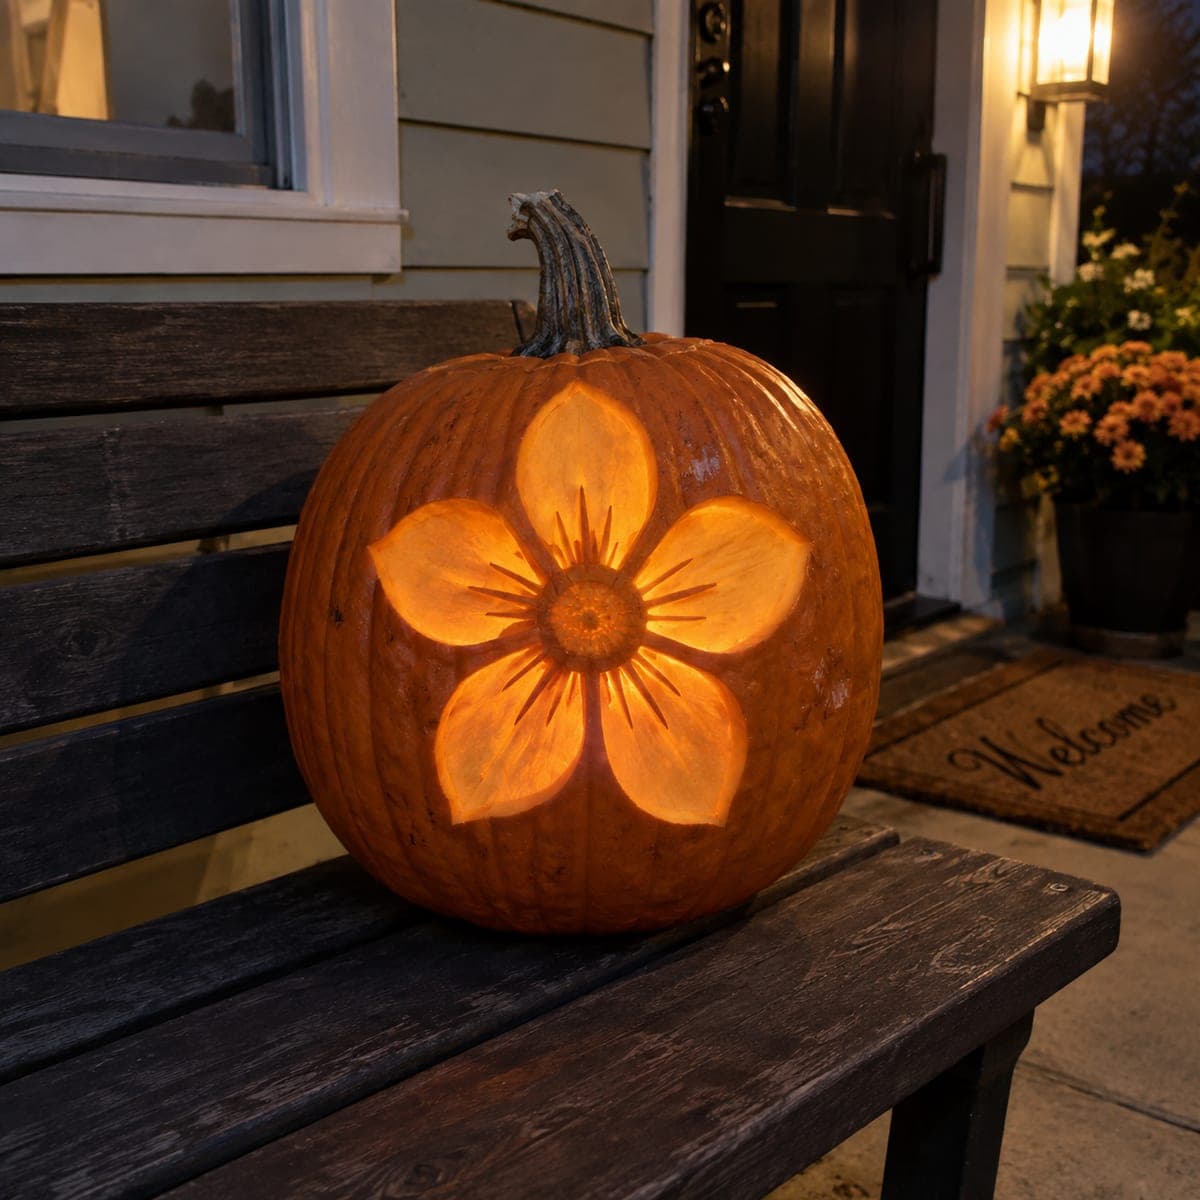
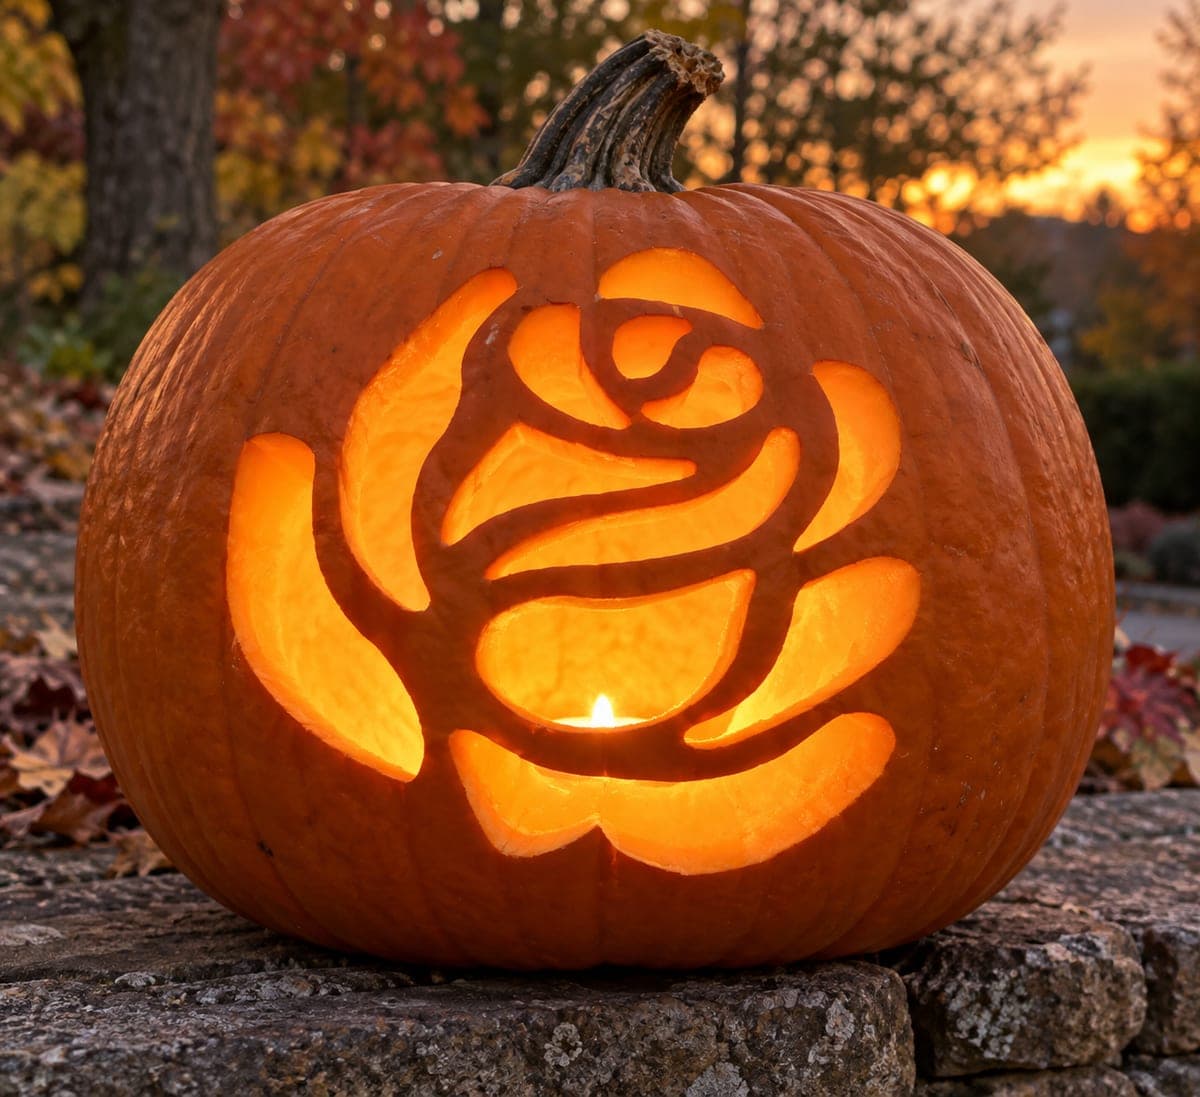
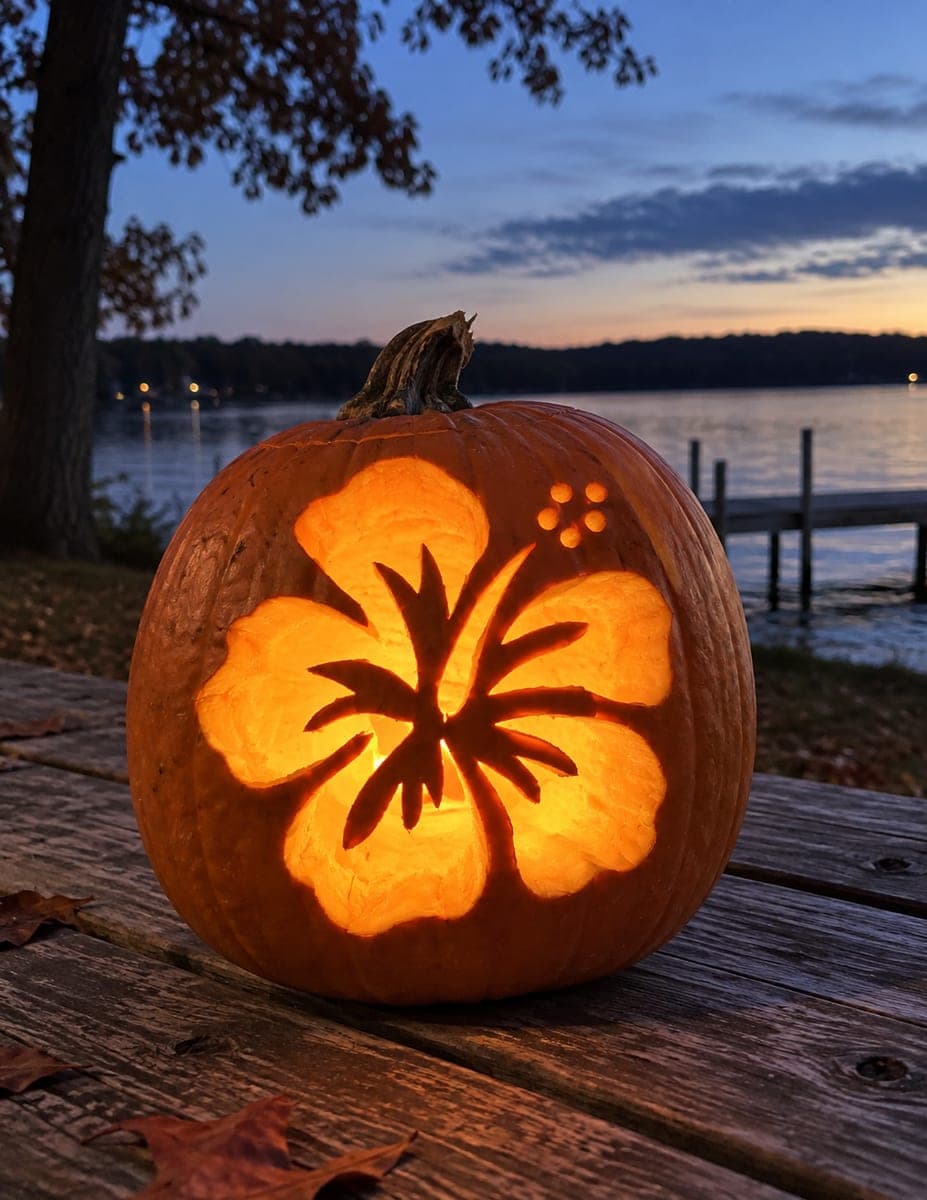
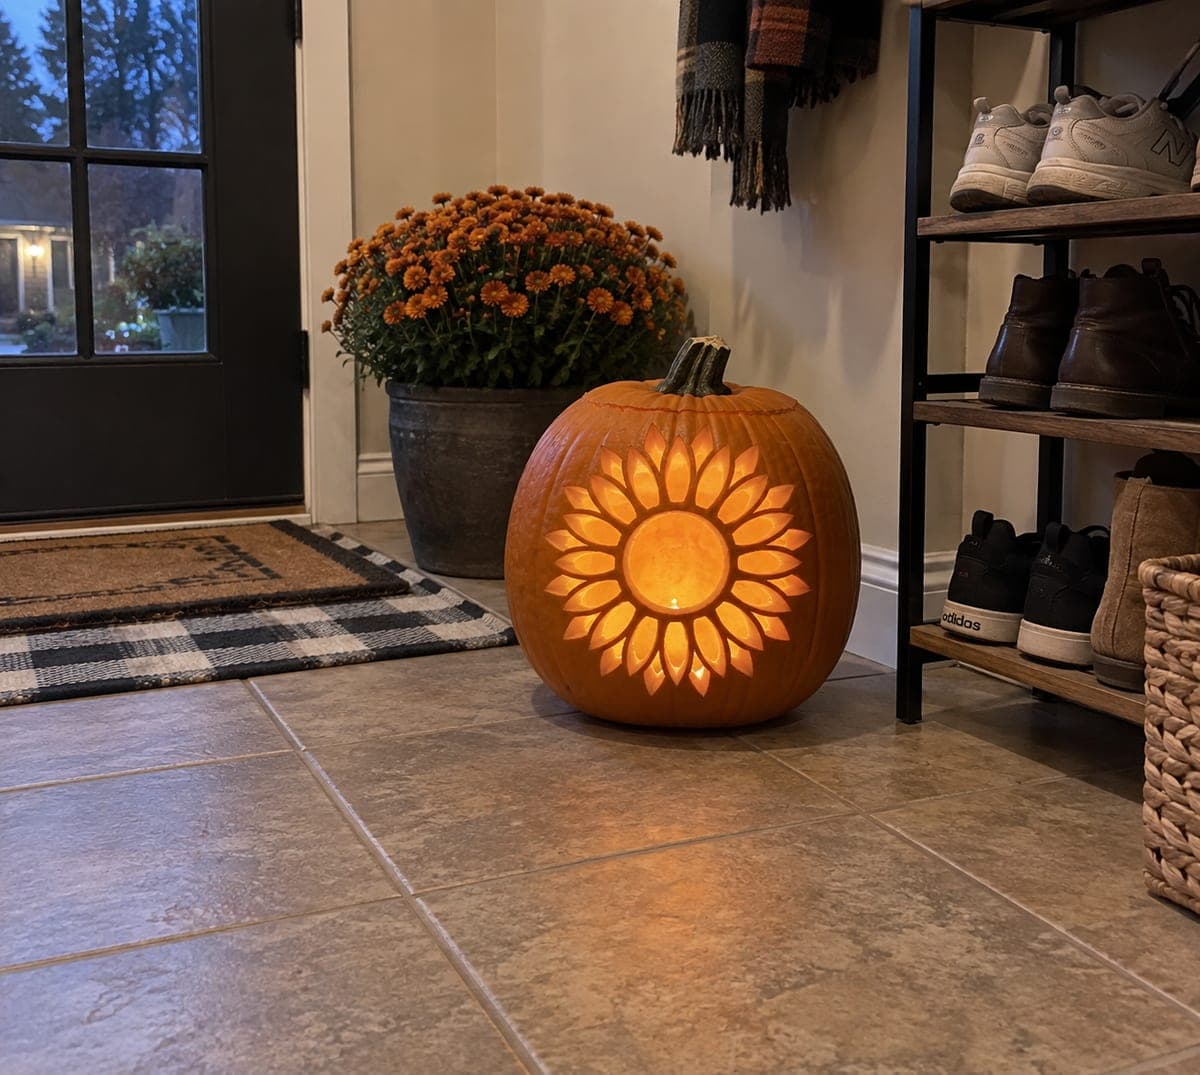
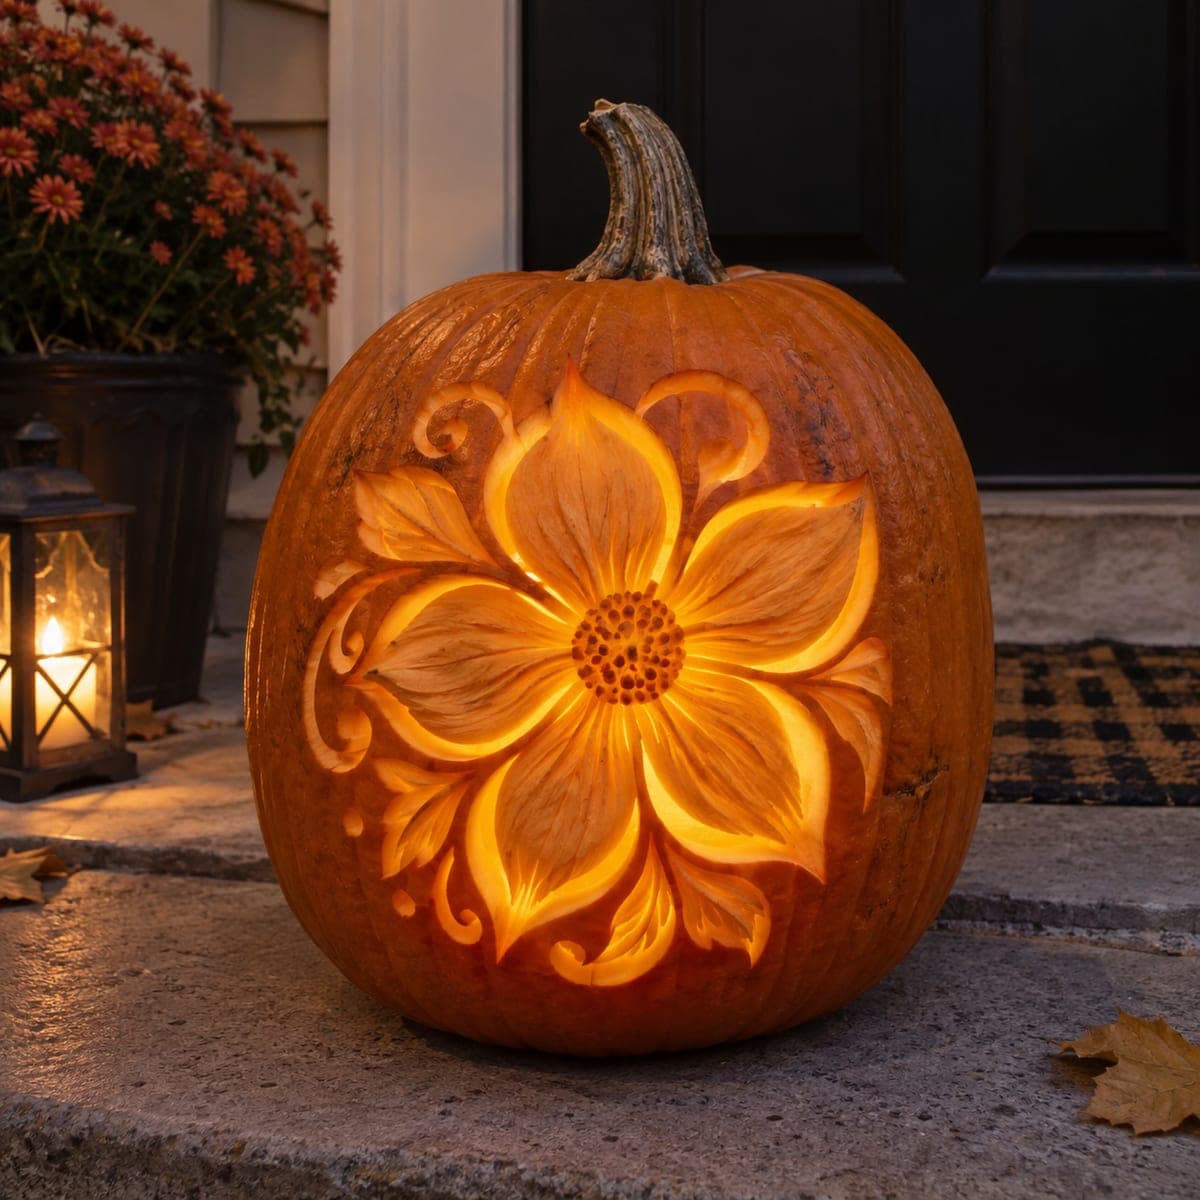
Overlapping petals, curling tendrils, and a beaded center bloom across this daytime relief pumpkin, a great pumpkin carving idea for fall decor that skips the spooky theme. Every element is peeled from the surface at shallow depth, so the pumpkin stays intact and lasts longer than a pierced design. Use a V-tool for the vine lines and a wide gouge for petals, and coat the cut surfaces with petroleum jelly to slow drying.

This is an AI-generated concept image: a realistic, carvable design idea rather than a photo of a finished carve. AI concepts are always labeled and sit out the leaderboard and the contest.

No ratings yet Β· Sign in to rate

Comments (0)

  • No comments yet β€” be the first.

Save without an account. Sign in to like or comment.

Our tips for carving a similar design

The core trick here is relief carving, where you skin and shade the surface at different depths instead of cutting all the way through. A big central flower is built from overlapping petals, then framed by curling vine tendrils and a beaded center. Work from the middle petals outward so each layer reads as if it sits above the one behind it.

Written by PumpkinCarvingIdeas.com, inspired by the image above. These are our suggestions, not instructions from the uploader. This approach to the AI concept has not been tested on a real pumpkin.

From pumpkin to porch

  1. Pick a firm pumpkin and transfer the design

    Choose a smooth, evenly round pumpkin with a flat-ish face and no soft spots, since relief work needs solid, unblemished skin. Print or trace the flower stencil and tape it flat over the front. Poke through the main petal outlines and tendril lines with a pin or awl so you have dots to connect. Leave the pumpkin whole, because this design is not opened up.

  2. Outline every shape with a V-tool

    Connect your dots by running a V-tool along the petal and leaf edges, keeping the cut shallow and steady. Go slow around the tight curls of the tendrils so the lines stay clean. These grooves separate each element and give you crisp borders to carve up to later. Let an adult handle the sharp tools and always cut away from your hand.

  3. Peel the petals to a mid depth

    Using a wide loop gouge, scrape the skin off the inner petals first to expose the pale flesh underneath. Keep the depth even and shallow, only a few millimeters, so the pumpkin stays intact and strong. Angle the gouge to leave the petal edges slightly raised, which builds the layered, overlapping look. Work the center petals before the outer ones so the layers stack correctly.

  4. Shade the layers and carve the beaded center

    Deepen the flesh slightly where one petal tucks behind another to create soft shadow lines. Vary how much skin you remove so higher petals stay lighter and lower ones read darker. For the center, leave a cluster of small rounded bumps by carving around each little bead rather than through it. This shading is what gives the flower its dimension in daylight.

  5. Finish the vines and protect the surface

    Carve the outer leaves and curling tendrils last, keeping them shallow so the thin curls stay attached and do not crack. Brush away loose pulp and clean up any ragged edges with a detail knife. Rub petroleum jelly or vegetable oil over all the exposed flesh to slow drying and browning. Store it out of direct sun and mist it lightly if it starts to dry.

  6. Style and photograph it

    Set the pumpkin on a porch step near mums or gourds for a warm fall vignette. Because this is a relief carving it shines in daylight rather than glowing at night. Take photos in soft morning or late afternoon light so the shallow shadows show off the layered petals. Reapply a thin coat of jelly each day to keep the pale carving looking fresh.

Gather your supplies

Check things off as you get ready.

Work on a stable surface, keep your free hand out of the cutting path, and have an adult handle sharp tools.

Three levels of light

  • Leave intact

    The untouched orange skin around the petals and between the vines stays dark and forms the background.

  • Peel & shade

    The petals, leaves, and tendrils are skin-peeled to the pale flesh for a soft daytime glow of dimension.

  • Cut through

    Little to no full cutouts here, since this is a relief design; the deepest shadow lines between petals read almost as cut but still hold the shell together.

Learn the carving basics

Before you start cutting

This is a relief carving, so will it light up at night?

Not really, since none of the design is cut all the way through. It is meant as a daytime display where sunlight catches the shallow peeled areas. If you want a nighttime glow, you could cut a few small openings in the petal tips, but that changes the intact, longer-lasting look.

How do I keep the pale carved flesh from browning?

Exposed pumpkin flesh dries and darkens fast once the skin is off. Coat every cut surface with petroleum jelly or vegetable oil right after carving and reapply daily. Keeping the pumpkin cool and out of direct sun also helps it stay bright for several days.

How deep should I peel without weakening the pumpkin?

Stay shallow, roughly a few millimeters into the flesh, just enough to expose the pale layer beneath the skin. Deeper cuts risk going through the wall and drying out fast. Varying the depth slightly between petals gives you the shading without compromising the shell.

Your take belongs here, too.

Changed a detail? Made it simpler? Share a photo of your version and tell the community what worked.

Share your pumpkin

More pumpkins like this

You've reached the end Β· 8 pumpkins
The Patch Report

Fresh pumpkins, in your inbox.

The best new carvings, ideas worth stealing, and how-tos for carving season. Short, seasonal, and gone by November.

A short email during carving season. Unsubscribe anytime. See our privacy policy.