Halloween Pumpkin Carving Contest · Starts October 1st · $500 in prizes
← Back to ideas
@ai_concepts
Sep 14, 2026
Layered Rose Blossom PumpkinAI
0

Layered Rose Blossom Pumpkin

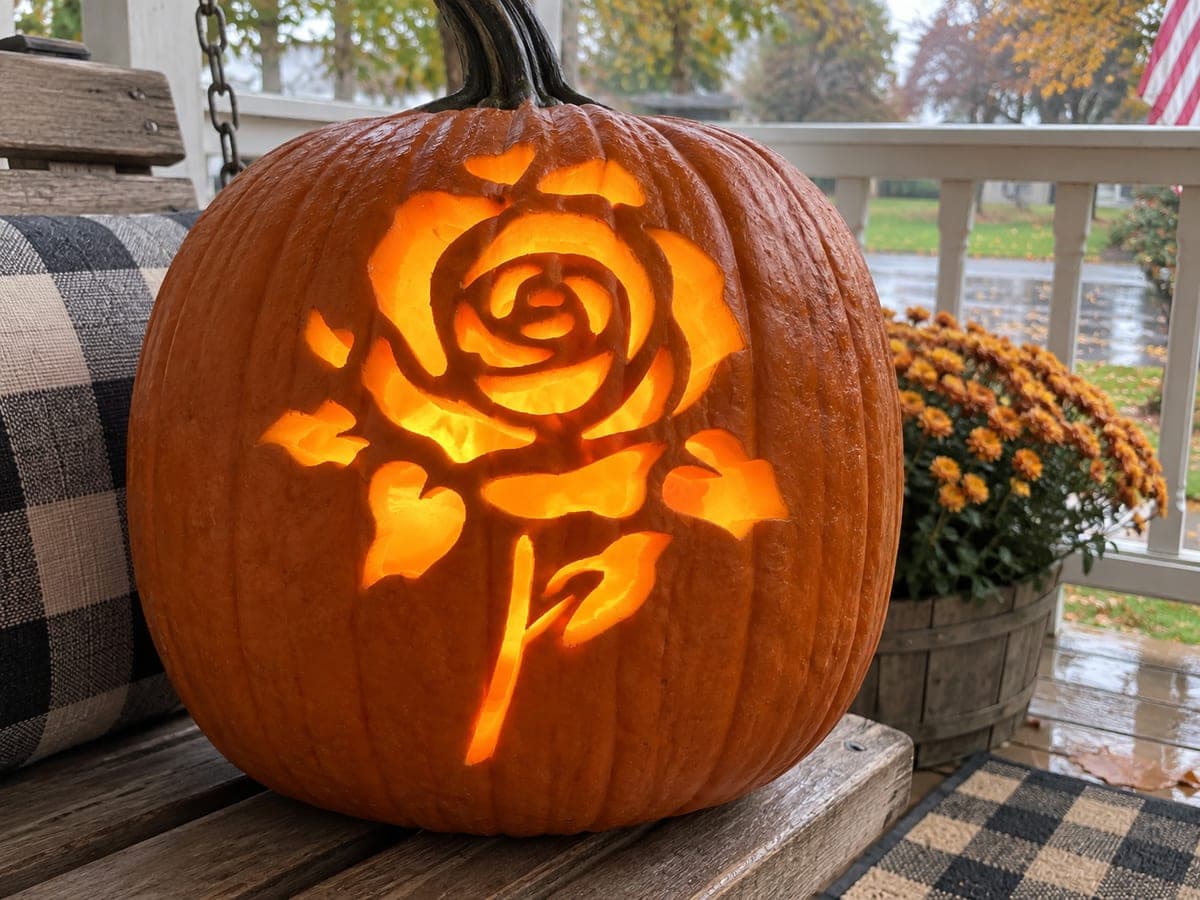
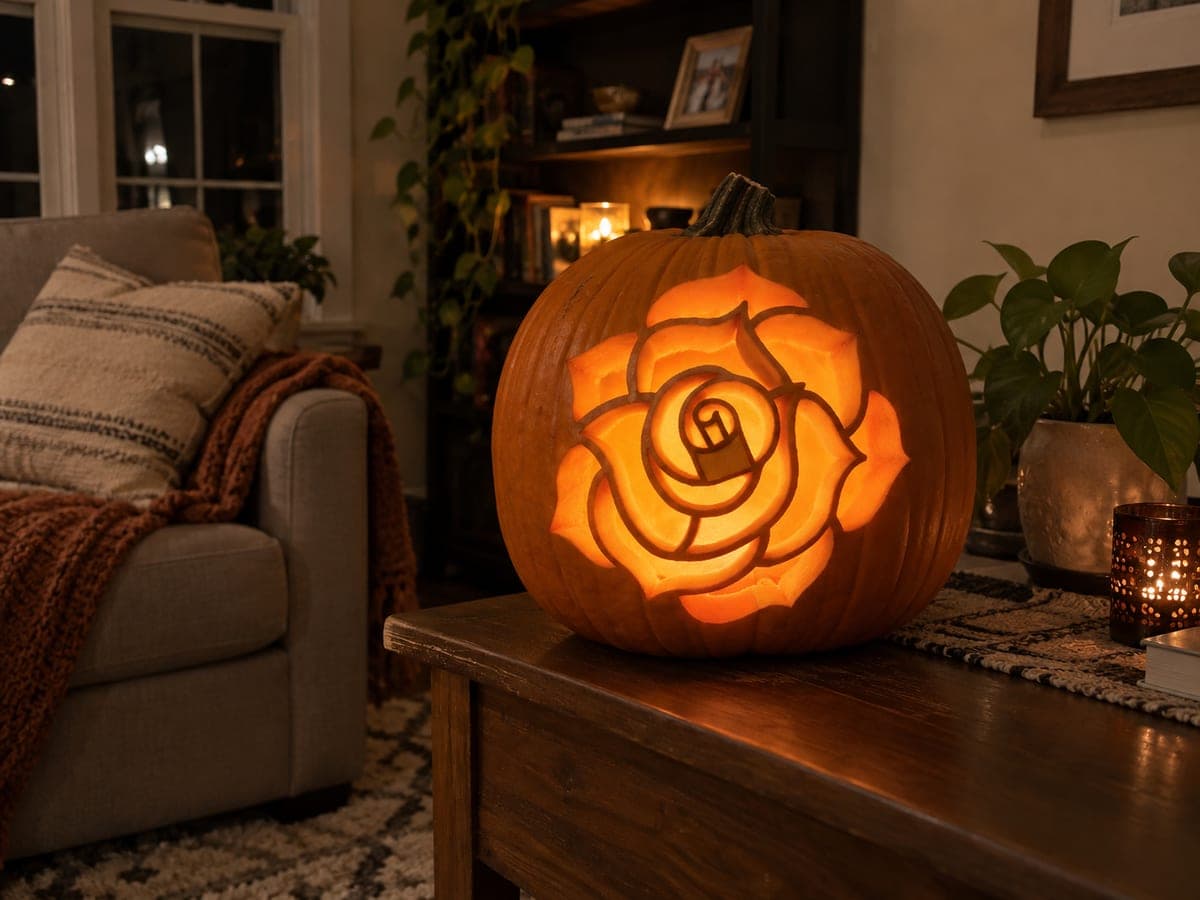
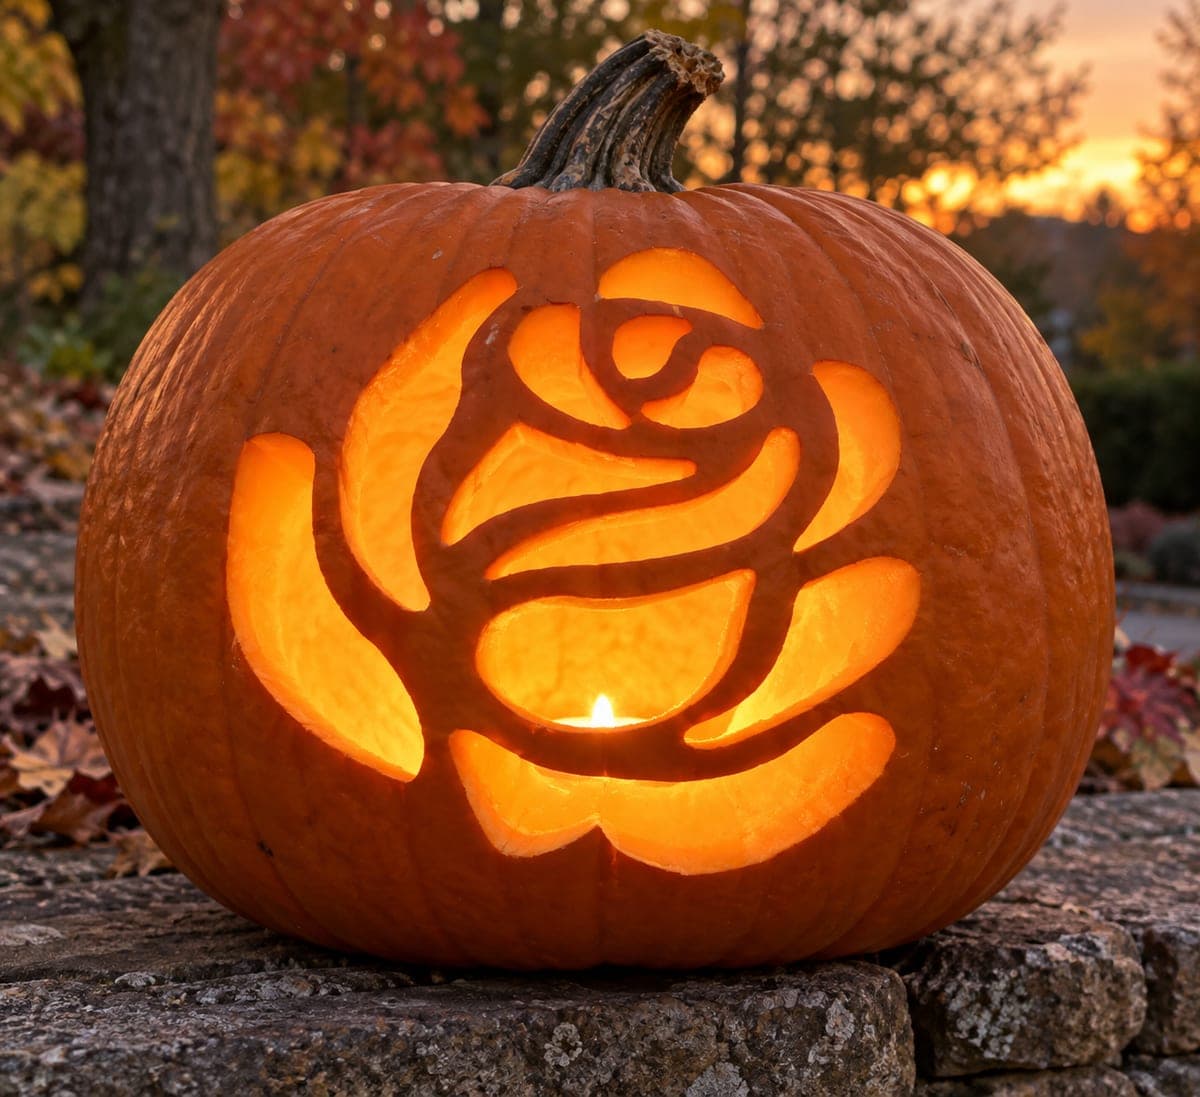
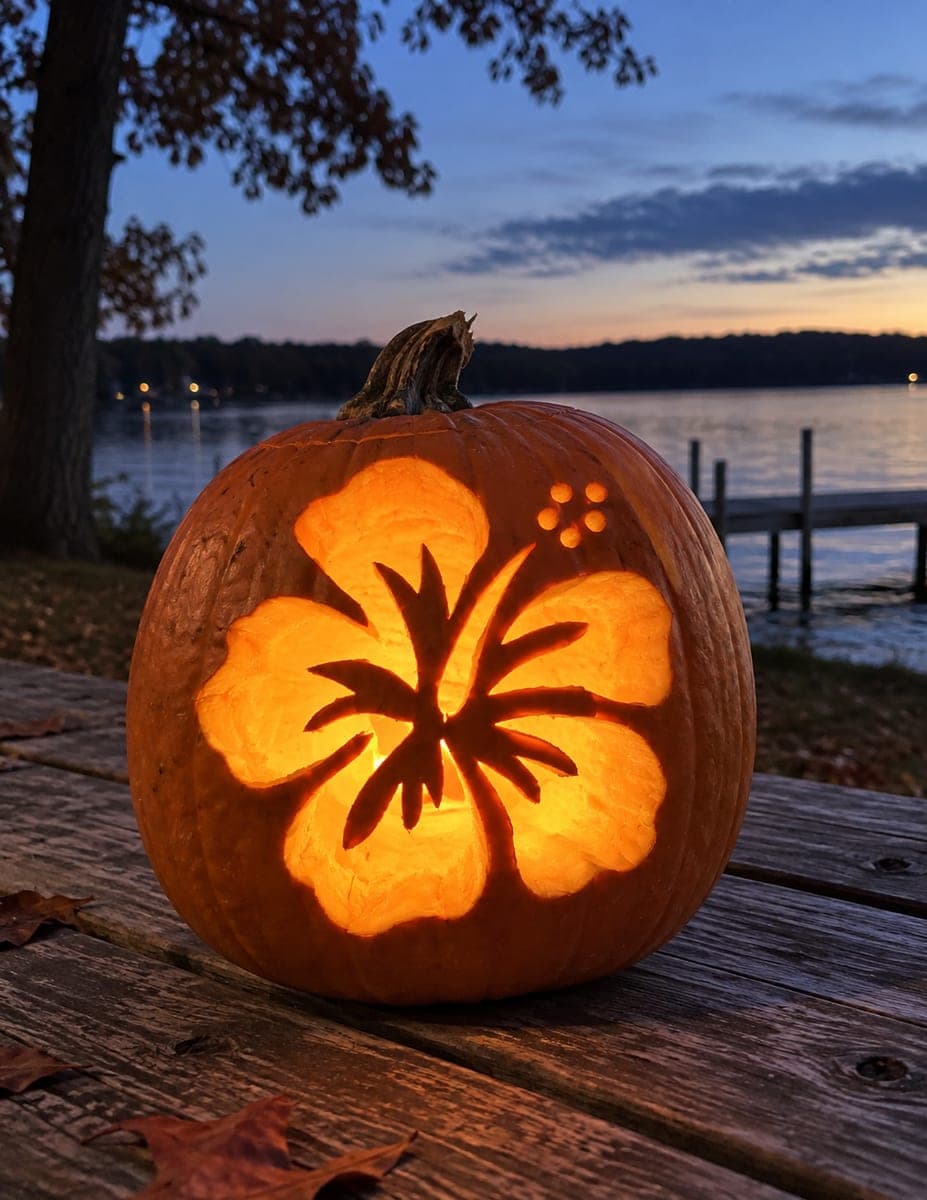
A full rose with spiraling center petals, layered outer petals, and small bud accents at the top is carved as a glowing cutout design on this large jack-o-lantern, with dark rind lines acting as the petal separators. The innermost spiral is the finest detail, converging to a tight circle at the center. Cut the outer petal shapes first to establish the overall bloom, then work inward toward the spiral so you have full wall support as you reach the most delicate part of this rose pumpkin carving idea. Displayed on a living room coffee table, the lit rose looks elegant alongside other autumn candles.

This is an AI-generated concept image: a realistic, carvable design idea rather than a photo of a finished carve. AI concepts are always labeled and sit out the leaderboard and the contest.
No ratings yet · Sign in to rate

Comments (0)

  • No comments yet — be the first.

Save without an account. Sign in to like or comment.

Our tips for carving a similar design

The core trick here is leaving thin rind lines uncut so they read as petal separators while the petal bodies glow as cutouts. Plan the bloom from the outside in, carving the large outer petals first to lock in the shape, then working toward the tight spiral center last while the surrounding wall still supports your knife. The delicate spiral converging to a center circle is the hardest part, so save it for when your hand is warmed up.

Written by PumpkinCarvingIdeas.com, inspired by the image above. These are our suggestions, not instructions from the uploader. This approach to the AI concept has not been tested on a real pumpkin.

From pumpkin to porch

  1. Transfer the rose pattern

    Choose a rose stencil with clear layered petals and a spiral center, then size it to your pumpkin's flattest, largest face. Tape it in place and poke the outlines with a pin or transfer tool, following every petal edge and the spiral line. Pay special attention to marking the narrow separator lines that will stay uncut. Peel the paper and connect any faint dots with a washable marker.

  2. Open the pumpkin and thin the wall

    Have an adult cut a lid from the bottom or back so the front face stays smooth, then scoop out the seeds and pulp. Use a scraper to thin the carving wall to about one inch behind the rose. A thinner wall makes the fine spiral far easier to cut and lets more light through. Work slowly and keep the surface even.

  3. Carve the outer petals first

    Start with the large outer petal shapes to establish the overall bloom. Cut these as clean openings with a fine saw, leaving the marked separator lines intact between each petal. Keep your cuts on the waste side of the line so the rind bridges stay strong. Establishing the outside first gives you a stable frame to work inward against.

  4. Work inward toward the center

    Move to the mid-layer petals, cutting each opening while preserving the thin dark lines that divide them. Rotate the pumpkin rather than twisting your wrist so each cut stays controlled. Check that every separator line still connects to the surrounding rind, since these bridges hold the whole design together. Take breaks so your hand stays steady.

  5. Cut the spiral center last

    Save the tight inner spiral for last, when the surrounding wall gives full support. Use your smallest blade and make short, patient strokes to follow the curve into the center circle. Keep the spiral line thin and continuous, cutting only the glowing gaps beside it. If the very center feels fragile, leave a touch more rind there rather than risking a break.

  6. Light it and photograph

    Drop in a battery LED light, warm white for that candle-like glow, and set the pumpkin on a table away from foot traffic. Dim the room and check that every petal reads clearly, touching up any opening that looks muddy. A single low light source nearby, like other LED candles, adds a cozy autumn mood. Snap your photo in near darkness to make the rose glow pop.

Gather your supplies

Check things off as you get ready.

Work on a stable surface, keep your free hand out of the cutting path, and have an adult handle sharp tools.

Three levels of light

  • Leave intact

    The thin rind lines between petals stay untouched and dark, reading as the petal separators.

  • Peel & shade

    Optional: shave the tips of a few outer petals to a dim orange glow for soft depth around the bloom's edge.

  • Cut through

    The petal bodies and spiral gaps are cut through for the brightest glow that shapes the rose.

Learn the carving basics

Before you start cutting

How do I keep the thin separator lines from breaking?

Treat each dark line as a bridge and never cut both sides of it at once. Carve the petal openings on either side while leaving the line itself fully attached to the surrounding rind. Thinning the wall behind the design also lets you use lighter pressure, which reduces the chance of a slip that snaps a line.

Why carve the outer petals before the center spiral?

The outer petals set the overall size and shape of the bloom, and cutting them first leaves the inner wall intact and rigid. That support keeps the pumpkin stable while you make the tiny, delicate spiral cuts last. If you opened the center first, the surrounding area would flex and make fine work much harder.

This is shown as a concept image. Can a real pumpkin hold this spiral?

Yes, with care. Keep the spiral line a bit wider than it looks in the concept and leave slightly more rind at the very center so it does not crumble. Thin your wall and use a small sharp blade, and a real pumpkin will hold the design well.

Your take belongs here, too.

Changed a detail? Made it simpler? Share a photo of your version and tell the community what worked.

Share your pumpkin

More pumpkins like this

You've reached the end · 8 pumpkins
The Patch Report

Fresh pumpkins, in your inbox.

The best new carvings, ideas worth stealing, and how-tos for carving season. Short, seasonal, and gone by November.

A short email during carving season. Unsubscribe anytime. See our privacy policy.