Halloween Pumpkin Carving Contest · Starts October 1st · $500 in prizes
← Back to ideas
@ai_concepts
Sep 25, 2026
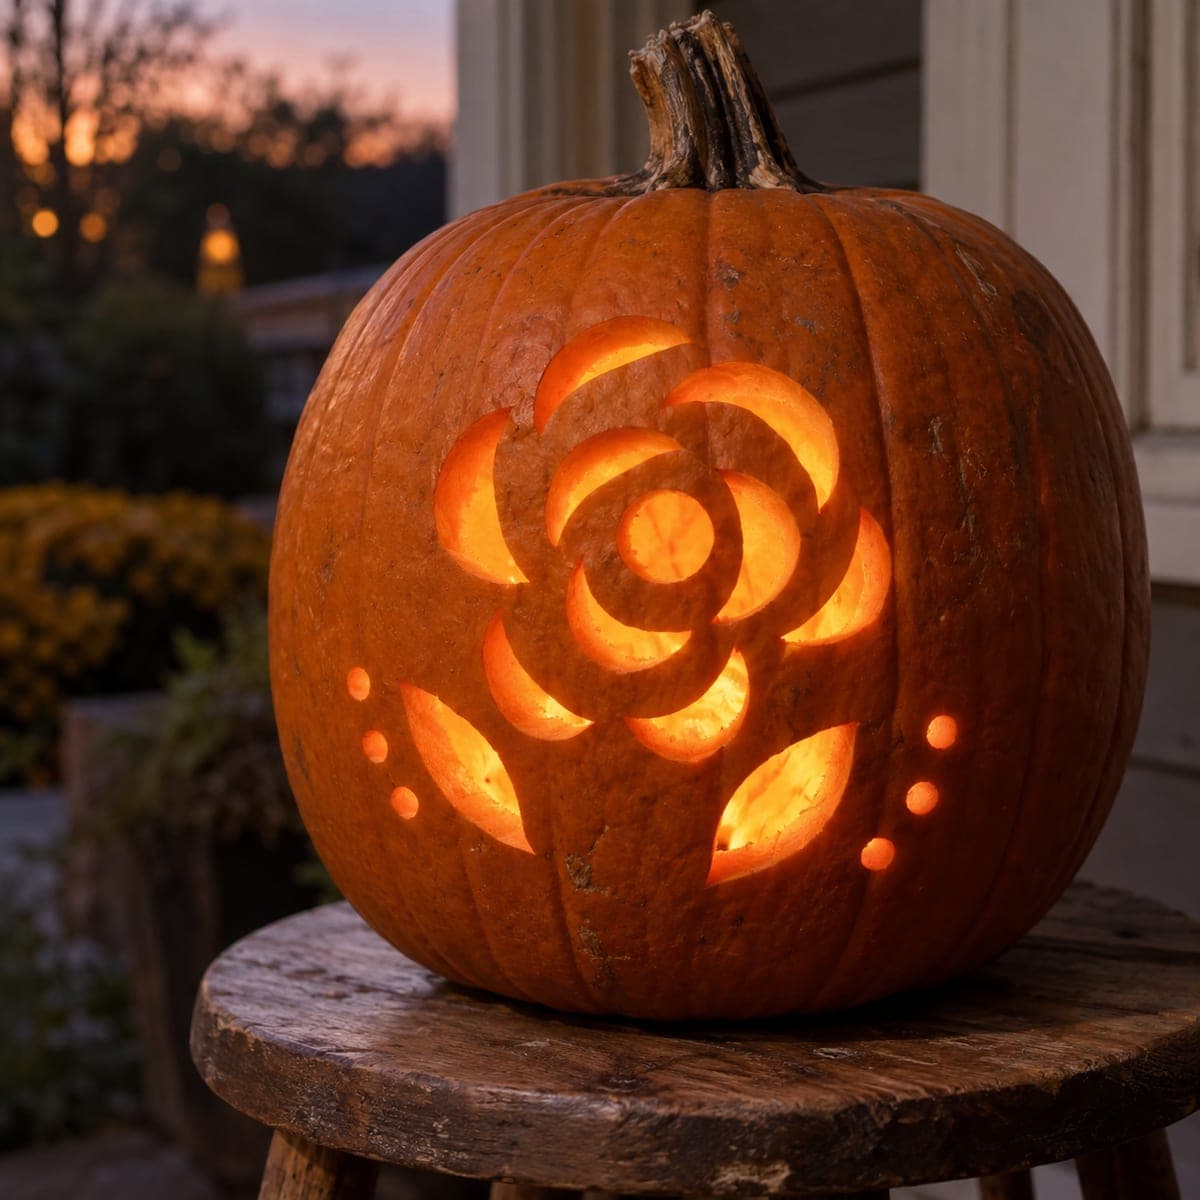
Staggered Petal Rose Pumpkin with Accent Dots and LeavesAI
0

Report this carving

Tell us what is wrong. Reports are private.

Staggered Petal Rose Pumpkin with Accent Dots and Leaves

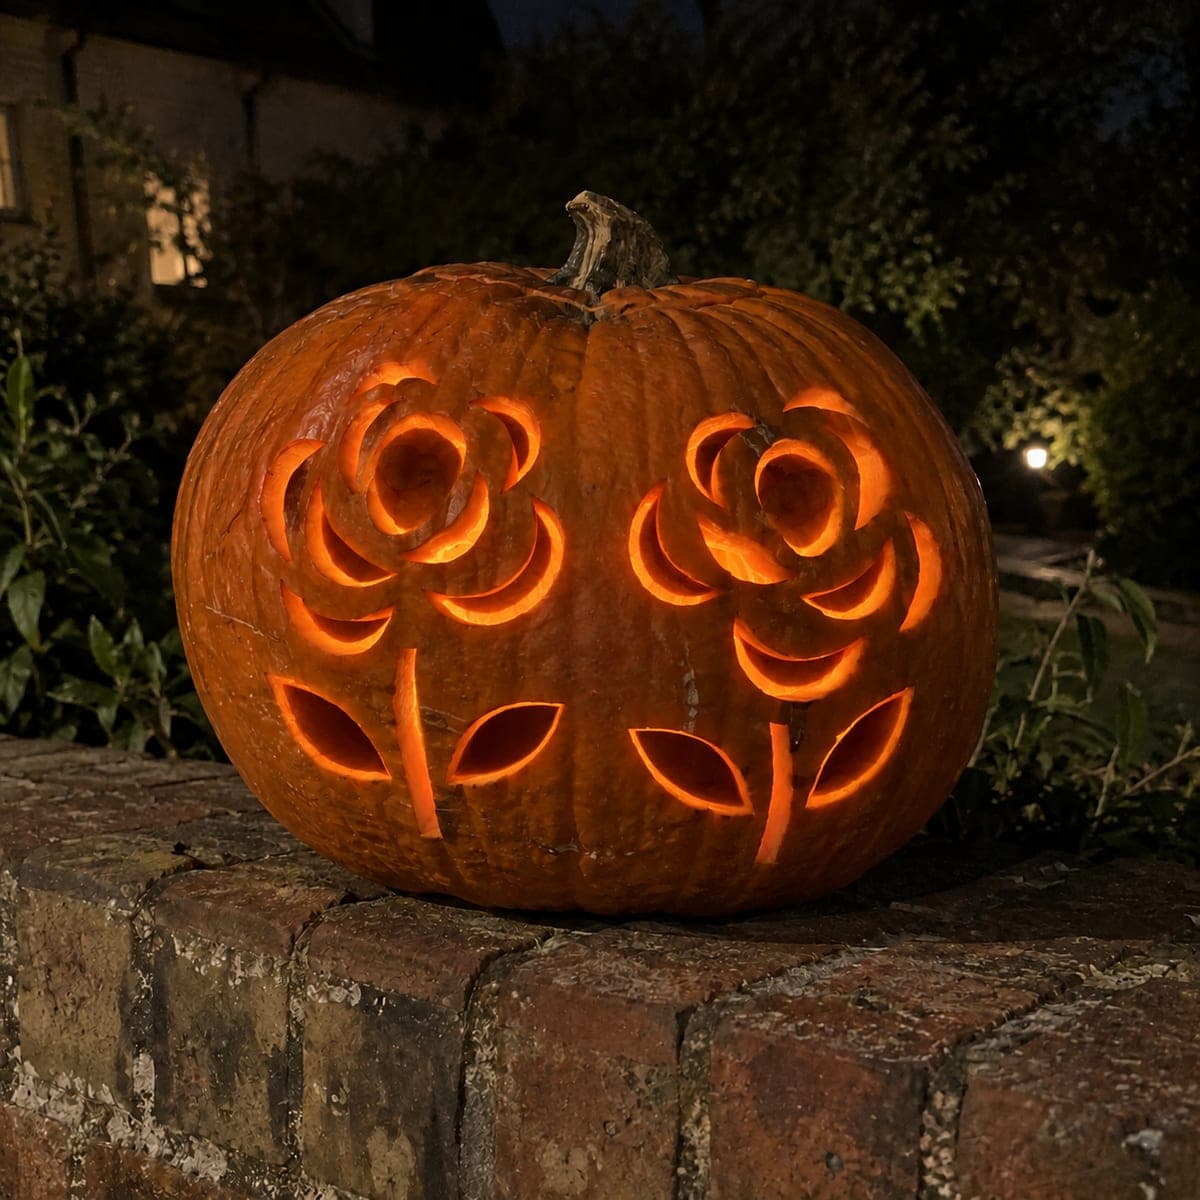
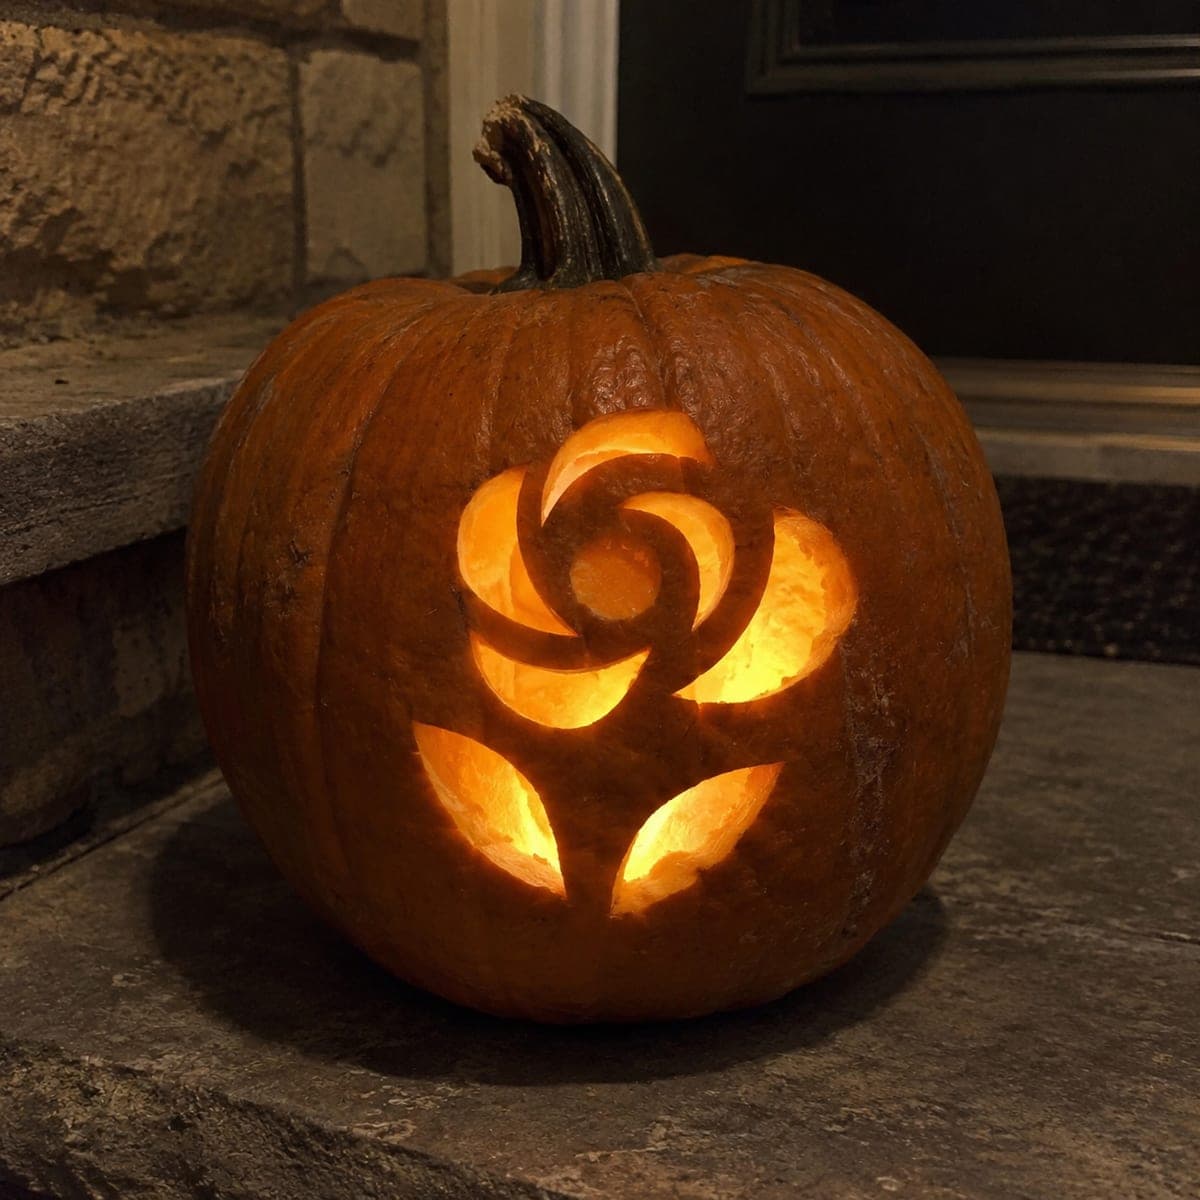
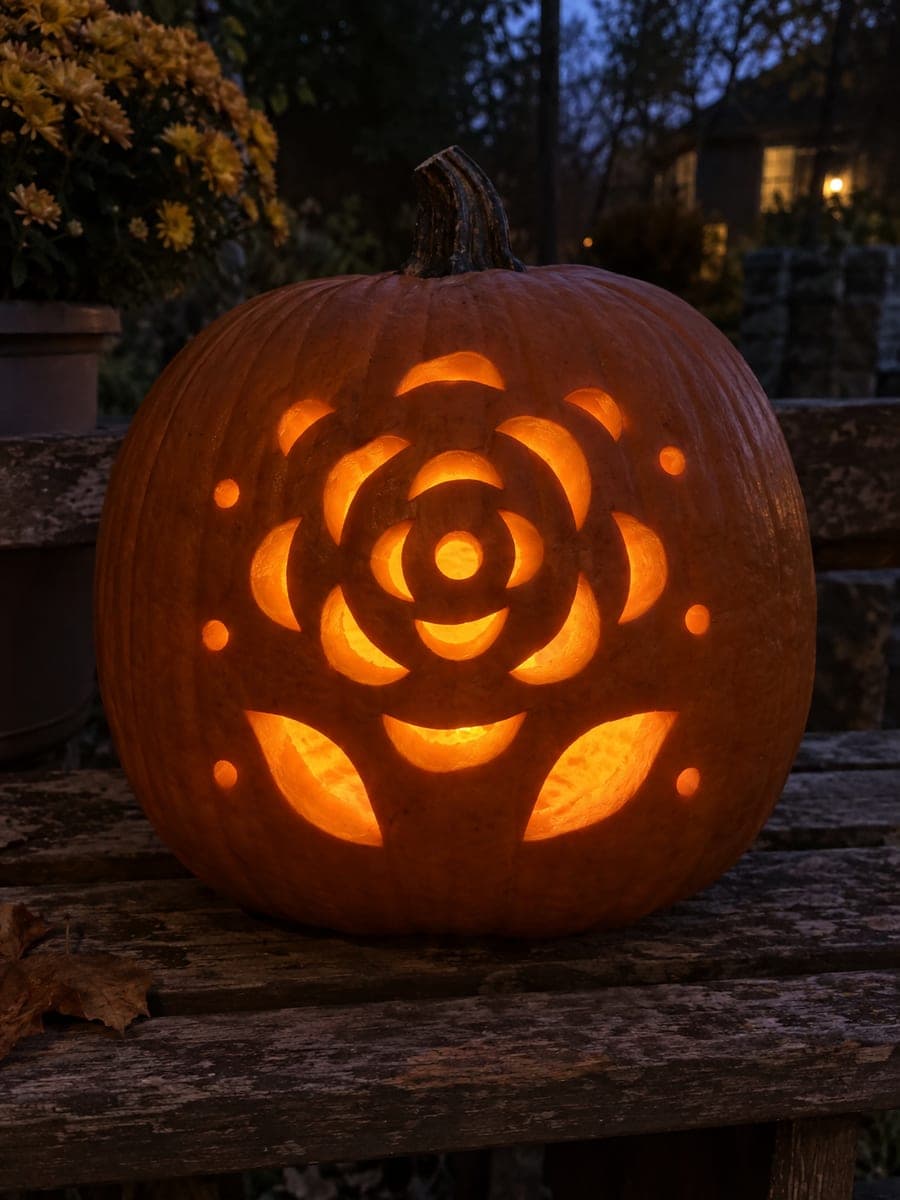
Staggered crescent petal holes, a central round aperture, independent leaf shapes, and small accent dots combine in this medium rose pumpkin carving idea. Cut the outer petal ring first so the center remains stable, then add the central round hole and finally the leaves and dots as finishing detail. Broad bridges between each crescent are what give the illusion of layered petals when the pumpkin is lit. Place on a dark surface to let the individual petal crescents read cleanly.

No ratings yet · Sign in to rate
Comments (0)

  • No comments yet — be the first.

Save without an account. Sign in to like or comment.

Our tips for carving a similar design

The staggered placement of the crescent holes means no two openings align radially, which mimics the overlapping petals of a real rose when the pumpkin is lit. A central round aperture adds a bright focal point, while independent leaf holes and scattered dots frame the composition. Cutting the outer petal ring first keeps the center stable throughout the process.

From pumpkin to porch

  1. Prep and hollow

    Open from the bottom and scoop to a one-inch wall. Remove all stringy pulp so the interior is clean and the candle sits stably. Wipe the outer surface dry before attaching the template.

  2. Transfer the full pattern

    Tape the template and trace all crescent positions, the central round hole, leaf shapes, and dot positions with a stylus. Confirm every bridge marker is visible before removing the template paper.

  3. Cut the outer crescent ring first

    Remove the outermost crescents in alternating pairs to keep the load evenly distributed. After each pair, press lightly on the area between them to confirm no flex. Keep all bridge widths at three-quarters of an inch minimum.

  4. Cut the inner crescent ring

    Repeat the alternating-pair sequence for the second crescent ring. The stagger between outer and inner rings is what produces the layered petal look, so preserve the offset as drawn in the template.

  5. Open the central round hole

    Use a drill or punch tool to start the center hole, then clean up the circle with a saw or detail knife. This hole becomes the brightest point of the design and draws the eye to the rose's core.

  6. Add leaves, dots, and lighting

    Cut the leaf holes and punch accent dots as the final detail pass. Place the pumpkin on a dark surface and insert a single LED candle for the final check. The staggered crescents should read as overlapping rose layers from three feet away.

Written with AI to match this design

Gather your supplies

Check things off as you get ready.

Work on a stable surface, keep your free hand out of the cutting path, and have an adult handle sharp tools.

Three levels of light

  • Leave intact

    All rind bridges between crescent rings stay dark, forming the visible petal surfaces.

  • Peel & shade

    None. All light comes from full cutouts.

  • Cut through

    Outer and inner crescent rings, the central round hole, leaf apertures, and accent dots are all cut through.

Learn the carving basics

Before you start cutting

Why should I cut opposite crescents rather than consecutive ones?

Cutting two adjacent crescents removes the rind support on one side of the center before the opposite side has lost any. Working in alternating pairs keeps the forces balanced and makes it much easier to spot early signs of center movement.

The stagger between rings looks off after cutting. Can I adjust?

Once a crescent is cut, you can enlarge it slightly to shift its visual center, but you cannot move it. If the stagger looks off, consider adding an extra accent dot in the gap to draw the eye and restore the layered illusion.

How small can the accent dots safely be?

Aim for at least a quarter inch in diameter. Smaller than that, the punched hole can close up as the rind dries and shrinks. A leather punch or apple corer tip makes clean, consistent small holes.

Your take belongs here, too.

Changed a detail? Made it simpler? Share a photo of your version and tell the community what worked.

Share your pumpkin

More pumpkins like this

You've reached the end · 8 pumpkins
The Patch Report

Fresh pumpkins, in your inbox.

The best new carvings, ideas worth stealing, and how-tos for carving season. Short, seasonal, and gone by November.

A short email during carving season. Unsubscribe anytime. See our privacy policy.