Halloween Pumpkin Carving Contest · Starts October 1st · $500 in prizes
← Back to ideas
@ai_concepts
Sep 25, 2026
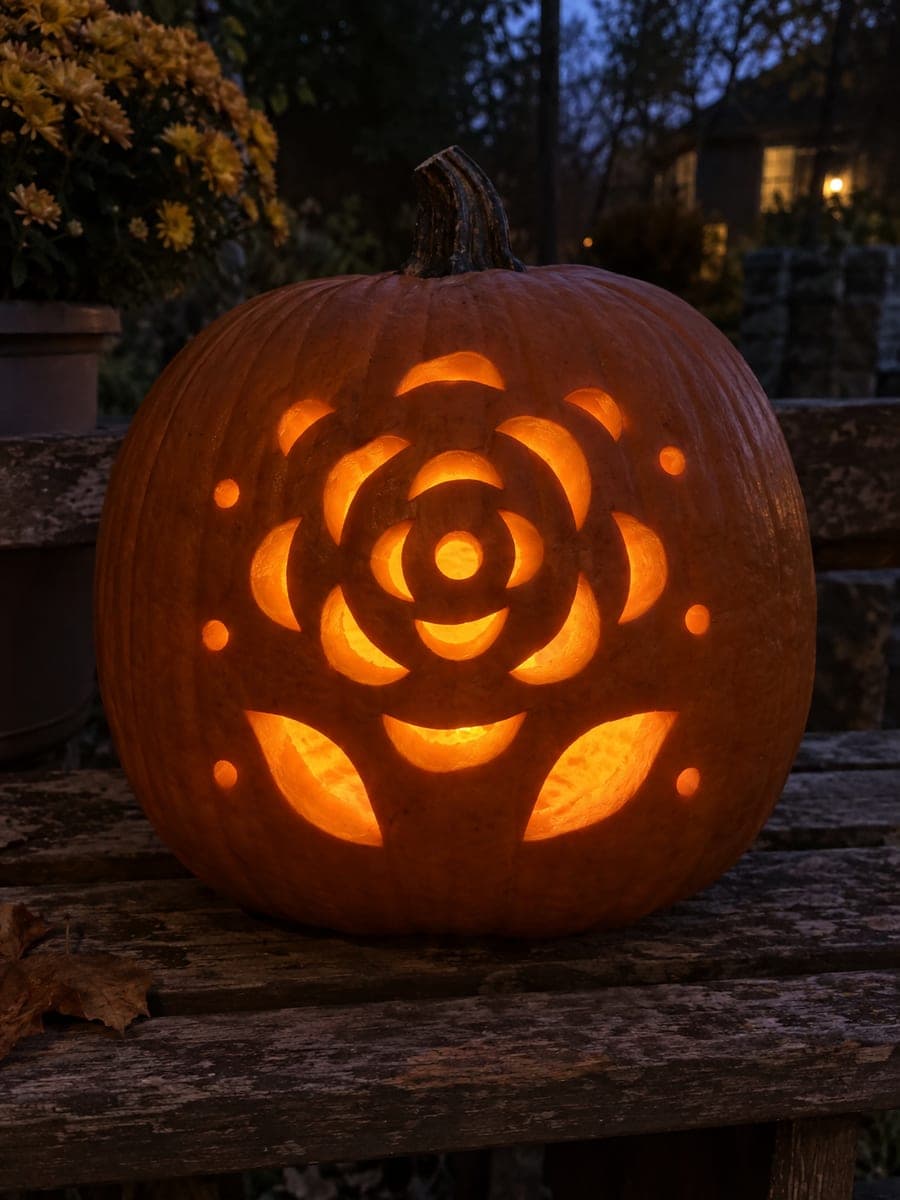
Detailed Multi-Layer Rose Pumpkin with Leaf and Dot AccentsAI
0

Report this carving

Tell us what is wrong. Reports are private.

Detailed Multi-Layer Rose Pumpkin with Leaf and Dot Accents

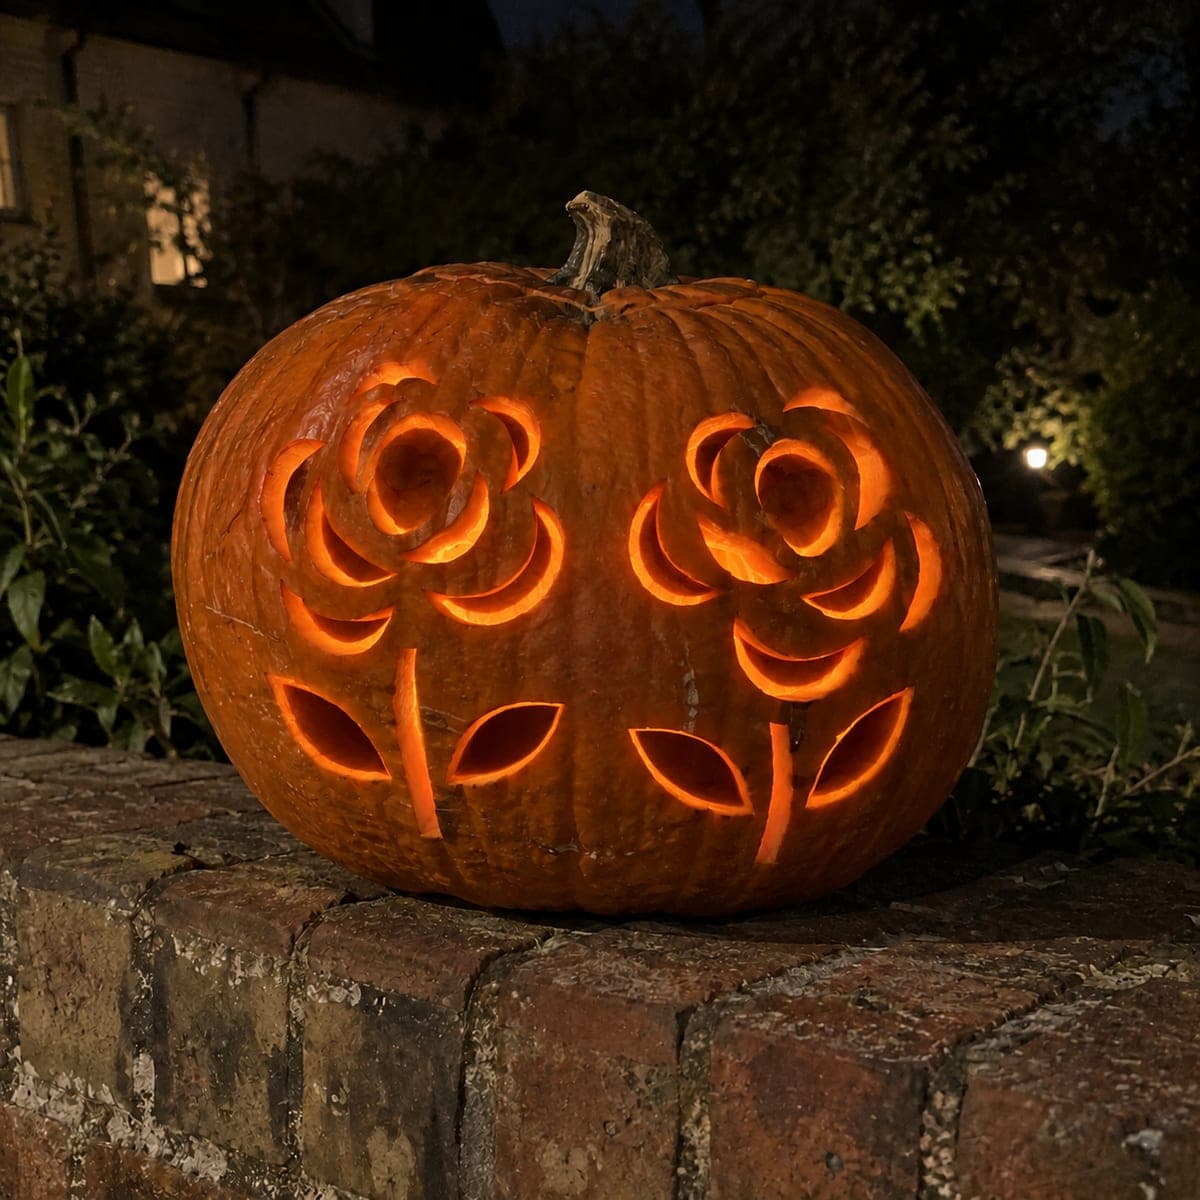
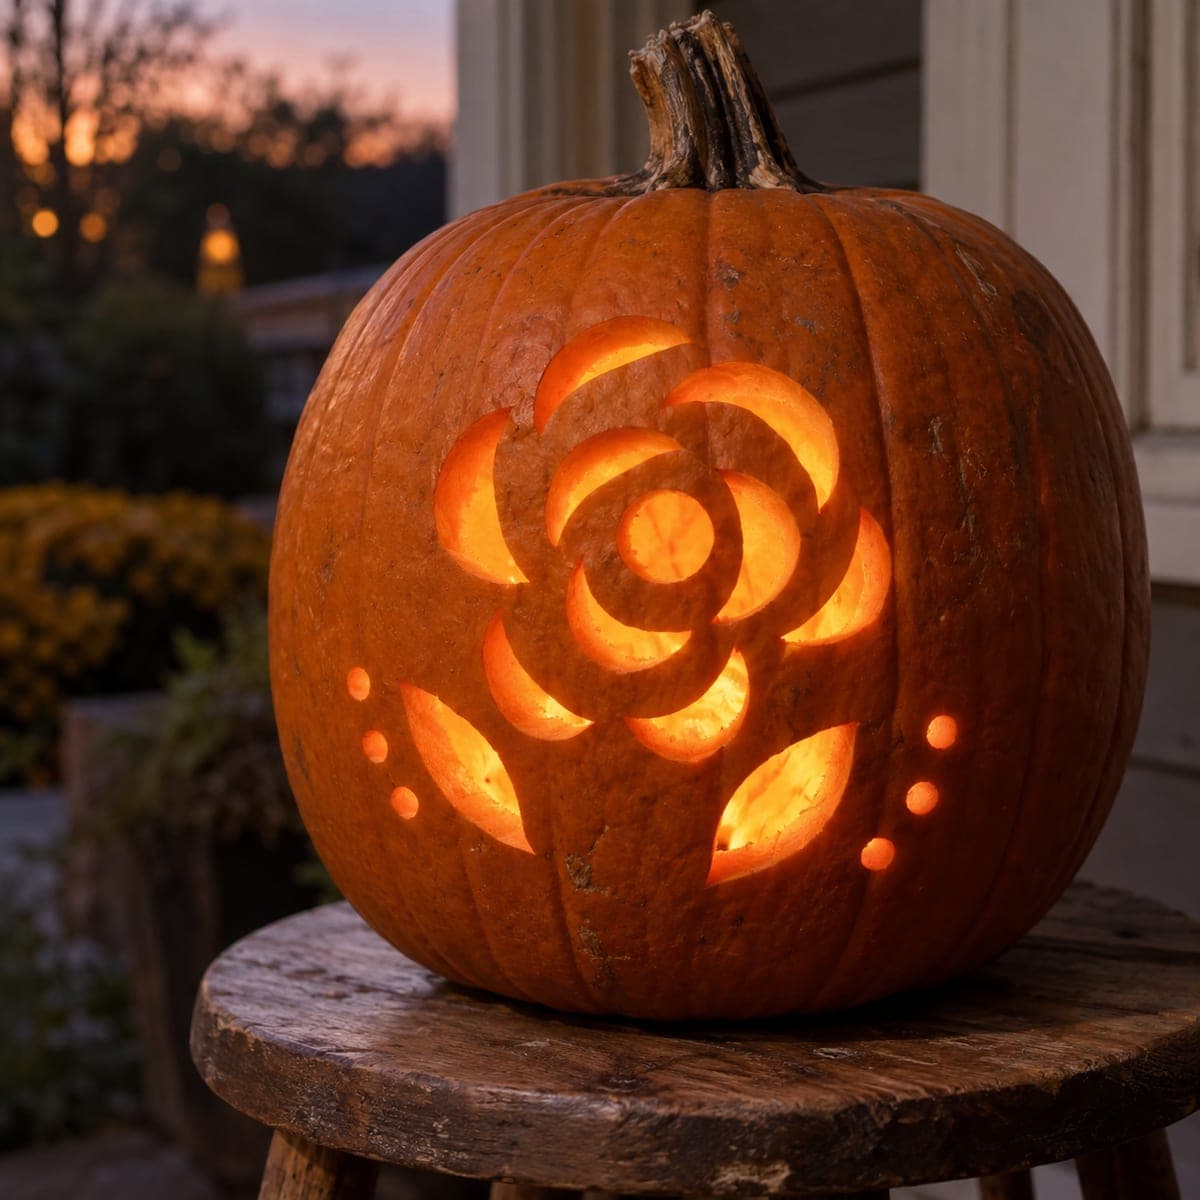
Many independent crescent apertures separated by broad connected rind, a central round hole, two leaf openings, and scattered accent dots build this expert rose pumpkin carving into a complex floral display. Map every crescent on paper first to confirm all bridges connect back to the outer shell, since any isolated rind ring will fall out. Cut outermost crescents first and work inward toward the center hole, checking bridge integrity after each ring. A single bright LED centered inside maximizes the layered petal glow.

No ratings yet · Sign in to rate
Comments (0)

  • No comments yet — be the first.

Save without an account. Sign in to like or comment.

Our tips for carving a similar design

Many independent crescent holes are separated by a continuous network of connected rind bridges, all of which must trace back to the outer shell with no isolated rings. The cutting sequence goes from outermost crescents inward toward the central round hole, verifying bridge integrity after every ring. A single bright LED centered inside maximizes the contrast between the dark bridge surfaces and the glowing crescent apertures.

From pumpkin to porch

  1. Map every bridge before cutting

    Print the template at full scale and trace a pencil line over every bridge. Verify that each bridge connects to the outer shell by following it outward without lifting your pencil. Any bridge that dead-ends inside the design needs to be widened until it connects. This paper check prevents isolated rind rings.

  2. Hollow to a consistent depth

    Scoop the pumpkin to a full one-and-a-half inch wall. At expert level, uniform wall thickness matters more than at beginner level because the many small bridges rely on consistent material density. Chill the pumpkin for several hours after hollowing.

  3. Transfer the template in sections

    Divide the circular design into quadrants and tape each quadrant separately so the paper lies flat. Trace all crescent outlines and bridge lines with a stylus. Number the crescent rings from outermost (1) to innermost so you have a clear cutting order.

  4. Cut ring by ring from outside in

    Remove crescents in ring 1 using alternating-pairs sequencing. After ring 1 is complete, flex-test all bridges before starting ring 2. Continue inward one ring at a time, always pausing to check integrity before advancing.

  5. Open the central round hole last among the apertures

    The central hole is the last crescent-type aperture before the leaf and dot details. At this stage, most structural work is done and the center is the most supported point. Use a drill to start the hole, then clean the circle with a detail saw.

  6. Add leaf openings, dots, and lighting

    Cut the two leaf holes and accent dots as the finishing pass. Place a single high-lumen LED candle at the exact center of the interior for maximum radial symmetry in the glow. Display on a black surface to maximize contrast.

Written with AI to match this design

Gather your supplies

Check things off as you get ready.

Work on a stable surface, keep your free hand out of the cutting path, and have an adult handle sharp tools.

Three levels of light

  • Leave intact

    The entire connected bridge network, every spoke, and the outer shell band stay dark, creating visible petal surfaces across the whole design.

  • Peel & shade

    None. The effect is created entirely by full cutouts.

  • Cut through

    Every crescent aperture in all rings, the central round hole, both leaf openings, and all accent dots are cut completely through.

Learn the carving basics

Before you start cutting

How do I handle a bridge that cracks during cutting?

Stop all cutting in that quadrant immediately. Let the cracked area dry for an hour to firm slightly. A thin bead of cyanoacrylate (super glue) applied to the back side of the crack from inside the pumpkin can stabilize it. If the crack runs across a major bridge, assess whether the design is still structurally viable before continuing.

Is there a maximum number of crescent rings before the design becomes unworkable?

On a typical carving pumpkin, three full concentric rings plus a central hole is about the practical limit. More than that typically requires bridges so narrow that they cannot hold the rind's own weight. Larger pumpkins with thicker walls can sometimes support four rings.

What is the best way to photograph this design?

Set up in complete darkness with the pumpkin on a matte black surface. Use a camera on a tripod with a two-second delay to avoid shake. A two to three second exposure at ISO 400 usually captures the full glow without overexposing the brightest inner crescents.

Your take belongs here, too.

Changed a detail? Made it simpler? Share a photo of your version and tell the community what worked.

Share your pumpkin

More pumpkins like this

You've reached the end · 8 pumpkins
The Patch Report

Fresh pumpkins, in your inbox.

The best new carvings, ideas worth stealing, and how-tos for carving season. Short, seasonal, and gone by November.

A short email during carving season. Unsubscribe anytime. See our privacy policy.