@octoberoak
Sep 7, 2026

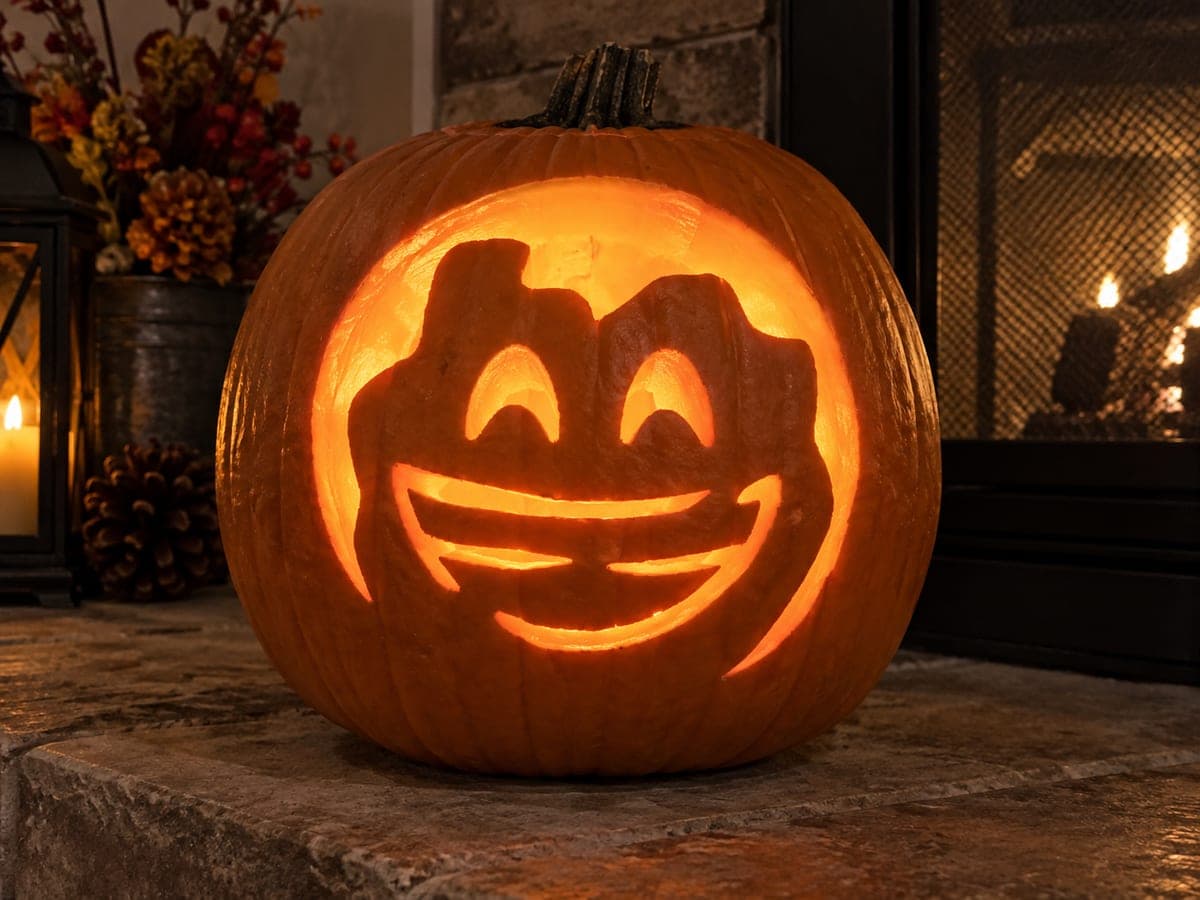
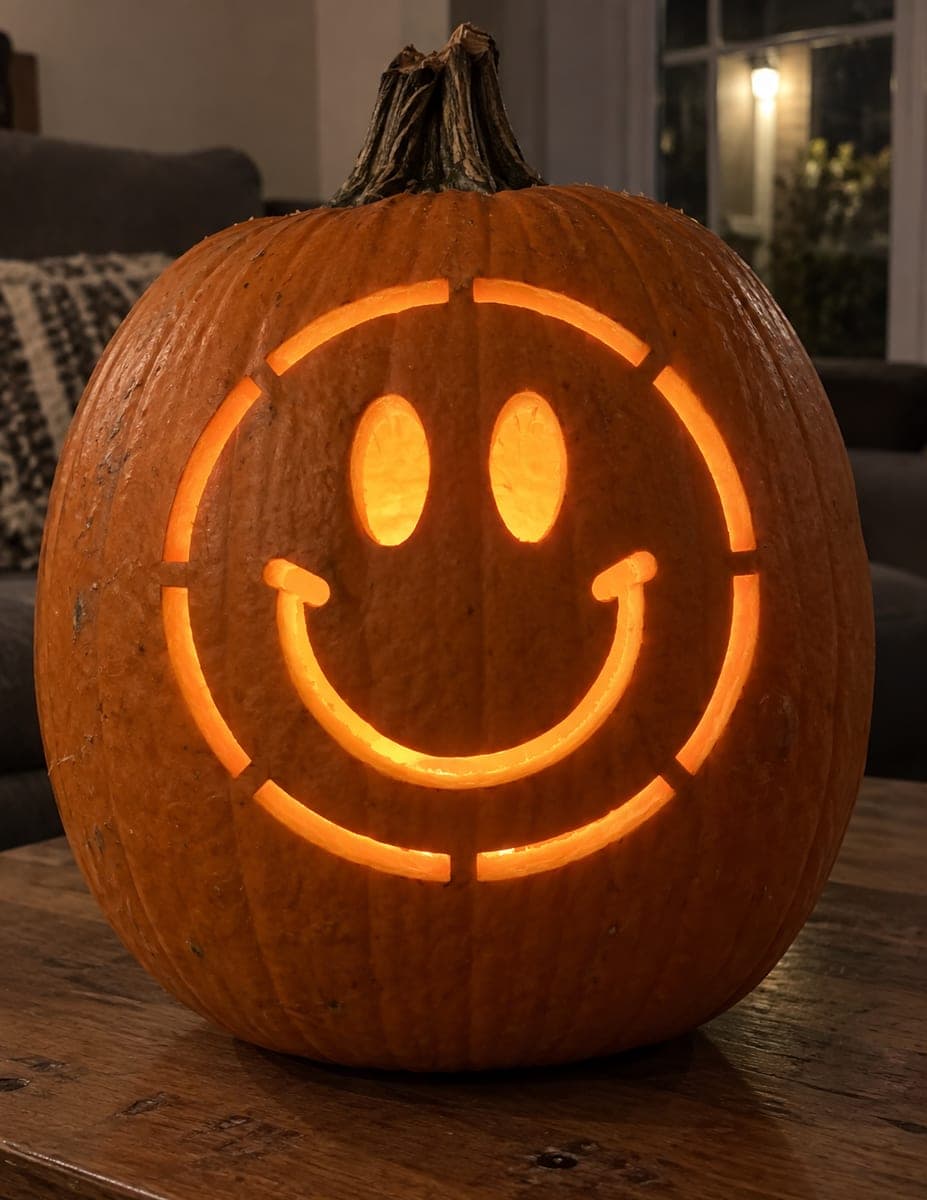
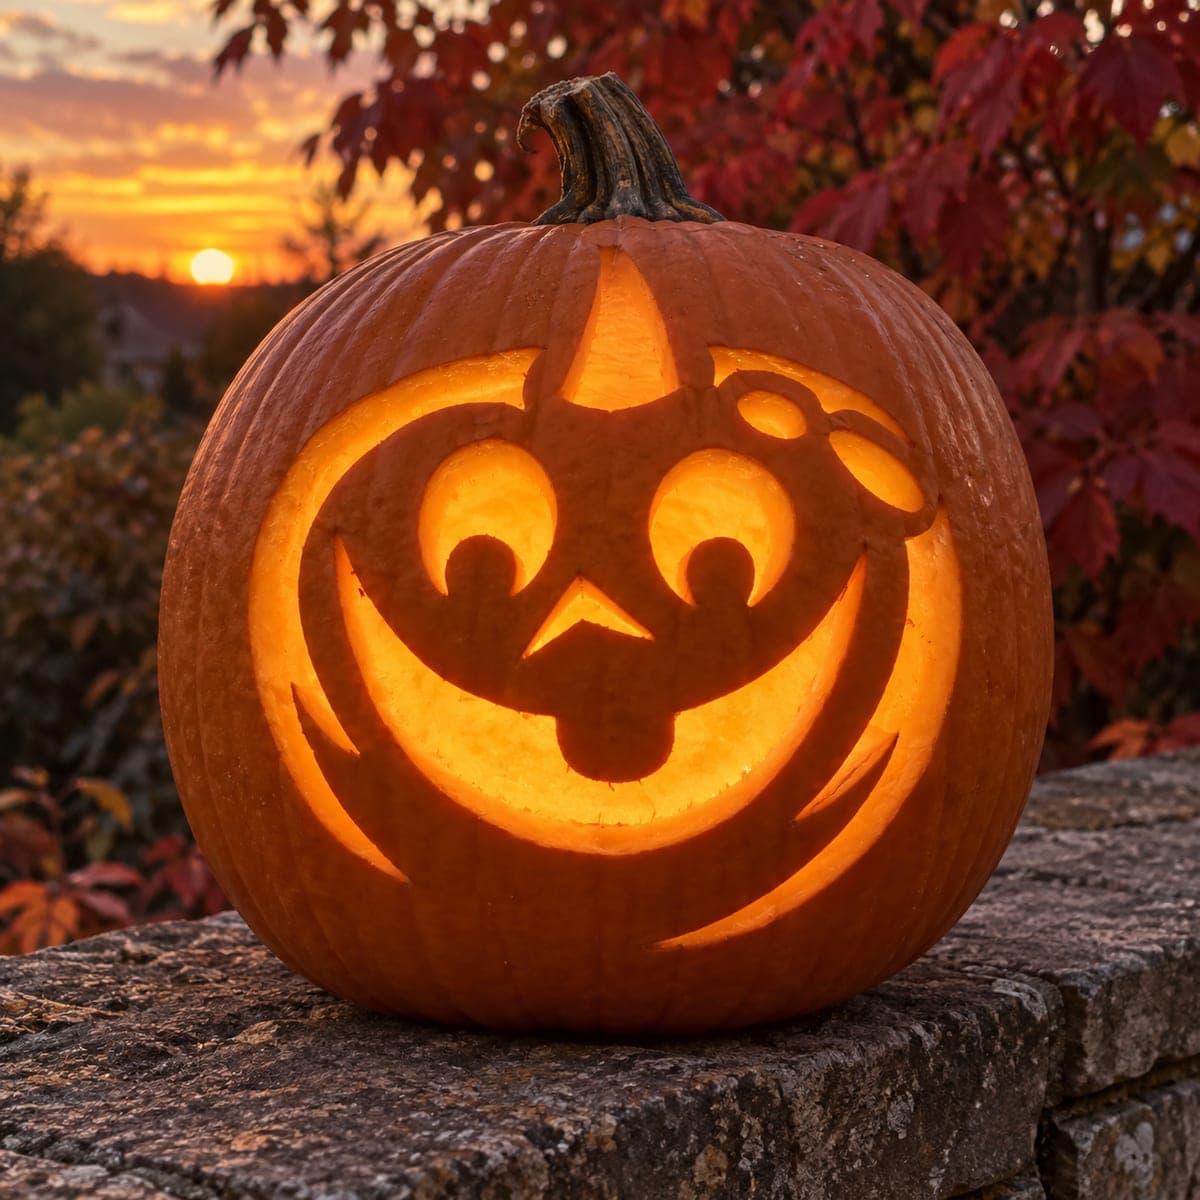
The whole charm here is the classic jack-o-lantern face built from simple straight-sided shapes: two upward triangle eyes, a small triangle nose, and a wide smile lined with pointed teeth. The trick is leaving skin between each tooth so the grin reads as a row of separate points rather than one big hole. Cut the eyes and nose first, then save the mouth for last since it is the largest opening.
Written by PumpkinCarvingIdeas.com, inspired by @octoberoak's photo above. These are our suggestions, not instructions from the uploader, and this approach hasn't been tested on their exact carve.
Choose a pumpkin with a smooth, roughly round front face that has room for a wide grin. Have an adult cut a lid around the stem at an angle so it rests back in place later. Scoop out the seeds and pulp, then thin the inside of the front wall to about one inch thick. A thinner wall is much easier to push your saw through cleanly.
Draw or tape on a simple face: two triangles for the eyes pointing up and out, a small triangle nose in the center, and a long curved smile below. Space the teeth evenly along the mouth line so each point has room. Mark the gaps between teeth clearly so you remember to leave that skin in place. Step back and check the layout is centered before you cut.
Start with the two eye triangles using a small carving saw, cutting slowly along each straight line. Poke a starter hole in the middle of each shape, then saw out to the corners so the piece pops free cleanly. Cut the little nose triangle the same way. Doing these smaller shapes first keeps the pumpkin sturdy while you work.
Save the mouth for last since it is the biggest opening and weakens the wall. Follow the top and bottom smile lines, but leave the skin between each tooth uncut so the points stay attached top and bottom. Work in short strokes and support the pumpkin with your free hand away from the blade. Push each freed section out gently from the inside.
Trim any ragged edges with a small knife so the triangles and teeth look crisp. Wipe the cut faces dry and rub a little petroleum jelly on them to slow browning. Drop in a battery LED tea light or two for a warm, safe glow, never an open flame. Set the lid back on and check the whole face is evenly lit.
Photograph the pumpkin at dusk when the sky is still soft blue and the glow really pops. Get low and level with the face so the smile fills the frame. Try a plain background like grass or a porch step so nothing competes with the grin. A single LED inside gives you that cozy orange light without flicker.
Check things off as you get ready.
Work on a stable surface, keep your free hand out of the cutting path, and have an adult handle sharp tools.
The full outer skin of the pumpkin stays dark, keeping the round face shape as a solid silhouette.
Optional shallow scraping just inside the mouth line can add a soft glow band, though this simple face works fine without it.
The two eye triangles, the nose, and the spaces of the grin are cut all the way through for the brightest light.
Leave a small band of skin between each tooth so every point stays connected to both the top and bottom of the mouth. Do not try to cut one long slot and carve teeth into it. Cutting the mouth last also means the wall is still firm while you shape the points.
For this happy look the grin is wide and takes up most of the lower face, while the eyes and nose stay small. A big smile with modest eyes is what makes it read as cheerful rather than spooky. Sketch it on first and adjust before any cutting.
Upward-tilted triangles give a bright, friendly expression instead of the angry downward slant many scary faces use. Keep the outer corners a little higher than the inner corners. Combined with the wide grin, this is what gives the sweet smile its charm.
Changed a detail? Made it simpler? Share a photo of your version and tell the community what worked.
The best new carvings, ideas worth stealing, and how-tos for carving season. Short, seasonal, and gone by November.





Comments (0)