@cider_sam
Sep 7, 2026

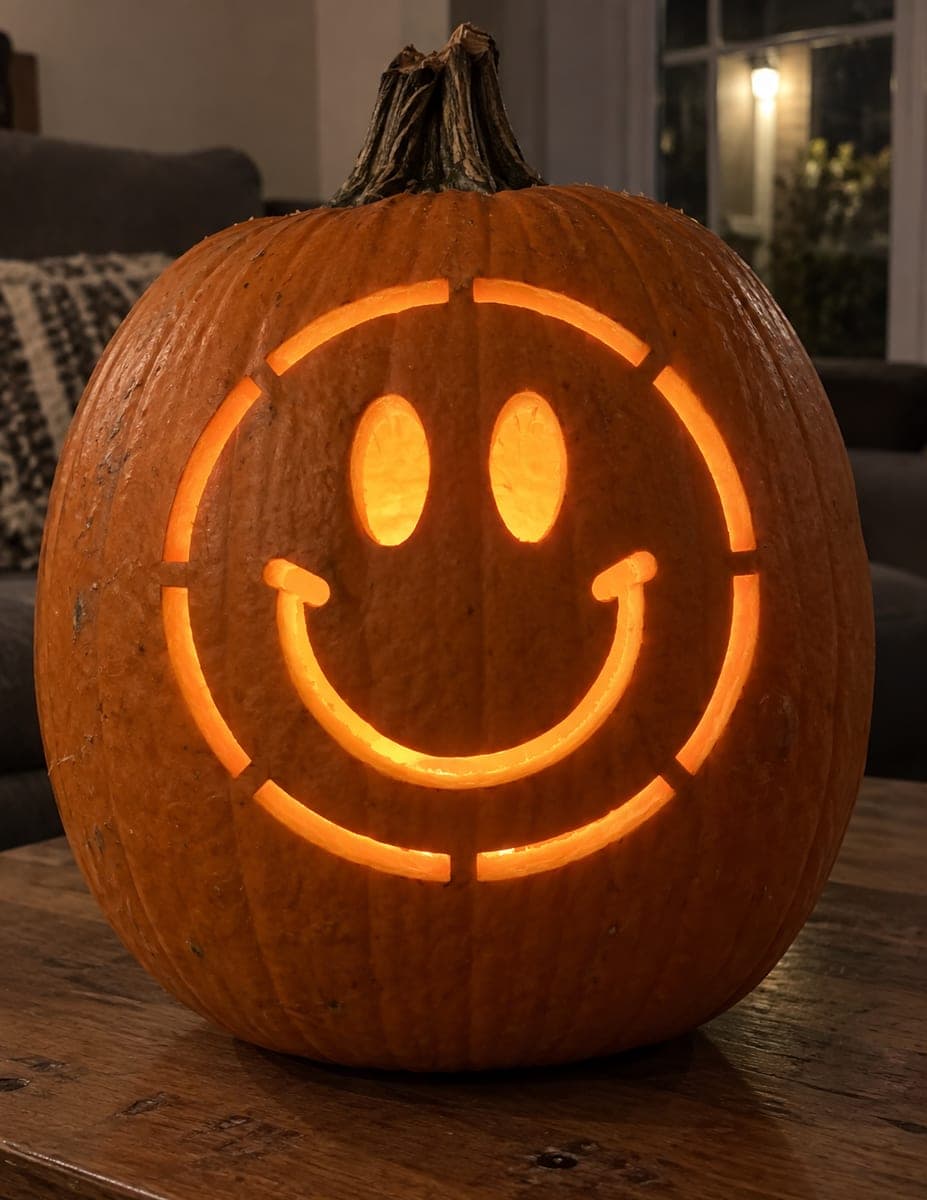
The whole charm here is a classic happy jack-o-lantern face with a wide, toothy grin, then a colored smoke bomb tucked inside for that green glow pouring out of the mouth. The face itself is all simple straight-sided cutouts, so it reads clearly and lets plenty of light and smoke escape. Keep the teeth as small solid blocks along the top and bottom of the mouth so the grin stays sturdy.
Written by PumpkinCarvingIdeas.com, inspired by @cider_sam's photo above. These are our suggestions, not instructions from the uploader, and this approach hasn't been tested on their exact carve.
Choose a rounded, medium pumpkin with a flat spot so it sits still. Cut the lid at an angle so it rests back on without falling in, and leave the stem for a handle. Scoop out the guts and scrape the front wall down to about one inch thick where the face will go. A thinner wall makes the cutouts much easier to push through.
Sketch or tape on a simple pattern: two small triangle or curved eyes, a little curved nose, and a big smiling mouth. Mark the teeth as evenly spaced blocks along the top and bottom edges of the grin. Keep gaps between the teeth so each one stays attached to the rim of the mouth. Leave a small bridge under the nose so it does not sag.
Start with the smallest shapes while the pumpkin is still strong. Use a poking saw or a small serrated carving tool and let the blade do the work with gentle back and forth strokes. Push the pieces out from inside so the front edges stay clean. Adults should handle all the sharp tools.
Save the big mouth for last since it removes the most material. Cut the open gaps between the teeth one at a time, leaving each tooth as a solid block connected to the top or bottom edge. Angle your blade slightly so the openings widen inside, which helps light and smoke pour out. Go slow around the teeth so none of them snap off.
Drop a battery LED tea light or a small puck light inside for a warm, safe glow. For the green effect in the photo, place a colored smoke bomb inside the pumpkin and light it outdoors only, then let the smoke drift out through the grin. Never use a real candle with a smoke bomb, and keep the pumpkin at arm's length once the smoke starts. Do this outside with an adult and away from anything flammable.
Take your photos quickly while the smoke is fresh, since it fades in seconds. A shaded outdoor spot with dark trees behind makes the green really pop. Hold the pumpkin low and slightly tilted so the smoke rolls out of the mouth. Have your camera ready before you light anything.
Check things off as you get ready.
Work on a stable surface, keep your free hand out of the cutting path, and have an adult handle sharp tools.
The whole outer skin of the pumpkin stays untouched and dark orange.
You could shade-scrape thin cheeks or laugh lines beside the grin for a soft dim glow.
The triangle eyes, curved nose, and open gaps of the grin cut fully through for the brightest light and the smoke to escape.
Carve the teeth as small solid blocks that stay attached to the top or bottom rim of the mouth, not free-floating in the middle. Cut the gaps between them one at a time and go slowly. A thinner front wall, around one inch, means less pressure on each tooth.
Only use a colored smoke bomb outdoors, in open air, and never together with an open flame. Set it off away from anything flammable and keep the pumpkin at arm's length once it starts. For the interior glow, stick to a battery LED light rather than a candle.
The face works great on its own with just an LED light inside. The wide grin and triangle eyes give off a warm, friendly glow that photographs well after dark. You can always add the smoke later once you are comfortable.
Changed a detail? Made it simpler? Share a photo of your version and tell the community what worked.
The best new carvings, ideas worth stealing, and how-tos for carving season. Short, seasonal, and gone by November.







Comments (0)