@cider_sam
Sep 5, 2026
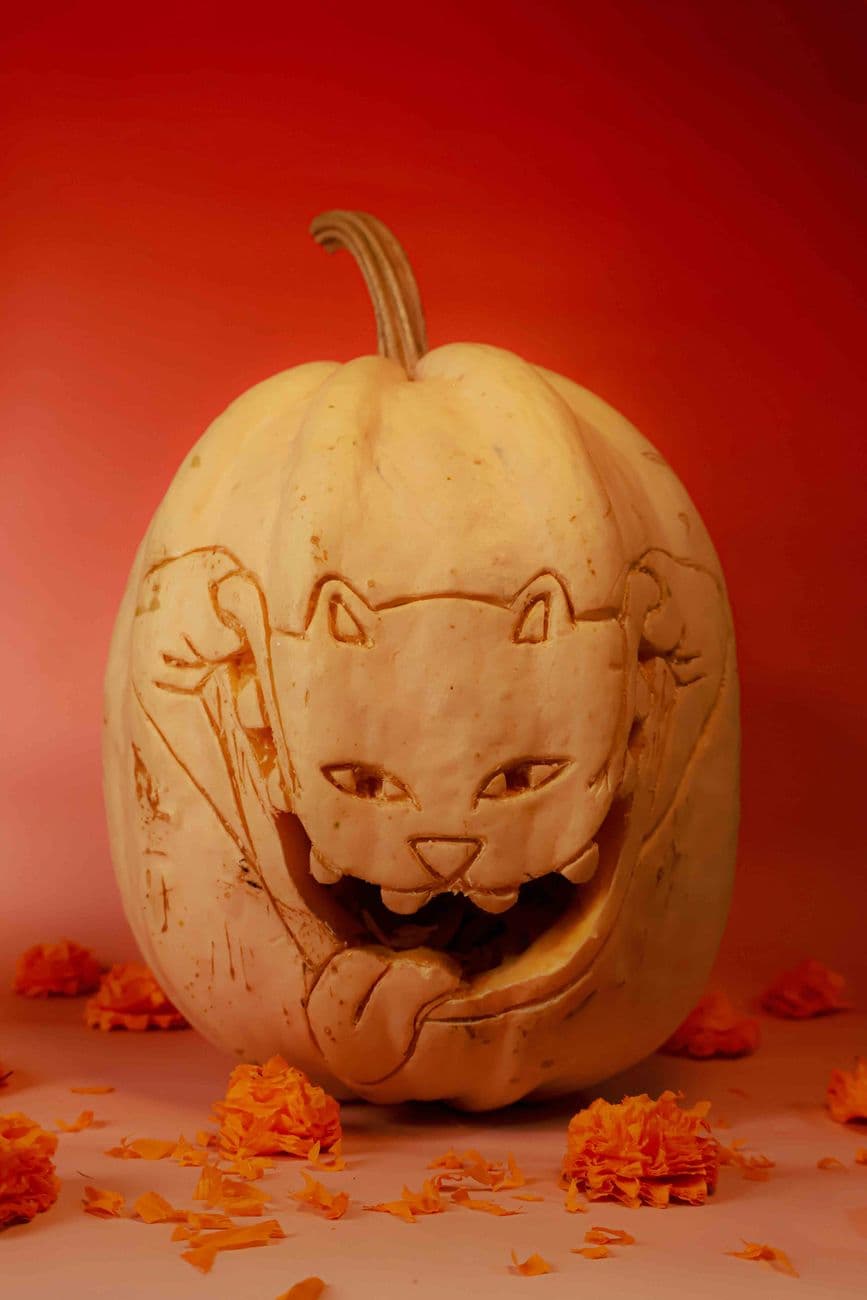
The big yawn
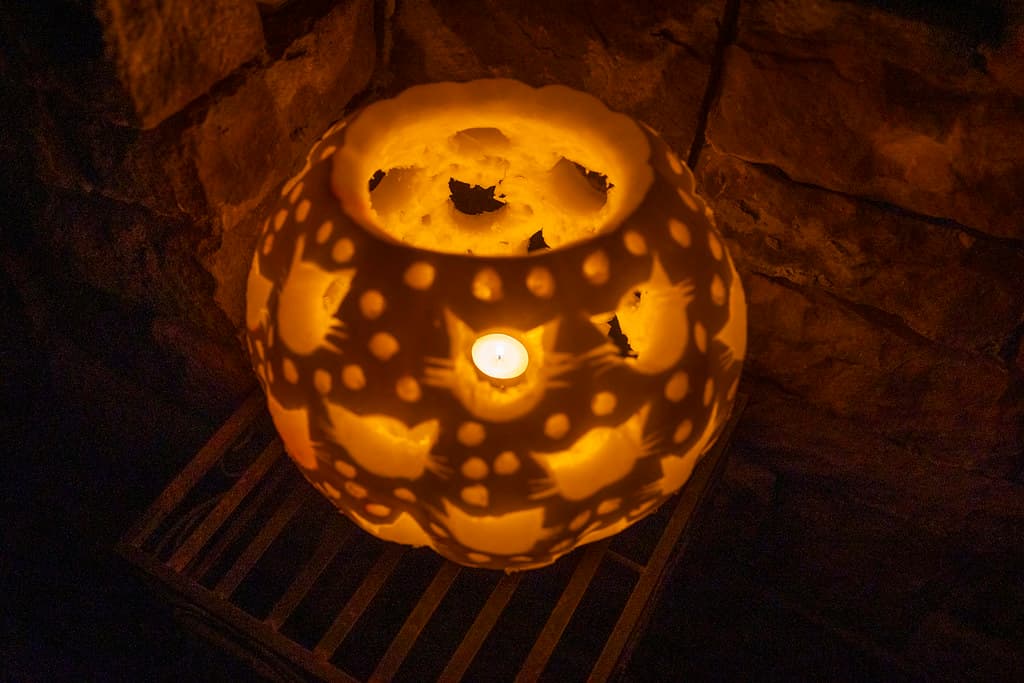
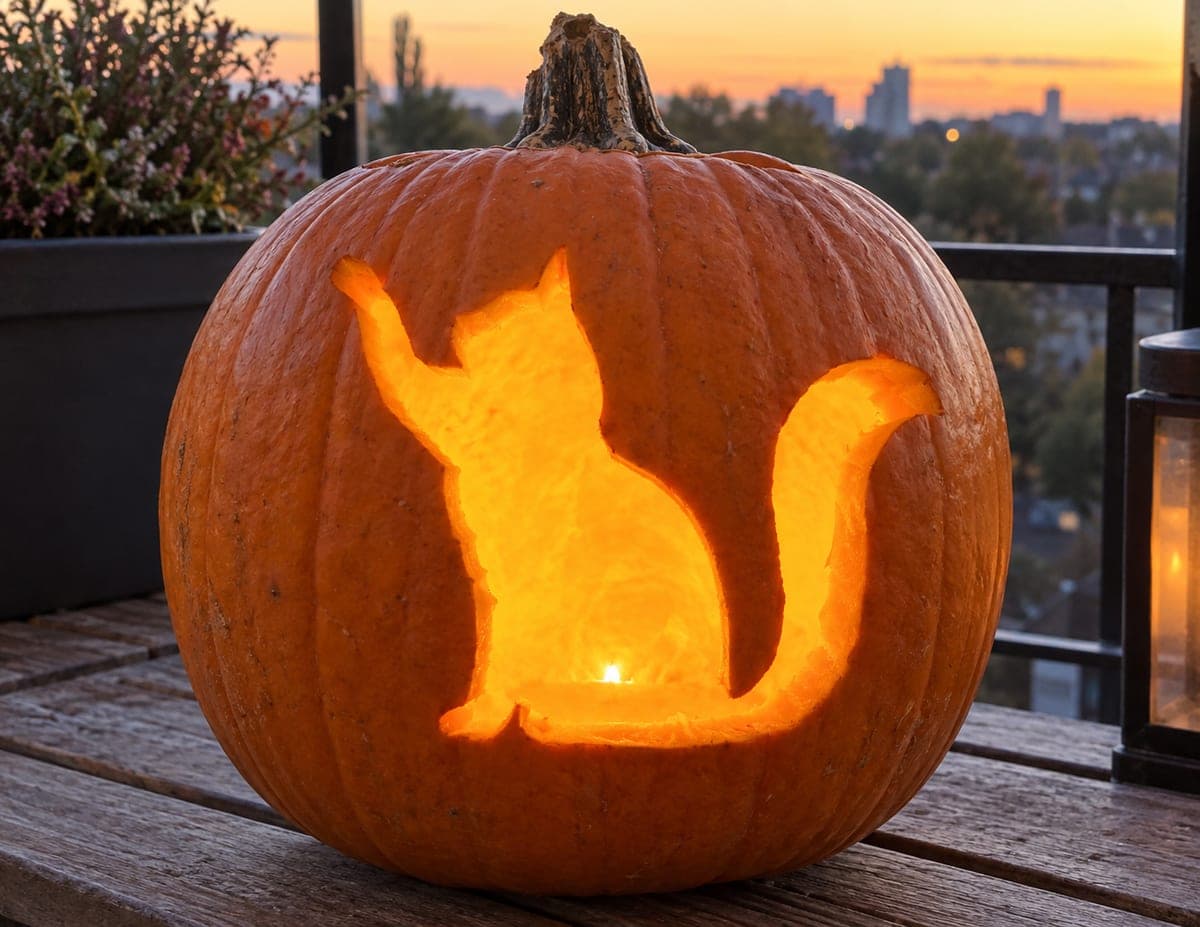
A yawning cat stretched across a white pumpkin, etched into the skin with paws reaching for the stem. The mouth doubles as the candle window.
No ratings yet · Sign in to rate
A yawning cat stretched across a white pumpkin, etched into the skin with paws reaching for the stem. The mouth doubles as the candle window.
The trick here is that almost the whole cat lives in the skin as shallow etching, while a single wide cutout for the yawning mouth becomes the only real light window. You build the face, ears, paws, and stretched body by peeling and shading the surface, then save the open mouth for last so the pumpkin stays strong while you work.
Written by PumpkinCarvingIdeas.com, inspired by @cider_sam's photo above. These are our suggestions, not instructions from the uploader, and this approach hasn't been tested on their exact carve.
A white or cream pumpkin gives the soft glow this design relies on, so choose one with a smooth, tall face and few blemishes. Wipe it clean and dry it. Tape your stencil across the front and around the sides so the paws can reach up toward the stem. Mark where the cat's face sits and where the open mouth will be cut through.
Cut your access hole on the back or the base rather than the top so the stem and the reaching paws stay intact. Scoop the walls near the mouth down to about one inch so light passes through cleanly later. Keep the front wall a little thicker where you plan to etch, since shading needs some flesh to work with. Set your LED light inside to test placement before you carve.
Poke the design lines through the stencil with a pin or trace them with a washable marker. Focus on the ear triangles, the eyes, the nose, the paws, and the outline of the open mouth. Use a small gouge or lino tool to score the main outlines shallowly. Take your time here, because these lines guide every layer of shading that follows.
Peel just the top skin off the areas you want to glow dim, like the ears, cheeks, the stretched body, and the reaching paws. Vary how deep you scrape to suggest fur direction and the roundness of the muzzle. Leave the eye slits and whisker lines as thin untouched ridges so they read dark against the glow. Work slowly and keep bridges of skin so nothing tears loose.
Once all the etching is done, cut fully through the open mouth to make your bright window. Keep the small triangular teeth as attached tabs of skin rather than free-floating points so they stay strong. Round the inside edges of the cutout so light spreads instead of showing a hard line. This is the single opening, so cut it cleanly and check the shape against your light.
Drop in a warm LED puck and turn off the room lights to see how the mouth glows while the etched cat stays soft. Adjust the light angle so the shaded fur catches a faint orange tone. Wipe away marker lines and pat the cut edges dry. Shoot against a dark background to let the pale pumpkin and its single bright yawn stand out.
Check things off as you get ready.
Work on a stable surface, keep your free hand out of the cutting path, and have an adult handle sharp tools.
The eye slits, whisker lines, nose ridge, and outline details stay as untouched skin so they read dark.
The ears, cheeks, stretched body, and reaching paws get skin-peeled for a soft dim glow.
Only the wide yawning mouth is cut through for the single bright window.
Leave them as attached tabs rather than carving them free. Cut the mouth opening around each tooth so it stays rooted to the top or bottom edge. Thin, floating points snap easily on a moist pumpkin, so keeping a base of skin behind them adds strength.
Cut it on the back or the bottom so the stem and the paws reaching upward stay whole. A base hole also lets the pumpkin sit down over the light for a clean look. Just make sure the wall behind the mouth is thinned to about an inch so the glow comes through.
Yes, the etching and single cutout translate fine to an orange pumpkin. The shaded fur will glow a warmer amber instead of the pale look shown here. Expect a bit more contrast, which can make the cat's face pop even more.
Changed a detail? Made it simpler? Share a photo of your version and tell the community what worked.
The best new carvings, ideas worth stealing, and how-tos for carving season. Short, seasonal, and gone by November.
Comments (0)