Halloween Pumpkin Carving Contest · Starts October 1st · $500 in prizes
← Back to ideas
@ai_concepts
Sep 25, 2026
Three-Eyed Monster Silly No-Carve Painted PumpkinAI
0

Report this carving

Tell us what is wrong. Reports are private.

Three-Eyed Monster Silly No-Carve Painted Pumpkin

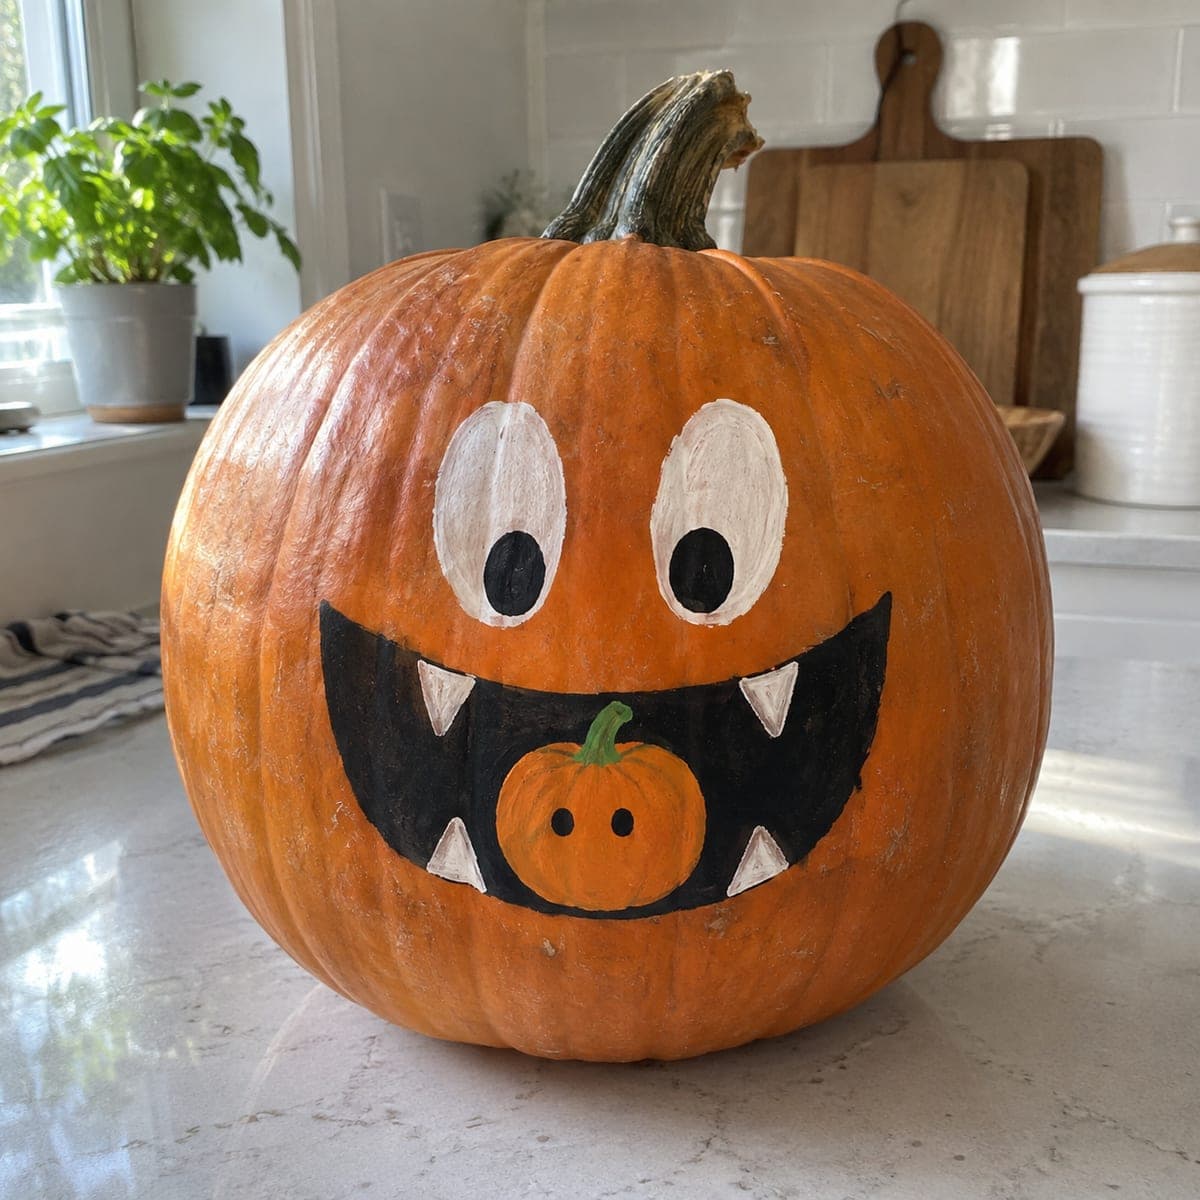
Three large cream circles with black dot pupils, a broad black smiling mouth, and six mint-green spots covering an orange pumpkin make this weird no-carve pumpkin painting an instant crowd-pleaser for kids and adults alike. The three eyes are equally sized and spaced evenly across the face, giving the monster a symmetrical friendliness that undercuts its creepiness. Paint the three cream circles before anything else as your anchor, then build the mouth and spots around them. The mint-green spots are unexpected enough to make this design stick in people's memories.

No ratings yet · Sign in to rate
Comments (0)

  • No comments yet — be the first.

Save without an account. Sign in to like or comment.

Our tips for carving a similar design

Three evenly spaced cream circles are the design anchor: once they are in place, the mouth and spots organize themselves around them naturally. The mint-green spots are the unexpected detail that makes this pumpkin memorable on a table full of orange-and-black designs. Only three paint colors are needed, so the project stays fast and manageable for kids and adults alike.

From pumpkin to porch

  1. Clean and dry the pumpkin

    Wipe the pumpkin with a damp cloth to remove any field dust or waxy coating, then let it dry completely. Paint adheres much better to a clean dry surface, and acrylic paint will peel within days if applied over moisture or residue.

  2. Paint the three cream circles

    Load a round brush with cream or off-white acrylic and paint three large equal-sized circles across the face at eye height, spacing them evenly. Let them dry for ten minutes before adding the black dot pupils centered in each circle. Keep the pupils the same size so the eyes look intentionally matched.

  3. Add the broad black mouth

    Draw a wide, gently curved smile below the eyes with a washable marker, then fill it in with a flat brush and black paint. A slightly upturned curve reads as friendly rather than sinister. Let this dry fully before adding anything near it.

  4. Paint the mint-green spots

    Scatter six roughly circular mint-green spots across the face and sides of the pumpkin using a round brush or even a sponge cut into a circle. Vary the sizes slightly for a hand-made feel. Two spots can overlap the edges of the face design for a more dynamic composition.

  5. Seal and display

    Once all paint is completely dry, apply a thin coat of clear acrylic sealer spray to protect the design from moisture and handling. Display indoors or in a covered porch space to extend the life of the paint. The sealed monster face will stay vivid for several weeks.

Written with AI to match this design

Gather your supplies

Check things off as you get ready.

Work on a stable surface, keep your free hand out of the cutting path, and have an adult handle sharp tools.

Three levels of light

  • Leave intact

    The orange rind background stays visible between all painted elements

  • Peel & shade

    None, this design leaves the shell completely intact

  • Cut through

    None, use an outside spotlight or porch light to illuminate the design from the front

Learn the carving basics

Before you start cutting

What type of paint works best on a pumpkin surface?

Acrylic craft paint is the most reliable choice: it dries quickly, adheres to the waxy rind with minimal prep, and is available in every color needed for this design. Avoid watercolor or tempera, which bead on the rind and fade quickly outdoors.

How do I keep the cream circles perfectly round without a compass?

Trace a round object of the right size, such as a jar lid or a cup, directly onto the rind with a washable marker. All three circles should come from the same object so they match. Fill in the outline with paint and the circle will look clean and consistent.

Can I use chalk paint or spray paint instead of brush-on acrylic?

Chalk paint works well and gives a matte, slightly rustic finish that suits this design. Spray paint is harder to control for the dot pupils and small spots unless you mask carefully. Brush-on acrylic remains the most approachable option for a kid-friendly craft session.

Your take belongs here, too.

Changed a detail? Made it simpler? Share a photo of your version and tell the community what worked.

Share your pumpkin

More pumpkins like this

You've reached the end · 8 pumpkins
The Patch Report

Fresh pumpkins, in your inbox.

The best new carvings, ideas worth stealing, and how-tos for carving season. Short, seasonal, and gone by November.

A short email during carving season. Unsubscribe anytime. See our privacy policy.