@witchhazelwren
Sep 5, 2026
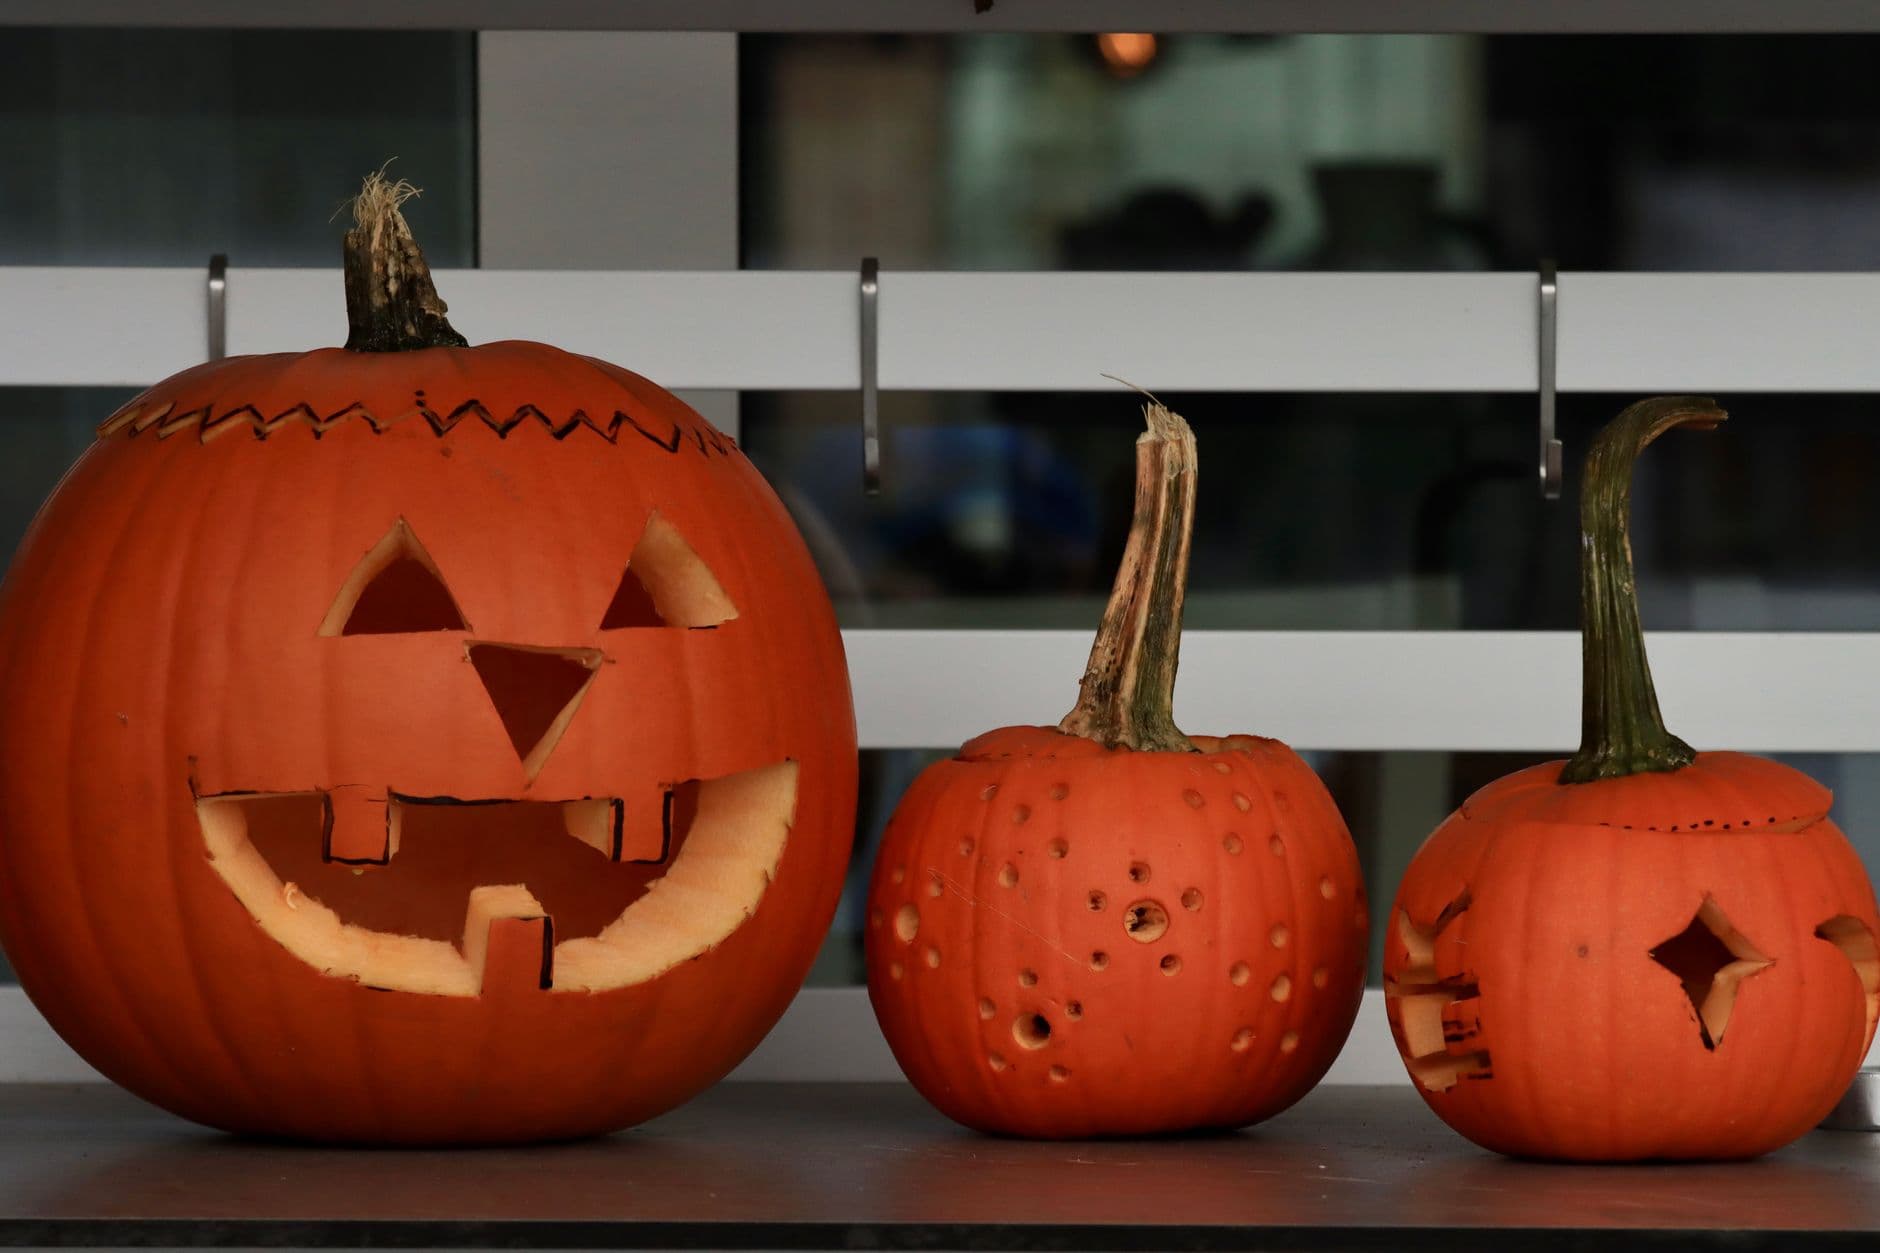
Three generations
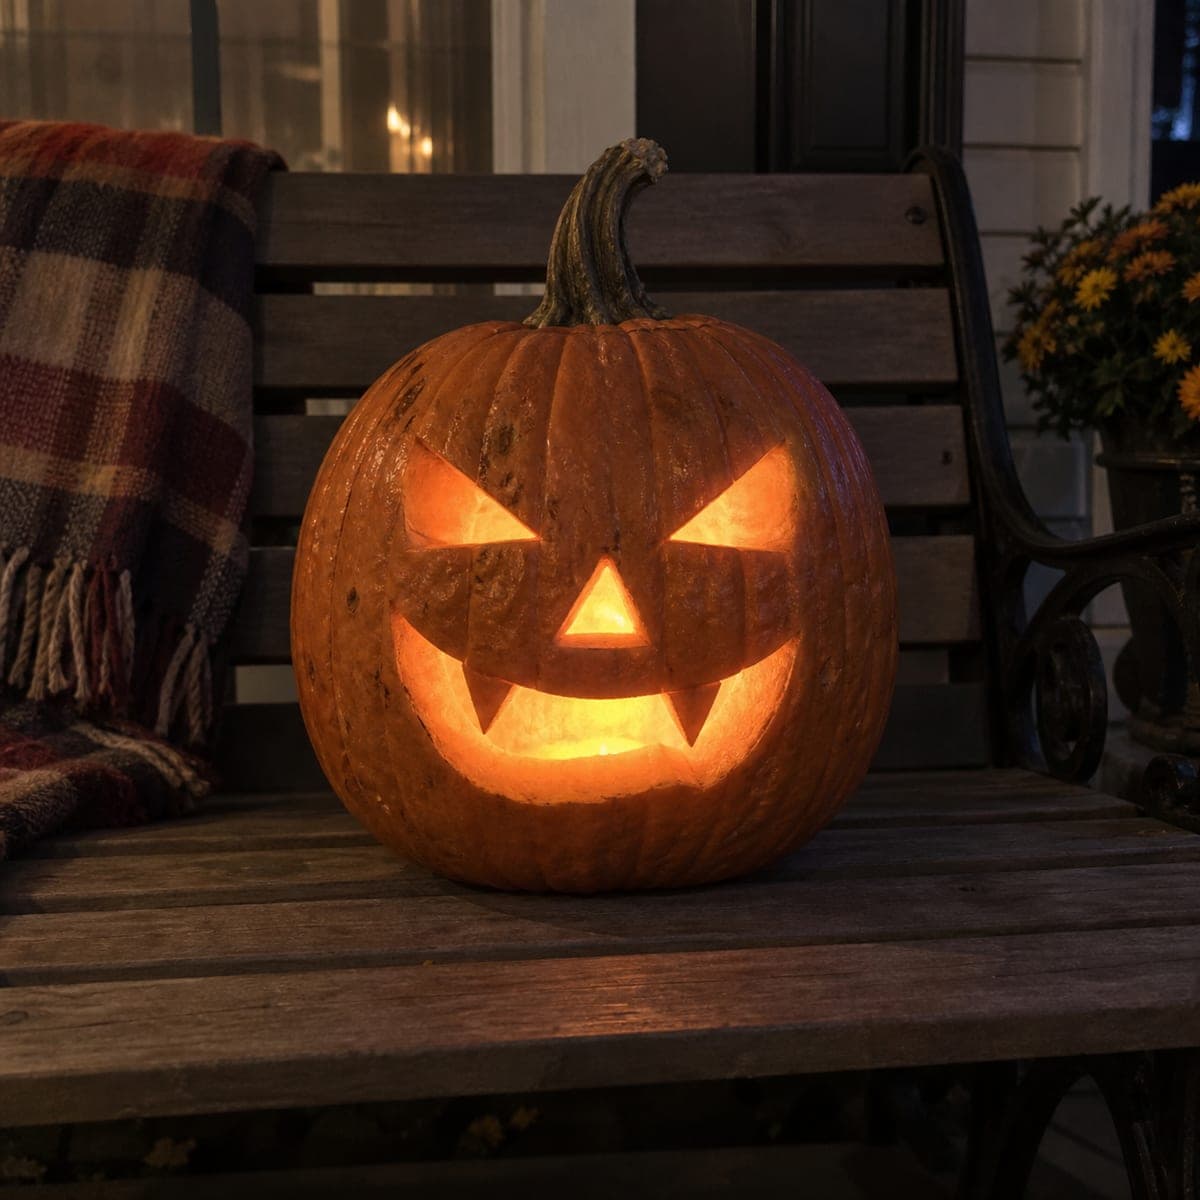
Papa zigzag-crown, a polka-dot drilled mini, and a star-eyed little one lined up on the shelf. Three skill levels, one family.
No ratings yet · Sign in to rate
Papa zigzag-crown, a polka-dot drilled mini, and a star-eyed little one lined up on the shelf. Three skill levels, one family.
The core trick here is scaling one classic jack-o'-lantern idea across three sizes so each carver works at their own comfort level. The big pumpkin gets a full cutout face with a zigzag lid, the mid one is all drilled polka dots, and the smallest carries a single star eye and a tiny grin. Plan the lineup as a set so the sizes and stems read like a family on the shelf.
Written by PumpkinCarvingIdeas.com, inspired by @witchhazelwren's photo above. These are our suggestions, not instructions from the uploader, and this approach hasn't been tested on their exact carve.
Choose one large, one medium, and one small pumpkin with sturdy stems. On the big one, cut a lid with a jagged zigzag edge so it locks back in place, then scoop the insides until the wall is about one inch thick. For the mini and the smallest, cut a small lid or a base hole and clean them out too. Thinner walls are easier to drill and cut cleanly.
Sketch the classic grin on the big pumpkin with a washable marker: triangle eyes, a triangle nose, and a wide toothy smile. On the smallest pumpkin, mark one four point star eye and a short row of square teeth. Leave the middle pumpkin plain for now since it will be dots. Step back and check spacing before any blade touches the skin.
For the mid pumpkin, use a variety of drill bit sizes to make a scattered field of round holes. Work slowly and let the bit do the work so you do not crack the wall, mixing large and small dots for a playful look. Keep holes spaced apart so the surface stays strong. An adult should handle the drill while kids point to where dots should go.
On the large pumpkin, cut the triangle eyes and nose first with a small serrated saw, pushing gently and letting the tip lead. Save the wide smile for last since it is the biggest opening and weakens the wall. Leave the little square teeth attached as bridges so the mouth keeps its shape. Push each piece out from the inside for clean edges.
On the smallest pumpkin, cut the star eye carefully with a fine saw, turning the pumpkin instead of forcing the blade. Cut the small square teeth next, keeping thin skin between them so they do not tear away. This one is quick, which makes it a great first solo carve for a younger family member. Trim any ragged edges with the saw tip.
Drop a battery LED tea light or a small LED puck inside each pumpkin and set them on the shelf in size order. Skip real candles since the thin walls and drilled dots can scorch. Dim the room to check that each face glows the way you want, then adjust light placement. Snap your photo while all three are lit together.
Check things off as you get ready.
Work on a stable surface, keep your free hand out of the cutting path, and have an adult handle sharp tools.
The uncarved orange skin across all three pumpkins stays dark and holds the shapes together.
Lightly scrape the edges of the drilled dots or shallow-shave a thin border around the big face for a soft dim halo.
The triangle eyes and nose, the toothy grin, the star eye, and the full-depth drilled holes punch through for the brightest glow.
Cut the zigzag with steady up and down strokes and angle the blade inward so the lid rests on a ledge instead of falling through. Keep the points of the zigzag shallow rather than deep. If a tooth breaks, a toothpick can pin it back in place.
A mix of roughly quarter inch to half inch bits gives a nice range of dot sizes. Start with smaller holes and step up gradually so you control the pattern. Go slow and ease off pressure as the bit breaks through the inner wall.
The smallest star-eyed one is the easiest since it only needs a single star and a few square teeth. An adult can start the cuts, then let the child push the pieces out. The drilled mid pumpkin is also kid friendly with an adult running the drill.
Changed a detail? Made it simpler? Share a photo of your version and tell the community what worked.
The best new carvings, ideas worth stealing, and how-tos for carving season. Short, seasonal, and gone by November.
Comments (0)