Halloween Pumpkin Carving Contest · Starts October 1st · $500 in prizes
← Back to ideas
@ai_concepts
Jul 24, 2026
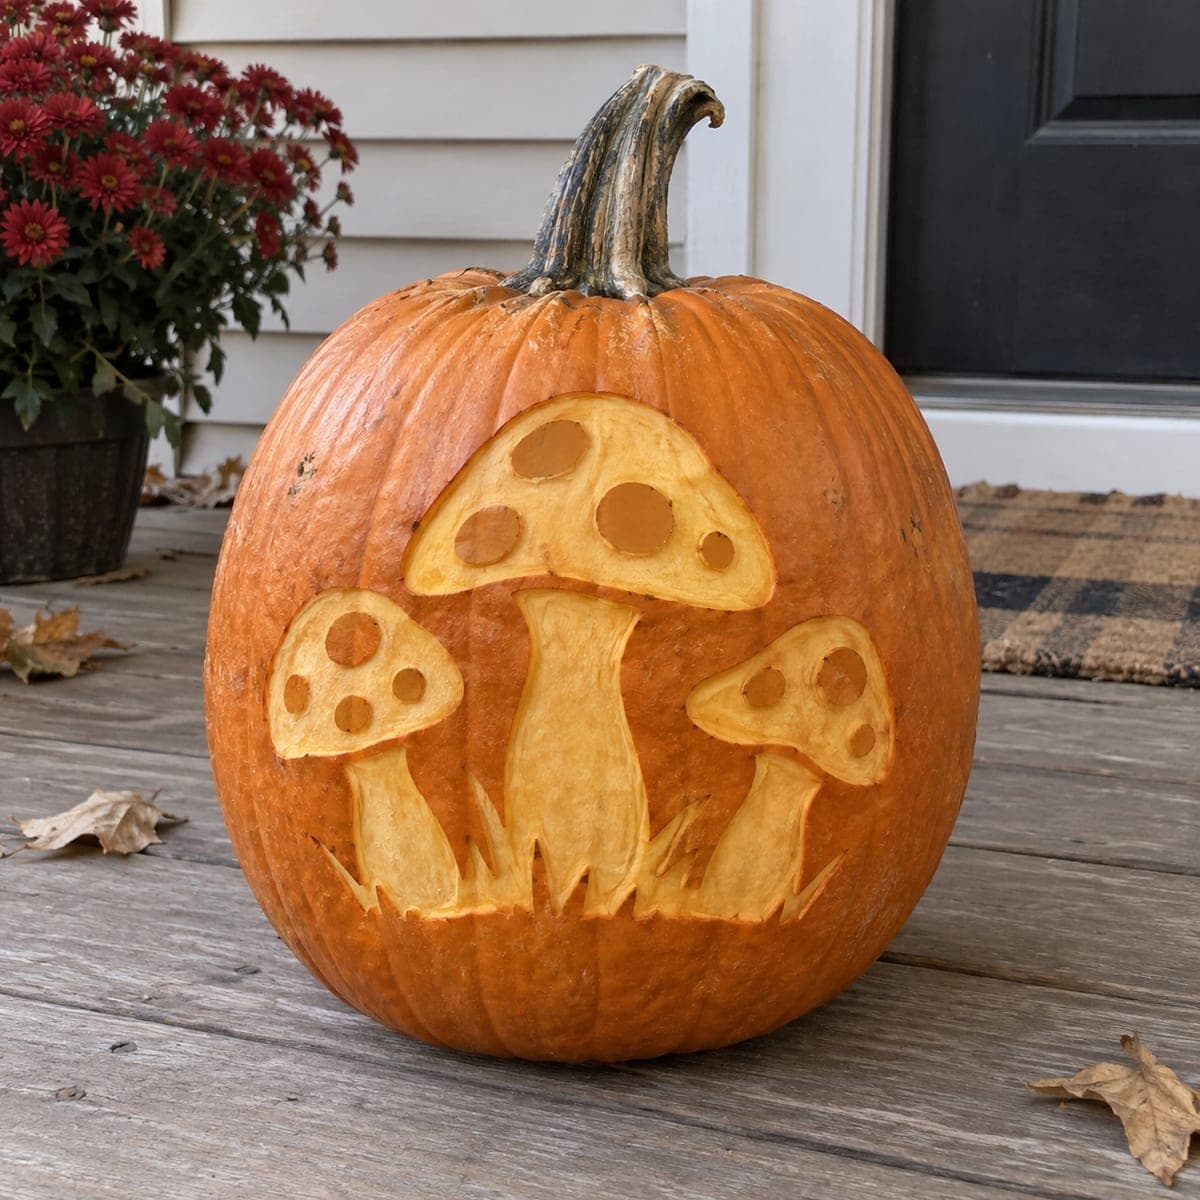
Three Mushroom Cluster Shaded Pumpkin CarvingAI
0

Three Mushroom Cluster Shaded Pumpkin Carving

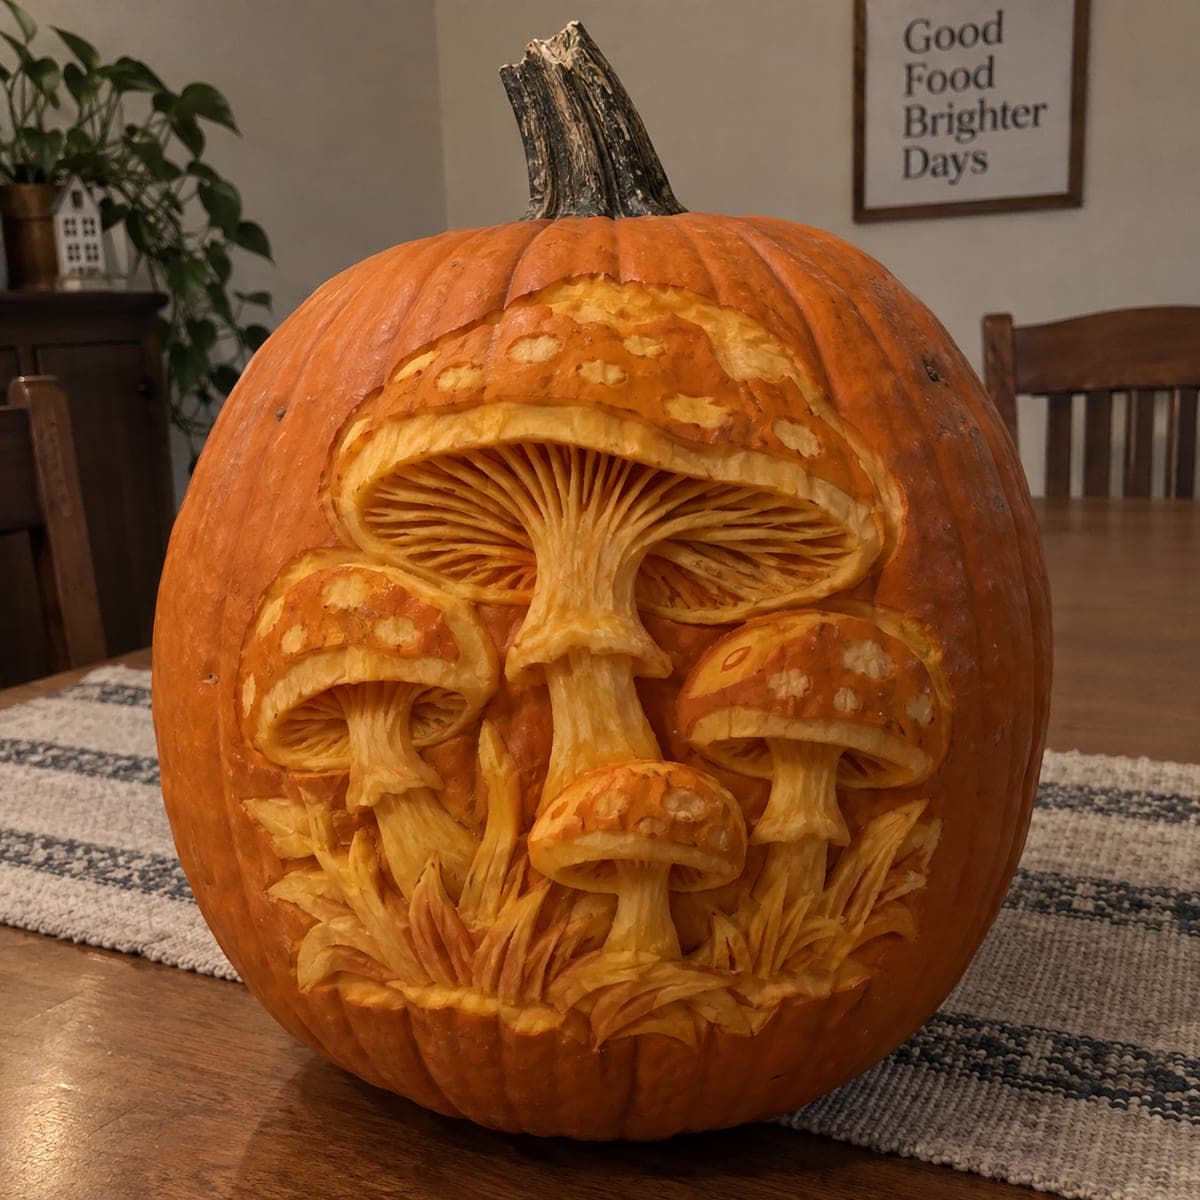
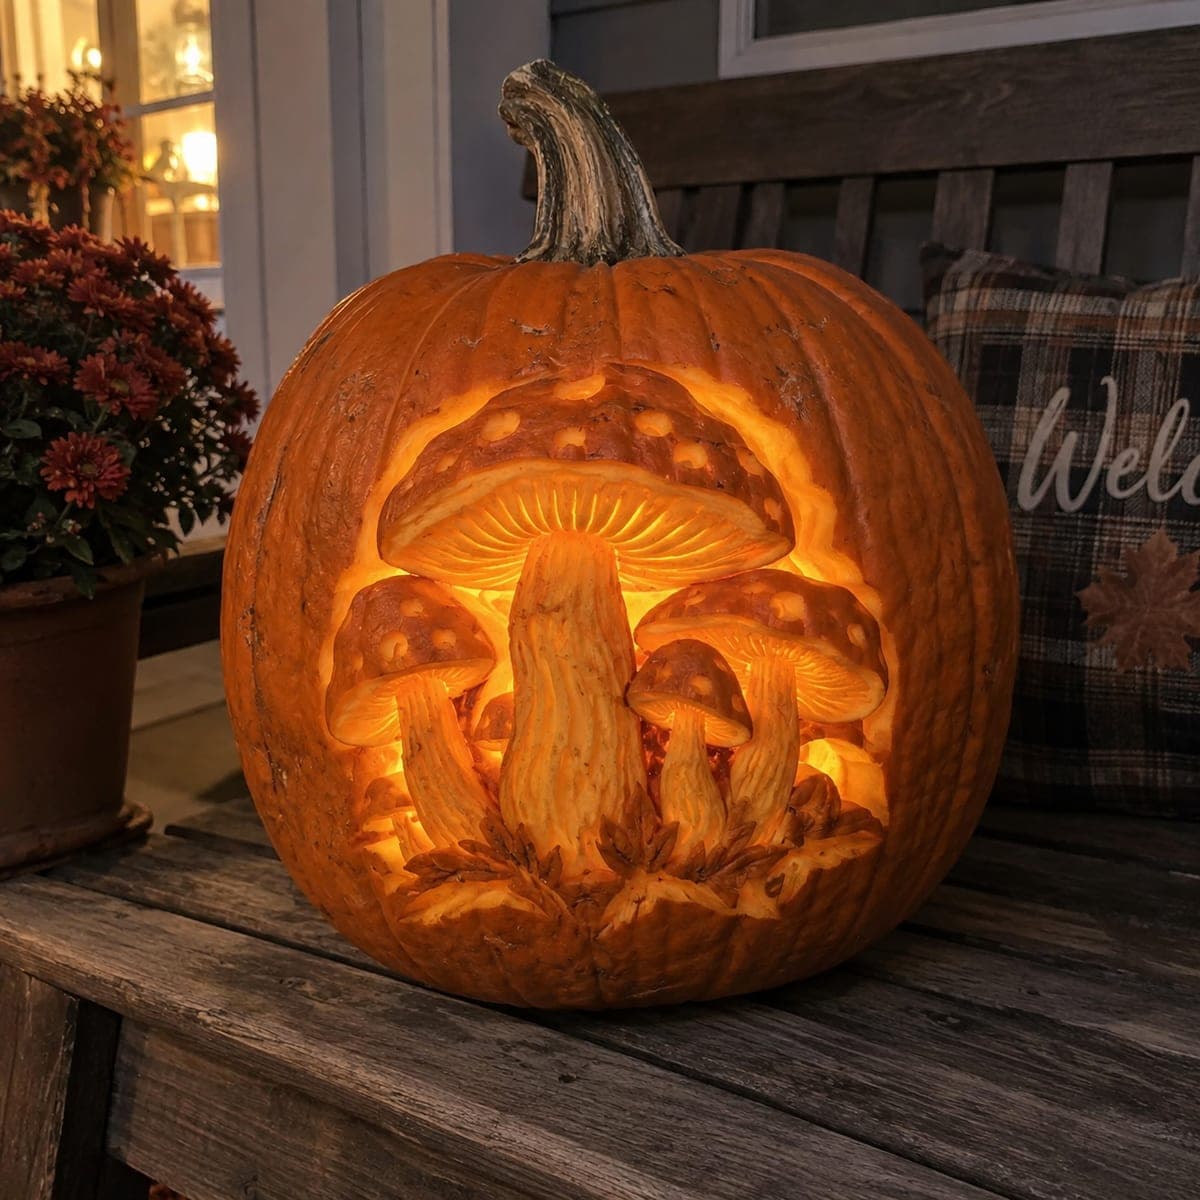
Three spotted mushrooms of varying sizes grow together in carved relief on a pumpkin, with the skin peeled away to reveal lighter inner flesh for the stems and cap edges. The shading technique creates a whimsical woodland vibe without cutting through the wall, so the pumpkin stays structurally solid. Use a linoleum cutter or Dremel at low speed to peel the caps to mid-depth and the stems shallower for a subtle tonal difference. A charming cottagecore pumpkin idea that looks beautiful in daylight too.

This is an AI-generated concept image: a realistic, carvable design idea rather than a photo of a finished carve. AI concepts are always labeled and sit out the leaderboard and the contest.

No ratings yet · Sign in to rate
Comments (0)

  • No comments yet — be the first.

Save without an account. Sign in to like or comment.

Our tips for carving a similar design

The core trick here is relief shading, peeling the skin to different depths instead of cutting all the way through. Deeper peels on the caps read brightest, shallower peels on the stems stay dimmer, and the untouched skin frames it all in dark orange. This keeps the pumpkin wall solid and gives you a warm, storybook look that holds up beautifully in the daytime.

Written by PumpkinCarvingIdeas.com, inspired by the image above. These are our suggestions, not instructions from the uploader. This approach to the AI concept has not been tested on a real pumpkin.

From pumpkin to porch

  1. Pick a firm pumpkin and plan the layout

    Choose a tall, evenly shaped pumpkin with smooth skin so the shaded areas stay clean. Wipe the surface dry and picture three mushrooms clustered together, one tall in the center and two shorter ones flanking it. Since this is a relief design, you do not need a lid or a hollowed interior for the carving itself. Keep the flattest face toward your viewer.

  2. Transfer the mushroom cluster

    Print or draw a stencil with a large central mushroom, two smaller side caps, spots, and a few grass blades at the base. Tape it snugly and poke through the outlines with a pushpin or transfer tool, spacing dots close together on the curves. Peel the paper and connect the dots lightly with a washable marker. Double check that the caps, stems, and spots are clearly separated before you cut.

  3. Outline everything with a shallow score

    Have an adult use a small detail saw or a fine knife to score just the outlines of the caps, stems, and grass, going only a few millimeters deep. This gives your peeling tool a clean edge to stop against so colors do not bleed together. Do not cut through the wall anywhere. Leave the spots outlined too, since they will become your brightest points.

  4. Peel the caps to mid depth

    Switch to a linoleum cutter or a Dremel on low speed and shave the skin off the three caps down to mid depth, working in smooth passes. Keep the depth even so the caps glow uniformly. Take your time near the scored edges and let the tool do the work rather than forcing it. Brush away shavings often so you can see your true tone.

  5. Shade the stems shallower and add spots

    Peel the stems and grass blades only slightly, removing the thin outer skin for a dimmer tone that sits behind the caps. Then peel the cap spots a touch deeper than the caps themselves so they read as the lightest accents. This layering of three depths is what gives the design its gentle dimension. Keep the untouched background skin fully intact for contrast.

  6. Light it and photograph

    For a nighttime glow, set a battery LED tealight or a small puck light inside a shallow scooped pocket carved from the back, keeping the front wall thin but unbroken. Because this is a shaded design, it also looks lovely in plain daylight on a porch step. Photograph it near mums or fallen leaves for that cottagecore feel. Mist it with water and refrigerate overnight to keep the peeled areas fresh.

Gather your supplies

Check things off as you get ready.

Work on a stable surface, keep your free hand out of the cutting path, and have an adult handle sharp tools.

Three levels of light

  • Leave intact

    The background skin around the mushrooms stays untouched and dark for contrast.

  • Peel & shade

    The stems and grass blades get a shallow skin peel for a soft dim glow.

  • Cut through

    Nothing is cut through; the caps and their spots are peeled deepest to read as the brightest tone.

Learn the carving basics

Before you start cutting

Do I need to hollow out the pumpkin at all?

Not for the carving itself, since this is a relief design that keeps the wall solid. If you want a nighttime glow, scoop a shallow pocket from the back for a battery LED so the front stays intact. For daytime display you can skip lighting entirely.

How do I keep the three tones distinct?

Score all the outlines first so your peeling tool has a clean edge to stop against. Peel the caps to mid depth, the stems only slightly, and the spots just a bit deeper than the caps. Brushing away shavings as you go helps you judge the color difference.

Will the shaded areas turn brown quickly?

Peeled flesh does dry and darken faster than skin, so carve close to when you want to display it. Mist the shaded zones with water, rub on a little lemon juice, and store the pumpkin in the refrigerator overnight. This keeps the light tones fresh for several days.

Your take belongs here, too.

Changed a detail? Made it simpler? Share a photo of your version and tell the community what worked.

Share your pumpkin

More pumpkins like this

You've reached the end · 8 pumpkins
The Patch Report

Fresh pumpkins, in your inbox.

The best new carvings, ideas worth stealing, and how-tos for carving season. Short, seasonal, and gone by November.

A short email during carving season. Unsubscribe anytime. See our privacy policy.