Halloween Pumpkin Carving Contest · Starts October 1st · $500 in prizes
← Back to ideas
@ai_concepts
Sep 11, 2026
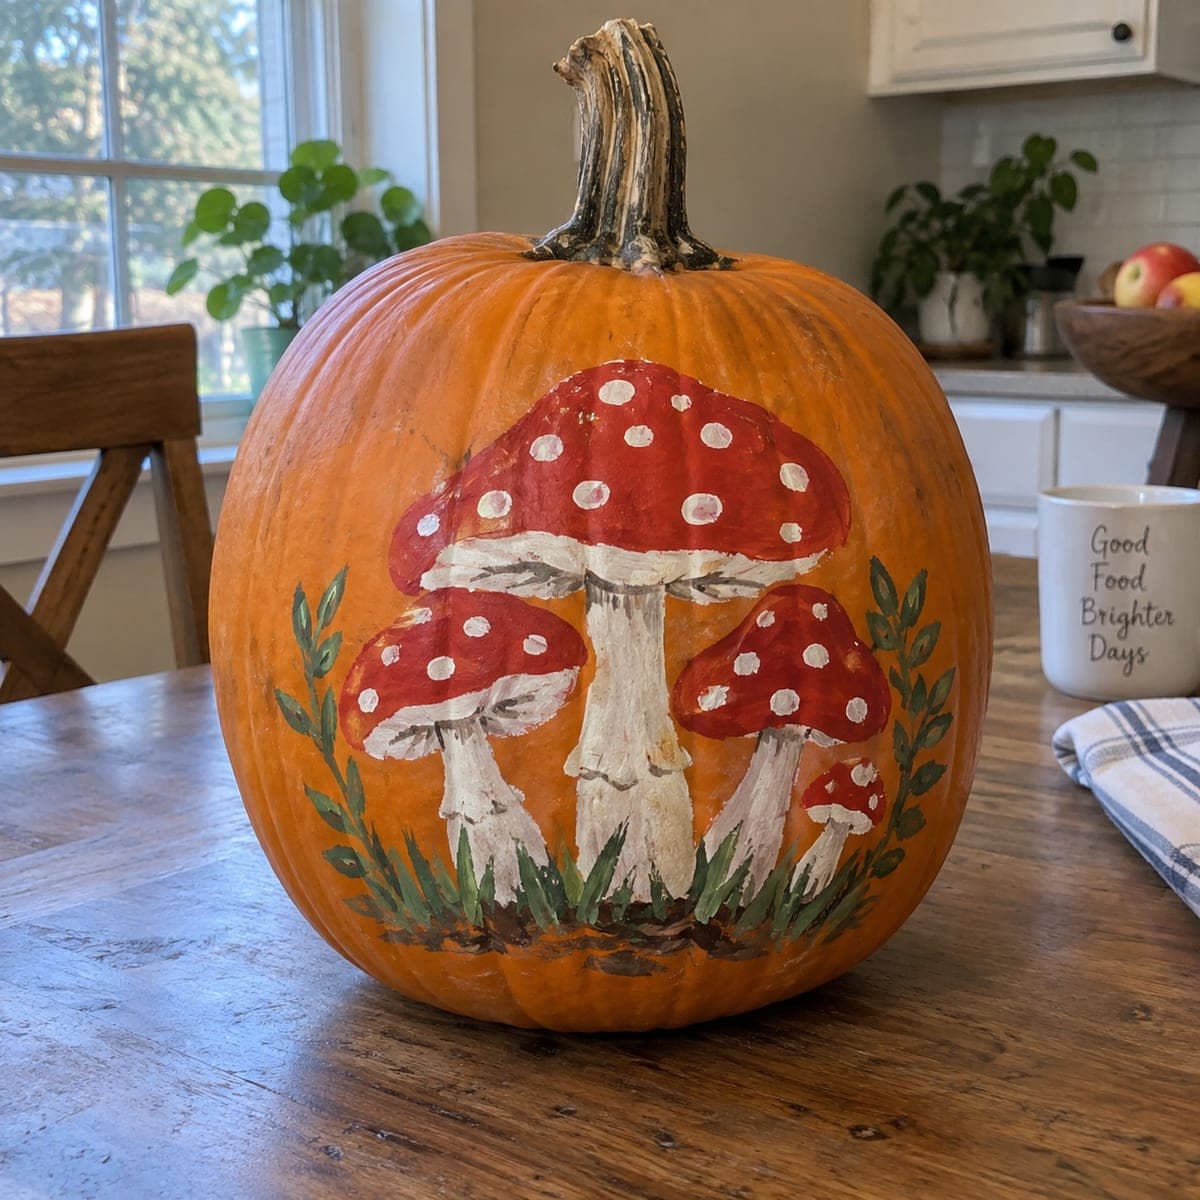
Red Toadstool Mushroom Cluster Painted PumpkinAI
0

Red Toadstool Mushroom Cluster Painted Pumpkin

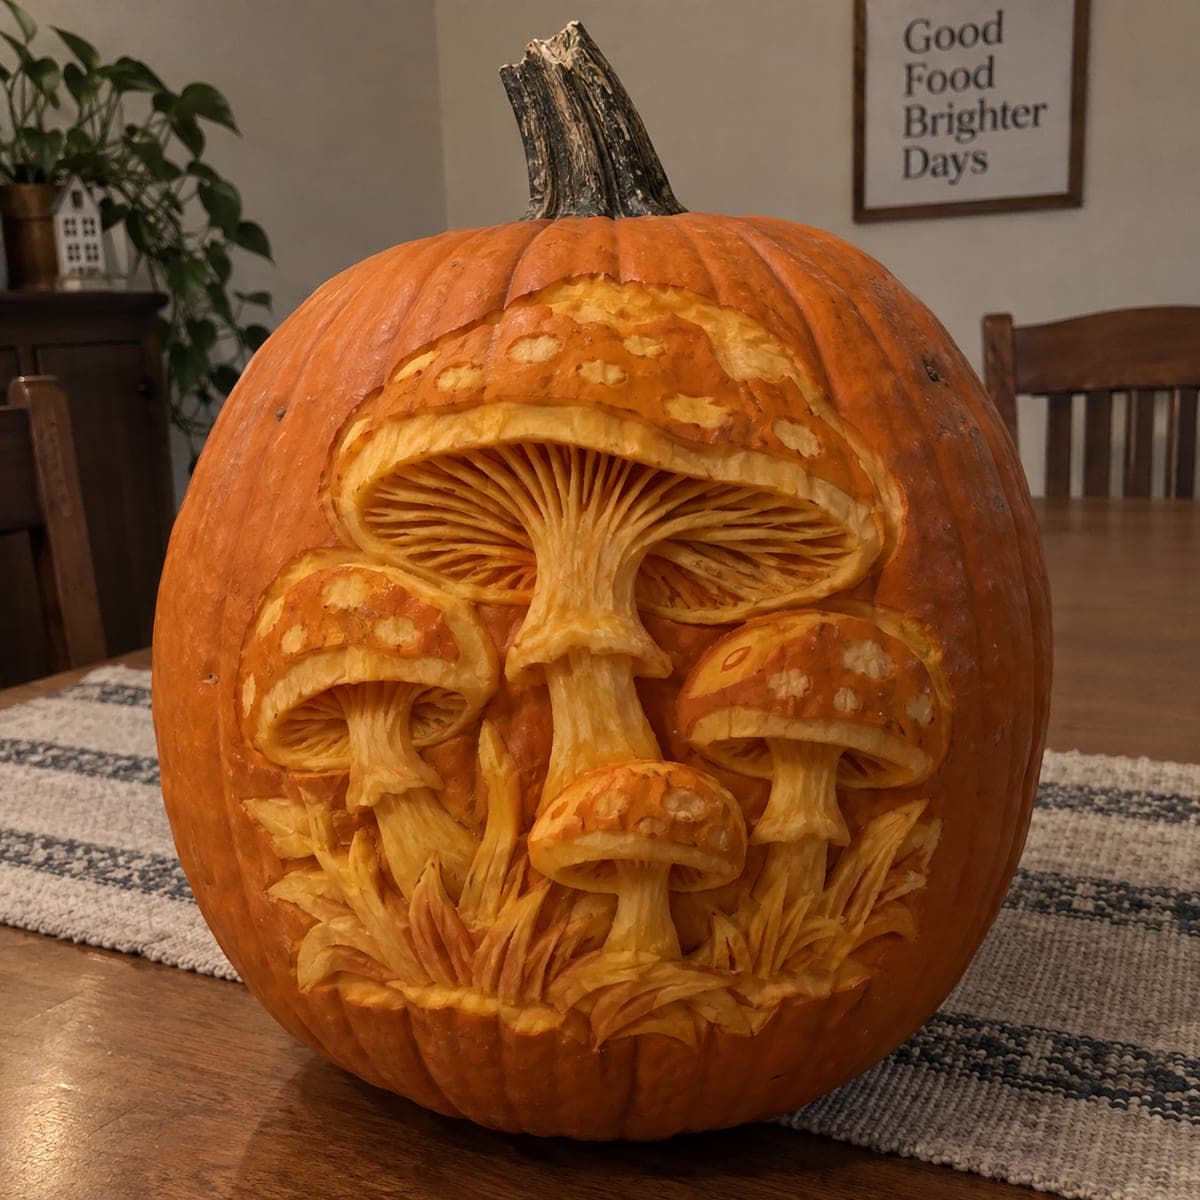
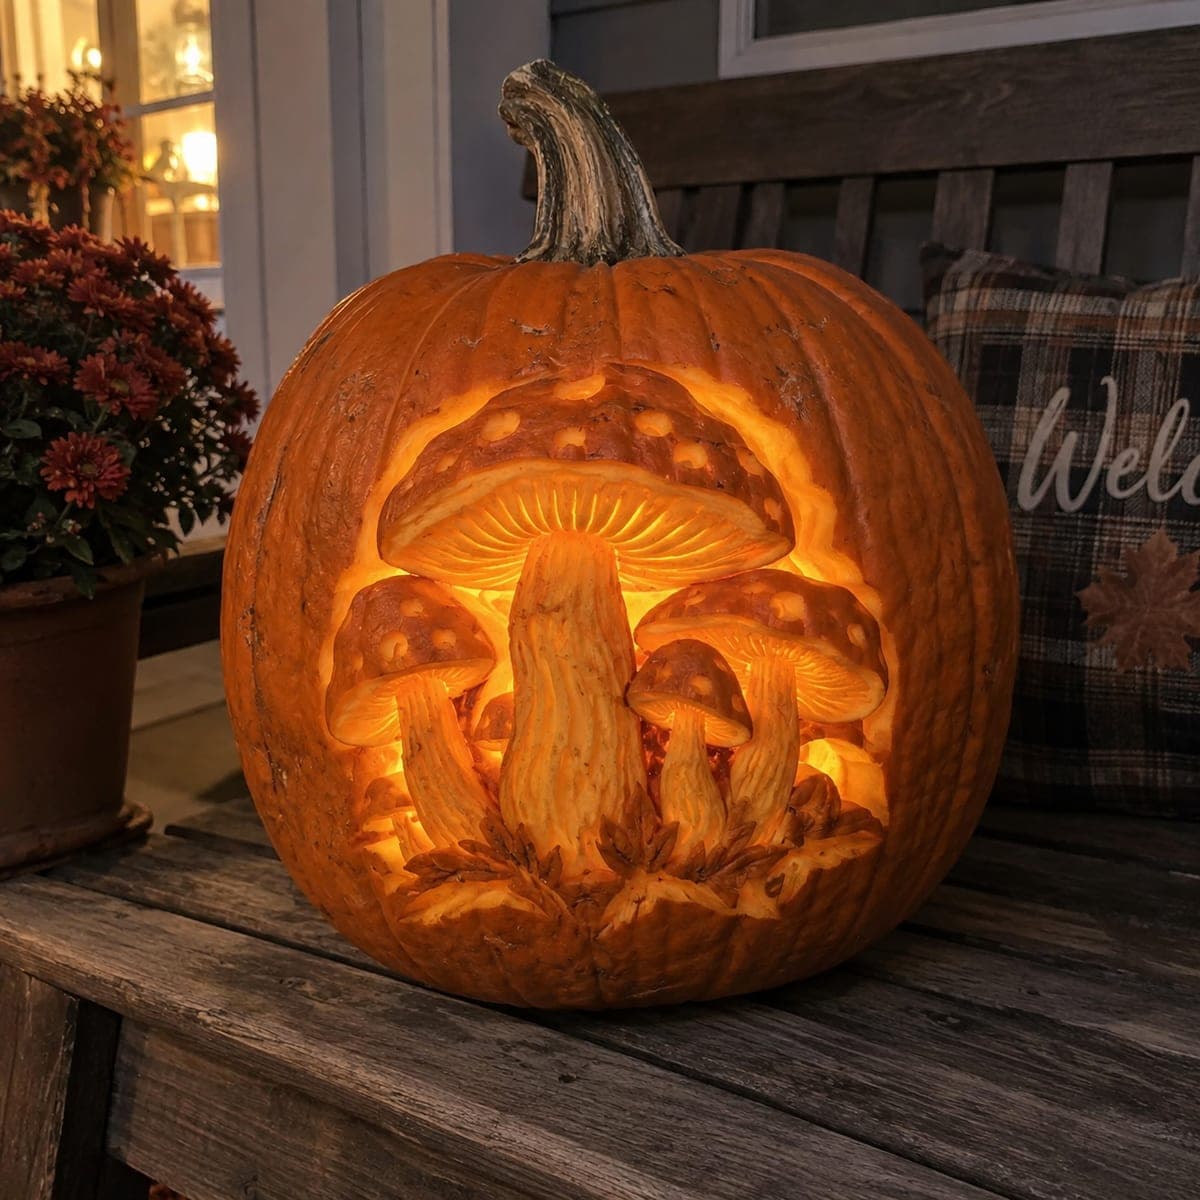
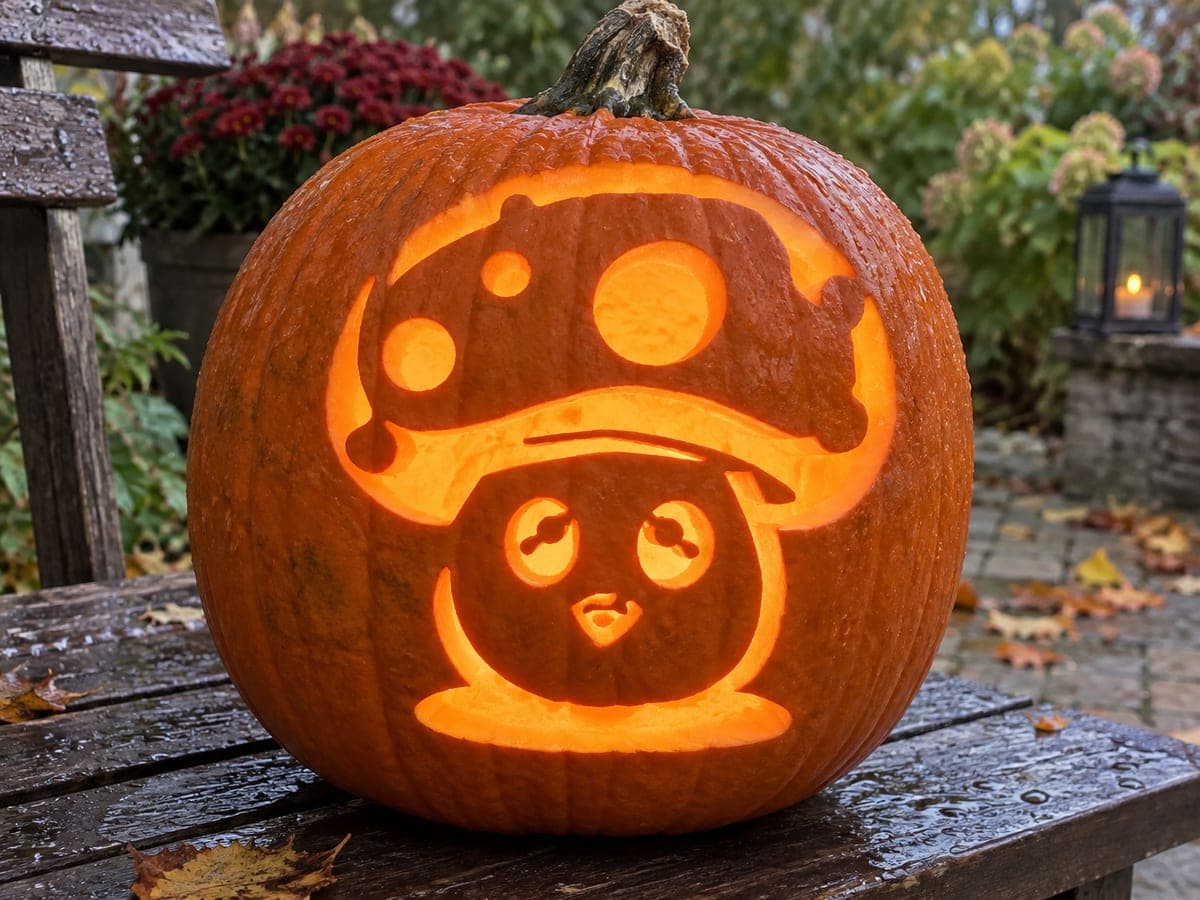
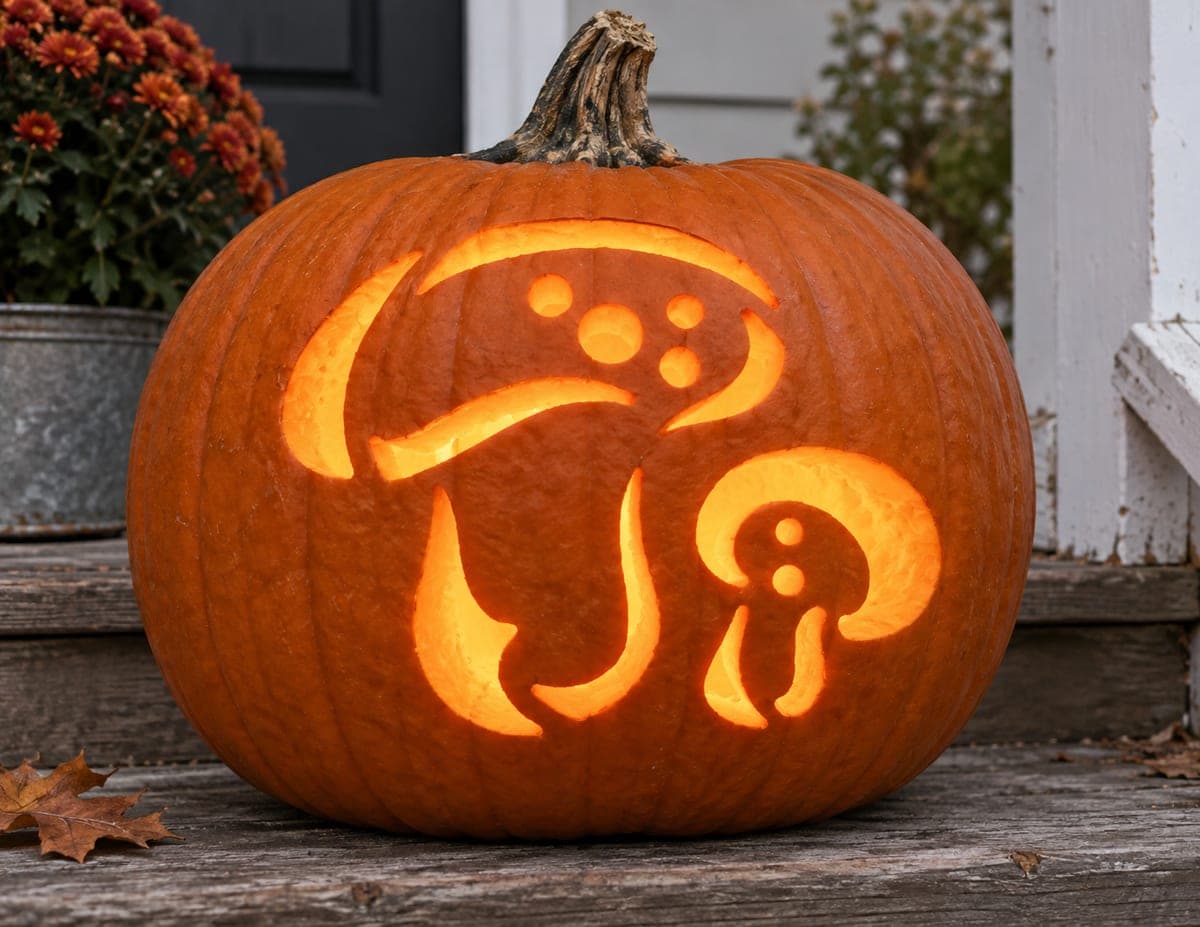
Three red-capped toadstools with white polka dots are painted in a charming cluster, framed by small green leaves and ground details on this uncut orange pumpkin. The fairy-tale mushroom style gives it a whimsical, cottage-core aesthetic that works for fall decor through Thanksgiving. Lay the red cap color first as solid shapes, let it dry fully, then add the white spots with a round sponge brush for perfectly circular dots. This no-carve pumpkin idea requires no tools beyond brushes and paint, making it a great project for kids and adults alike.

This is an AI-generated concept image: a realistic, carvable design idea rather than a photo of a finished carve. AI concepts are always labeled and sit out the leaderboard and the contest.

No ratings yet · Sign in to rate
Comments (0)

  • No comments yet — be the first.

Save without an account. Sign in to like or comment.

Our tips for carving a similar design

The core trick here is patient layering: solid red caps go down first, dry completely, then crisp white polka dots are stamped on top so they stay round and bright. Everything is painted on an uncut pumpkin, so you build the whole scene in flat shapes and add stems, leaves, and grass to anchor the cluster. Work from background to foreground and let each color dry before the next.

Written by PumpkinCarvingIdeas.com, inspired by the image above. These are our suggestions, not instructions from the uploader. This approach to the AI concept has not been tested on a real pumpkin.

From pumpkin to porch

  1. Clean and sketch the layout

    Wipe the pumpkin with a damp cloth and let it dry so paint grips the skin. Lightly pencil in three mushroom caps, one tall center and two shorter ones, plus a tiny fourth cap for balance. Keep the caps in the smooth front zone where the surface is flattest. Sketch simple leaf sprigs on each side and a ground line along the bottom.

  2. Block in the base colors

    Paint the caps as solid red shapes and the stems as off-white columns using acrylic craft paint. Fill the leaves green and add a thin brown soil strip at the base. Keep these first coats flat and even; do not worry about detail yet. Let everything dry fully, then add a second coat if the orange shows through.

  3. Add shading and stem texture

    Once the base is dry, brush a slightly darker red along the lower edge of each cap to give it roundness. Drag a thin gray-brown liner down the stems for those soft vertical gills and ridges. Tuck a little shadow under each cap where it meets the stem. Small touches of darker green in the leaves and a few grass blades over the soil line finish the depth.

  4. Stamp the white polka dots

    Wait until the red is completely dry, then load a round sponge dauber or the flat end of a pencil eraser with white paint. Press straight down for clean circles, making them larger near the top of each cap and smaller toward the edges. Space them a little unevenly for a natural, storybook look. Reload often so the dots stay opaque and crisp.

  5. Seal and stage the finished pumpkin

    Let the whole pumpkin cure for a few hours, then brush on a matte acrylic sealer to protect the art from scuffs and moisture. Set it on a table or shelf where the front scene faces the room. Because nothing is cut, it will last for weeks through Thanksgiving. Snap your photo in soft daylight to keep the reds true.

Gather your supplies

Check things off as you get ready.

Work on a stable surface, keep your free hand out of the cutting path, and have an adult handle sharp tools.

Three levels of light

  • Leave intact

    The orange pumpkin body stays as the natural background around the mushrooms and leaves.

  • Peel & shade

    For an optional glow version you could lightly scrape the skin behind the caps to suggest a soft halo without cutting through.

  • Cut through

    This is a no-carve design, so nothing is cut through; if you want light, tuck a small LED behind an uncut pumpkin instead.

Learn the carving basics

Before you start cutting

How do I keep the white dots from looking smeared into the red?

Let the red caps dry completely, ideally an hour or more, before adding dots. Press a sponge dauber straight down and lift straight up instead of dragging. If a dot looks thin, let it dry and add a second press rather than reloading heavy paint at once.

Will the paint hold up on a real pumpkin?

Yes. Acrylic craft paint bonds well to clean, dry pumpkin skin, and a matte sealer coat helps it resist scuffs and humidity. Keep the pumpkin out of direct rain and it should stay bright for several weeks.

What if my caps look flat instead of rounded?

Add a curved band of slightly darker red along the bottom edge of each cap and a thin highlight near the top. That simple two-tone shading tricks the eye into seeing a dome. A small shadow where the cap meets the stem adds even more depth.

Your take belongs here, too.

Changed a detail? Made it simpler? Share a photo of your version and tell the community what worked.

Share your pumpkin

More pumpkins like this

You've reached the end · 8 pumpkins
The Patch Report

Fresh pumpkins, in your inbox.

The best new carvings, ideas worth stealing, and how-tos for carving season. Short, seasonal, and gone by November.

A short email during carving season. Unsubscribe anytime. See our privacy policy.