Halloween Pumpkin Carving Contest · Starts October 1st · $500 in prizes
← Back to ideas
@ai_concepts
Sep 25, 2026
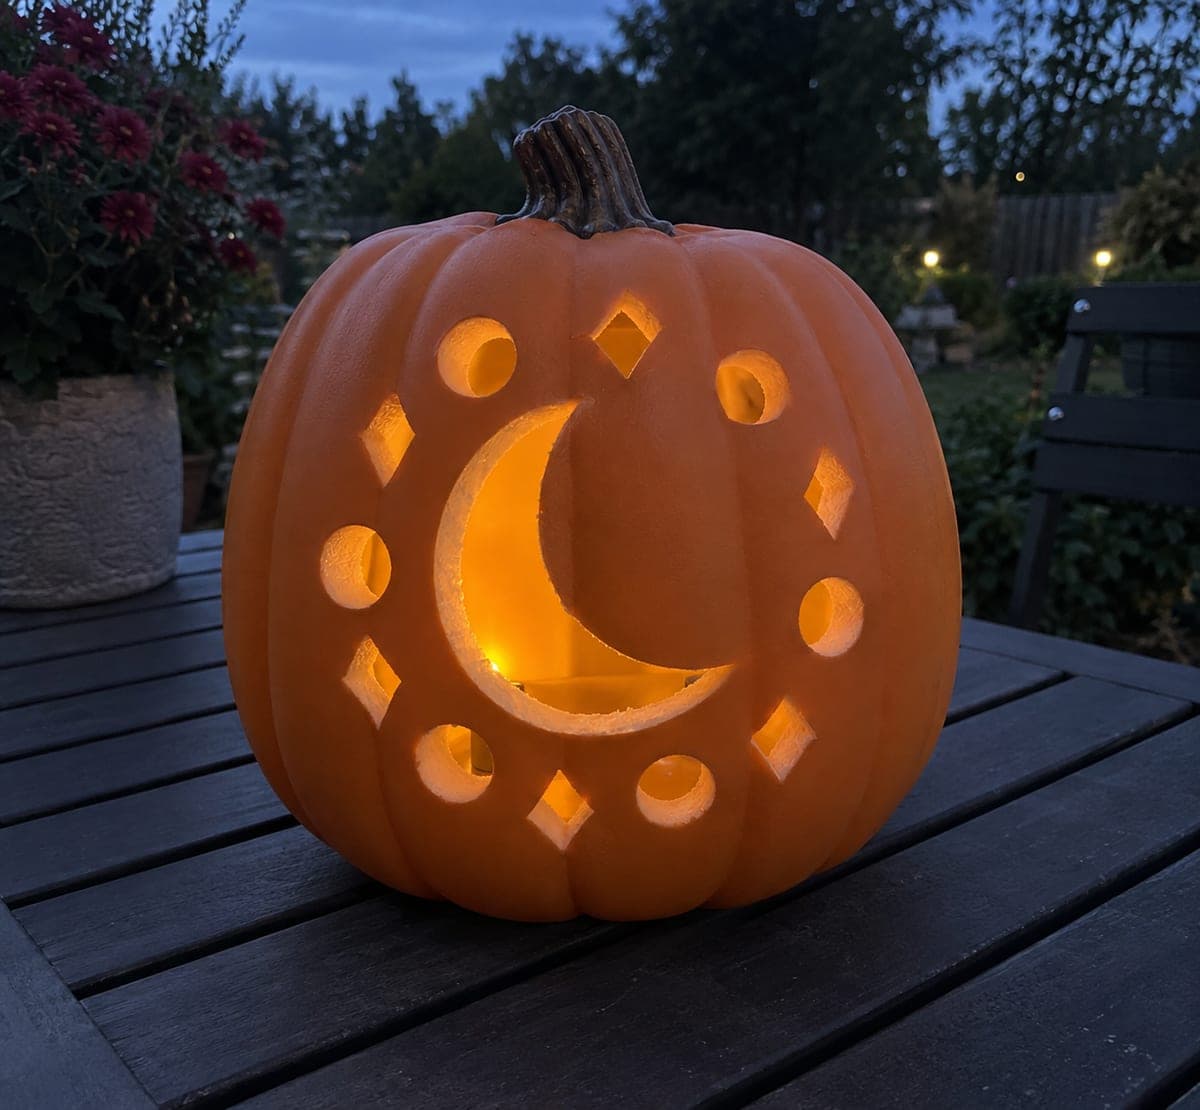
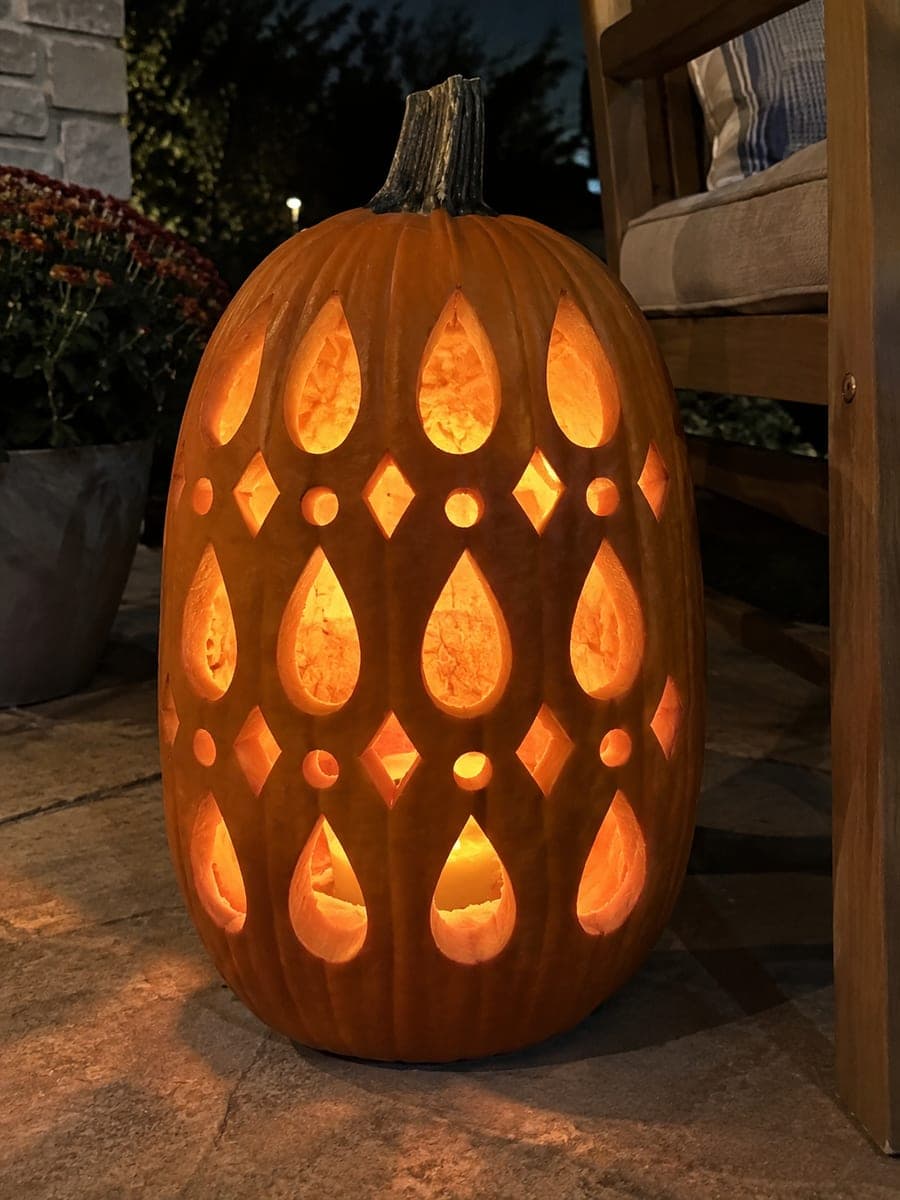
Three-Ring Teardrop and Diamond Round Pumpkin at Blue HourAI
0

Report this carving

Tell us what is wrong. Reports are private.

Three-Ring Teardrop and Diamond Round Pumpkin at Blue Hour

Three concentric rings of separate teardrop, diamond, and round hole apertures surround a broad solid center on this round pumpkin, every internal plug removed and each ring separated by substantial continuous rind bands. Plan the three rings on paper first, confirming each ring's apertures do not overlap the ring inside or outside it. Cut the innermost ring first to establish the solid center boundary, then work outward ring by ring. On a garden table at blue hour the concentric glow of this round pumpkin carving idea has an almost hypnotic quality.

No ratings yet · Sign in to rate

Comments (0)

  • No comments yet — be the first.

Save without an account. Sign in to like or comment.

Our tips for carving a similar design

Three concentric rings of teardrop, diamond, and round hole apertures require a paper plan that confirms no ring's apertures overlap the rings inside or outside them. Cutting from the innermost ring outward preserves maximum rigidity while early rings are established. Broad continuous rind bands between rings are the structural foundation of the entire design.

From pumpkin to porch

  1. Plan three concentric rings on paper

    Sketch all three rings to scale on paper before marking the pumpkin. The innermost ring sits closest to the broad solid center; the outermost ring sits close to the outer shell edge. Confirm that every aperture in every ring has clear rind between it and every adjacent aperture, and between it and the rings inside and outside.

  2. Prep and thin the walls

    Scoop to 2 centimeters throughout. The round shape makes even scooping straightforward; use a circular motion starting at the center and working outward. A headlamp helps verify remaining wall thickness by the amount of backlit glow visible through the rind.

  3. Transfer the ring plan to the pumpkin

    Mark the center of the broad solid interior with a dot. Use concentric circles drawn in grease pencil as zone boundaries for each ring. Mark each aperture center within its designated ring zone. Re-verify all rind bridge widths on the actual curved surface before cutting.

  4. Cut the innermost ring first

    Cut every aperture in the innermost ring before touching any outer ring. This establishes the solid center boundary and keeps the first ring's structural bridges intact while outer rings are still uncut.

  5. Cut the middle ring, then the outer ring

    Complete the middle ring apertures, then the outer ring. After the middle ring is fully cut, the pumpkin will feel noticeably flexible. Support it on a rolled towel throughout the outer ring cutting. Work with light controlled strokes and never apply side pressure on the blade.

  6. Light on the garden table at blue hour

    Place a tall LED pillar candle at the exact center of the cavity. On a garden table at blue hour, each ring of the concentric design glows with a slightly different brightness since the inner rings are closer to the light source. The overlapping radial glow has an almost mandala-like quality.

Written with AI to match this design

Gather your supplies

Check things off as you get ready.

Work on a stable surface, keep your free hand out of the cutting path, and have an adult handle sharp tools.

Three levels of light

  • Leave intact

    The broad solid center and the continuous rind bands between all three rings stay completely intact, providing the structural skeleton of the design.

  • Peel & shade

    None. All apertures are full cutouts.

  • Cut through

    All teardrop, diamond, and round hole apertures across all three concentric rings are cut completely through.

Learn the carving basics

Before you start cutting

How do I draw accurate concentric circles on a spherical pumpkin?

A compass set to the desired radius works on the flatter front face of the pumpkin. Place the compass point at the center mark and swing an arc. For a spherical surface, the arc will naturally lift at the edges; use it as a guide rather than a precise line, and adjust the ring boundary to follow the natural contour.

After cutting all three rings the pumpkin is very flexible. Is it still safe to display?

A heavily cut pumpkin is structurally sound as long as every bridge remains intact and no rind has cracked. Handle it gently when placing it on the garden table. Once positioned with the LED candle inside, it does not need to be moved, which reduces further stress on the bridges.

What is the minimum solid center diameter that keeps this design safe?

A center at least 8 centimeters in diameter on a 34-centimeter pumpkin maintains enough mass to stay firmly supported by the innermost ring's bridges. Reducing it below 6 centimeters increases the risk that the center island detaches when the bridges are under combined stress from all three rings.

Your take belongs here, too.

Changed a detail? Made it simpler? Share a photo of your version and tell the community what worked.

Share your pumpkin

More pumpkins like this

You've reached the end · 8 pumpkins
The Patch Report

Fresh pumpkins, in your inbox.

The best new carvings, ideas worth stealing, and how-tos for carving season. Short, seasonal, and gone by November.

A short email during carving season. Unsubscribe anytime. See our privacy policy.