Halloween Pumpkin Carving Contest Β· Starts October 1st Β· $500 in prizes
← Back to ideas
@ai_concepts
Sep 25, 2026
Three-Snake Pumpkin Carving with Circle Accent HolesAI
0

Report this carving

Tell us what is wrong. Reports are private.

Three-Snake Pumpkin Carving with Circle Accent Holes

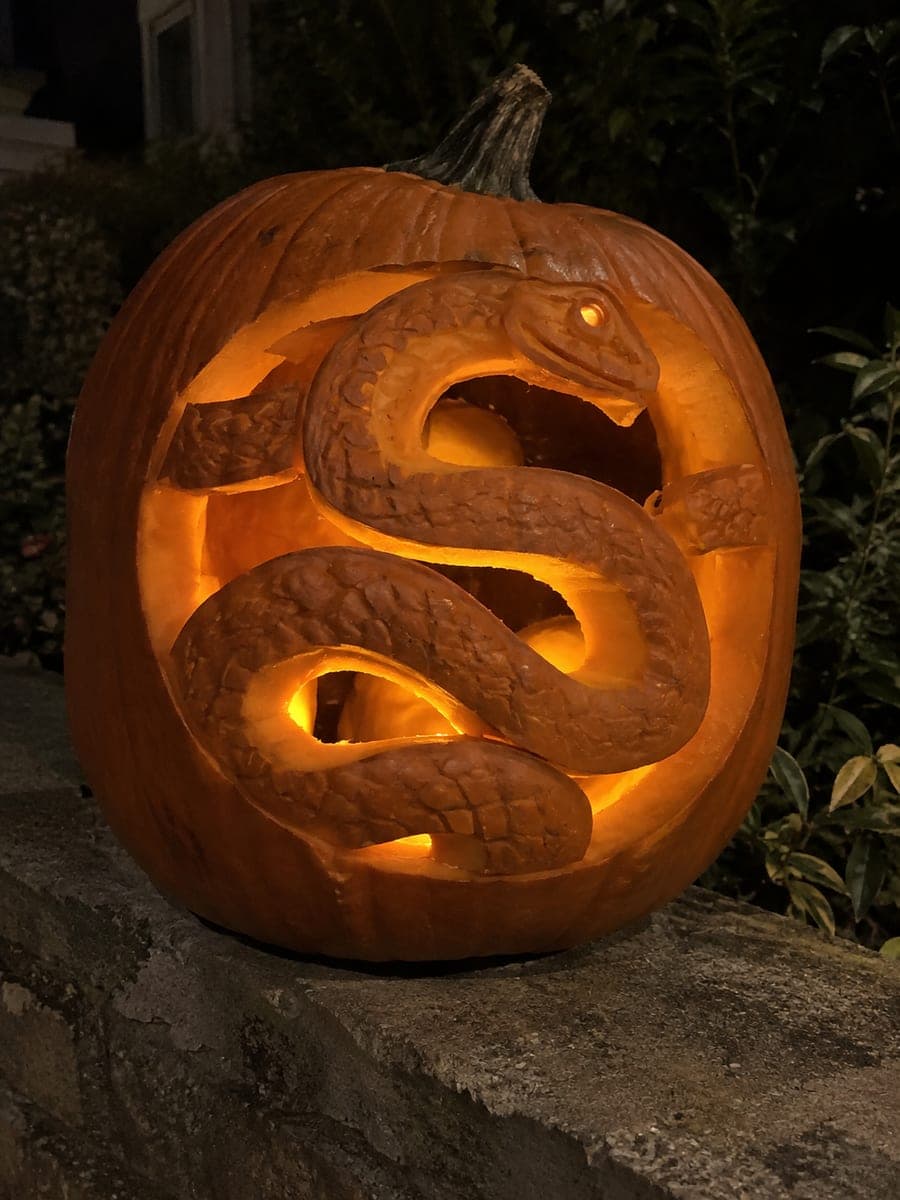
Three separate curving snake-shaped holes, each with a rounded head and blunt tail, plus four small circle accent apertures create a lively intermediate snake pumpkin carving with no internal detail to complicate the design. Cutting each snake as its own isolated shape means structural failure in one does not affect the others. Work the three snake apertures in order from top to bottom, then finish with the small circle accents. Set beside a garden fence at dusk, the cluster of glowing snake shapes is quietly unsettling.

No ratings yet Β· Sign in to rate

Comments (0)

  • No comments yet β€” be the first.

Save without an account. Sign in to like or comment.

Our tips for carving a similar design

Three separate curving snake-shaped apertures, each with a rounded head and blunt tail, are cut fully through the shell, joined by four small circle accent holes. Because each snake is its own isolated cutout with no piece connecting it to another, structural trouble in one area does not affect the rest of the design. Planning the spacing so all snakes fit without crowding the edges is the main challenge.

From pumpkin to porch

  1. Prepare the pumpkin

    Open the pumpkin from the back or bottom to keep the display face clean. Scoop the interior until the wall is roughly an inch thick. Dry the outer surface before drawing begins.

  2. Lay out the snake positions

    Sketch the three snake positions lightly in pencil before committing to anything. Angle them at different orientations so they look natural rather than parallel. Leave at least an inch of solid rind between each snake and from each snake to the edge of the pumpkin face.

  3. Transfer each snake outline

    Use a pin transfer tool or template tape to mark the perimeter of each snake hole. Work one snake at a time so the layout stays accurate. Mark the four small circle accents last once the main positions are confirmed.

  4. Cut from top to bottom

    Carve the topmost snake first, then work downward so falling offcuts do not disturb your workspace. Cut each snake shape as one continuous hole. Keep the saw perpendicular and move slowly around the rounded head and blunt tail ends.

  5. Cut the circle accents

    Use a small drill bit, apple corer, or circular hole-saw attachment to punch the four round accent apertures. These small holes add sparkle and depth to the overall composition. Position them in the gaps between the snakes for balance.

  6. Light and display

    Insert an LED puck or small LED string lights for even illumination across all three snakes and the accent holes. Place beside a garden fence or crate at dusk for the best effect. The cluster of glowing shapes reads well from several feet away.

Written with AI to match this design

Gather your supplies

Check things off as you get ready.

Work on a stable surface, keep your free hand out of the cutting path, and have an adult handle sharp tools.

Three levels of light

  • Leave intact

    All rind between and around the three snakes stays fully dark

  • Peel & shade

    None on this design

  • Cut through

    All three snake-shaped apertures and the four circle accents are cut through for full glow

Learn the carving basics

Before you start cutting

How do I keep the snakes from looking too crowded on the face?

Sketch the positions in pencil first and step back to check the spacing before transferring. Stagger the snakes at different angles and heights rather than stacking them. An inch of solid rind between each shape is the minimum to aim for.

Does it matter which snake I carve first?

Start with the topmost snake so any sawdust or offcuts fall away from the remaining transfer marks below. Finishing one snake completely before starting the next also keeps the pumpkin feeling stable and lets you check each shape as you go.

What size should the circle accents be?

About half an inch in diameter works well to complement three medium-sized snake apertures. Going larger risks the accents competing with the snakes visually; going smaller makes them hard to see at distance. An apple corer or a standard drill bit gives a clean, round edge.

Your take belongs here, too.

Changed a detail? Made it simpler? Share a photo of your version and tell the community what worked.

Share your pumpkin

More pumpkins like this

You've reached the end Β· 8 pumpkins
The Patch Report

Fresh pumpkins, in your inbox.

The best new carvings, ideas worth stealing, and how-tos for carving season. Short, seasonal, and gone by November.

A short email during carving season. Unsubscribe anytime. See our privacy policy.