Halloween Pumpkin Carving Contest · Starts October 1st · $500 in prizes
← Back to ideas
@ai_concepts
Sep 14, 2026
Timbered Haunted Tower PumpkinAI
0

Timbered Haunted Tower Pumpkin

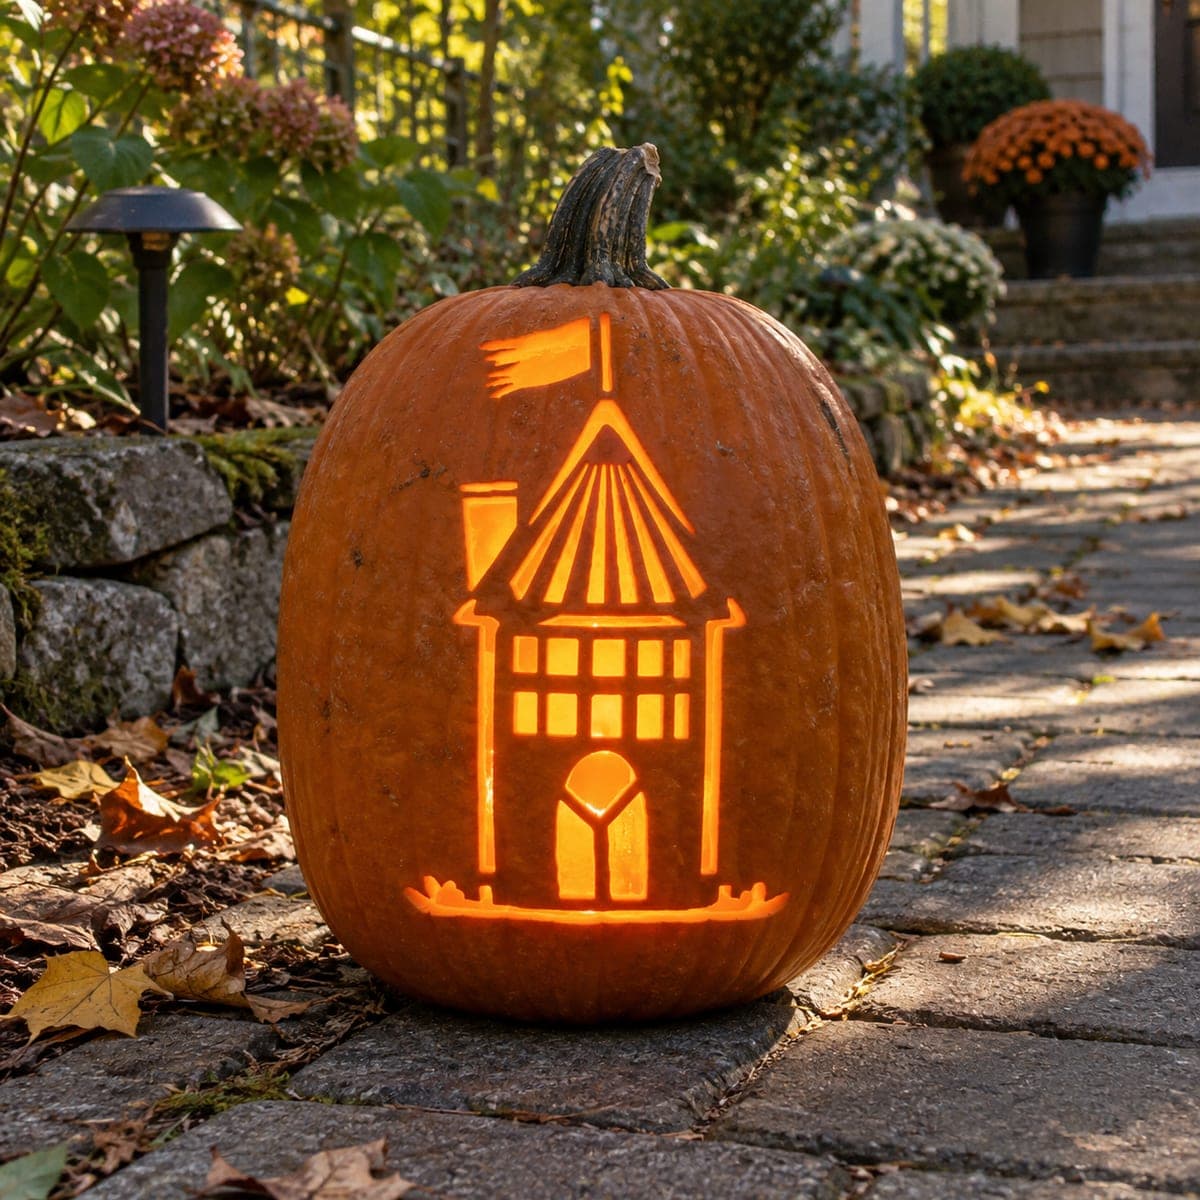
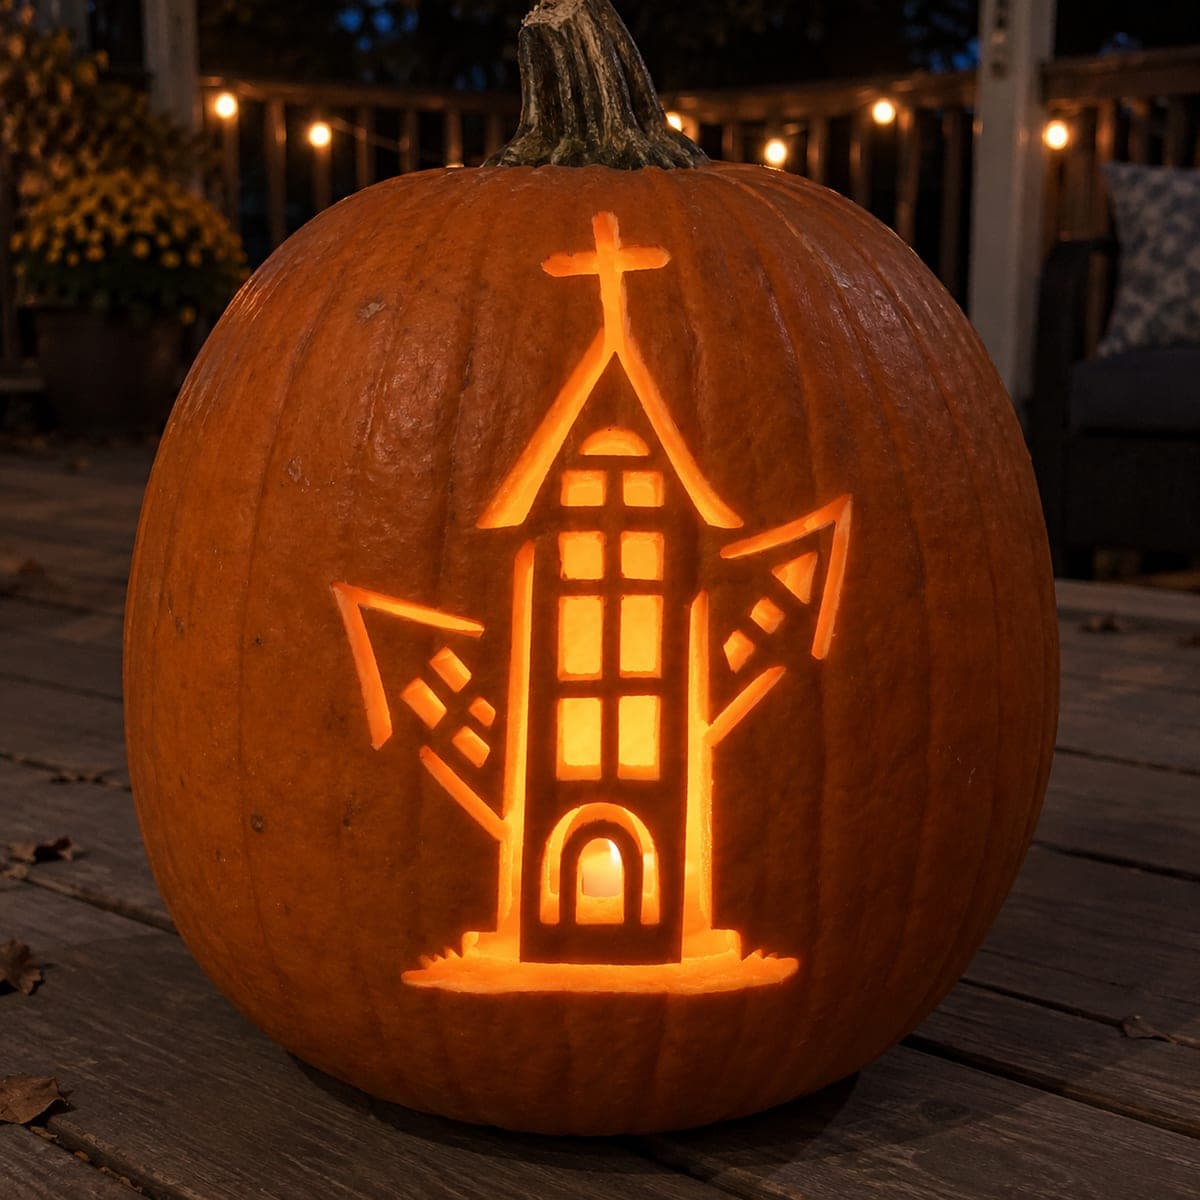
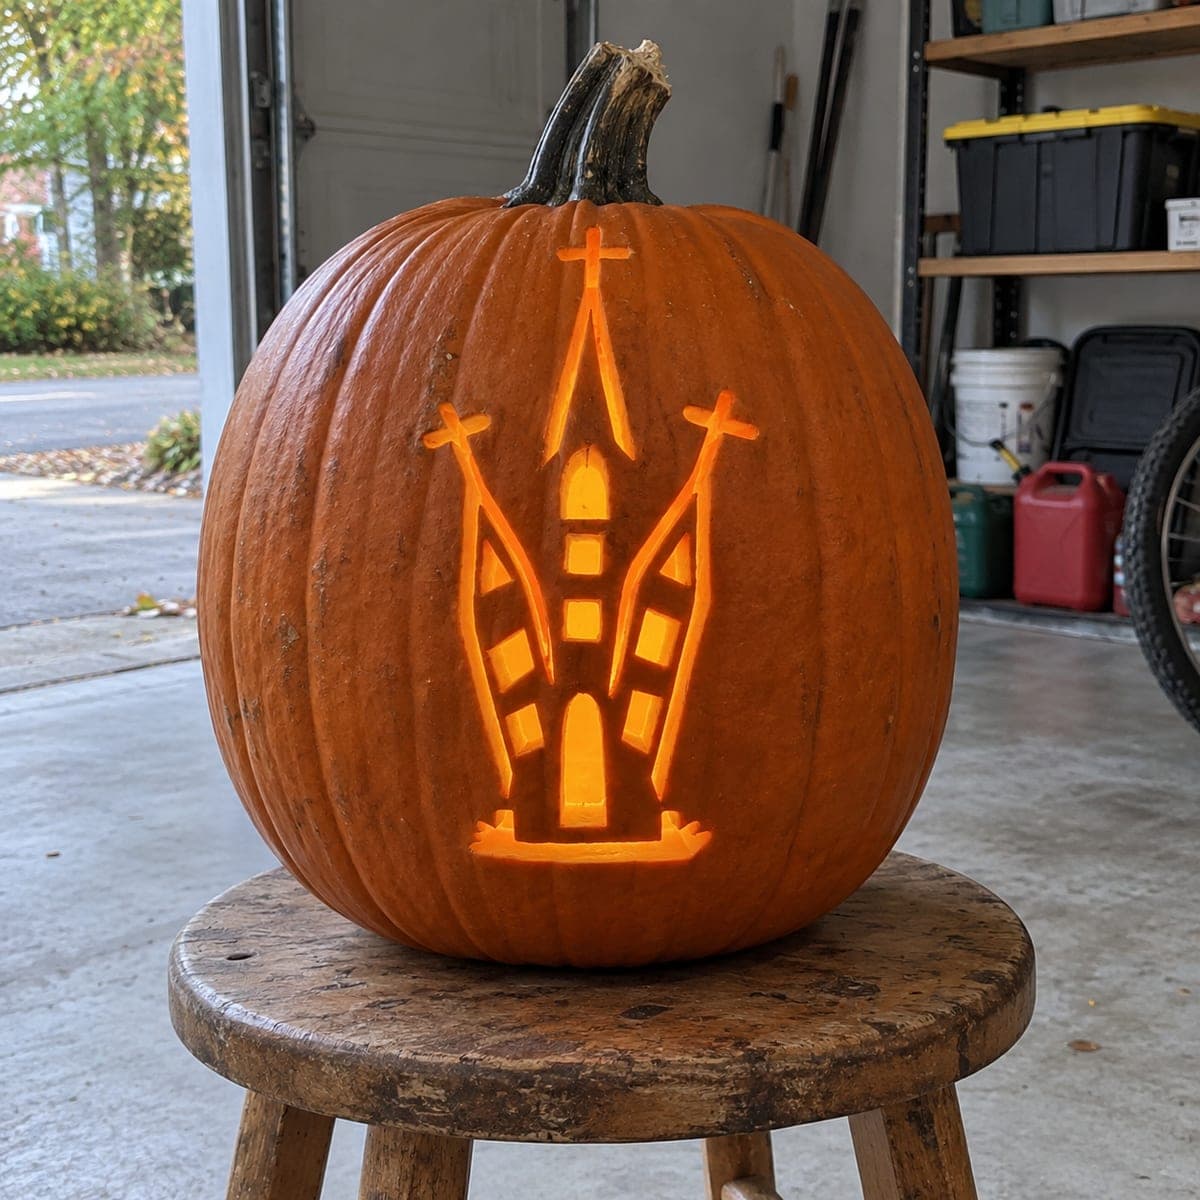
A round-roofed storybook tower with a small flag, radial roof lines fanning outward from the peak, and a grid of rectangular windows stacked down the shaft glows from this artistic pumpkin carving cutout design, with crisp geometric detail throughout. Every window rectangle and the spaces between the roof rays are cut through, while the roof spoke lines and the flag pole remain as dark rind. Cut the roof ray gaps first, working from the tip outward so the narrow spokes at the peak are defined before the larger wall is weakened. An LED placed near the base of the cavity sends light upward through the window grid and illuminates the fan roof from below for a lighthouse effect.

This is an AI-generated concept image: a realistic, carvable design idea rather than a photo of a finished carve. AI concepts are always labeled and sit out the leaderboard and the contest.
No ratings yet · Sign in to rate

Comments (0)

  • No comments yet — be the first.

Save without an account. Sign in to like or comment.

Our tips for carving a similar design

The core trick here is a fan-shaped roof where the narrow gaps between spokes get cut through while the thin spoke lines stay as dark rind. Plan the whole design as a stack of small cutouts: window rectangles, roof ray gaps, and the arched door, all held together by slender bridges of skin. Work from the delicate roof peak downward so the fragile top is finished before the larger wall openings weaken the shell.

Written by PumpkinCarvingIdeas.com, inspired by the image above. These are our suggestions, not instructions from the uploader. This approach to the AI concept has not been tested on a real pumpkin.

From pumpkin to porch

  1. Transfer the pattern and prep the shell

    Print or draw the tower onto paper, then tape it snugly around the front of the pumpkin, clipping the edges so it lies flat. Poke through every line with a pin or a poke tool to leave a dotted map on the skin. Cut a lid or a back access hole and scrape the front wall down to about an inch thick with a loop tool. A thinner, even wall makes the many small cuts cleaner and lets more light through.

  2. Cut the roof ray gaps from the tip outward

    Start at the peak and cut the narrow triangular gaps between the roof spokes first, working outward toward the wider base of the roof. Keeping the spokes intact means saving the thin lines and removing only the wedges around them. Use a fine detail saw and make slow, steady passes so the delicate spokes near the top stay attached. Finishing this fragile fan before you weaken the rest of the tower protects it from cracking.

  3. Carve the flag and pole

    Cut out the flag banner as an open shape so it glows, and leave the flagpole as a thin strip of dark rind. Keep at least a quarter inch of skin along the pole so it does not snap. If the pole feels flimsy, leave a tiny bridge connecting it to the roof edge. Take your time; this small detail reads as the storybook signature of the whole piece.

  4. Cut the window grid

    Remove each rectangular window as its own opening, leaving the thin bars between them as attached rind. Cut the smaller upper windows first, then the larger lower ones, so the wall stays firm as long as possible. Keep every bar consistent in width for that crisp geometric look. If a bar tears, dab a bit of white glue behind it or trim the neighbors to even things out.

  5. Open the arched door last

    Save the biggest opening, the arched doorway, for the very end since it removes the most support. Cut the arch cleanly and leave the small central mullion as dark rind for that lantern-door detail. Add the little baseline notches along the ground line as shallow cuts. Removing this large piece last keeps the wall rigid while you handle all the fine work above.

  6. Light it and photograph

    Set a battery LED near the base of the cavity so light rises up through the window grid and glows up into the fan roof for a lighthouse effect. Use an LED, never a candle, since the thin bridges and many cutouts can scorch. Shoot at dusk with the surrounding lights low so the geometric openings pop. Mist the cut edges with water and bag the pumpkin in the fridge overnight to keep it crisp between showings.

Gather your supplies

Check things off as you get ready.

Work on a stable surface, keep your free hand out of the cutting path, and have an adult handle sharp tools.

Three levels of light

  • Leave intact

    The roof spoke lines, the window bars, the flagpole, and the door mullion stay as untouched dark rind.

  • Peel & shade

    Shallow-peel the ground line notches at the base for a soft dim glow along the tower's footing.

  • Cut through

    Cut fully through the roof ray gaps, every window rectangle, the flag banner, and the arched doorway for the brightest light.

Learn the carving basics

Before you start cutting

How do I keep the thin roof spokes from breaking?

Cut the gaps between them from the peak outward while the rest of the wall is still solid, and keep each spoke at least a quarter inch wide. Use a sharp fine saw so you are slicing, not forcing, through the flesh. If one loosens, a dot of white glue behind it can hold it steady for photos.

Why cut the arched door last?

The door is the largest opening and removing it takes away a lot of the wall's support. If you cut it early, the window grid and roof above can sag or crack while you work. Saving it for the end keeps the shell rigid through all the delicate cuts.

Since this is a concept image, can a real pumpkin hold this much detail?

Yes, if you thin the wall evenly to about an inch and keep every bar and spoke a consistent quarter inch wide. Choose a tall, smooth pumpkin so the geometric lines stay straight. Work slowly and support fragile areas with small bridges wherever the pattern feels weak.

Your take belongs here, too.

Changed a detail? Made it simpler? Share a photo of your version and tell the community what worked.

Share your pumpkin

More pumpkins like this

You've reached the end · 8 pumpkins
The Patch Report

Fresh pumpkins, in your inbox.

The best new carvings, ideas worth stealing, and how-tos for carving season. Short, seasonal, and gone by November.

A short email during carving season. Unsubscribe anytime. See our privacy policy.