Halloween Pumpkin Carving Contest · Starts October 1st · $500 in prizes
← Back to ideas
@ai_concepts
Sep 14, 2026
Narrow Haunted Tower PumpkinAI
0

Narrow Haunted Tower Pumpkin

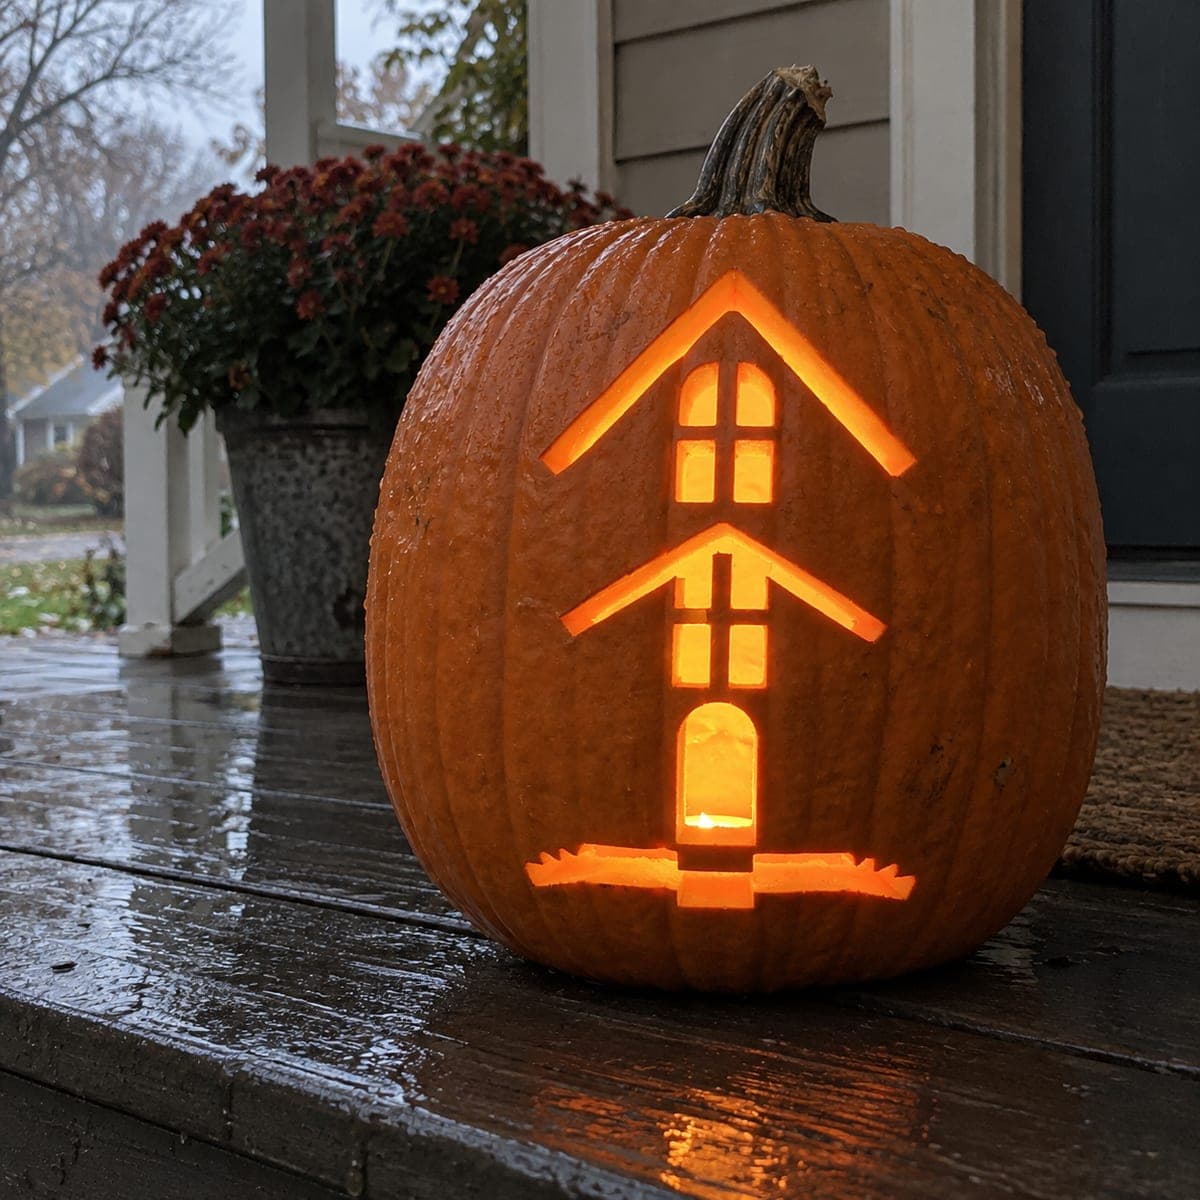
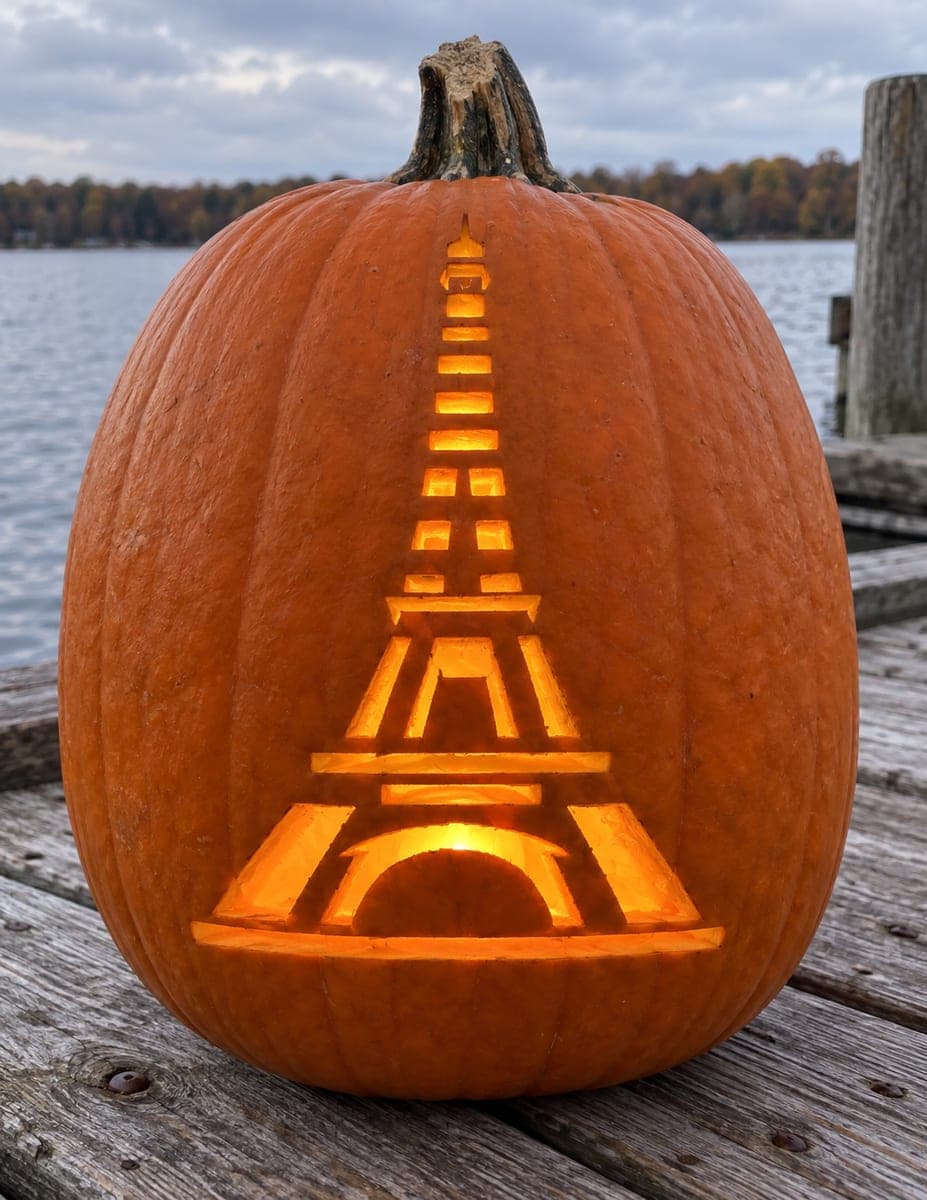
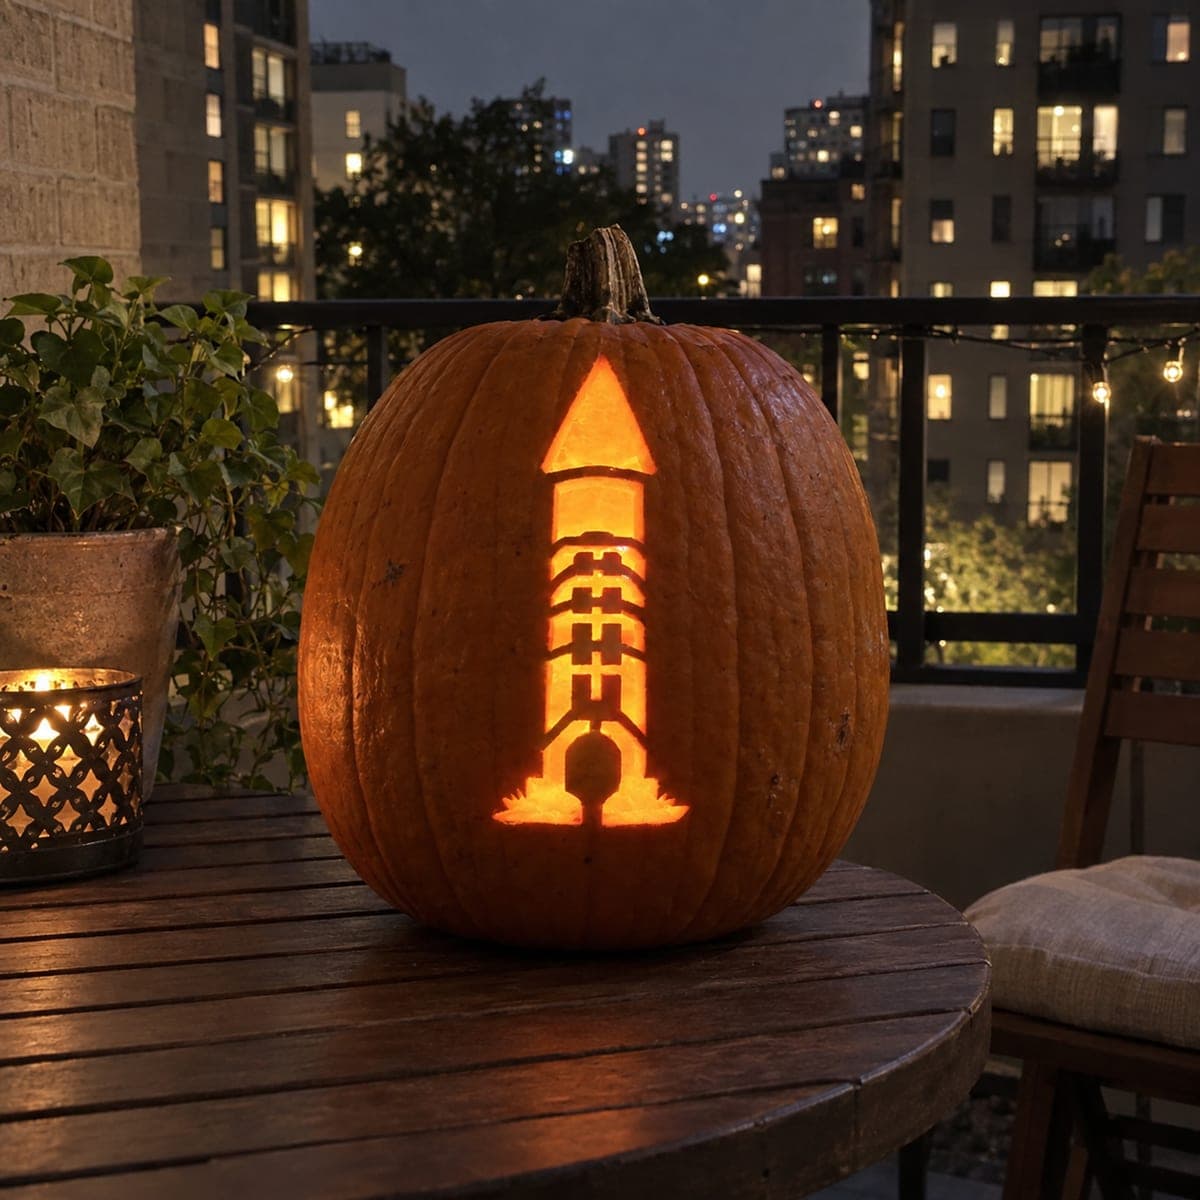
A slender illuminated tower with a pointed tip, horizontal window bands, and a round base element that suggests a launching pad or turret stacks vertically up the pumpkin in this artistic cutout pumpkin carving idea. The window openings and interior shaft of the tower are cut completely through, with the outer wall lines and horizontal dividers left as uncut rind. Cut the small rectangular windows first, since the dark divider strips between them are fragile and easier to control before the large central shaft opening is removed. A single LED puck placed inside at the base will send a column of light straight up through the tower windows for a beacon effect after dark.

This is an AI-generated concept image: a realistic, carvable design idea rather than a photo of a finished carve. AI concepts are always labeled and sit out the leaderboard and the contest.
No ratings yet · Sign in to rate

Comments (0)

  • No comments yet — be the first.

Save without an account. Sign in to like or comment.

Our tips for carving a similar design

The core trick here is a single vertical shaft of light broken up by thin horizontal divider strips, so the whole tower reads as a stack of glowing windows. Since this is a concept image, no real pumpkin exists, but you can recreate the look by cutting the small windows first and saving the big central opening for last. Keep every divider bar wide enough to survive, and let one interior LED throw a straight column of light up the tower.

Written by PumpkinCarvingIdeas.com, inspired by the image above. These are our suggestions, not instructions from the uploader. This approach to the AI concept has not been tested on a real pumpkin.

From pumpkin to porch

  1. Prep the pumpkin and pick a flat panel

    Choose a tall pumpkin with a smooth, fairly flat area on the front for the vertical tower. Have an adult cut a lid or, better for this design, a wide access hole in the back so you can reach the interior later. Scoop the inside clean and thin the front wall to about one inch so cuts release easily. A thinner wall also lets the light glow evenly through the peeled areas.

  2. Transfer the tower pattern

    Tape your stencil straight up and down along the center of the front, following the pumpkin's natural ribs so the tower stays vertical. Poke the outline with a transfer tool or pin, marking the pointed tip, each window rectangle, the horizontal dividers, and the round base element. Step back and check that the dots line up in a clean column before you cut. Mark which pieces get cut through and which stay as rind.

  3. Cut the small windows first

    Start with the little rectangular windows using a fine saw blade, cutting each one fully through. Work from the top down and leave the thin horizontal divider strips between them untouched, since those bars are fragile and hold the shape together. Make relief cuts at the corners so pieces pop out without tearing the dividers. Go slow and let the saw do the work rather than forcing it.

  4. Peel the pointed tip for a soft glow

    For the pointed roof at the top, skin-peel the rind instead of cutting all the way through. Remove only the orange skin so the flesh underneath glows a dim orange when lit, giving the tip a softer look than the bright windows below. Keep the peeled edges crisp with a small loop tool. This contrast makes the tower feel layered instead of one flat cutout.

  5. Remove the central shaft and base last

    Once the windows and dividers are secure, cut the tall central shaft opening and the round base element all the way through. Saving these big openings for last keeps the front wall stiff while you do the delicate work above. Support the flesh with your free hand as each large piece comes free. Clean up every edge with gentle scraping for a sharp silhouette.

  6. Light it and photograph

    Set a single LED puck on the floor of the pumpkin at the base of the tower so light shoots straight up through the shaft and windows. Use an LED, never a candle, since the narrow openings trap heat. Test in a dark room and nudge the light until the column glows evenly top to bottom. Shoot at dusk with the city or porch behind it for that beacon effect.

Gather your supplies

Check things off as you get ready.

Work on a stable surface, keep your free hand out of the cutting path, and have an adult handle sharp tools.

Three levels of light

  • Leave intact

    The outer wall lines and the horizontal divider strips between windows stay as uncut rind and read dark.

  • Peel & shade

    The pointed roof tip is skin-peeled so it glows a soft dim orange.

  • Cut through

    The rectangular windows, the central shaft, and the round base element are cut fully through for the brightest light.

Learn the carving basics

Before you start cutting

How wide should the divider strips between windows be?

Keep each horizontal divider at least a quarter inch wide so it does not snap once the shaft is open. Cutting the windows before the big central opening keeps the wall stiff while you shape these fragile bars. If one feels thin, leave a little extra rind rather than trimming it flush.

Why cut the tall central shaft last?

The large vertical opening removes most of the supporting flesh, so doing it early would leave the divider strips wobbly and prone to tearing. By finishing all the small windows and peeled areas first, you keep the panel rigid until the very end. Then the big cut is quick and low risk.

How do I get the light to shoot straight up the tower?

Place a single bright LED puck flat on the pumpkin floor directly under the base of the tower. A centered, low light source sends a column straight up through the shaft and windows for the beacon look. Avoid side lighting, which flattens the glow and washes out the stacked windows.

Your take belongs here, too.

Changed a detail? Made it simpler? Share a photo of your version and tell the community what worked.

Share your pumpkin

More pumpkins like this

You've reached the end · 8 pumpkins
The Patch Report

Fresh pumpkins, in your inbox.

The best new carvings, ideas worth stealing, and how-tos for carving season. Short, seasonal, and gone by November.

A short email during carving season. Unsubscribe anytime. See our privacy policy.