Halloween Pumpkin Carving Contest · Starts October 1st · $500 in prizes
← Back to ideas
@ai_concepts
Sep 14, 2026
Curving Wing Bat PumpkinAI
0

Curving Wing Bat Pumpkin

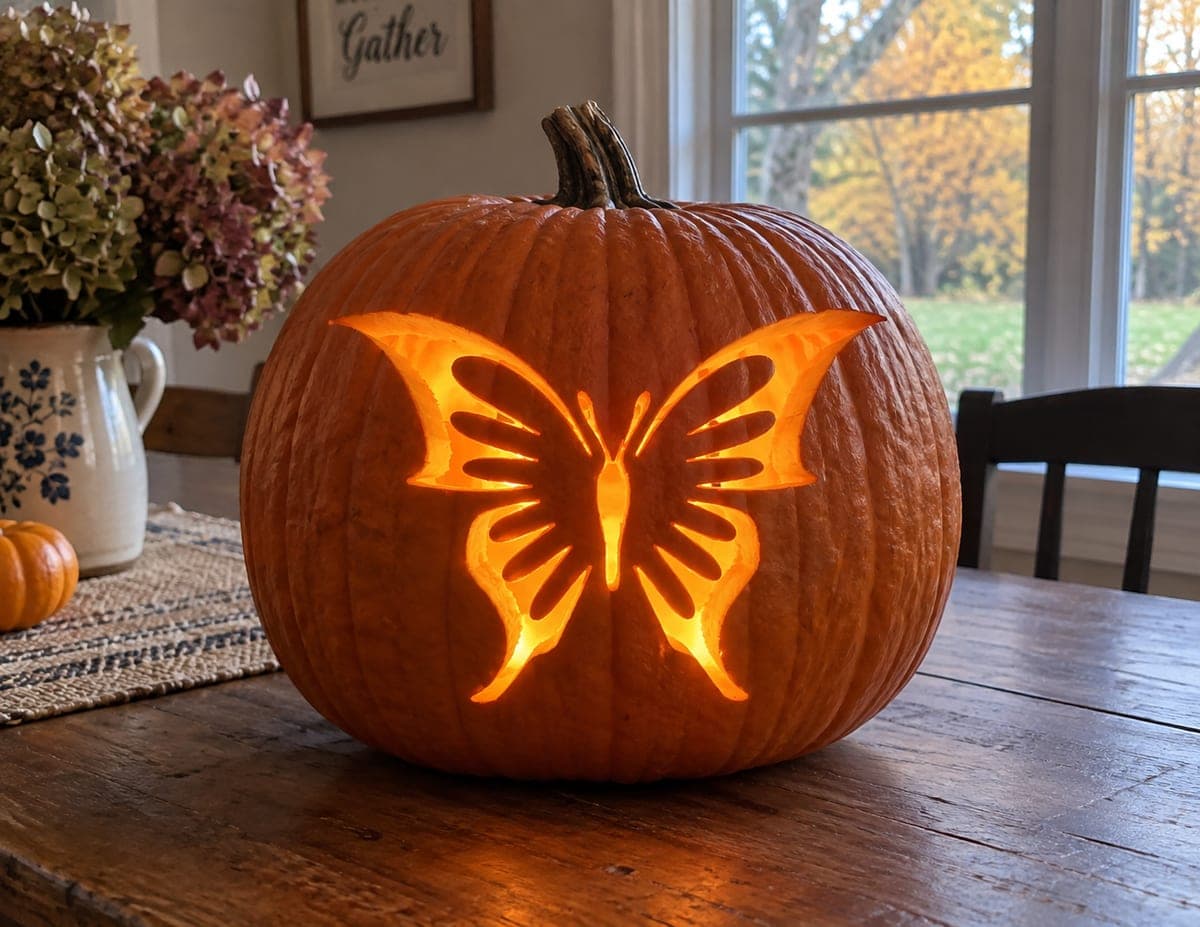
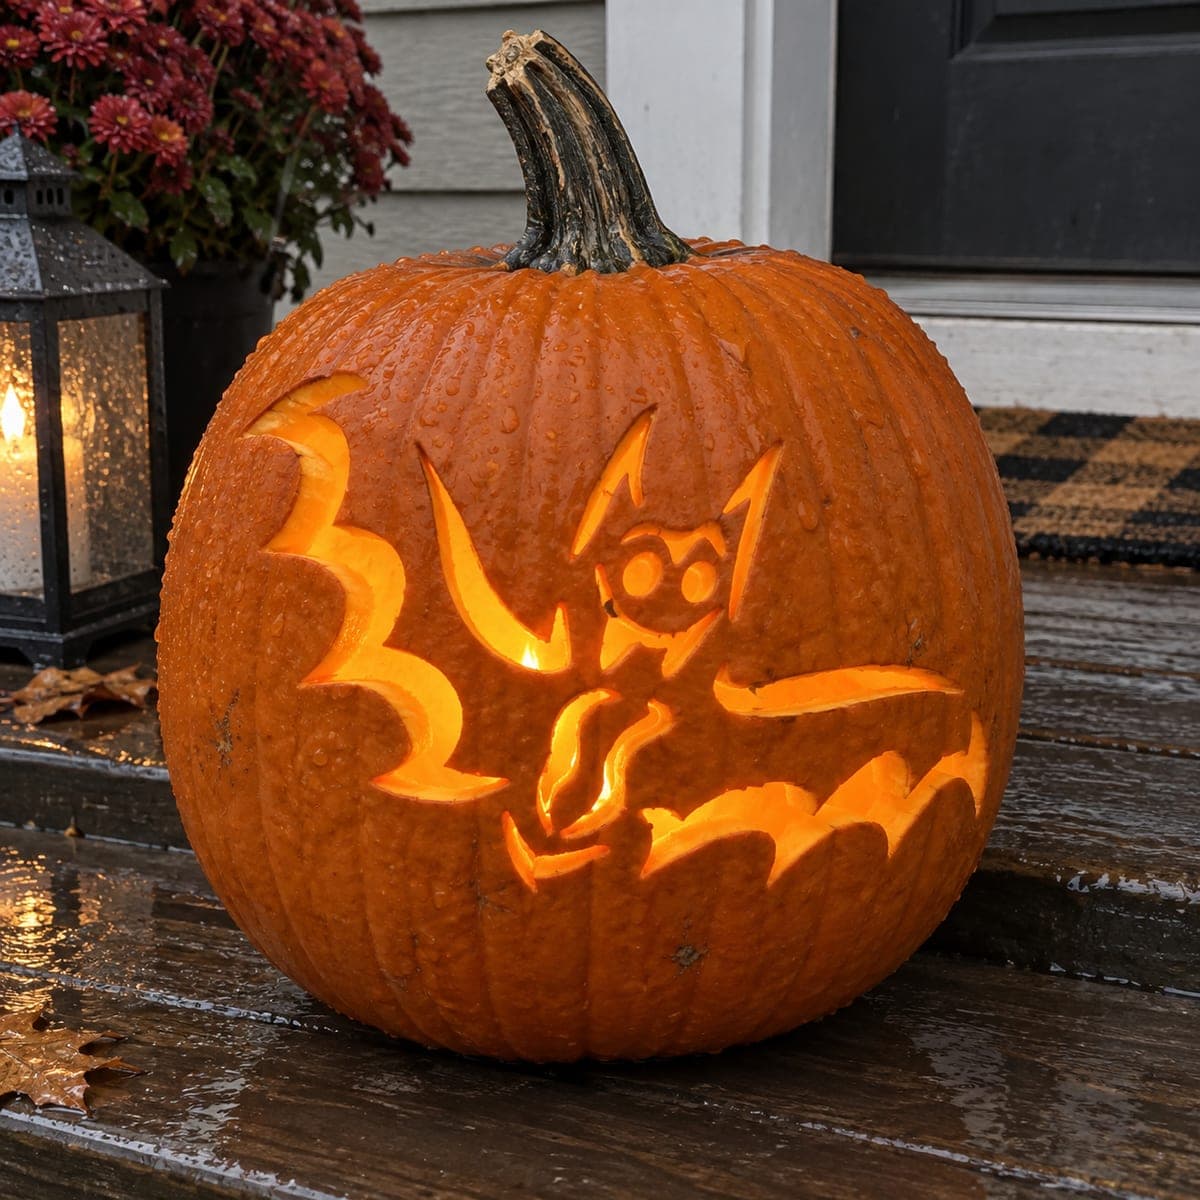
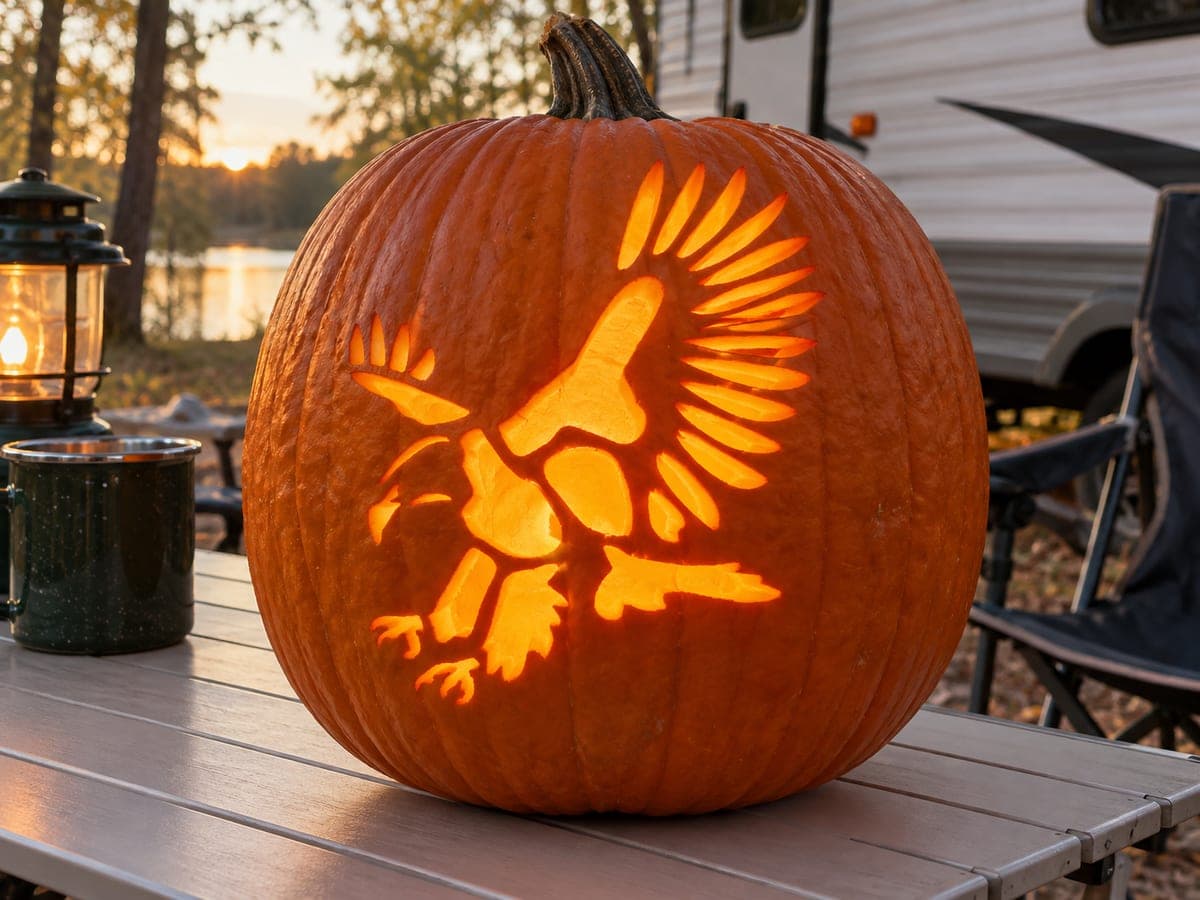
A large-eared alert bat with long sweeping curved wings that taper to elegant points stretches across the full width of this pumpkin in a bold artistic bat pumpkin carving cutout idea. The wing panels and body glow sections are all pierced through, with the dark rind forming the wing membrane veins and the bat's sharp ear outlines. The long curving outer wing edges are best cut in a single continuous pass to avoid jagged line breaks, so practice the arc motion on paper before touching the pumpkin. Displaying this jack-o-lantern on a white surface reflects the candlelight upward and fills the entire carving with even, warm amber.

This is an AI-generated concept image: a realistic, carvable design idea rather than a photo of a finished carve. AI concepts are always labeled and sit out the leaderboard and the contest.
No ratings yet · Sign in to rate

Comments (0)

  • No comments yet — be the first.

Save without an account. Sign in to like or comment.

Our tips for carving a similar design

The core trick here is treating the two wings as long, flowing cutouts while leaving thin strips of dark rind to read as the membrane veins and the bat's sharp ears. You cut the glowing wing panels and body openings all the way through, then keep narrow bridges of skin between them so the shape holds together. Plan the outer wing arcs as single continuous strokes so the edges stay smooth instead of choppy.

Written by PumpkinCarvingIdeas.com, inspired by the image above. These are our suggestions, not instructions from the uploader. This approach to the AI concept has not been tested on a real pumpkin.

From pumpkin to porch

  1. Print and tape the stencil

    Since this is a design concept, pick or draw a bat with two long curving wings, a round body, and tall pointed ears. Size it to stretch across the widest, flattest face of your pumpkin. Tape the paper snug and poke transfer dots along every line, paying extra attention to where the wing veins and ear tips connect to solid rind. Those connection points are the bridges that keep the piece strong.

  2. Open a lid and clean out

    Have an adult cut a lid from the bottom or the back rather than the top so the stem stays intact. Scoop the guts and scrape the inside wall behind the design down to about one inch thick. A thinner wall is far easier to cut cleanly and lets more light through. Save a handful of the scraped pulp in case you need to patch a slip later.

  3. Score the outlines first

    With a small carving saw, trace shallow cuts along all your dotted lines before going deep. This locks in the shape and lets you fix a wobbly arc while it is still just a surface score. Do the long outer wing edges in one smooth continuous pass, letting your whole arm swing the curve instead of your wrist. Practice that arc motion on scrap paper first so the line flows.

  4. Cut the small details

    Move through the wing vein slots and the eyes and ears next, since these smaller openings are safer to make while the pumpkin is still mostly solid. Keep the thin dark strips between wing panels intact, as those are your membrane veins. Angle the blade slightly outward so light spreads through each slot. Leave the biggest wing panels for last.

  5. Remove the big wing panels

    Now push out the large glowing sections of the wings and body. Cut these last so the pumpkin wall stays firm while you work the delicate parts. Push each piece gently from the inside out to avoid cracking the narrow bridges. Trim the inner edges at an angle to widen the glow.

  6. Light it and photograph

    Drop in a battery LED, never a candle, and set the pumpkin on a white surface so the light reflects upward and fills the whole bat with warm amber. Test it in a dark room and widen any slot that looks dim. Take your photo at dusk for the best contrast between the dark rind veins and the glowing wings. Mist the surface lightly if you want that fresh, dewy look.

Gather your supplies

Check things off as you get ready.

Work on a stable surface, keep your free hand out of the cutting path, and have an adult handle sharp tools.

Three levels of light

  • Leave intact

    The bat's body outline, the sharp ear edges, and the thin strips between wing sections stay as untouched dark rind.

  • Peel & shade

    Shave the skin around the eyes or along the body edge for a soft dim halo that frames the brighter cutouts.

  • Cut through

    Cut fully through the large wing panels and body openings so they throw the brightest amber light.

Learn the carving basics

Before you start cutting

How do I keep the long wing edges from looking jagged?

Score the whole arc in one continuous pass, moving your arm rather than just your wrist. Practice the sweeping motion on paper a few times first so your hand knows the curve. If a section wobbles, you can smooth it while it is still only a shallow score line.

Will the thin membrane veins break off?

They hold up fine as long as each strip stays connected to solid rind at both ends. Keep the veins at least a quarter inch wide and cut the panels on either side gently from the inside. Avoid making the strips too thin or too long between anchor points.

Why display it on a white surface?

A white porch board or tile reflects the LED glow back up into the carving, filling the whole bat with even amber instead of leaving dark spots. It especially helps the lower wing tips that sit closer to the ground. A light-colored plate under the pumpkin works too.

Your take belongs here, too.

Changed a detail? Made it simpler? Share a photo of your version and tell the community what worked.

Share your pumpkin

More pumpkins like this

You've reached the end · 8 pumpkins
The Patch Report

Fresh pumpkins, in your inbox.

The best new carvings, ideas worth stealing, and how-tos for carving season. Short, seasonal, and gone by November.

A short email during carving season. Unsubscribe anytime. See our privacy policy.