Halloween Pumpkin Carving Contest · Starts October 1st · $500 in prizes
← Back to ideas
@ai_concepts
Sep 11, 2026
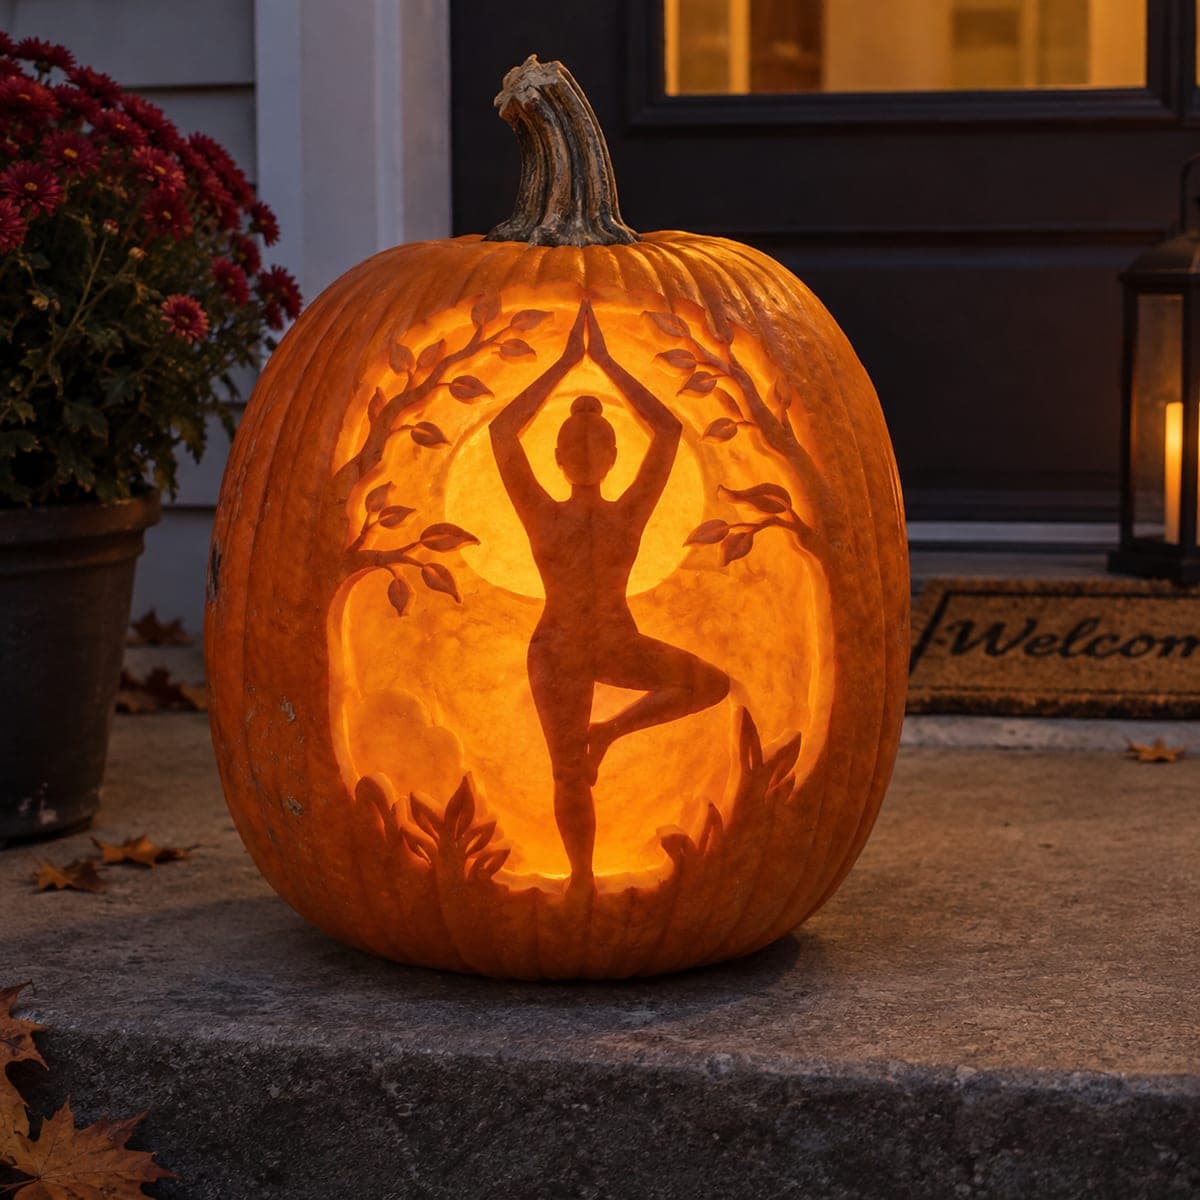
Tree Pose Yoga Silhouette Pumpkin With Full MoonAI
0

Tree Pose Yoga Silhouette Pumpkin With Full Moon

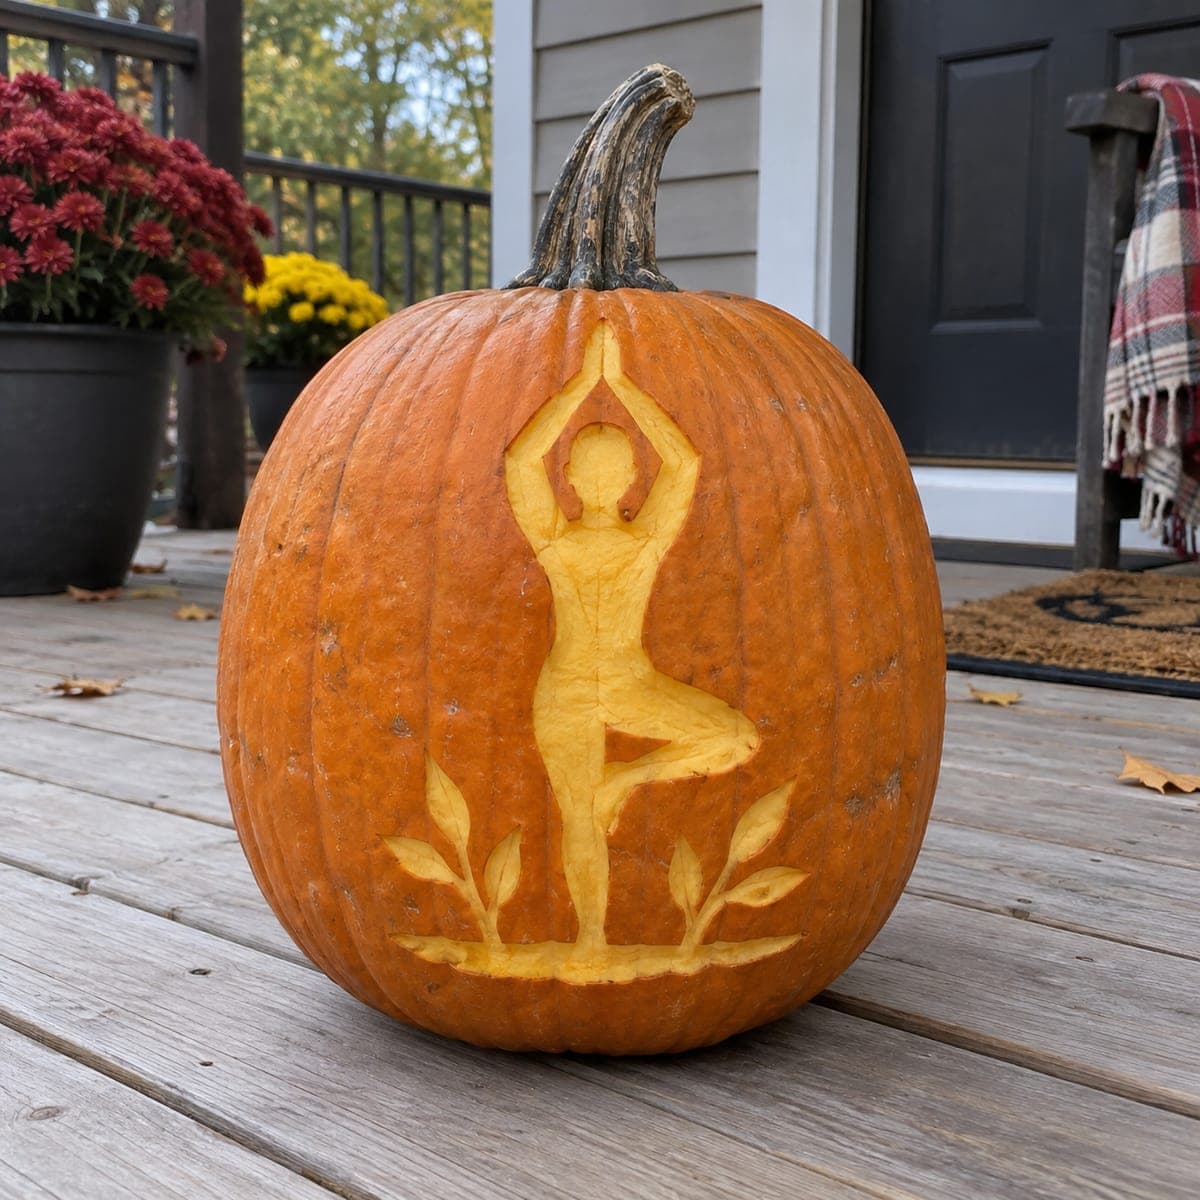
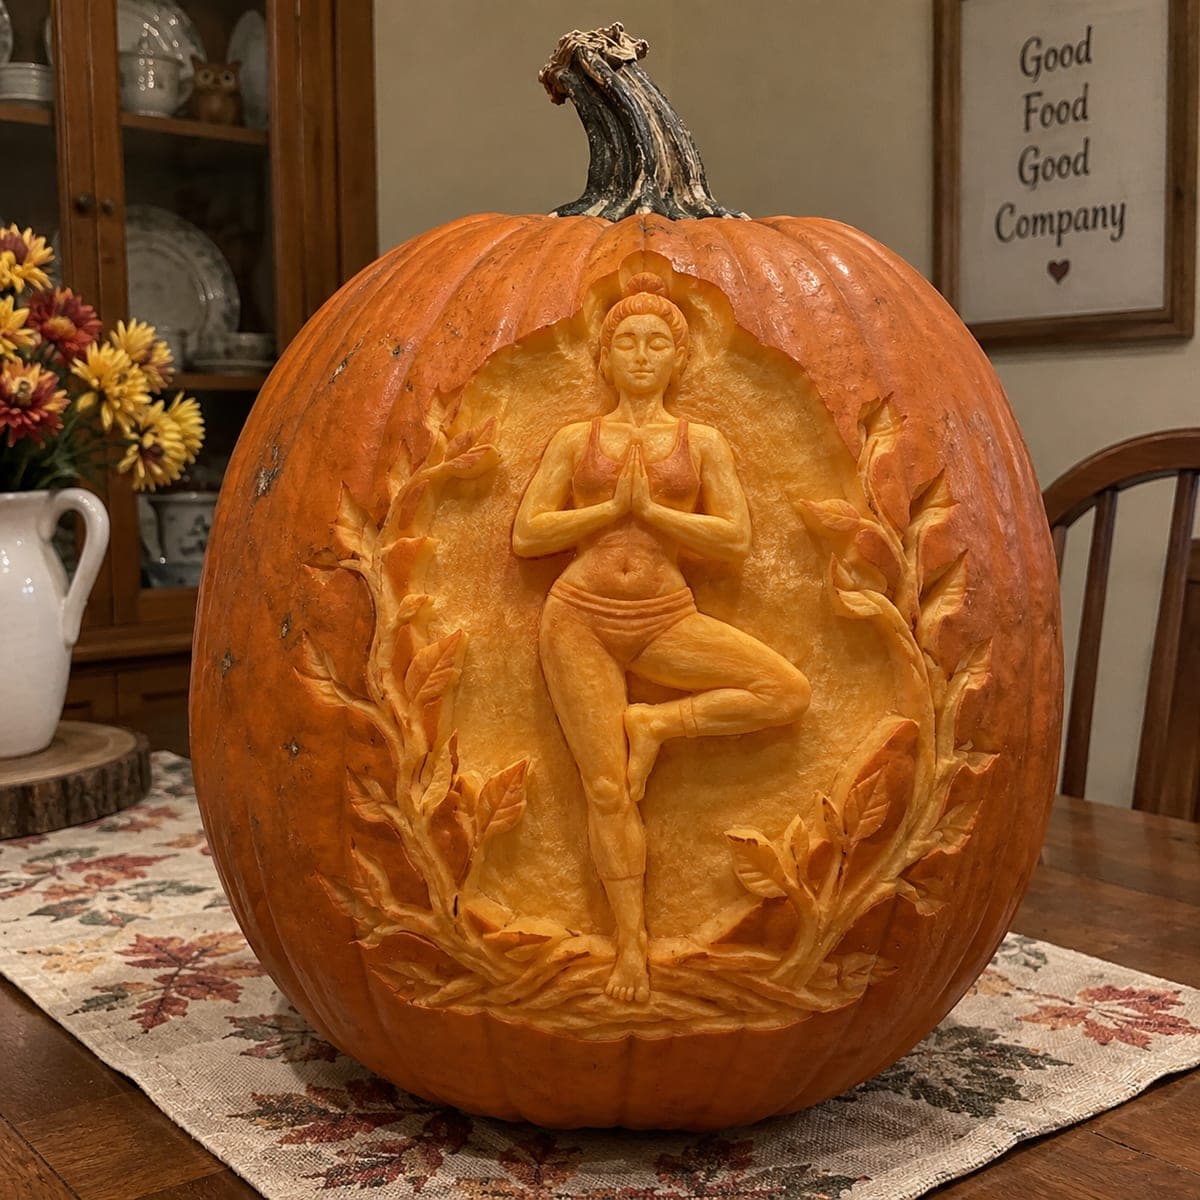
A woman balances in tree pose before a glowing full moon on this serene silhouette pumpkin, framed by leafy branches and grasses. The figure and foliage are left at full skin depth while the moon behind is etched thin, creating a clean backlit silhouette. Scrape the moon evenly with a flat tool to avoid bright blotches, and center a single strong light inside.

This is an AI-generated concept image: a realistic, carvable design idea rather than a photo of a finished carve. AI concepts are always labeled and sit out the leaderboard and the contest.

No ratings yet · Sign in to rate
Comments (0)

  • No comments yet — be the first.

Save without an account. Sign in to like or comment.

Our tips for carving a similar design

The core trick here is reverse silhouette: the yoga figure, branches, and grasses stay as solid dark skin while only the round moon behind gets scraped thin so it glows. Plan the layout with the moon as a large disc in the center, the balanced figure standing over it, and leafy branches arching in from the sides. Keep every thin element attached to the pumpkin wall so nothing sags once the shell warms.

Written by PumpkinCarvingIdeas.com, inspired by the image above. These are our suggestions, not instructions from the uploader. This approach to the AI concept has not been tested on a real pumpkin.

From pumpkin to porch

  1. Pick and prep the pumpkin

    Choose a tall, smooth, wide-faced pumpkin so the moon and figure have room to breathe. Cut an access hole in the bottom rather than the top so the stem stays intact and the pumpkin sits flat. Scoop the inside and thin the carving wall on the front to about one inch, which makes scraping the moon far easier. A consistent wall thickness gives you an even glow later.

  2. Transfer the design

    Print the silhouette at the size of your pumpkin face and tape it on smoothly, clipping the edges so it hugs the curve. Poke the outlines with a transfer tool or pushpin, spacing dots close together on the figure and leaf edges. Peel the paper and connect the dots lightly with a marker so you can read the shapes. Double check that the figure, branches, and grasses all stay as connected dark areas.

  3. Scrape the moon

    With a flat loop or ribbon tool, shave the moon disc down slowly and evenly, checking thickness by holding a light behind it. Work in overlapping passes and keep pressure steady to avoid bright blotches or thin punch-throughs. Stop when the skin glows warm and uniform, roughly a quarter inch or less. Leave the figure, arms overhead, and the raised bent knee fully untouched so they read as a crisp dark shape.

  4. Detail the foliage border

    Keep the arching branches and each leaf as solid dark skin, only lightly scraping the very edges if you want a soft rim glow. Leave narrow bridges of skin connecting the leaves to the branch and the branch to the pumpkin so nothing detaches. Do the same for the grasses along the bottom, keeping their blades attached at the base. Thin details survive best when they stay part of the skin rather than being cut all the way through.

  5. Light and place it

    Set a single bright LED puck or a warm string light bundle in the center of the cavity so the moon lights evenly from behind. Avoid open flame, since the thin scraped moon can scorch and the enclosed shell traps heat. Test in a dark room and reposition the light until the silhouette looks clean with no hot spots. Set it on a flat porch step and photograph it at dusk when the glow reads strongest against the fading sky.

Gather your supplies

Check things off as you get ready.

Work on a stable surface, keep your free hand out of the cutting path, and have an adult handle sharp tools.

Three levels of light

  • Leave intact

    The yoga figure, the leafy branches, and the bottom grasses stay untouched dark skin.

  • Peel & shade

    The round moon disc is scraped thin for a soft even mid glow, plus optional leaf-edge rims.

  • Cut through

    No large openings are needed here; keep cuts minimal so the silhouette stays clean and strong.

Learn the carving basics

Before you start cutting

How do I keep the moon from looking blotchy?

Scrape in slow overlapping passes with a flat tool held at a consistent angle, and check often by holding a light behind the shell. Uneven pressure leaves ridges that show up as bright and dark patches. Aim for one even thickness across the whole disc.

Should the figure be cut out or left solid?

Leave the figure as solid untouched skin so it reads as a dark silhouette against the glowing moon. This is a reverse silhouette, so the light comes from the scraped area behind, not from the figure itself. Cutting the figure out would flip the effect and lose the calm look.

How do I keep the thin leaves and grasses from breaking?

Keep every leaf and blade attached to a branch or to the pumpkin wall with small bridges of skin. Avoid cutting all the way through around delicate shapes; scrape edges instead if you want a little glow. Attached details hold up much better as the shell softens.

Your take belongs here, too.

Changed a detail? Made it simpler? Share a photo of your version and tell the community what worked.

Share your pumpkin

More pumpkins like this

You've reached the end · 8 pumpkins
The Patch Report

Fresh pumpkins, in your inbox.

The best new carvings, ideas worth stealing, and how-tos for carving season. Short, seasonal, and gone by November.

A short email during carving season. Unsubscribe anytime. See our privacy policy.