Halloween Pumpkin Carving Contest Β· Starts October 1st Β· $500 in prizes
← Back to ideas
@ai_concepts
Sep 14, 2026

Waving Alien With an Exposed Brain PumpkinAI
0

Waving Alien With an Exposed Brain Pumpkin

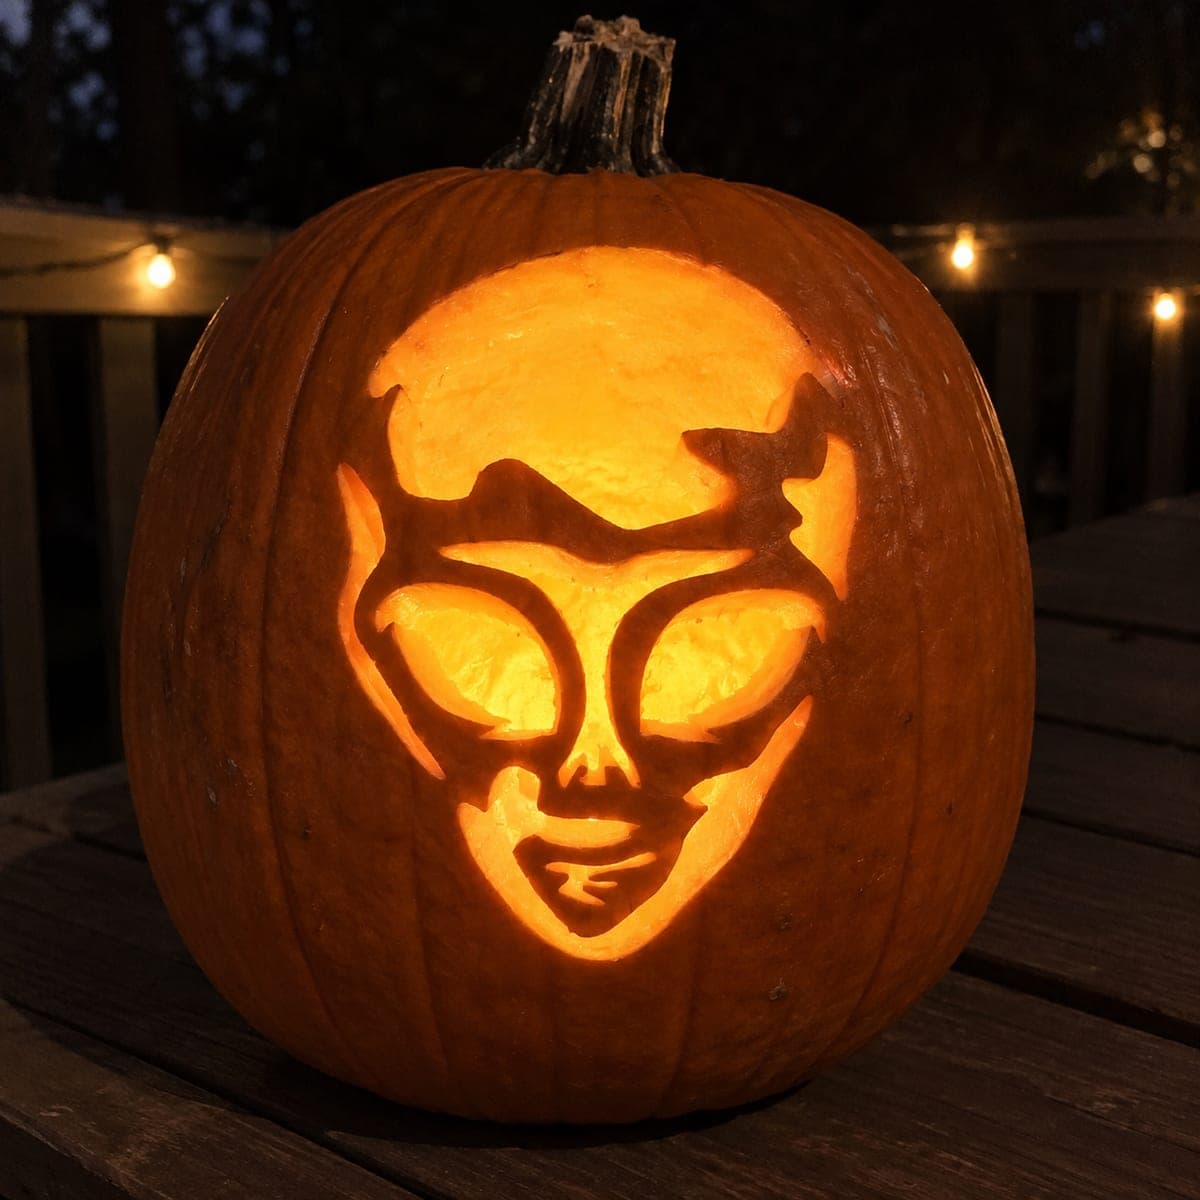
A lanky alien bust flashes a peace sign with one three-fingered hand while a deeply textured brain crowns its elongated head. This shading pumpkin carving idea is achieved by peeling the rind to multiple depths, leaving the darkest ridges of the brain and face features raised above the glowing flesh beneath. Tackle the brain folds first with a linoleum-style gouge before moving to the face, since those narrow ridges are the most fragile part of the design. Warm candlelight picks out the depth variations beautifully on this jack-o-lantern.

This is an AI-generated concept image: a realistic, carvable design idea rather than a photo of a finished carve. AI concepts are always labeled and sit out the leaderboard and the contest.

No ratings yet Β· Sign in to rate

Comments (0)

  • No comments yet β€” be the first.

Save without an account. Sign in to like or comment.

Our tips for carving a similar design

The whole effect here comes from peeling the rind to several different depths rather than cutting all the way through, so the darkest brain ridges and face lines stay raised while the flesh behind them glows. Plan the piece as a shading portrait first and a cutout design second, saving any true openings for the eyes. Map your light and dark zones on the skin before you touch a tool so you know exactly which ridges to protect.

Written by PumpkinCarvingIdeas.com, inspired by the image above. These are our suggestions, not instructions from the uploader. This approach to the AI concept has not been tested on a real pumpkin.

From pumpkin to porch

  1. Transfer and plan your depths

    Since this is an AI concept, you are recreating the look on your own pumpkin, so pick a tall pumpkin with a smooth face to hold the fine detail. Tape the pattern on and poke through the outlines of the brain, eyes, face, and hand. Before cutting, shade the paper or make notes marking what stays as dark raised skin, what gets peeled shallow, and what gets peeled deeper. A clear map keeps the many ridges from blurring together later.

  2. Gut and thin the wall

    Cut a lid from the bottom or back rather than the top so the stem stays intact. Scoop the inside clean and scrape the carving wall down to about one inch where the face and brain sit. A thinner wall makes shallow peeling glow much sooner and lets you feel your depth as you gouge. Keep the tools sharp so the flesh cuts cleanly instead of tearing.

  3. Carve the brain folds first

    Start with the brain because those narrow raised ridges are the most fragile part of the design. Use a linoleum-style U-gouge to scoop out the valleys between folds, leaving the ridge tops as untouched dark skin. Work in short controlled strokes and rotate the pumpkin instead of reaching across it. Doing this area first means you are not resting your hand on finished detail later.

  4. Shade the face and peace-sign hand

    Move down to the face, peeling the flesh around the cheeks and jaw to a mid depth so the raised skin lines of the nose, brow, and mouth read as darker shadow. Peel a little deeper where you want a brighter glow, such as the upper cheeks. Carve the three-fingered hand the same way, leaving thin skin bridges between the fingers so they stay attached and do not snap. Go slow around the slender neck, which carries the weight of the head above it.

  5. Open the eyes last

    Save the only true cutouts, the two large slanted eyes, for the very end so the face stays strong while you work. Cut them cleanly with a small saw and pop the pieces out gently. If you want a hint of pupil, leave a thin raised sliver of skin across each eye rather than cutting it fully hollow. Cutting these last keeps the surrounding ridges from cracking under pressure.

  6. Light it and photograph

    Drop in a battery LED, warm white or amber, since the multi-depth shading depends on even light and a candle is both a fire risk and too flickery for detail. Set the light low and off center to deepen the brain shadows. Rub a little petroleum jelly on the peeled areas to slow drying and hold the glow longer. Shoot your photo in low evening light against a dark background for the best contrast.

Gather your supplies

Check things off as you get ready.

Work on a stable surface, keep your free hand out of the cutting path, and have an adult handle sharp tools.

Three levels of light

  • Leave intact

    The raised ridge tops of the brain folds and the dark lines of the nose, brow, and mouth stay as untouched skin.

  • Peel & shade

    The cheeks, jaw, neck, torso, and the peace-sign hand are peeled to a mid depth for a soft orange glow.

  • Cut through

    Only the two large slanted eyes are cut fully through for the brightest light.

Learn the carving basics

Before you start cutting

How do I keep the brain ridges from crumbling?

Carve the brain first while the rest of the face is still solid, and keep the ridges fairly wide rather than razor thin. Use a sharp gouge so you scoop cleanly instead of tearing, and never rest your hand on finished ridges. If a ridge feels weak, leave a touch more skin at its base for support.

Should I cut the eyes all the way through?

Yes, the eyes are the one place a full cutout makes sense, since the bright contrast sells the alien stare. Save them for last so the face stays rigid while you shade everything else. Leave a thin skin sliver across each eye if you want a suggestion of a pupil.

Why not use a candle like the caption mentions?

A steady LED shows off multi-depth shading far better than a flickering flame, and it will not scorch the thin peeled wall or pose a fire risk. Choose a warm white or amber bulb to keep that cozy orange tone. Place it low and slightly to one side to push shadows into the brain folds.

Your take belongs here, too.

Changed a detail? Made it simpler? Share a photo of your version and tell the community what worked.

Share your pumpkin

More pumpkins like this

You've reached the end Β· 8 pumpkins
The Patch Report

Fresh pumpkins, in your inbox.

The best new carvings, ideas worth stealing, and how-tos for carving season. Short, seasonal, and gone by November.

A short email during carving season. Unsubscribe anytime. See our privacy policy.