Halloween Pumpkin Carving Contest · Starts October 1st · $500 in prizes
← Back to ideas
@ai_concepts
Sep 14, 2026
Cracked Horned Skull PumpkinAI
0

Cracked Horned Skull Pumpkin

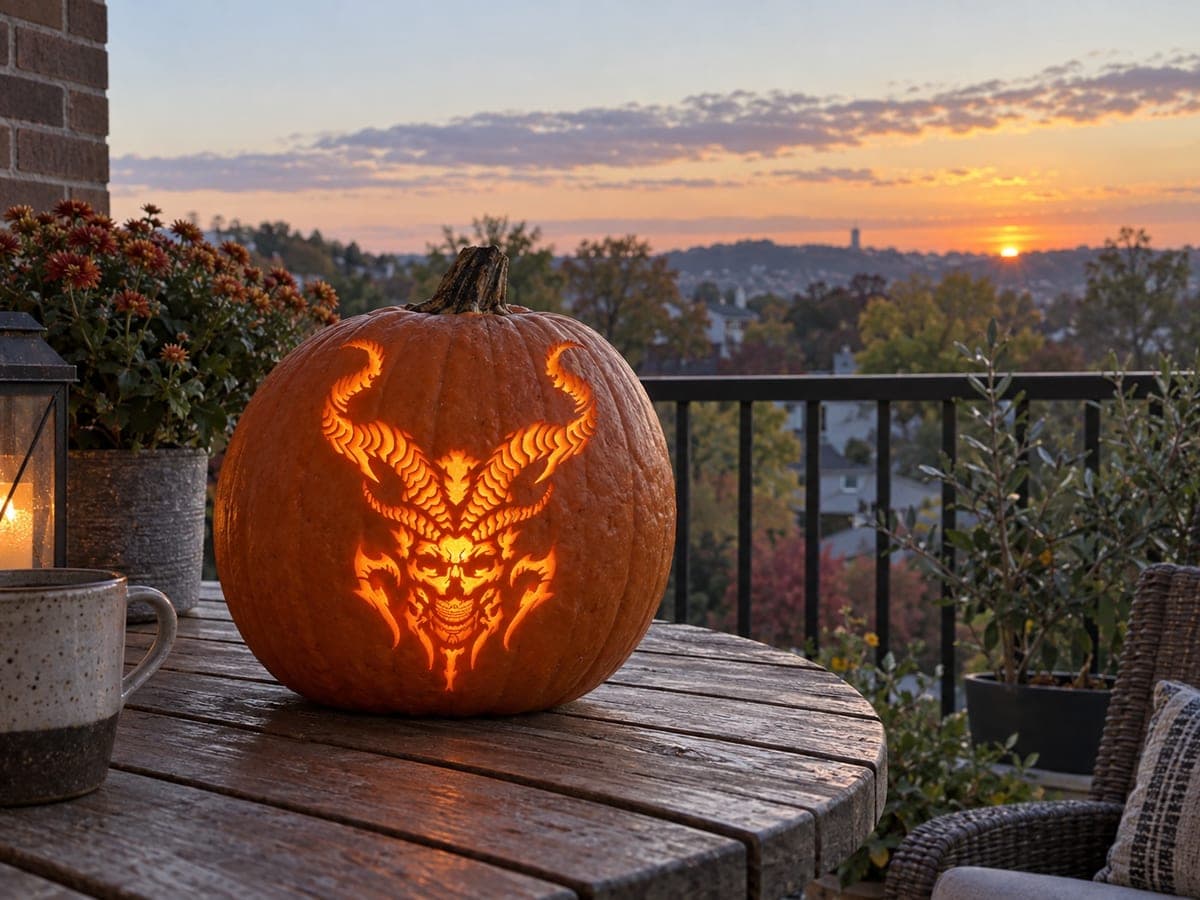
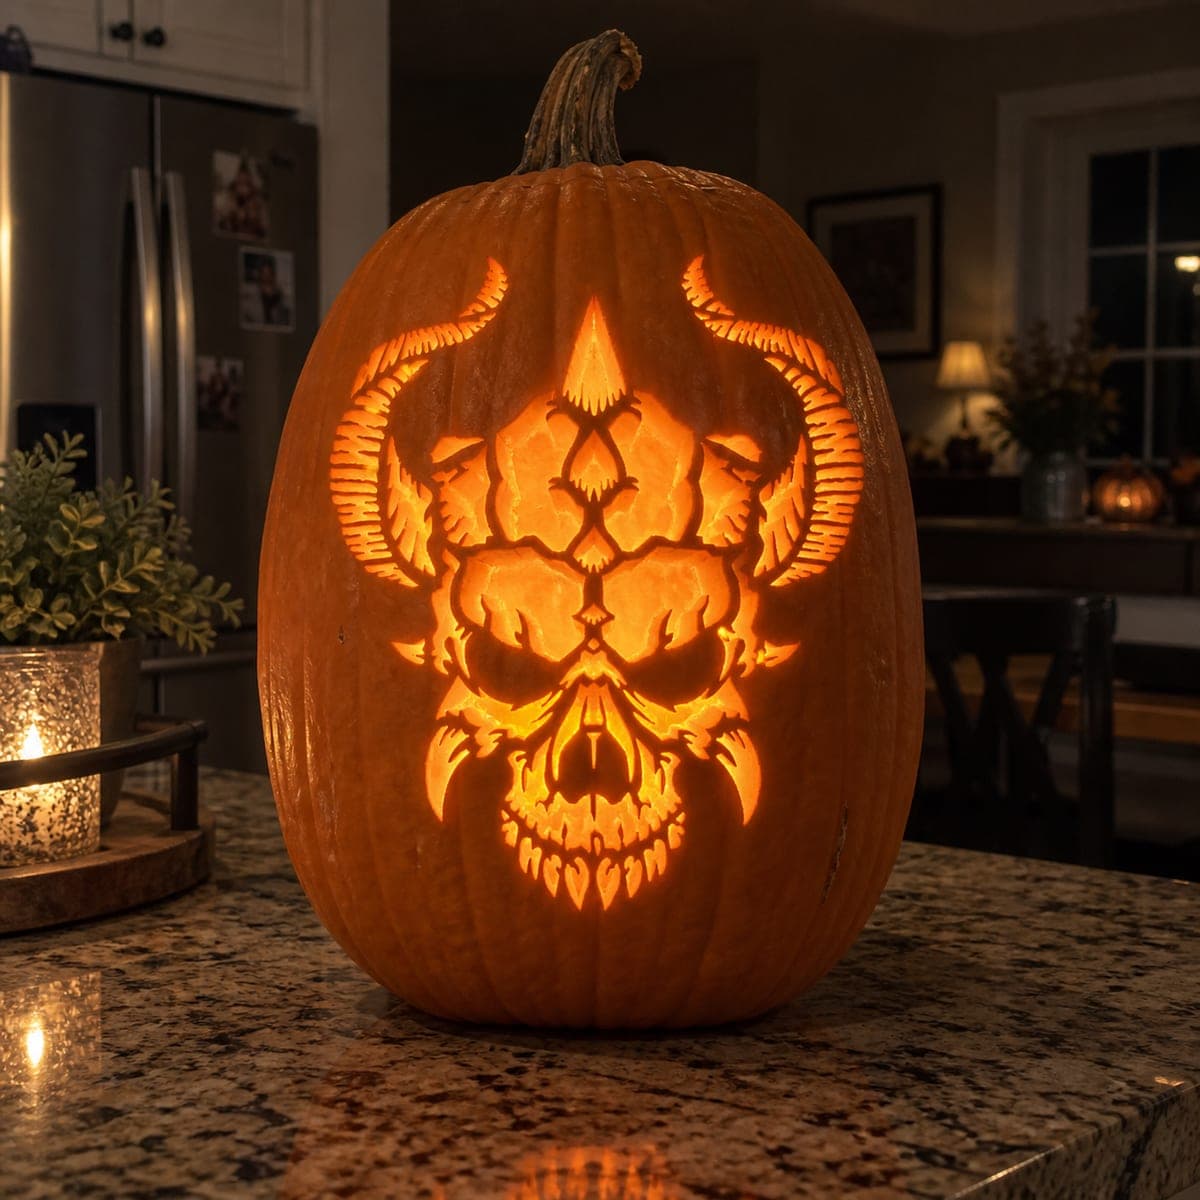
Two massive curved horns rise from the temples of a skull whose forehead is split by a bold crack, with deeply ridged brow bones, layered cheekbones, and a row of sharp fangs all built up in varying depths of amber through surface-peeling shading in this expert-level pumpkin carving idea. The shading technique removes the pumpkin's outer skin at different depths to create the illusion of volume and dimension without cutting through the wall. Divide the face into three tone zones before touching the skin: the uncut dark shadow areas, the lightly scraped mid-tones across the brow and horns, and the deeply scraped bright zones on the forehead crack and teeth. Work the horns from base to tip so any accidental slips in pressure happen on the lower, thicker section rather than near the delicate horn tips.

This is an AI-generated concept image: a realistic, carvable design idea rather than a photo of a finished carve. AI concepts are always labeled and sit out the leaderboard and the contest.

No ratings yet · Sign in to rate

Comments (0)

  • No comments yet — be the first.

Save without an account. Sign in to like or comment.

Our tips for carving a similar design

The core trick here is depth shading, where you peel the pumpkin skin at different depths instead of cutting all the way through the wall. Map the face into three tones first, then leave the darkest shadows untouched, scrape the brow and horns for a mid glow, and dig deepest along the forehead crack and fangs for the brightest amber. A few small true cutouts in the eyes and mouth add contrast without weakening the shell.

Written by PumpkinCarvingIdeas.com, inspired by the image above. These are our suggestions, not instructions from the uploader. This approach to the AI concept has not been tested on a real pumpkin.

From pumpkin to porch

  1. Prep and transfer the design

    Pick a tall, smooth pumpkin with a flat area big enough for the horns to sweep out to the sides. Cut a lid from the bottom rather than the top so the design stays intact, then scrape the inside wall down to about one inch thick where you plan to shade. Tape your stencil on and poke the outlines with a pin or transfer tool. Take your time here since the whole illusion depends on clean guide lines.

  2. Outline every tone zone

    Before removing any skin, lightly score the borders between your three tones with a detail knife. Mark which areas stay dark skin, which get a light scrape, and which get a deep scrape so you do not lose track once the surface starts to blend. Marking with a washable pen helps on the busy areas like the layered cheekbones. This planning step is what keeps an expert design from turning muddy.

  3. Scrape the mid-tone brow and horns

    Using a ribbon or loop tool, peel just the outer skin off the brow ridges and the long curved horns for a soft mid glow. Work each horn from the thick base up toward the tip so any slip happens on the strong lower section, not the fragile point. Keep the pressure even and check the light glow from inside now and then. Leave faint ridge lines in the horns by scraping shallow grooves rather than one flat surface.

  4. Deep-scrape the crack and fangs

    Switch to your brightest zones, the split forehead crack and the row of sharp teeth, and scrape these much deeper so the wall goes thin and glows strong. Go slowly and hold the pumpkin up to a light often so you do not accidentally punch through. Feather the edges of the crack so it fades into the darker forehead for a three dimensional look. Keep small skin bridges between individual fangs so the row reads as separate teeth.

  5. Add the few true cutouts

    Save any full cutouts, like the deepest eye sockets or a gap in the mouth, for last so the shell stays rigid while you do the delicate scraping. Cut these openings with a fine saw or detail knife, making the strongest contrast in the design. Keep them small and surrounded by shaded areas so the face still holds together. Clean up the inside edges so light spills through evenly.

  6. Light it and photograph

    Drop in a battery LED light, warm white or amber, and never a candle near these thin scraped walls. Test in a dark room and touch up any tones that read too flat by scraping a little deeper. A light coat of petroleum jelly on the cut and scraped edges slows drying and keeps the glow crisp longer. Shoot your photo in a dark room with the LED as the only light source.

Gather your supplies

Check things off as you get ready.

Work on a stable surface, keep your free hand out of the cutting path, and have an adult handle sharp tools.

Three levels of light

  • Leave intact

    The deep eye shadows, the dark gaps between the layered cheekbones, and the background around the horns stay as untouched skin.

  • Peel & shade

    The curved horns and the ridged brow bones get a light skin peel for a soft mid amber glow.

  • Cut through

    The split forehead crack and the row of sharp fangs get deep scraping, plus a few small true cutouts in the eyes, for the brightest light.

Learn the carving basics

Before you start cutting

This is shown as a concept image, so how would I actually get those horns to glow that brightly?

No real pumpkin exists in the picture, so treat it as a target look rather than a finished carve. To get glowing horns you shade them at a mid depth, peeling only the outer skin so light comes through dimly. If you want them brighter, scrape a little deeper but stop before the wall goes translucent so the long horn shapes stay strong.

How do I keep the row of fangs from breaking off?

Shade the teeth by deep scraping rather than cutting all the way through, which keeps the wall intact and much stronger. If you do want cutout gaps, leave thin skin bridges between the fangs so each one stays anchored. Work them near the end once the surrounding areas are done.

My shaded areas look flat and muddy instead of dimensional. What went wrong?

Flatness usually means the tone zones blended together because the depths were too similar. Go back and deepen your brightest zones like the crack and teeth while leaving clear dark borders untouched. Feathering the edges between light and dark also helps sell the volume.

Your take belongs here, too.

Changed a detail? Made it simpler? Share a photo of your version and tell the community what worked.

Share your pumpkin

More pumpkins like this

You've reached the end · 8 pumpkins
The Patch Report

Fresh pumpkins, in your inbox.

The best new carvings, ideas worth stealing, and how-tos for carving season. Short, seasonal, and gone by November.

A short email during carving season. Unsubscribe anytime. See our privacy policy.