Halloween Pumpkin Carving Contest · Starts October 1st · $500 in prizes
← Back to ideas
@ai_concepts
Sep 11, 2026
Dracula Portrait PumpkinAI
0

Dracula Portrait Pumpkin

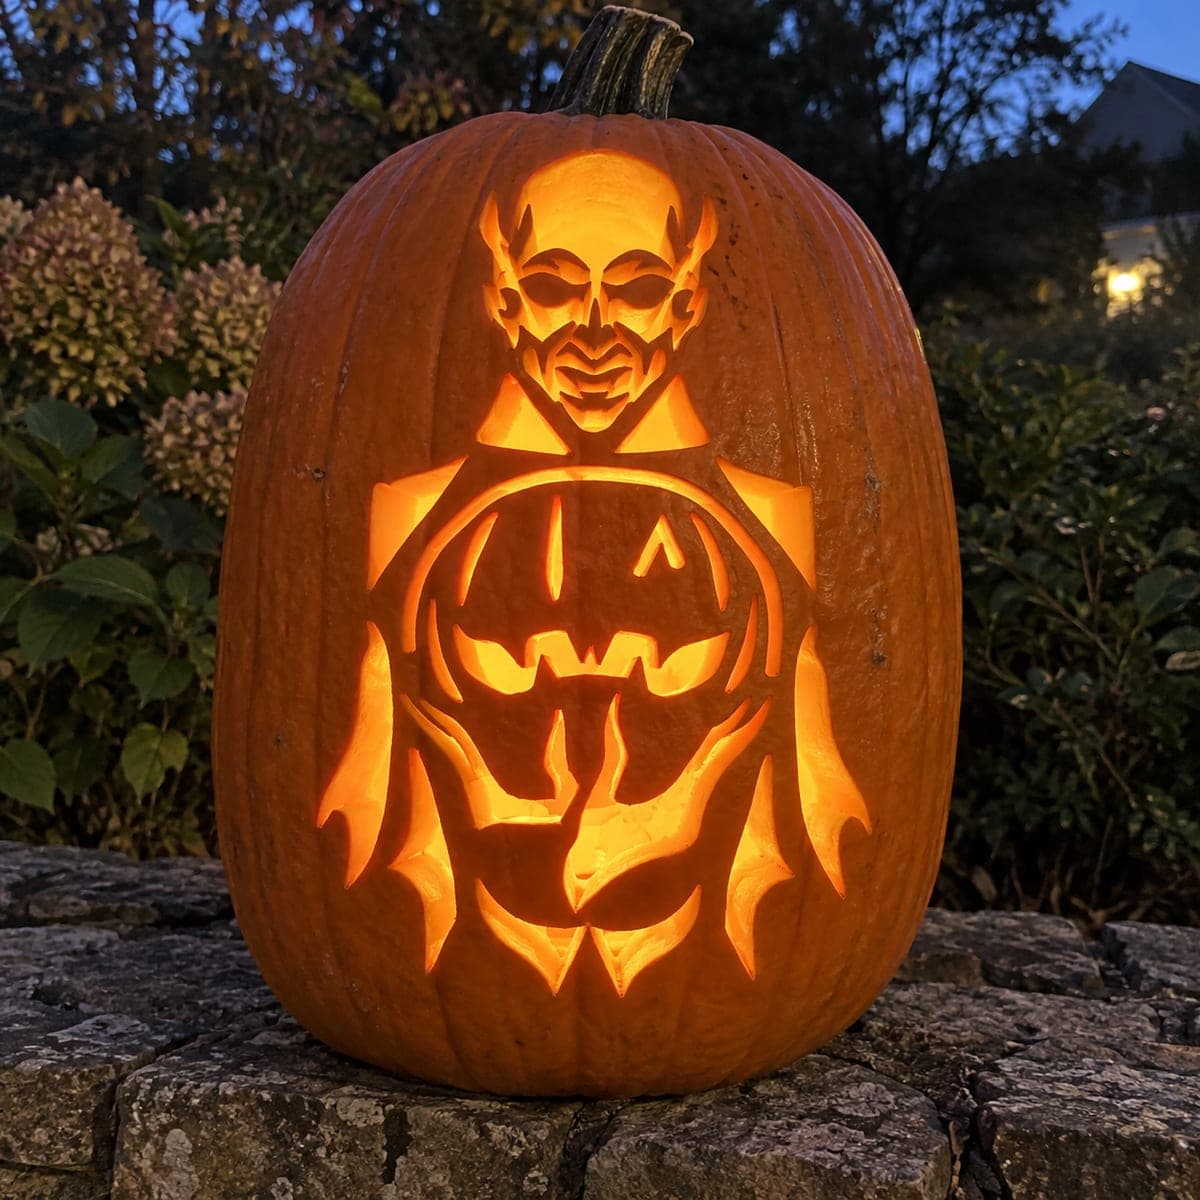
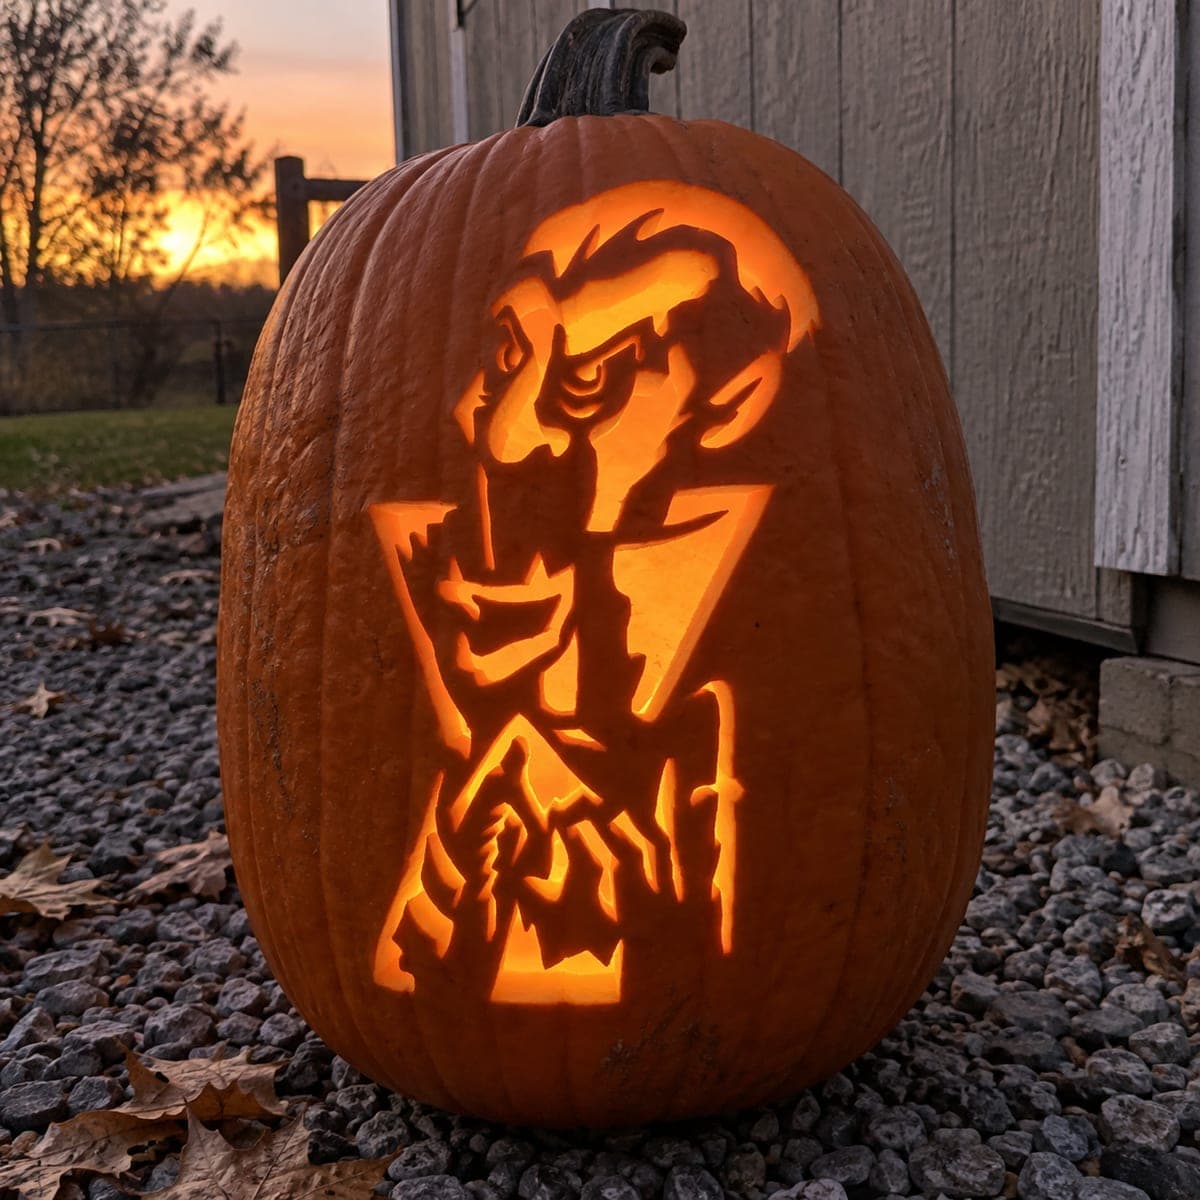
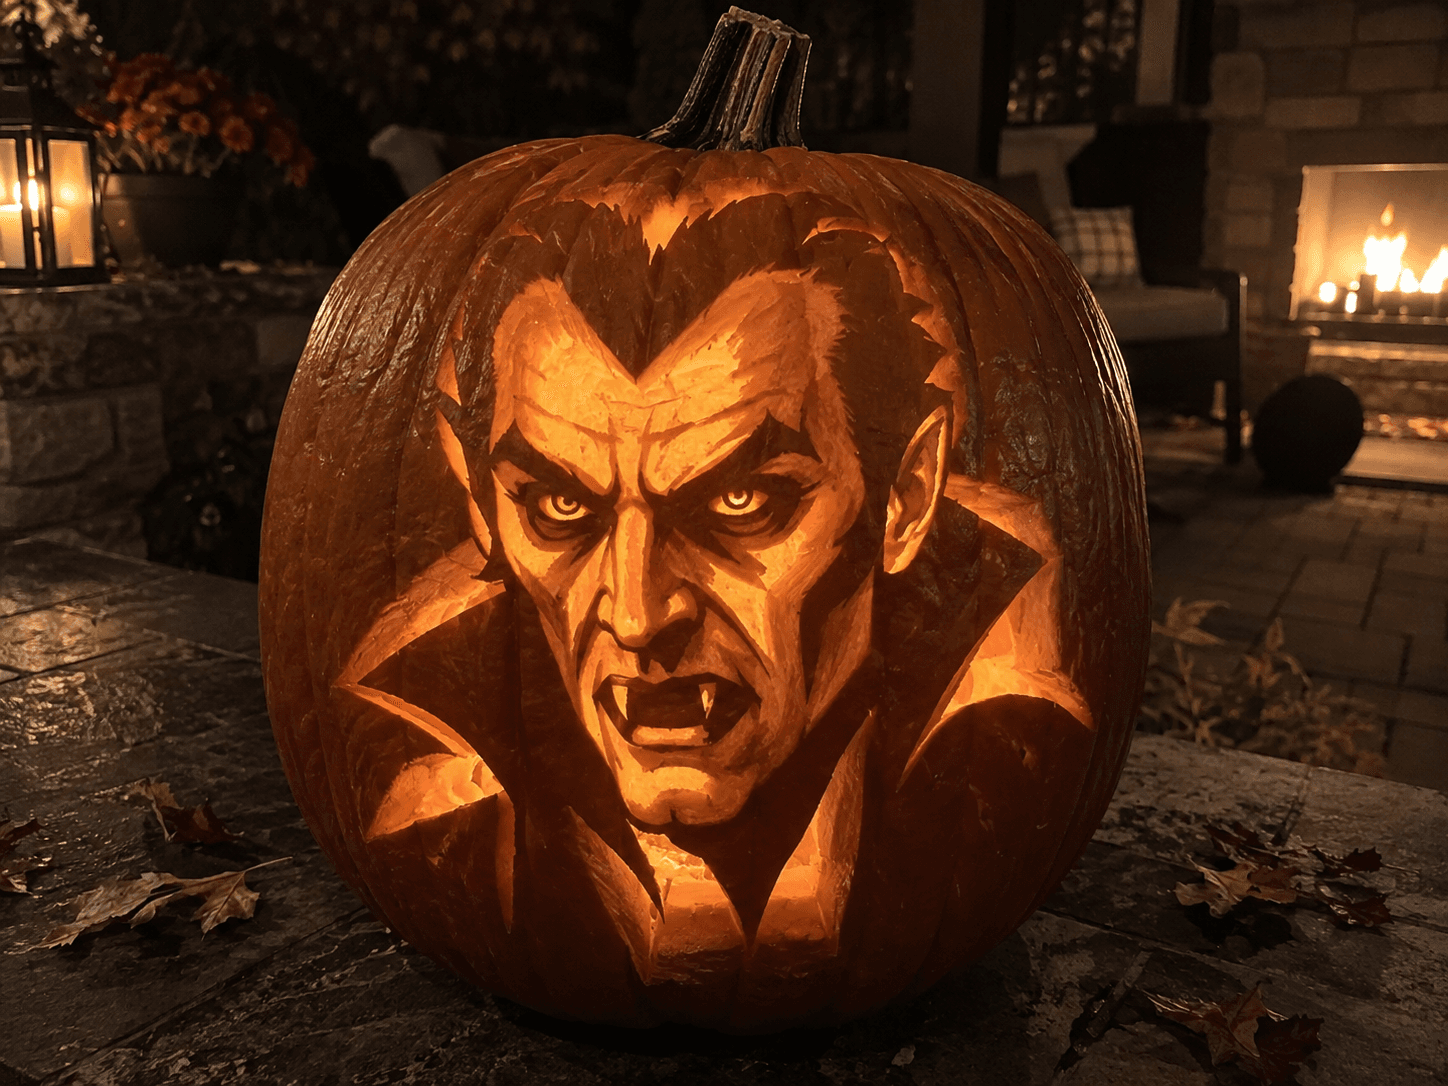
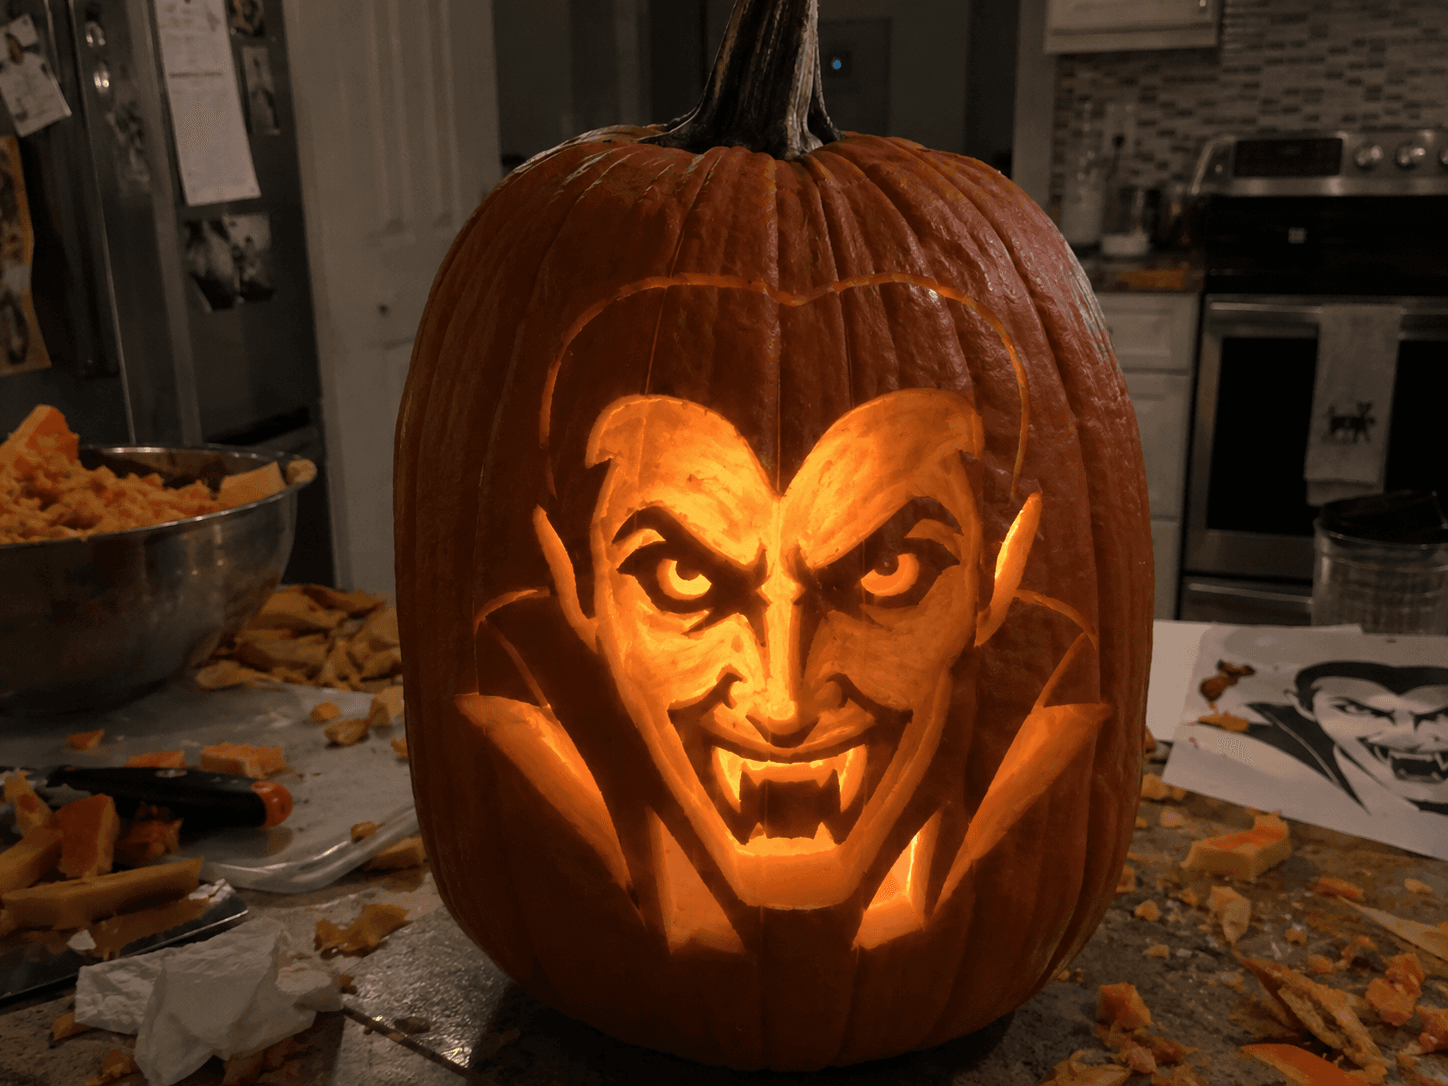
The count himself, glowering from the pumpkin in a full peel-and-shade portrait. Layered shading builds the furrowed brow, sunken glowing eyes, and gaunt cheeks, while his wild swept hair and towering cape collar are carved in dramatic angular strokes that catch the candlelight. Bared fangs finish the snarl. Almost nothing here is a simple cutout, so expect a long evening with peeling tools and a good reference, and a showpiece porch pumpkin when it is done.

This is an AI-generated concept image: a realistic, carvable design idea rather than a photo of a finished carve. AI concepts are always labeled and sit out the leaderboard and the contest.

No ratings yet · Sign in to rate
Comments (0)

  • No comments yet — be the first.

Save without an account. Sign in to like or comment.

Our tips for carving a similar design

This design is a full peel-and-shade portrait, so the trick is depth without many true cutouts. You build the face from layers of peeled skin at different depths, saving the brightest full cuts for the eyes and a few sharp gaps in the hair and cape. Work from a printed reference and think in three tones the whole way through: dark skin, dim peel, bright cutout.

Written by PumpkinCarvingIdeas.com, inspired by the image above. These are our suggestions, not instructions from the uploader. This approach to the AI concept has not been tested on a real pumpkin.

From pumpkin to porch

  1. Prep the pumpkin and transfer the design

    Pick a tall pumpkin with a wide, smooth front panel for the face. Scrape the inside wall behind the face down to about one inch so peeling reveals an even glow. Tape your stencil on and poke the outlines with a pin or transfer tool, marking where the darkest shadows, the mid peels, and the bright cutouts will go. Mark your three tones clearly before any blade touches the skin.

  2. Peel the mid-tone skin of the face

    Use a ribbon or loop tool to shave off just the orange skin across the cheeks, forehead, nose, and chin. This is the largest job and sets the gaunt, glowing face, so go shallow and even. Leave the furrowed brow lines, the eye sockets, and the deep cheek hollows as untouched dark skin for now. Step back often and check the shape against your reference.

  3. Deepen the shadows and build the brow

    Go back into the sunken cheeks, the frown lines between the brows, and the shading under the eyes, peeling a little deeper so those areas read brighter than the surrounding skin. Leave thin ridges of untouched skin for the sharp eyebrows and the bridge of the nose. This layering is what gives the face its glower, so take your time and vary the depth. Dim the room and light-test as you go.

  4. Carve the hair and cape collar strokes

    Sketch the swept hair and the tall angular collar as long, tapering strokes. Peel most of these areas to a mid glow, then cut fully through only a few narrow slots to give the hair and collar their dramatic edges. Keep solid skin bridges between cuts so the tall collar points stay strong and do not snap. Cut these slots on the shallow side first, then widen only if needed.

  5. Cut the eyes and fangs last

    Save the true openings for the end when the shell is still sturdy. Cut through the two eyes for the brightest glow, keeping them small and almond shaped so they read as menacing. For the fangs, peel the mouth to a dim glow and leave two triangles of skin thicker and paler for the teeth rather than cutting them free. Work slowly here since these details are small and easy to overshoot.

  6. Light it and photograph

    Drop in a battery LED, warm white or amber, and set it low so light climbs up the face. Rotate the light until the eyes and fangs pop and the cheek shadows deepen. A little petroleum jelly on the cut edges slows drying and keeps the glow crisp for photos. Shoot in near darkness with the light inside for the best portrait effect.

Gather your supplies

Check things off as you get ready.

Work on a stable surface, keep your free hand out of the cutting path, and have an adult handle sharp tools.

Three levels of light

  • Leave intact

    The sharp eyebrows, nose bridge, deep cheek hollows, and darkest frown lines stay as untouched skin.

  • Peel & shade

    The cheeks, forehead, chin, hair, and cape collar are skin-peeled for a soft mid glow.

  • Cut through

    The two eyes, plus a few narrow slots in the hair and collar, are cut through for the brightest light.

Learn the carving basics

Before you start cutting

This looks like a lot of shading. Where do I even start?

Start by marking your three tones on the whole face before cutting anything. Peel all the mid-tone skin first to establish the shape, then go back and deepen shadows. Saving the true cutouts for last keeps the shell strong while you do the slow work.

How do I keep the tall collar points from snapping off?

Treat the collar mostly as peeled skin with only a few narrow cut slots for the dramatic edges. Leave solid skin bridges between those slots so each point stays anchored to the shell. Cut shallow first and only widen a gap if the shape really needs it.

Should I cut the fangs all the way through?

No, leave the fangs as thick, pale triangles of skin instead of open cuts. Peel the mouth around them to a dim glow so the teeth stand out by contrast. This keeps them structurally sound and reads more like bared teeth than empty holes.

Your take belongs here, too.

Changed a detail? Made it simpler? Share a photo of your version and tell the community what worked.

Share your pumpkin

More pumpkins like this

You've reached the end · 8 pumpkins
The Patch Report

Fresh pumpkins, in your inbox.

The best new carvings, ideas worth stealing, and how-tos for carving season. Short, seasonal, and gone by November.

A short email during carving season. Unsubscribe anytime. See our privacy policy.