Halloween Pumpkin Carving Contest · Starts October 1st · $500 in prizes
← Back to ideas
@ai_concepts
Sep 11, 2026
Grinning Dracula PumpkinAI
1

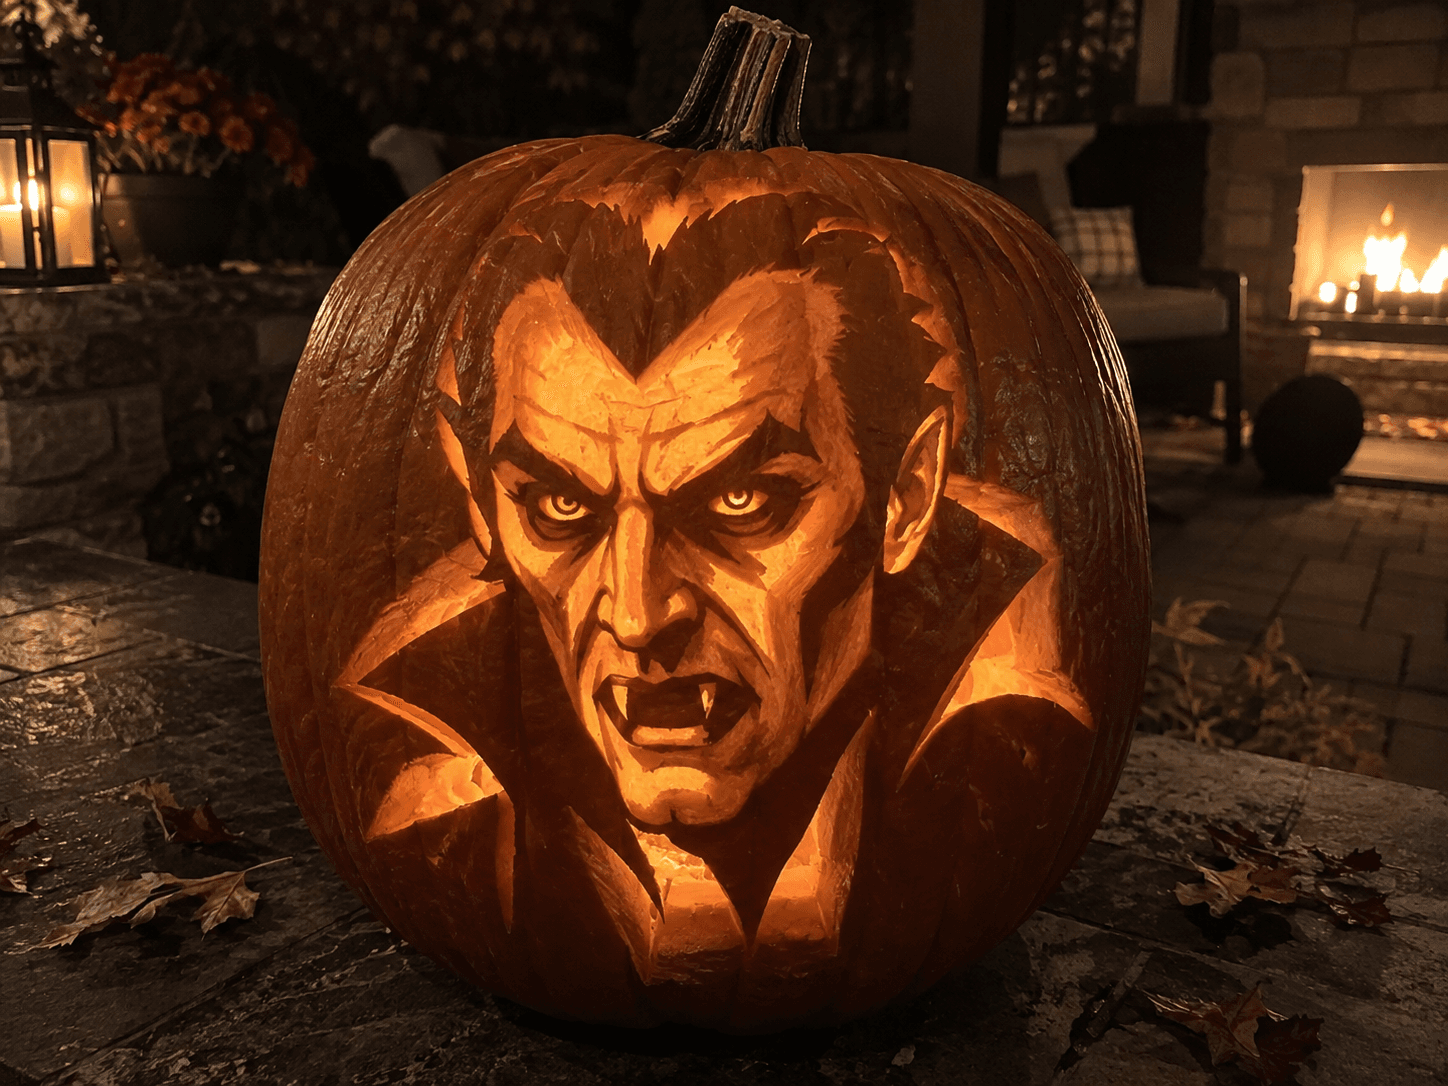
Grinning Dracula Pumpkin

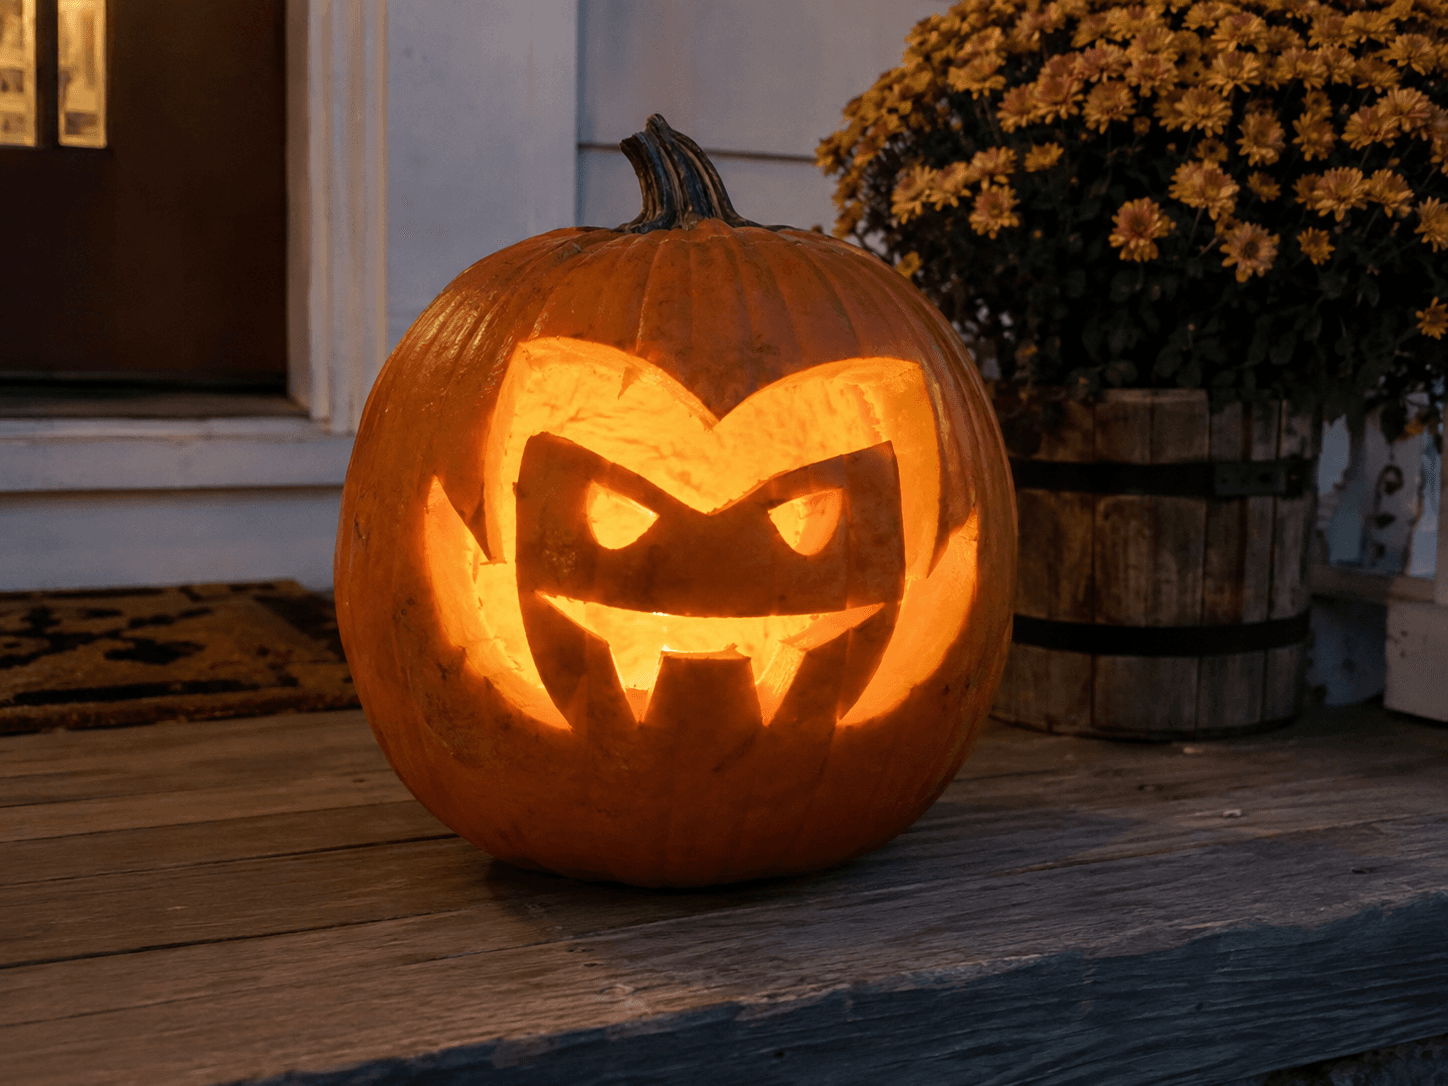
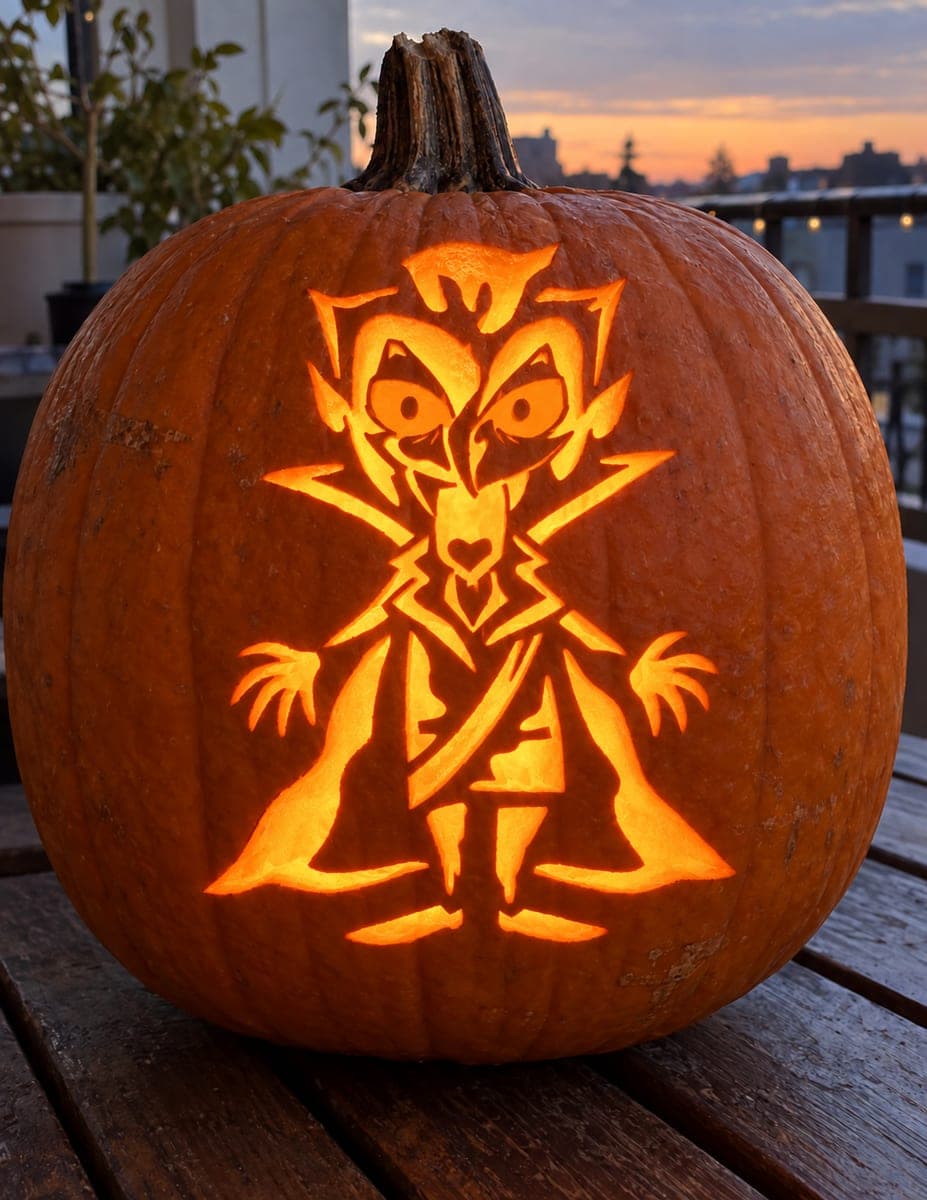
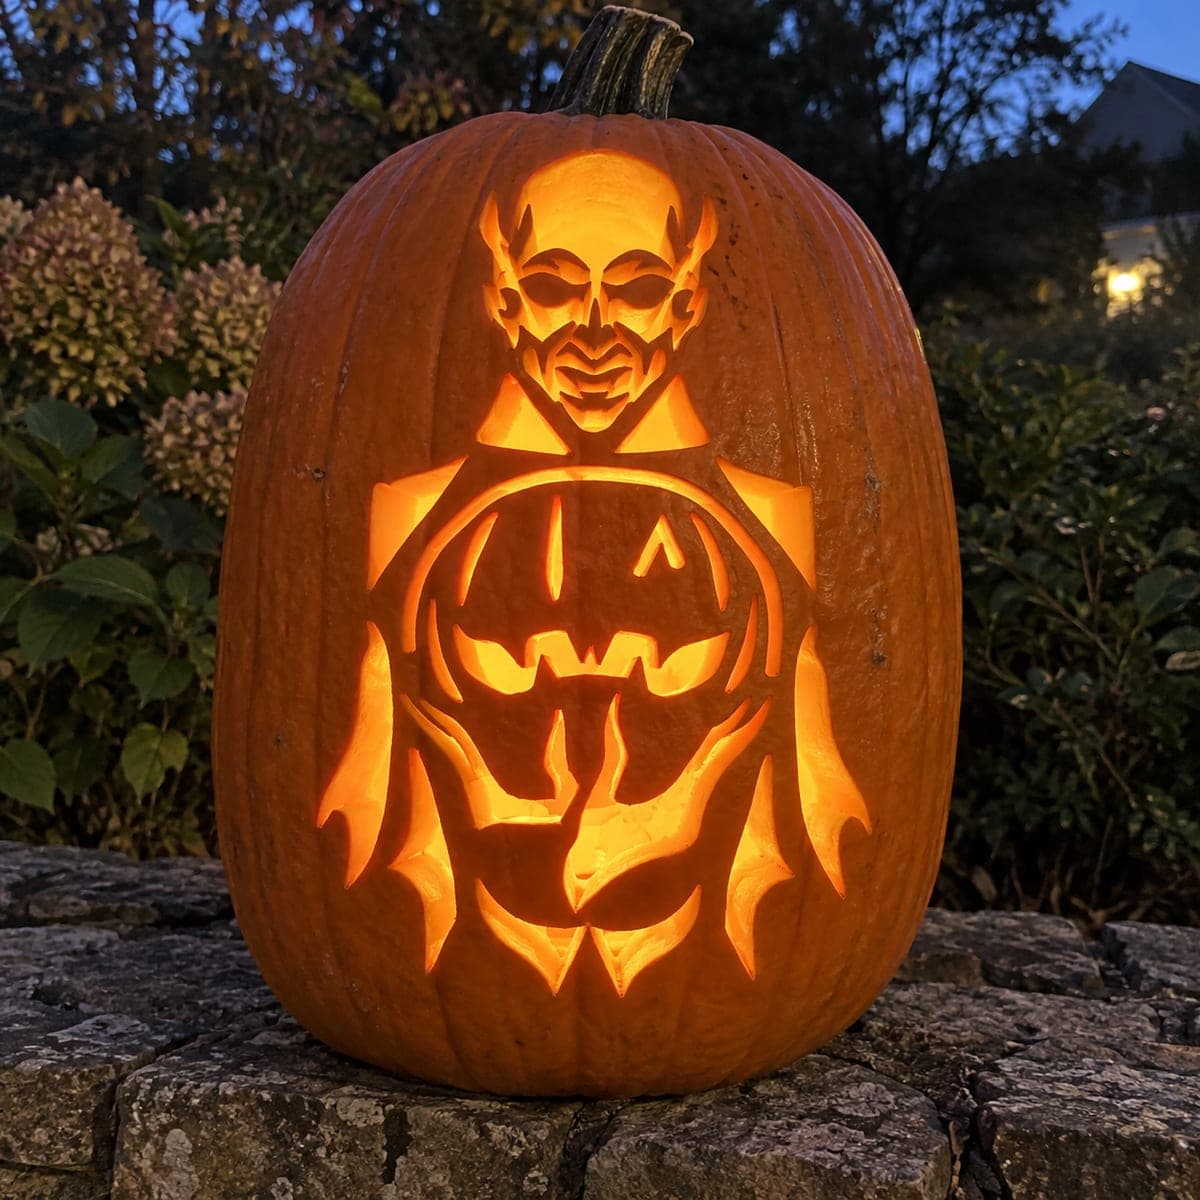
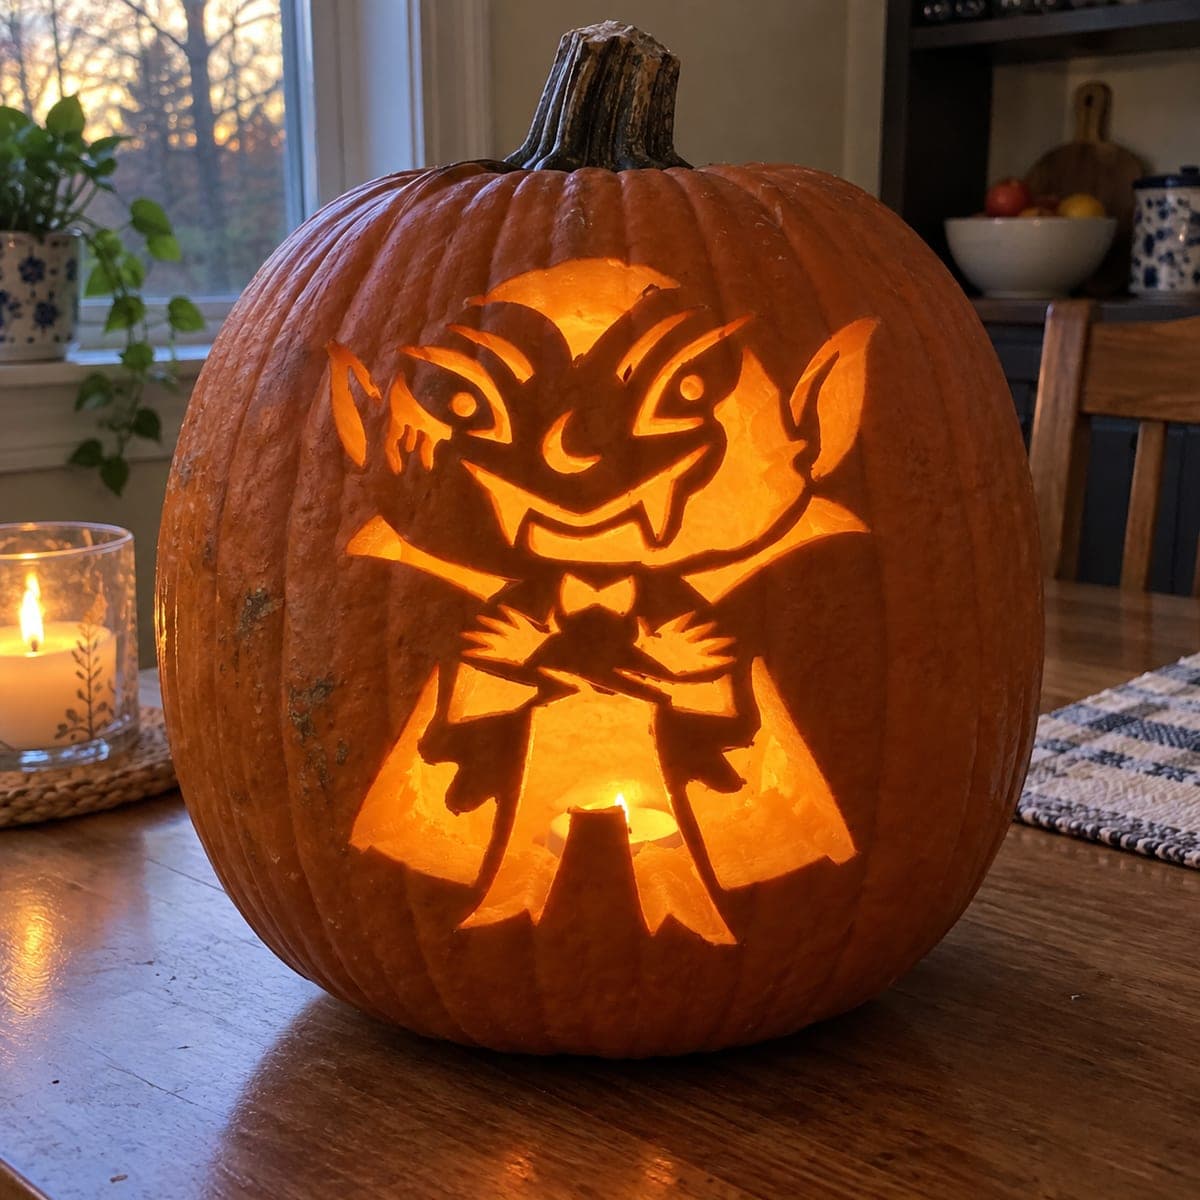
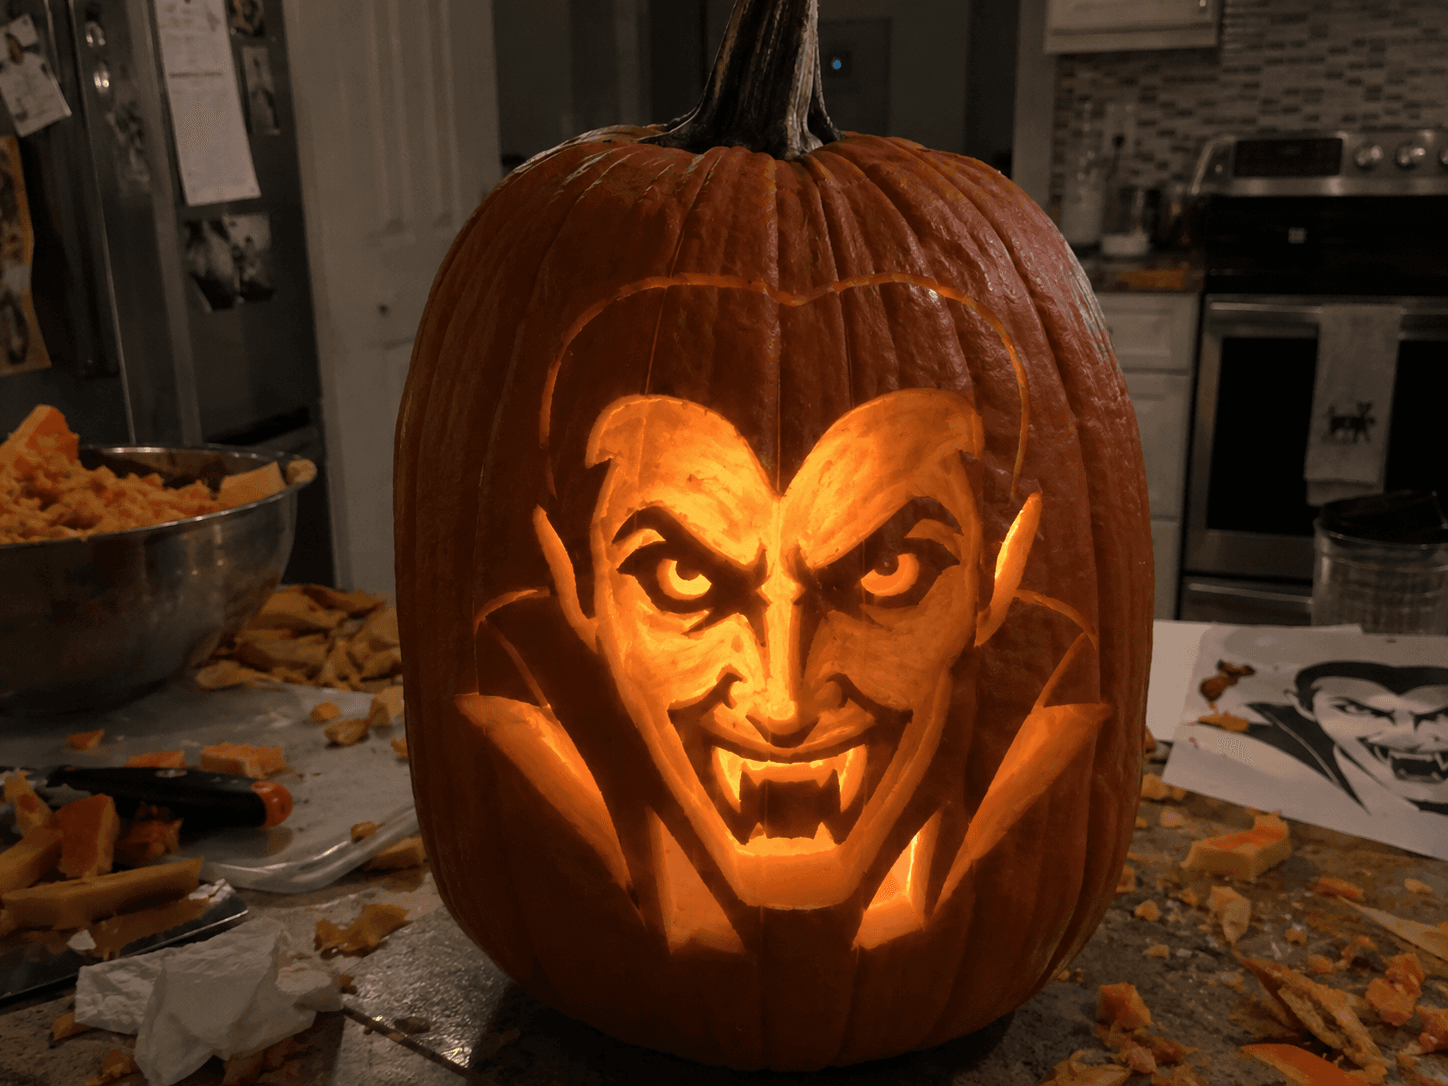
A comic-book Dracula grinning ear to ear, carved as a step up from basic cutouts. The face is peeled so it glows evenly while cut-through lines draw the arched brows, piercing eyes, swept-back hair, and that fanged smirk. His high cape collar flares on both sides in clean cut-out wedges. The design rewards steady knife work on the thin lines around the eyes and mouth, but the shapes are still bold enough to be forgiving. Carved from a printed pattern, as seen taped up in the background.

This is an AI-generated concept image: a realistic, carvable design idea rather than a photo of a finished carve. AI concepts are always labeled and sit out the leaderboard and the contest.

No ratings yet · Sign in to rate
Comments (1)

Save without an account. Sign in to like or comment.

Our tips for carving a similar design

The trick is the contrast: a glowing face, dark swept-back hair, and a grin with sturdy fangs. Build the portrait in layers, saving the large cutouts until the delicate work is done.

Written by PumpkinCarvingIdeas.com, inspired by the image above. These are our suggestions, not instructions from the uploader. This approach to the AI concept has not been tested on a real pumpkin.

From pumpkin to porch

  1. Choose a broad face and hollow the pumpkin

    Pick a firm pumpkin with a wide, fairly smooth front so the ears and cape collar have room. Open it from the bottom, scoop out the seeds, and scrape the inside of the carving area evenly. Leave enough flesh for shallow shading; you can thin it further after testing the light.

  2. Sketch the face and mark three kinds of areas

    Draw the widow's peak, pointed ears, arched brows, long nose, grin, and high collar on paper first. Tape your sketch to the pumpkin, snipping the paper edges to fit the curve, then transfer the outlines with a pin tool. Mark what stays untouched, what gets peeled, and what gets cut all the way through before carving.

  3. Peel the face to build the glow

    Use a small carving gouge to remove the orange skin from the forehead, cheeks, nose, and chin. Take off thin layers of flesh gradually. Keep the hair, eyebrows, and shadow lines darker by leaving them thicker. Put an LED light inside between passes to check the glow instead of guessing at the depth.

  4. Work slowly around the eyes and fangs

    Define the eyes and grin with your smallest tool, working from the center outward. Keep the fangs attached to the upper edge of the mouth with broad bases. Leave a backing of flesh under the pupils and fine facial lines; cutting a complete loop around a dark detail would make it fall out. Simplify any line that feels too delicate.

  5. Open the larger shapes last

    Use a fine pumpkin saw for the larger openings around the collar and mouth, following your marked plan. Make short cuts and remove large waste pieces in sections so they do not pull on the face. Keep bridges of pumpkin between the collar, jaw, and outer shell to support the portrait.

  6. Light it, refine it, and take a photo

    Set the pumpkin over an LED light and check it in a dim room. Shave a little more from areas that look too dark, keeping the delicate features supported. Photograph it once in daylight and once lit up so people can see both the carving and the glow.

Gather your supplies

Check things off as you get ready.

Work on a stable surface, keep your free hand out of the cutting path, and have an adult handle sharp tools.

Three levels of light

  • Leave intact

    Hair, brows, and deep shadows stay dark.

  • Peel & shade

    Remove skin and thin the flesh for the glowing face.

  • Cut through

    Open selected areas for the brightest light.

Learn the carving basics

Before you start cutting

How do I keep the fangs from breaking?

Make them wider at the base and leave them connected to the upper mouth. Remove the surrounding pieces in small sections without pushing against the tips. A shorter, thicker fang will hold up better than a long, needle-thin one.

Do I need to copy every detail?

No. The widow's peak, raised collar, and two fangs do most of the work. Keep those recognizable features and simplify the eye creases, cheek lines, and hair to suit your tools and experience.

Is there an exact stencil for this image?

An exact, tested stencil is not provided with this concept. You can sketch your own interpretation, or use the related Vampire Stencil for a different design with a printable pattern.

Your take belongs here, too.

Changed a detail? Made it simpler? Share a photo of your version and tell the community what worked.

Share your pumpkin

More pumpkins like this

You've reached the end · 8 pumpkins
The Patch Report

Fresh pumpkins, in your inbox.

The best new carvings, ideas worth stealing, and how-tos for carving season. Short, seasonal, and gone by November.

A short email during carving season. Unsubscribe anytime. See our privacy policy.