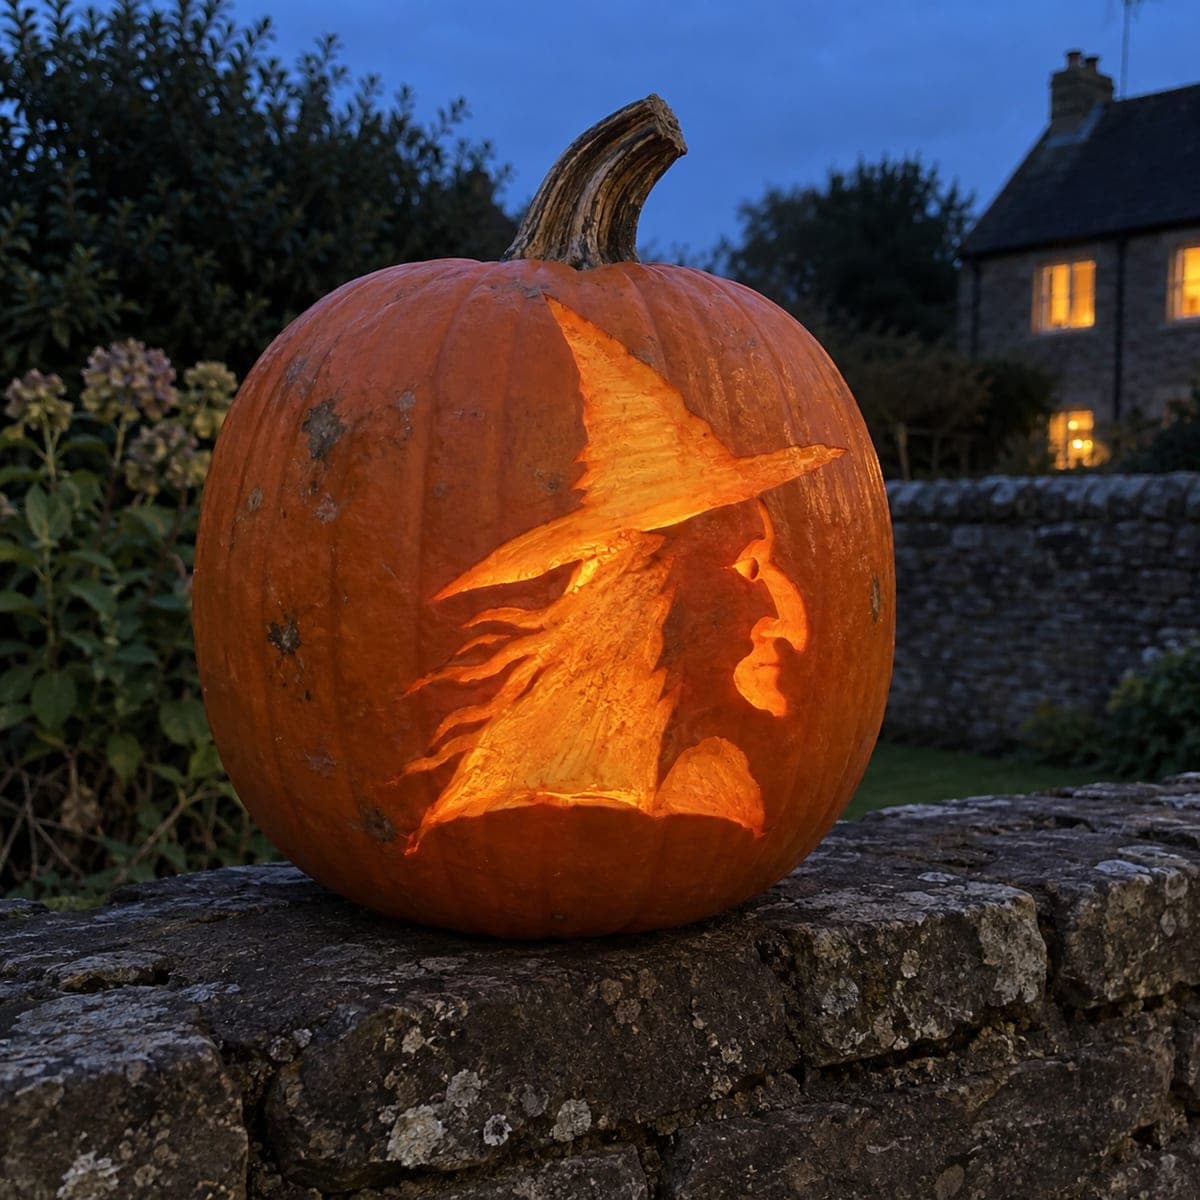
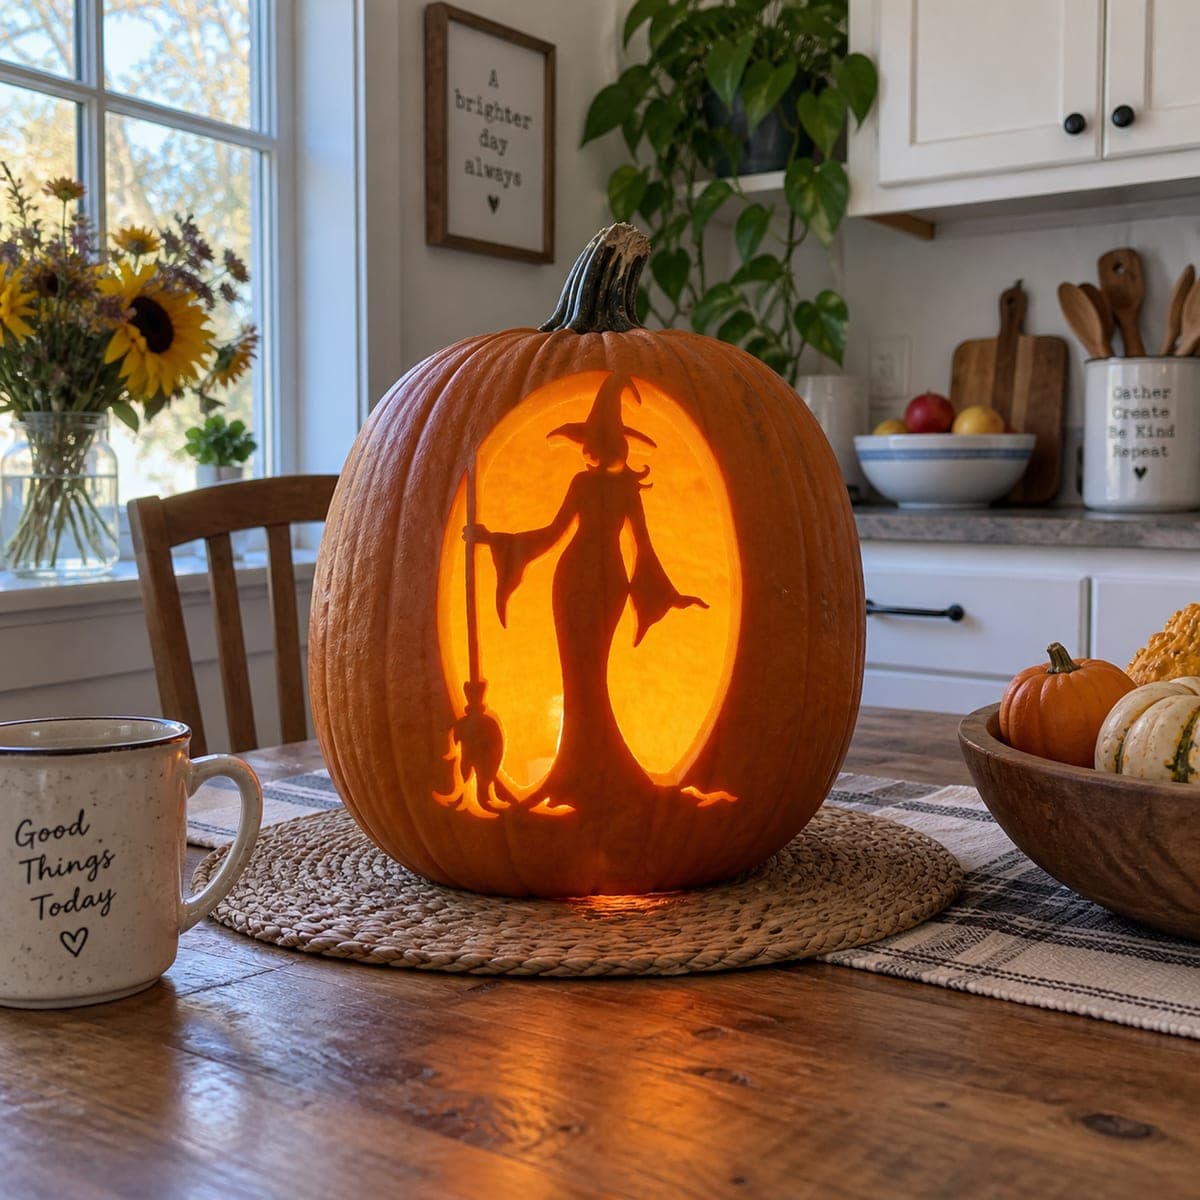
A hook-nosed witch glows in fiery profile on this pumpkin, her pointed hat and windblown hair etched so the whole figure burns bright against the dark shell. The drama comes from contrast: the face and hat are shaved close to translucent while the surrounding skin is left untouched. Carve the strong profile line of the nose and chin first since it defines the character, then feather the hair outward in long tapering strokes.
This is an AI-generated concept image: a realistic, carvable design idea rather than a photo of a finished carve. AI concepts are always labeled and sit out the leaderboard and the contest.
The whole trick here is contrast between shaved, translucent skin and the untouched dark shell around it, so the witch seems to burn out of the pumpkin. You could build the figure as one glowing silhouette, the hat, face, and hair, while leaving the rest of the surface dark. Nail the sharp profile line of the nose and chin first because it carries the character, then feather the hair outward in long tapering strokes.
Written by PumpkinCarvingIdeas.com, inspired by the image above. These are our suggestions, not instructions from the uploader. This approach to the AI concept has not been tested on a real pumpkin.
From pumpkin to porch
1
Prep the pumpkin and transfer the design
Pick a large, evenly rounded pumpkin with a smooth patch on one side for the profile. Cut a hole in the bottom rather than the top so the shape stays intact, then scrape the inside wall behind the design down to about one inch thick. Tape your witch stencil in place and poke the main outlines with a pin or transfer tool. Focus your dots on the nose, chin, hat point, and the flow lines of the hair.
2
Carve the profile line first
Using a small detail saw or a sharp craft knife handled by an adult, cut the strong outline of the nose, lips, and chin. This edge defines the whole witch, so work slowly and keep the curve of the hooked nose crisp. Do not cut all the way through here; you want a clean shaved channel that reads as the face edge. Take your time, since this single line sells the character.
3
Shave the face and hat to a glow
Switch to a ribbon or loop tool and peel the skin off the face and the body of the hat, thinning the flesh until light passes through as a warm orange. Vary the depth slightly so the cheekbone and hat brim look shaped rather than flat. Keep the untouched skin right up to your profile line so the nose stays sharp against the dark. Test with an LED now and then to check how bright each shaved area reads.
4
Feather the windblown hair
Draw the hair as long tapering strokes flowing back and down from under the hat. Shave these strands to translucent, leaving thin ribbons of untouched skin between them so you get bright hair against dark gaps. Let the strokes get finer and lighter at the tips to sell the windblown motion. Keep small bridges of skin intact so no strand becomes a weak flap.
5
Open the brightest accents last
If you want a few full-brightness highlights, cut all the way through only in small, sturdy spots such as under the hat brim or a sliver along the hat point. Save these true cutouts for last so the shell stays strong while you do the delicate shaving. Keep openings modest and well spaced so the pumpkin walls do not sag. Clean up any ragged edges with a fresh blade.
6
Light it and photograph
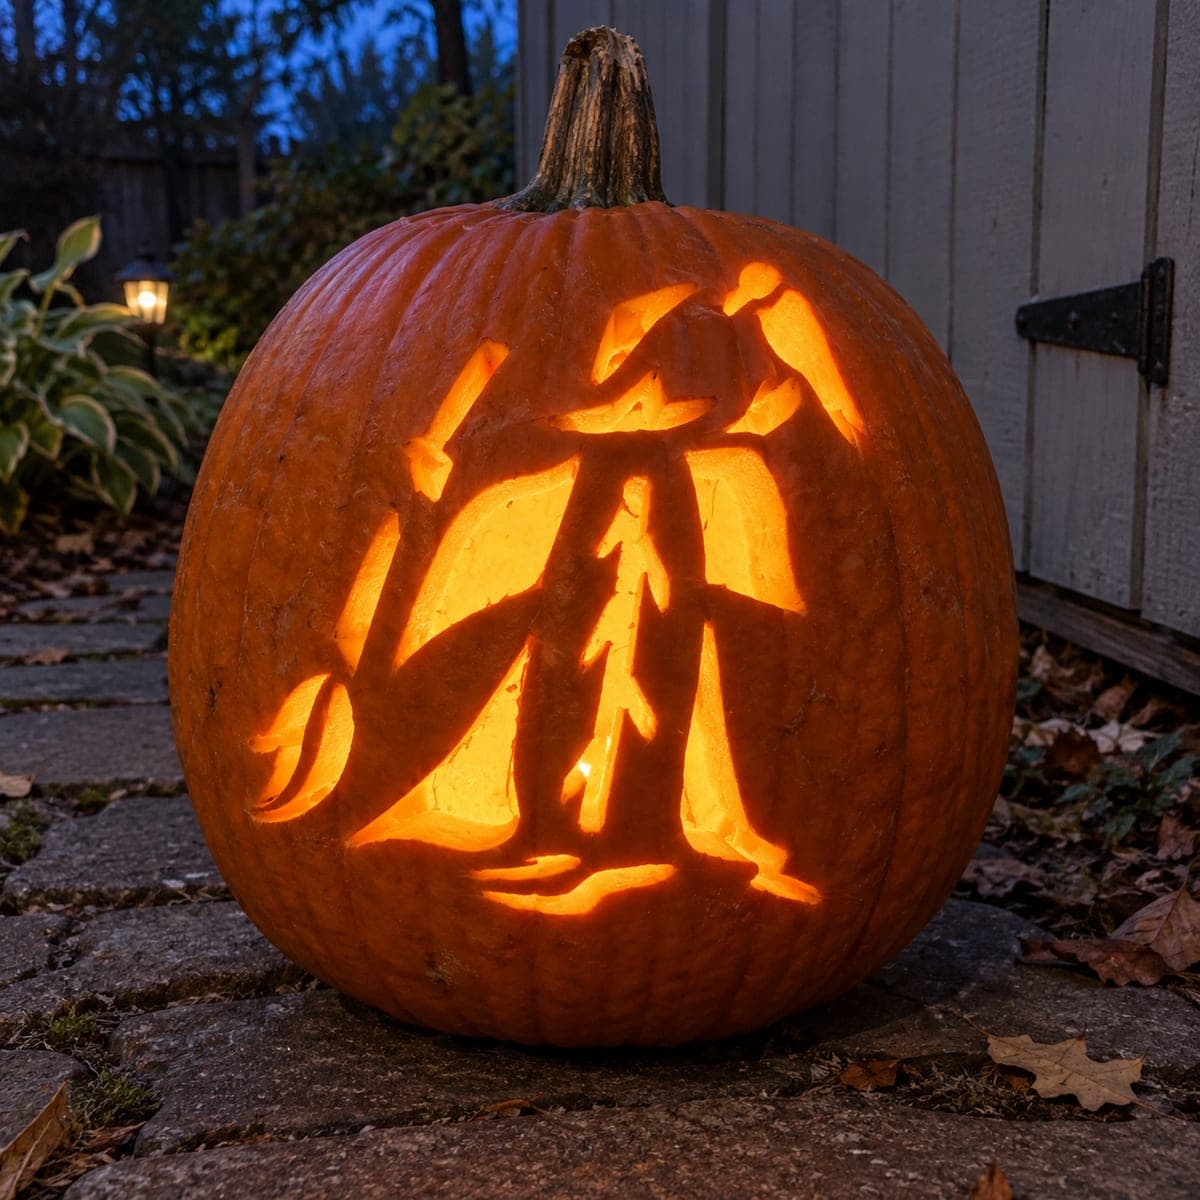
Set a battery LED inside, warm white or amber, and settle the pumpkin over it through the bottom hole. Shoot at dusk so the glowing witch pops against a deep blue sky, just like a garden wall setting. Angle the profile toward the camera and turn off nearby lights for the strongest contrast. Mist the cut edges with water if they start to dry and curl during your shoot.
Gather your supplies
Check things off as you get ready.
Work on a stable surface, keep your free hand out of the cutting path, and have an adult handle sharp tools.
Three levels of light
Leave intact
The background shell all around the figure stays untouched and dark
Peel & shade
The face, hat body, and hair strands are shaved thin for a warm orange glow
Cut through
A few small slivers under the hat brim or at the hat point can be cut through for the brightest accents
The nose reads best when shaved face sits right against untouched dark skin, so carve that profile line cleanly and do not shave past it. Keep the tip of the nose and the chin as crisp edges. If it starts looking soft, deepen the shaved side rather than trimming the dark side.
My hair strands feel flimsy, what went wrong?
Thin strands need bridges of skin connecting them, so avoid shaving so deep that a strand becomes a loose flap. Leave narrow ribbons of untouched skin between the glowing strokes for both strength and contrast. If one strand tears, blend it into a neighbor rather than trying to save a dangling piece.
Should I light the hat point differently from the face?
You can, and a small full cutout at the very tip of the hat gives a bright spark that draws the eye upward. Keep the rest of the hat as shaved glow so it stays one connected shape. Just make any true cutouts small so the top of the design does not weaken.
Your take belongs here, too.
Changed a detail? Made it simpler? Share a photo of your version and tell the community what worked.
 AI
AI

Comments (0)