Halloween Pumpkin Carving Contest · Starts October 1st · $500 in prizes
← Back to ideas
@ai_concepts
Aug 14, 2026
Wolf Profile Etched Pumpkin Carving at NightAI
0

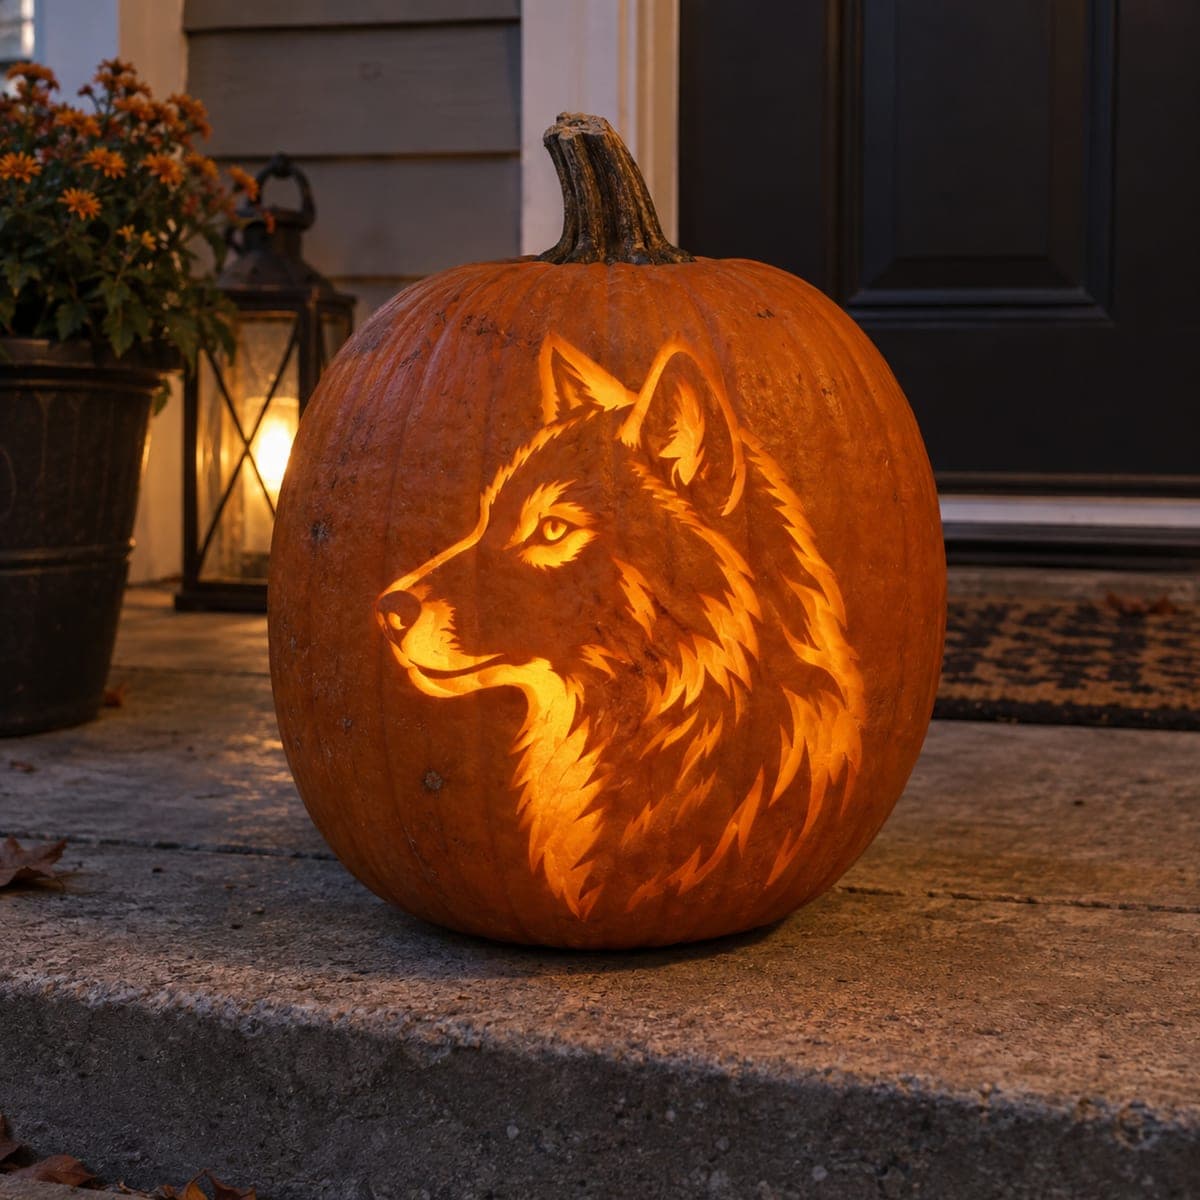
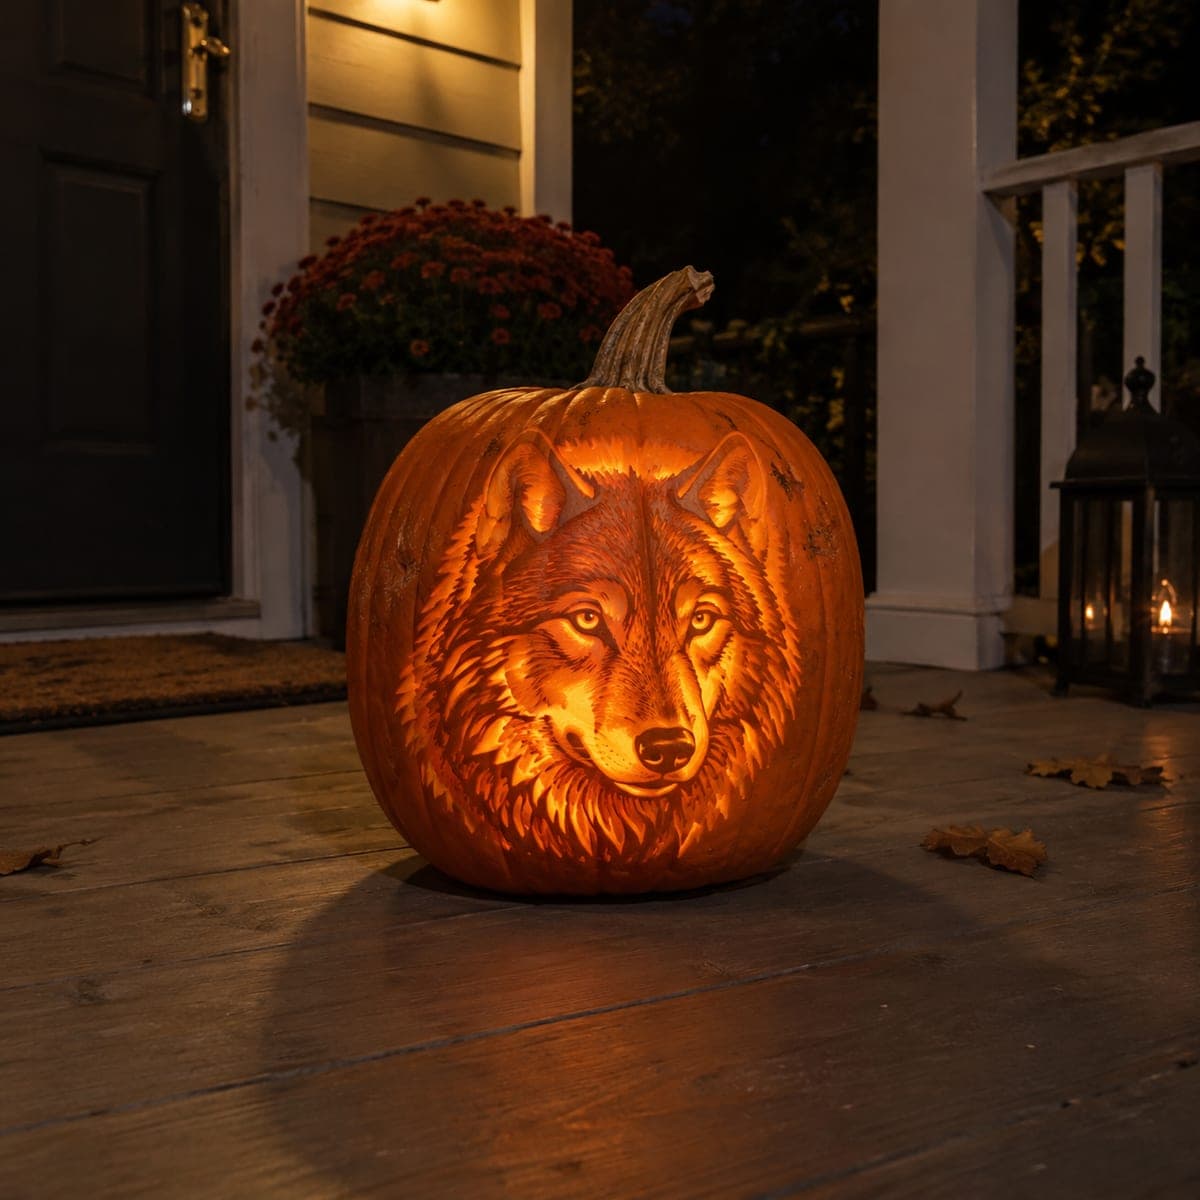
Wolf Profile Etched Pumpkin Carving at Night

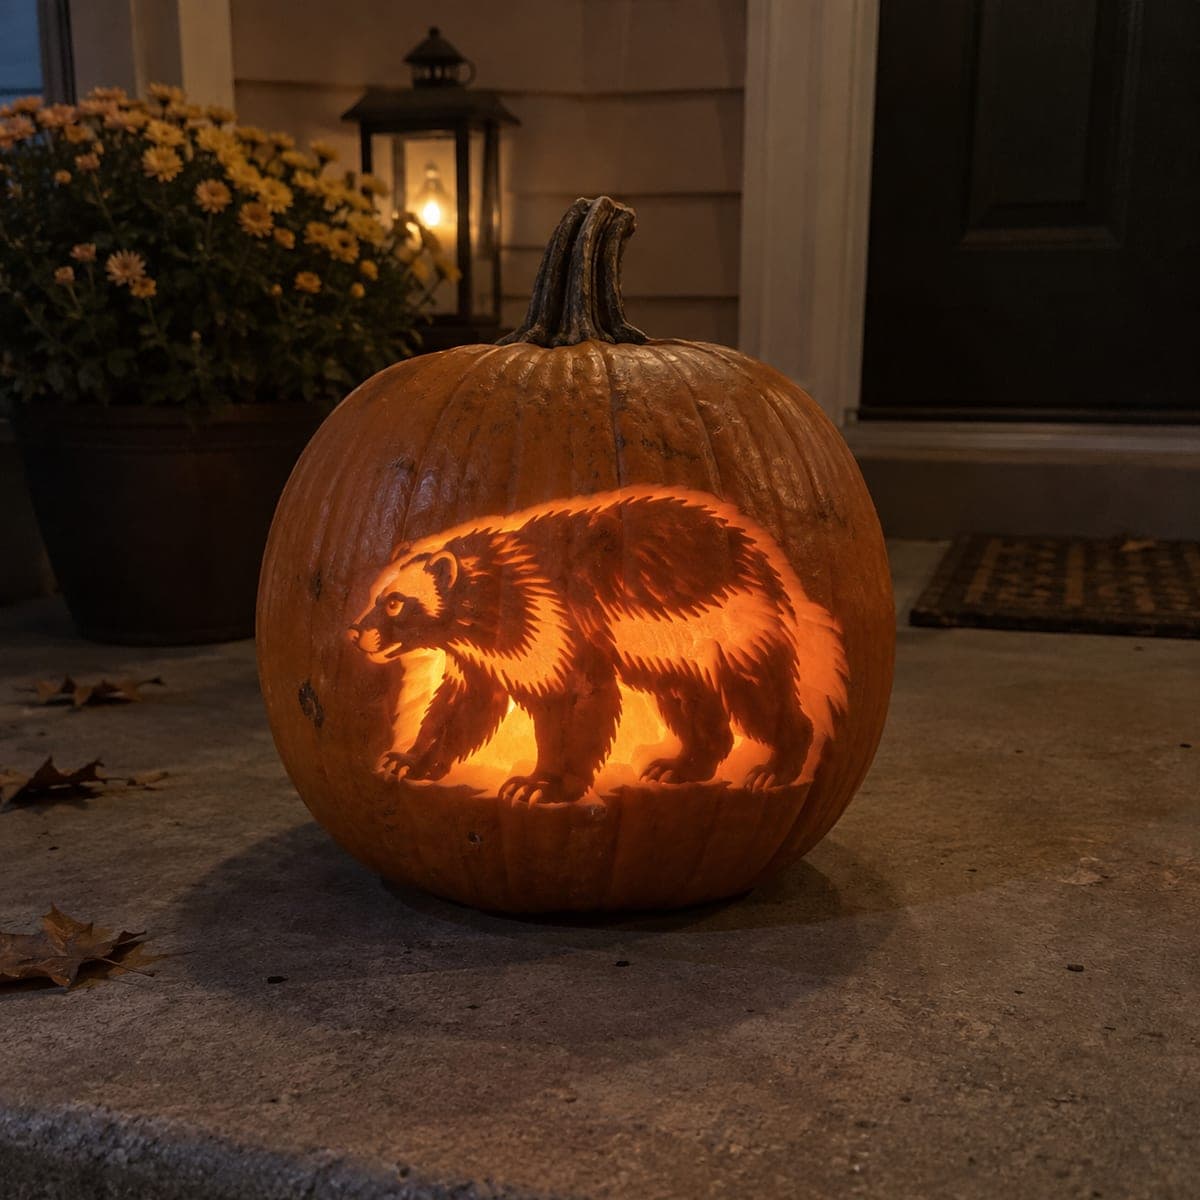
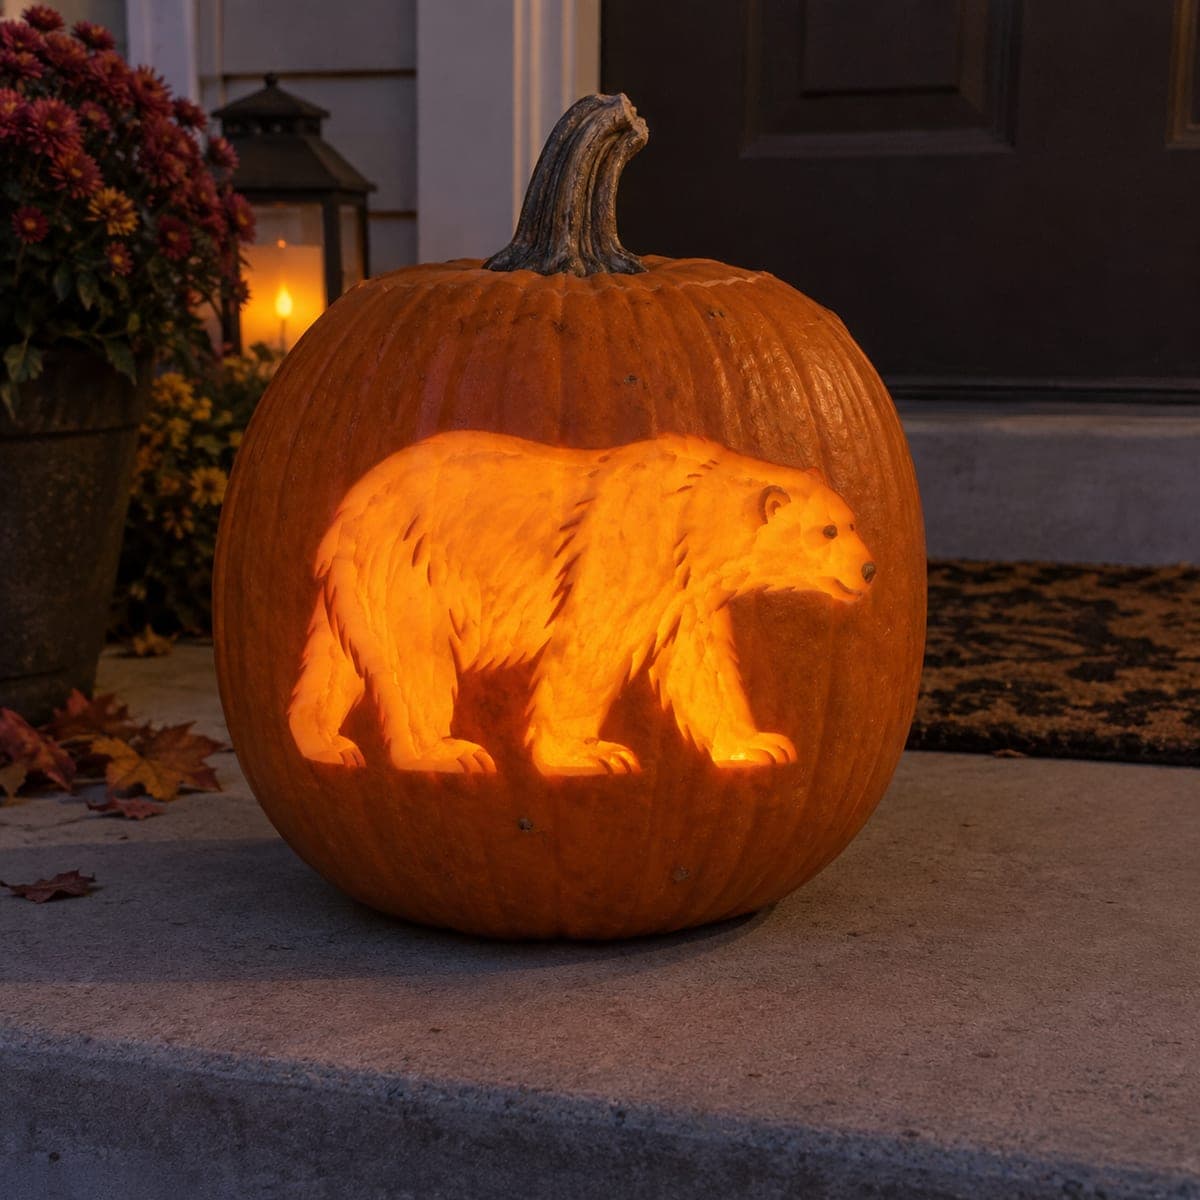
A noble wolf in side profile glows from this pumpkin, its ruff carved in long feathered strokes that flare like wind-blown fur. The single-eye profile view is easier than a front-facing portrait, making this a smart first attempt at realistic animal shading. Etch the muzzle and cheek brightest, then pull tapering strokes outward for the neck fur. Flank it with a lantern for a moody front-step display.

This is an AI-generated concept image: a realistic, carvable design idea rather than a photo of a finished carve. AI concepts are always labeled and sit out the leaderboard and the contest.

No ratings yet · Sign in to rate
Comments (0)

  • No comments yet — be the first.

Save without an account. Sign in to like or comment.

Our tips for carving a similar design

The core trick here is shading depth, not cutting through the shell. A side-profile head lets you focus on one eye and one cheek, so the muzzle and jaw stay brightest while long tapering strokes fan out to suggest a wind-blown ruff. Plan it as a gradient: skin left dark for the outer edges, peeled skin for the fur field, and a few deeper cuts only where you want the strongest glow.

Written by PumpkinCarvingIdeas.com, inspired by the image above. These are our suggestions, not instructions from the uploader. This approach to the AI concept has not been tested on a real pumpkin.

From pumpkin to porch

  1. Pick and prep the pumpkin

    Choose a tall, rounded pumpkin with a smooth, blemish-free front panel wide enough for the whole head and flaring ruff. Cut a lid from the bottom or the back rather than the top so the stem stays intact and the face panel stays uninterrupted. Scoop the inside until the front wall is about one inch thick, which is the ideal depth for etching without punching through. Scrape the carving area smooth so your lines land cleanly.

  2. Transfer the wolf pattern

    Print or draw the side-profile wolf and tape the pattern flat against the front, clipping the edges so it hugs the curve. Use a poking tool or transfer pin to dot along the eye, muzzle line, ear tips, and the outer edge of the fur ruff. Add a few dots to mark where the longest fur strokes end so you keep the flared shape. Peel the paper and connect the dots lightly with a marker before you start cutting.

  3. Etch the bright face zones

    Switch to a shallow gouge or lino-style ribbon tool and peel away only the top skin on the muzzle, cheek, and the area right below the eye. Removing the skin exposes the flesh underneath, which glows a soft orange when lit. Keep these zones the largest continuous peeled areas so the face reads as the brightest part. Save the eye itself as a small controlled cut later for a sharp catchlight.

  4. Pull the feathered fur strokes

    For the ruff and neck, drag your gouge in long tapering strokes that start deep near the face and lift out to nothing at the tips. Vary the length and angle so the fur looks wind-blown rather than combed flat. Leave thin ridges of untouched skin between strokes to create dark fur lines against the glowing gaps. Work outward in layers, checking often that you are not thinning the shell too far.

  5. Add the deepest accents last

    Once the shading is set, make your few full cutouts: the eye, a highlight along the top of the muzzle, and a couple of the brightest fur gaps in the ruff. Cutting all the way through gives these spots the strongest light, so keep them small and deliberate. Leave narrow bridges of shell between close cuts so nothing sags or breaks. Clean up ragged edges with a detail knife.

  6. Light it and stage the shot

    Drop in a battery LED puck or string, warm white for the most natural fur glow, and never a candle since the thin etched walls scorch easily. Set the pumpkin on a porch step and place a lantern to one side, as in the photo, for a moody pool of side light. Rub a little petroleum jelly on the cut edges to slow drying. Snap your photo at dusk when the ambient light still shows the pumpkin skin.

Gather your supplies

Check things off as you get ready.

Work on a stable surface, keep your free hand out of the cutting path, and have an adult handle sharp tools.

Three levels of light

  • Leave intact

    The outermost fur tips, background, and dark fur lines between strokes stay as untouched skin.

  • Peel & shade

    The muzzle, cheek, and broad ruff areas get skin-peeled for a warm mid glow.

  • Cut through

    The eye, the top-of-muzzle highlight, and a few brightest ruff gaps are cut through for full light.

Learn the carving basics

Before you start cutting

How do I keep the fur from looking flat or blobby?

The secret is varying stroke length, angle, and depth. Deeper cuts glow brighter, so taper each stroke from deep near the face to shallow at the tip. Always leave thin ridges of untouched skin between strokes, since those dark lines are what make the eye read separate hairs instead of one smear.

This is shown as a concept image, so can a real pumpkin actually hold this detail?

Yes, a design like this is very achievable because it relies on surface etching rather than fragile cutouts. Keep the front wall about one inch thick and use a gouge for the shading. Just limit your full cutouts to a handful of small accents so the shell stays strong.

Why carve mostly by peeling instead of cutting all the way through?

Peeled skin lets light shine through the thin flesh as a soft orange glow, which is exactly what gives fur its layered, realistic look. If you cut everything through, you lose the mid-tone and the wolf turns into a flat silhouette. Reserve full cutouts for just the eye and a few brightest spots.

Your take belongs here, too.

Changed a detail? Made it simpler? Share a photo of your version and tell the community what worked.

Share your pumpkin

More pumpkins like this

You've reached the end · 8 pumpkins
The Patch Report

Fresh pumpkins, in your inbox.

The best new carvings, ideas worth stealing, and how-tos for carving season. Short, seasonal, and gone by November.

A short email during carving season. Unsubscribe anytime. See our privacy policy.