Halloween Pumpkin Carving Contest · Starts October 1st · $500 in prizes
← Back to ideas
@ai_concepts
Sep 7, 2026
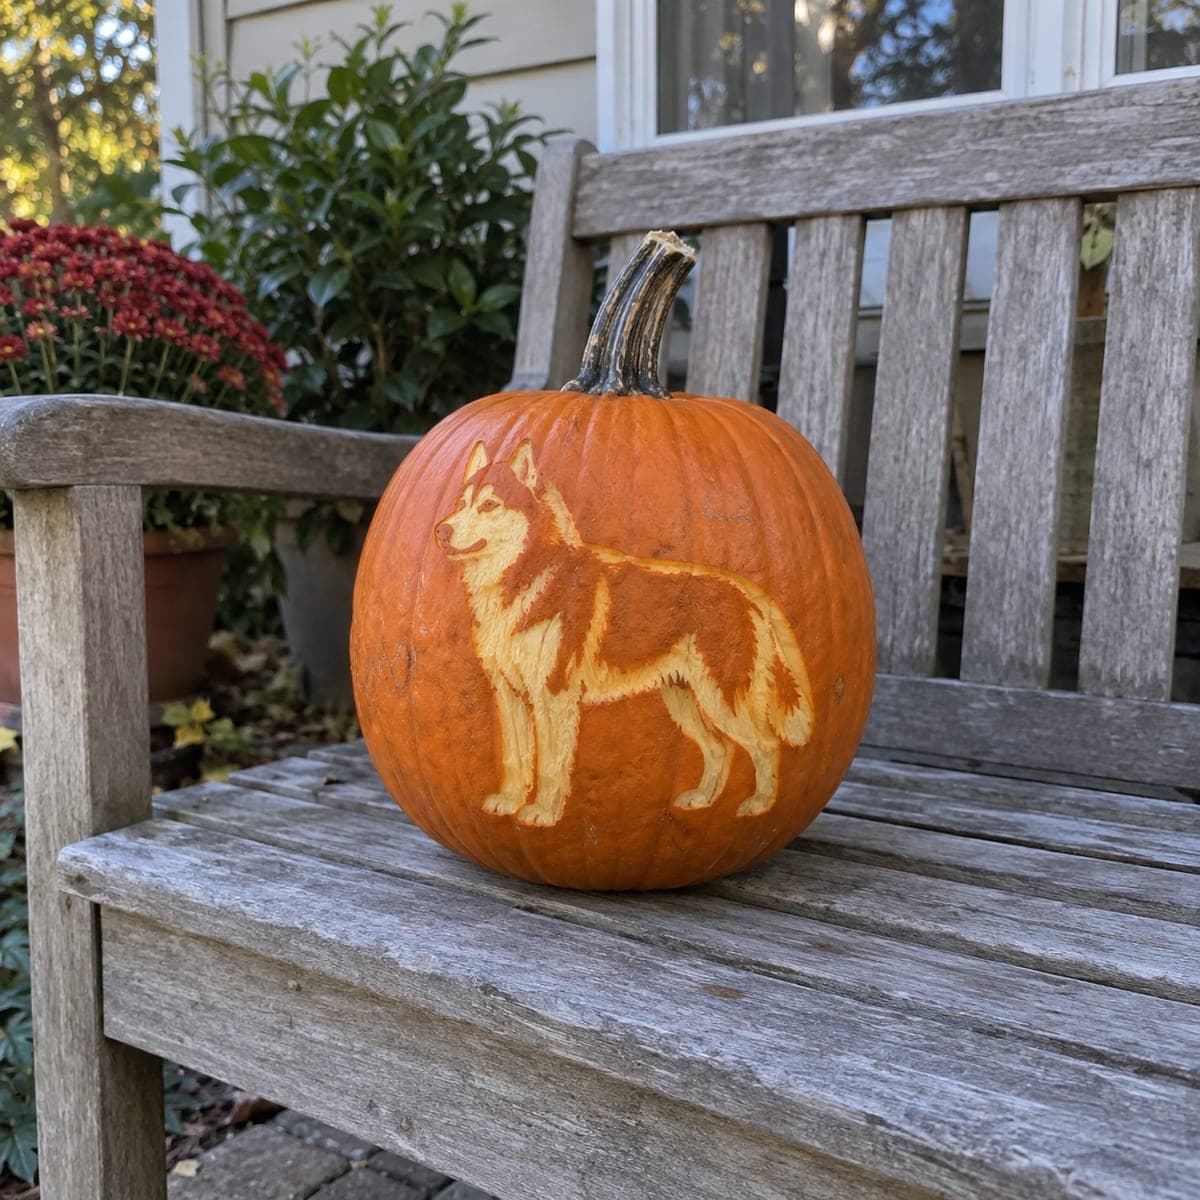
Cocker Spaniel Portrait Etched Pumpkin CarvingAI
0

Cocker Spaniel Portrait Etched Pumpkin Carving

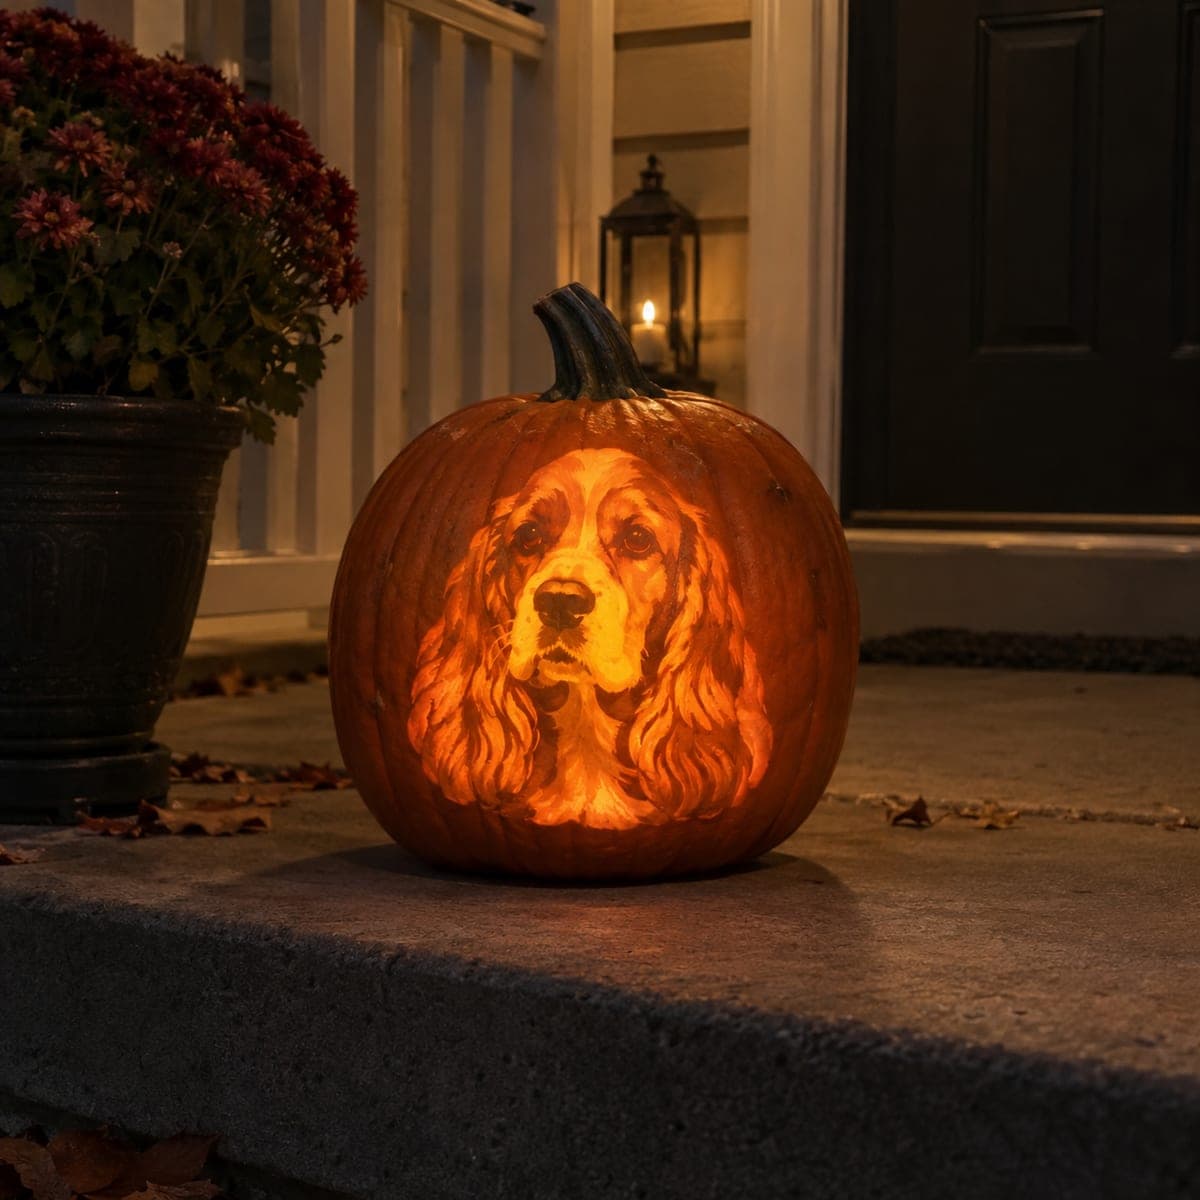
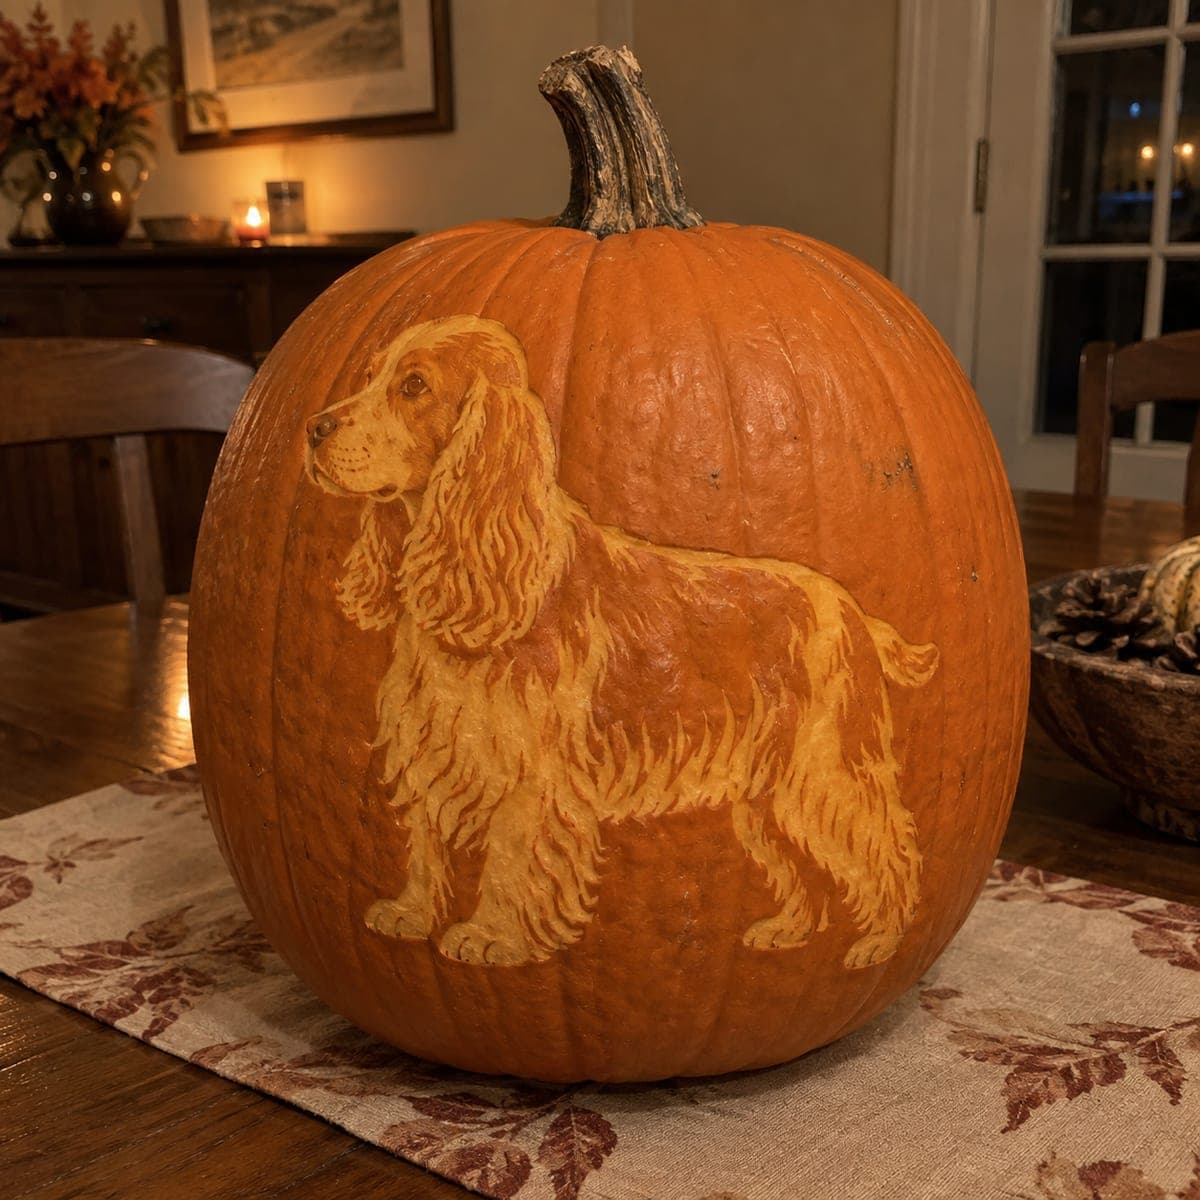
A full-body cocker spaniel stands in profile on this etched pumpkin, its feathered coat built from hundreds of fine peeled strokes that mimic silky fur. The design is surface-carved only, so it displays beautifully indoors by candlelight or lamplight without hollowing the pumpkin. Transfer a side-view photo of your own dog, establish the outline first, then pull short curved strokes in the direction the fur grows to capture those long spaniel ears and leg feathers.

This is an AI-generated concept image: a realistic, carvable design idea rather than a photo of a finished carve. AI concepts are always labeled and sit out the leaderboard and the contest.

No ratings yet · Sign in to rate
Comments (0)

  • No comments yet — be the first.

Save without an account. Sign in to like or comment.

Our tips for carving a similar design

The core trick here is a fully surface-etched portrait, where no light passes through at all and every value comes from how deeply you scrape the skin. You build the silky spaniel coat from hundreds of short, curved strokes that follow the direction the fur grows, leaving the darkest skin as shadow. Since nothing is hollowed or cut through, this design glows softly under a lamp and reads as a warm relief carving rather than a lantern.

Written by PumpkinCarvingIdeas.com, inspired by the image above. These are our suggestions, not instructions from the uploader. This approach to the AI concept has not been tested on a real pumpkin.

From pumpkin to porch

  1. Pick a firm pumpkin and transfer the profile

    Choose a pumpkin with a large, smooth, fairly flat side so the dog sits on an unbroken canvas. Tape a side-view photo or stencil of a cocker spaniel to that face and trace the full outline plus the big shape lines for the ears, chest, and leg feathers. Poke through with a stylus or transfer the lines lightly in washable marker. Keep the stem on since you are not opening this pumpkin.

  2. Score the outline and major boundaries

    With a fine detail knife or a lino-style gouge, lightly score along the whole dog outline and the internal borders between the body and the feathered areas. Cut only through the shiny skin, no deeper than a few millimeters. These scored lines act as stops so later shading strokes do not run past where they belong. Do not cut all the way through the wall at any point on this design.

  3. Peel the dog's body to a mid glow

    Using a ribbon tool or the flat of a small loop, remove the outer skin across the whole dog shape to expose the pale flesh underneath. This is the base tone that will read as the light-colored spaniel. Keep the background skin fully intact and dark around him. Work in even, shallow passes so the surface stays smooth and consistent.

  4. Build the fur with directional strokes

    Now switch to short, curved scraping strokes that follow the way real fur falls: downward on the ears, sweeping along the chest, and flowing down the leg feathers. Scrape a little deeper for the brightest highlights and leave the base tone for mid values. Vary stroke length and spacing so clumps of fur separate naturally. Step back often, since fur texture reads best from a few feet away.

  5. Deepen shadows and sharpen the face

    Leave the deepest recesses, under the ears, the belly line, and between the legs, as the least peeled areas so they stay darker. Carve the eye, nose, and muzzle detail carefully with the tip of your detail knife, keeping small bridges of raised skin to define the eye. Refine the outline edge so the dog stands crisply against the untouched background. Resist over-scraping any single spot, since you cannot add flesh back.

  6. Light it and photograph

    Set a warm LED puck or a small lamp beside the pumpkin rather than inside it, since this design has no interior opening. Angle the light low and to the side so it rakes across the fur and throws the strokes into relief. Coat the carved surface with a thin layer of petroleum jelly to slow drying and keep the pale tone bright. Take your photos the same evening while the flesh is freshest.

Gather your supplies

Check things off as you get ready.

Work on a stable surface, keep your free hand out of the cutting path, and have an adult handle sharp tools.

Three levels of light

  • Leave intact

    The background around the dog and the deepest coat shadows stay as untouched dark skin.

  • Peel & shade

    The dog's whole body is skin-peeled to a mid orange glow that forms the base coat tone.

  • Cut through

    Nothing is cut through on this design; the brightest fur highlights are simply the most deeply scraped strokes.

Learn the carving basics

Before you start cutting

Do I need to hollow this pumpkin out?

No. This is a surface-etched design, so you leave the pumpkin whole and never cut through the wall. That keeps the fur detail strong and lets you display it by lamplight beside the pumpkin rather than a light inside.

How do I make the fur look silky instead of flat?

Work in short, curved strokes that follow the direction the coat grows, and vary how deep you scrape. Deeper strokes catch more light and become highlights, while the base peel stays as mid tone. Leaving small dark gaps between clumps sells the separation of the feathered ears and legs.

What if I carve too deep in one spot?

You cannot add flesh back, so work in light passes and check often. If a highlight gets too pale, blend it by softening the surrounding strokes so it reads as a natural bright patch. Keeping most of your depth changes gradual prevents any single mistake from standing out.

Your take belongs here, too.

Changed a detail? Made it simpler? Share a photo of your version and tell the community what worked.

Share your pumpkin

More pumpkins like this

You've reached the end · 8 pumpkins
The Patch Report

Fresh pumpkins, in your inbox.

The best new carvings, ideas worth stealing, and how-tos for carving season. Short, seasonal, and gone by November.

A short email during carving season. Unsubscribe anytime. See our privacy policy.