Halloween Pumpkin Carving Contest · Starts October 1st · $500 in prizes
← Back to ideas
@ai_concepts
Aug 16, 2026
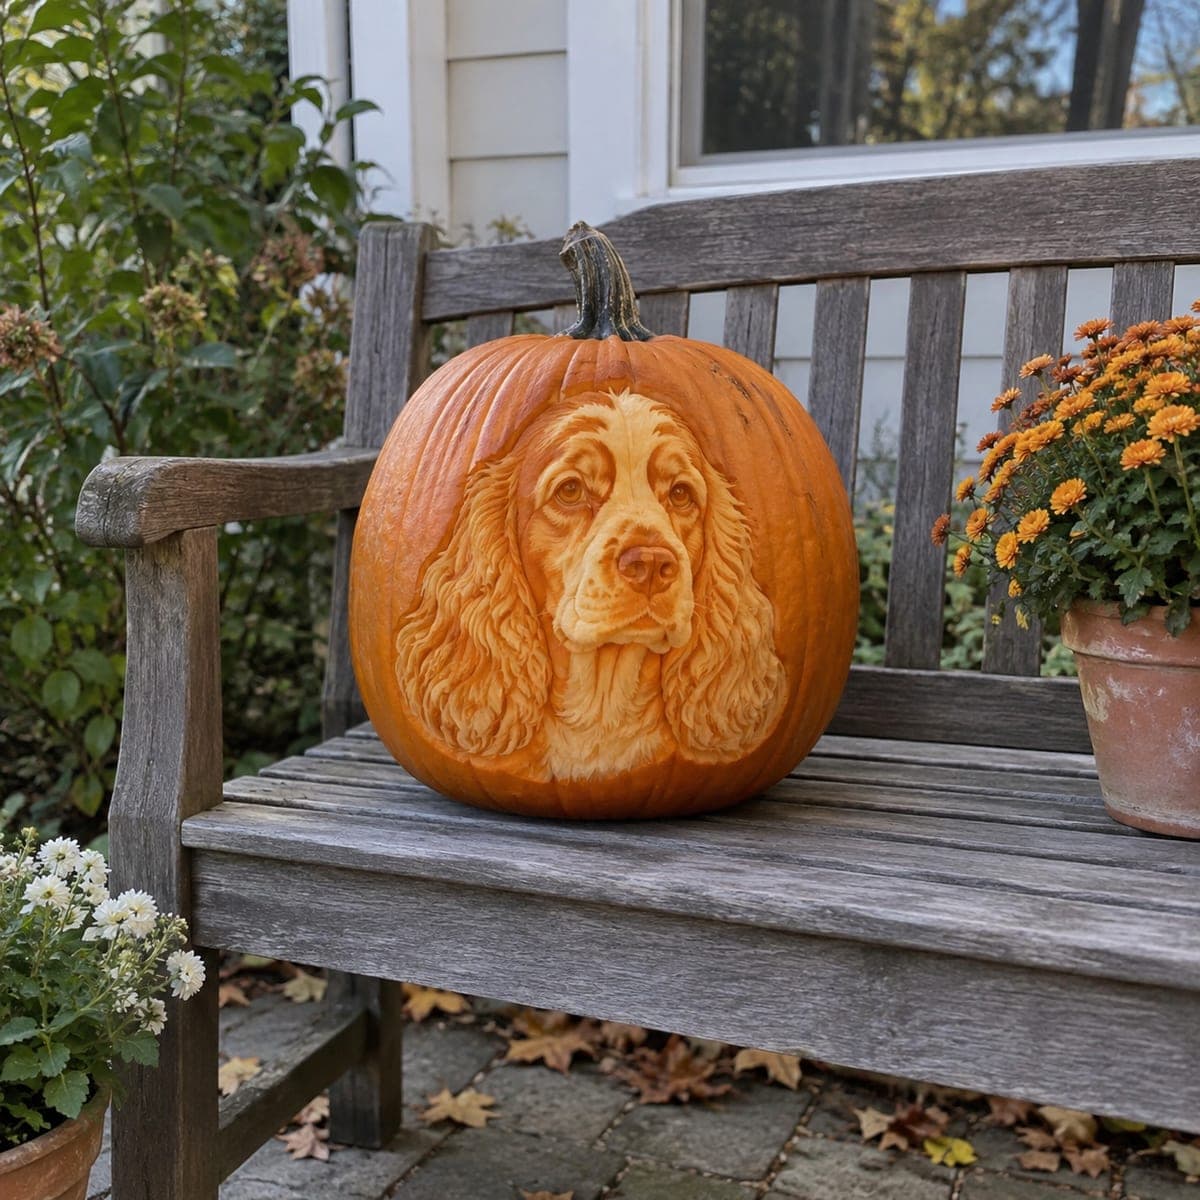
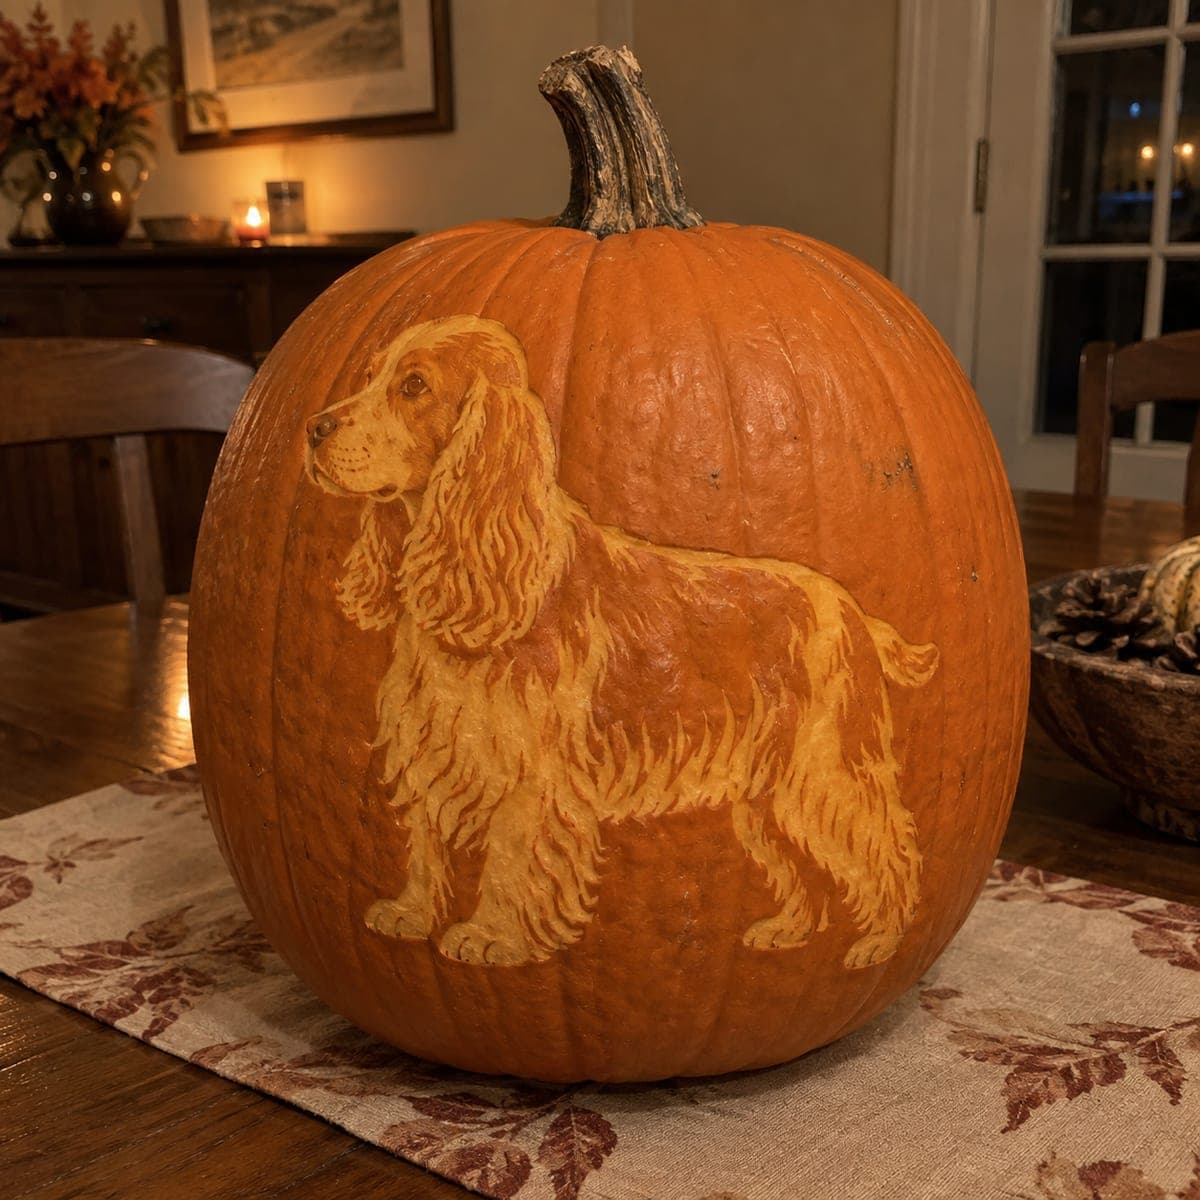
Cocker Spaniel Portrait Relief Carved PumpkinAI
0

Cocker Spaniel Portrait Relief Carved Pumpkin

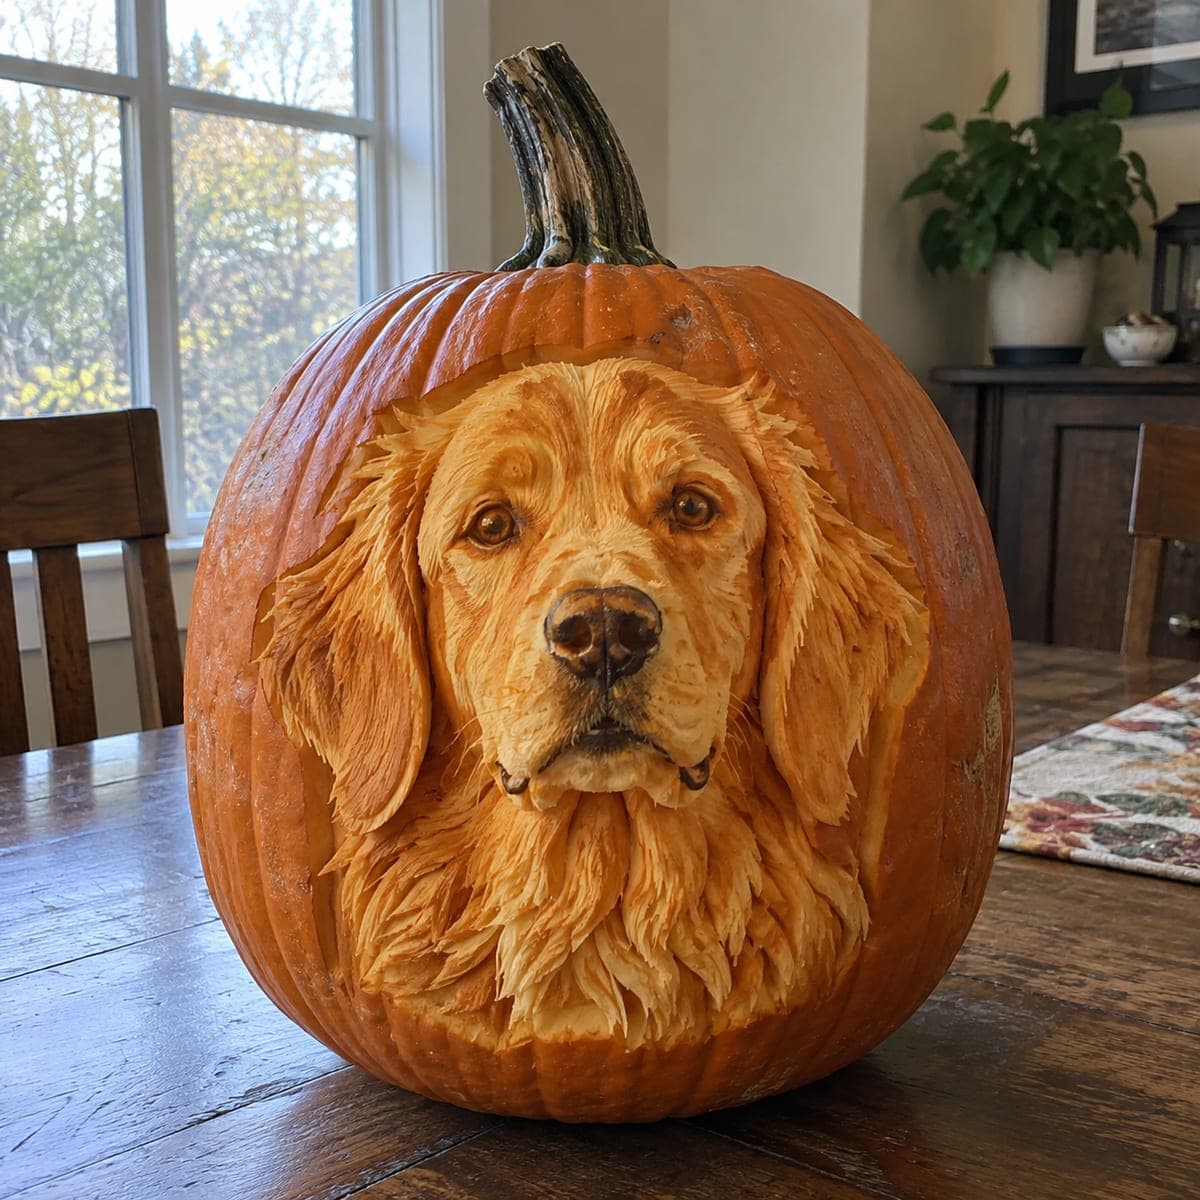
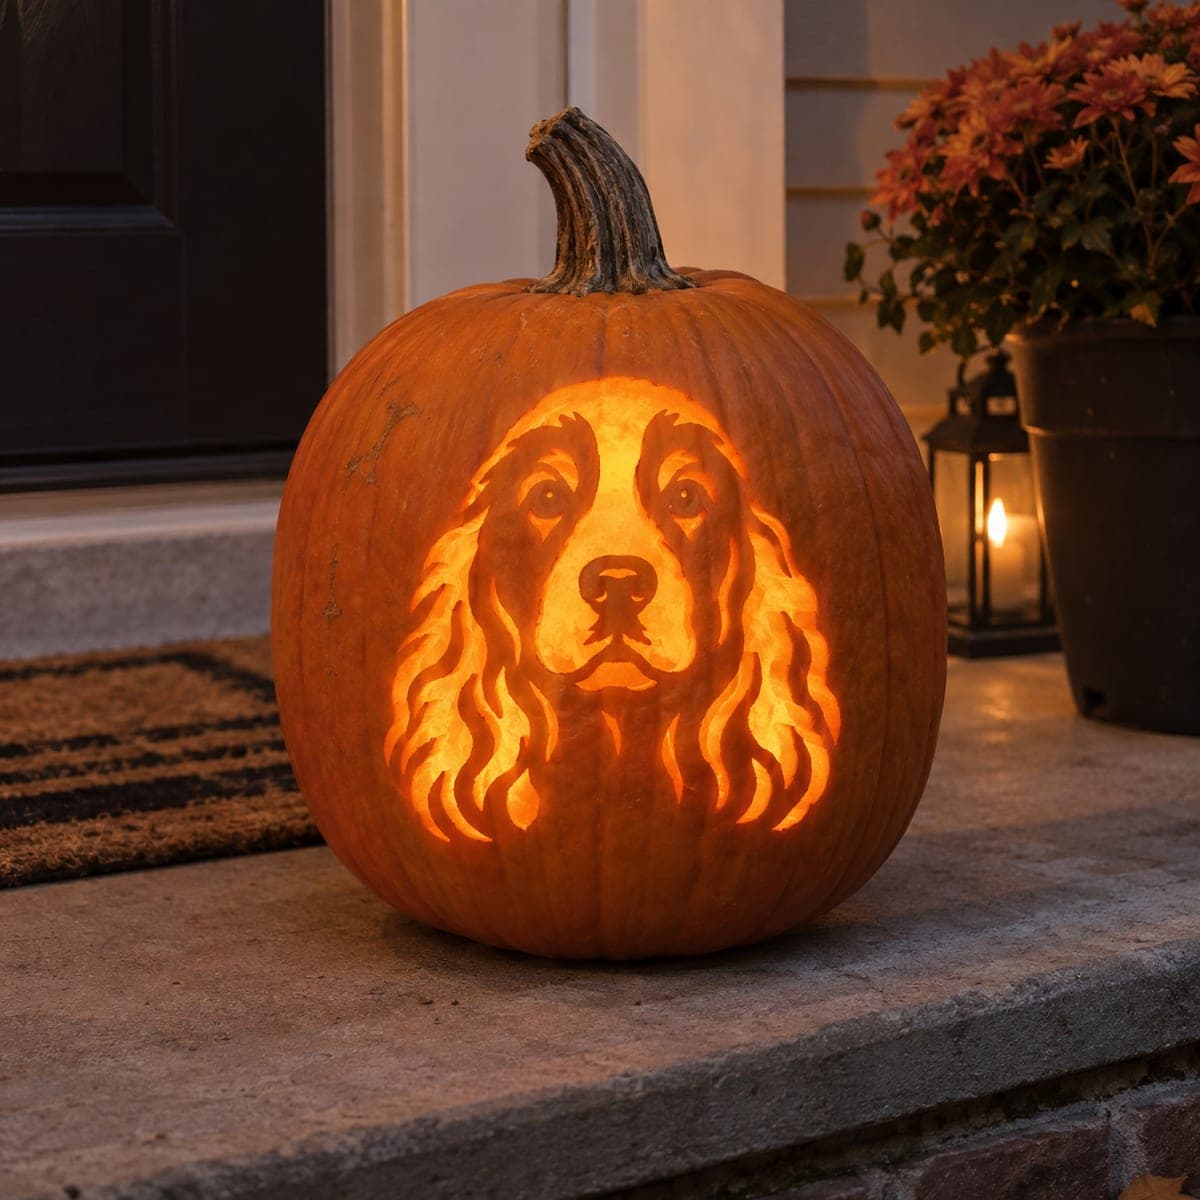
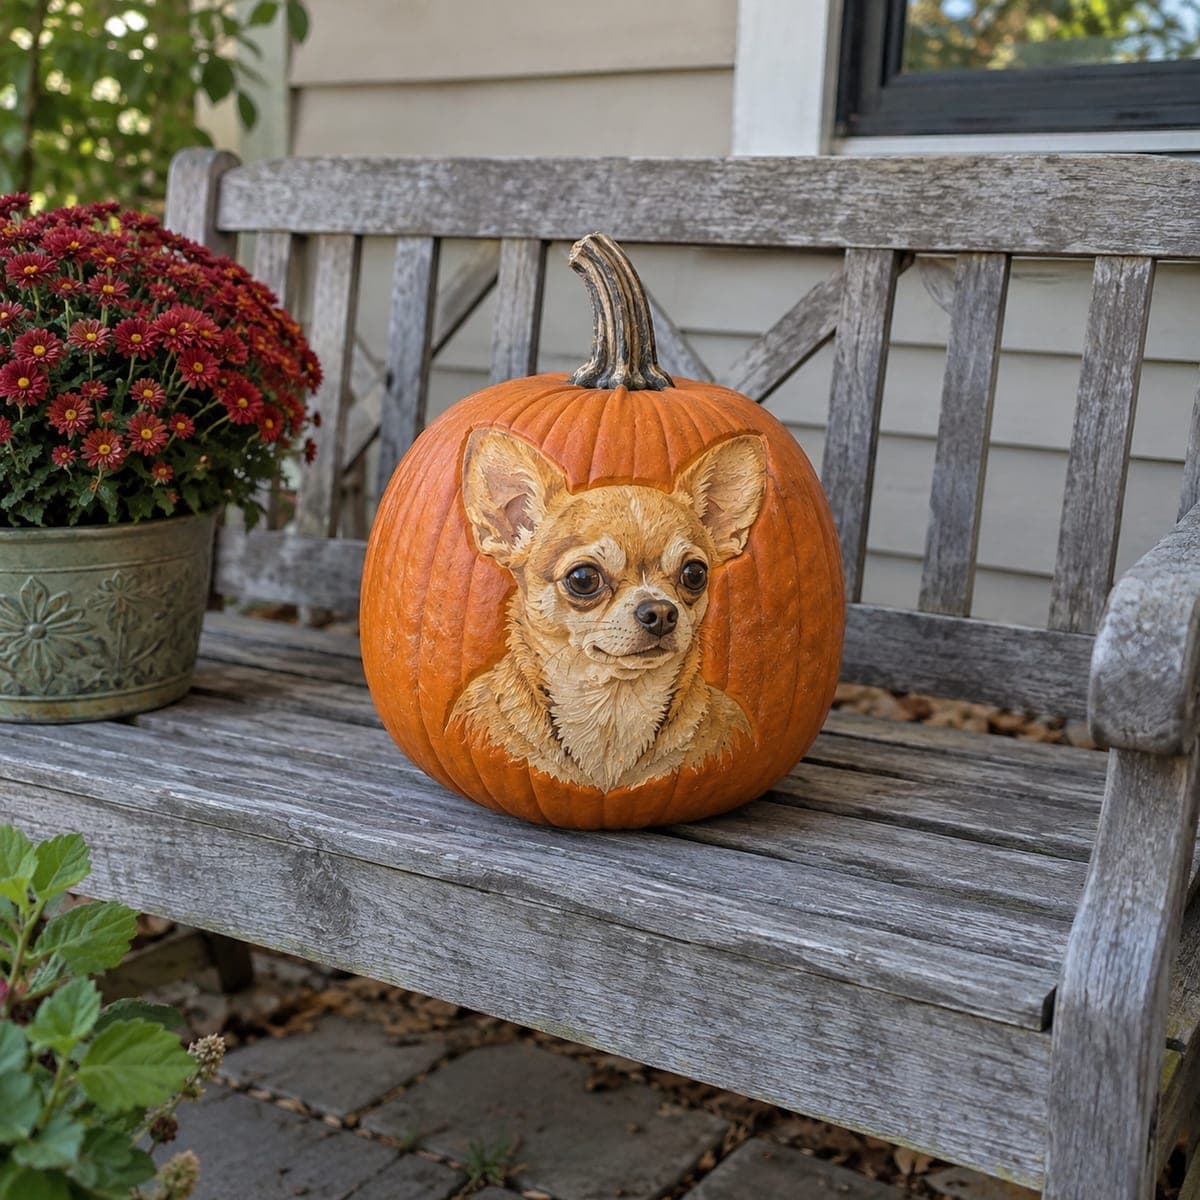
A soulful cocker spaniel emerges from this pumpkin in sculpted relief, with wavy feathered ears and a wet-nose shine cut at a dozen different depths. This is unlit daytime carving at its most ambitious, closer to woodcarving than classic jack-o-lantern work, and it displays beautifully on a bench or entry table. Rough in the big head shape with a loop tool, refine the ear waves with a small gouge, and wipe the surface with lemon juice to slow browning.

This is an AI-generated concept image: a realistic, carvable design idea rather than a photo of a finished carve. AI concepts are always labeled and sit out the leaderboard and the contest.

No ratings yet · Sign in to rate
Comments (0)

  • No comments yet — be the first.

Save without an account. Sign in to like or comment.

Our tips for carving a similar design

This design lives entirely in the surface of the pumpkin, no all-the-way-through cuts, so the whole face is built by shaving skin and flesh to different depths. The core trick is depth control: the bright muzzle and nose sit shallow and pale, while the shadowy eyes and ear roots go deeper. Plan it as a low-relief sculpture and treat the pumpkin wall like a block of wood you are slowly revealing a dog inside of.

Written by PumpkinCarvingIdeas.com, inspired by the image above. These are our suggestions, not instructions from the uploader. This approach to the AI concept has not been tested on a real pumpkin.

From pumpkin to porch

  1. Pick a thick-walled pumpkin and transfer the face

    Choose a smooth, tall pumpkin with a flat area on the front and the thickest wall you can find, since relief work eats into the flesh. Do not gut it or cut a lid, the wall needs to stay solid to hold the sculpture. Tape a printed cocker spaniel reference or stencil to the front and poke or trace the main outlines: head, both feathered ears, eyes, muzzle, and nose. Step back and check the face is centered before you commit.

  2. Rough in the big head shape

    With a loop tool, shave away the skin and a shallow layer of flesh around the outside of the head to make the dog stand slightly proud of the background. Work in from the edges and keep the surface even, checking depth often against your reference. Leave the muzzle and nose area as the highest points since they catch the most light. Go slow, you can always remove more but you cannot put flesh back.

  3. Establish the depth map for the features

    Before detailing, decide your levels: the muzzle and top of the nose stay shallowest and palest, the ears drop a little deeper, and the eye sockets and the crease under the ears go deepest for shadow. Use the loop tool to carve those broad depth zones first. This is the single most important stage for getting a lifelike look, so compare against the photo repeatedly. Rounding the cheeks and forehead gently now saves fussing later.

  4. Refine the ear waves and fur

    Switch to a small gouge or detail loop and carve the long feathered ears as a series of soft, overlapping wavy ridges. Keep each wave attached to its neighbor rather than cutting free flaps, which keeps the ears strong. Add short directional strokes on the cheeks and chin to suggest fur flowing downward. Vary the depth slightly wave to wave so light rakes across them and reads as texture.

  5. Sculpt the eyes and wet nose

    Carve the eyes as rounded recesses and leave a tiny raised bump of skin near the top of each for a catchlight, which sells the soulful expression. Shape the nose as a smooth rounded mound and skim just the very tip smooth so it looks glossy. Deepen the nostrils and the seam between the nose and muzzle for contrast. Refine the mouth line and the fold where the muzzle meets the cheeks with light gouge passes.

  6. Preserve and display

    Wipe the whole carved surface with lemon juice or a water and lemon mix to slow browning, then coat it with a thin layer of petroleum jelly to seal in moisture. Since this is a daytime relief piece, plan to display it in shade or indoors where side light shows off the depth. A bench, porch step, or entry table works beautifully. Refresh with a damp cloth daily and expect a few good days of display before it softens.

Gather your supplies

Check things off as you get ready.

Work on a stable surface, keep your free hand out of the cutting path, and have an adult handle sharp tools.

Three levels of light

  • Leave intact

    The untouched orange background around the head stays dark and frames the portrait.

  • Peel & shade

    The ears, cheeks, and forehead get shaved to a mid depth so the fur reads as warm, dim tone.

  • Cut through

    There are no full cutouts here; the palest muzzle and nose are simply the shallowest, brightest shaved areas.

Learn the carving basics

Before you start cutting

Do I hollow this pumpkin and add a light?

No, this is a relief sculpture meant to be seen in daylight, so the wall stays solid. Gutting it or cutting through would weaken the flesh you need for depth. If you want a glow, carve a small separate window on the back or side, well away from the face, and set an LED inside.

How thick should the pumpkin wall be?

Aim for at least an inch and a half of solid flesh on the carving face, thicker is better. Relief work removes a lot of material, and shallow walls will leave you carving into the hollow before the face is finished. Press around and pick the meatiest pumpkin you can find.

How do I keep the ears from looking flat?

Give each feathered wave a slightly different depth and let the ridges overlap like shingles. Carve the roots near the head deepest so the ears appear to lift away from the face. Raking light across the surface, rather than head-on light, is what makes those waves cast the shadows that create the fur effect.

Your take belongs here, too.

Changed a detail? Made it simpler? Share a photo of your version and tell the community what worked.

Share your pumpkin

More pumpkins like this

You've reached the end · 8 pumpkins
The Patch Report

Fresh pumpkins, in your inbox.

The best new carvings, ideas worth stealing, and how-tos for carving season. Short, seasonal, and gone by November.

A short email during carving season. Unsubscribe anytime. See our privacy policy.