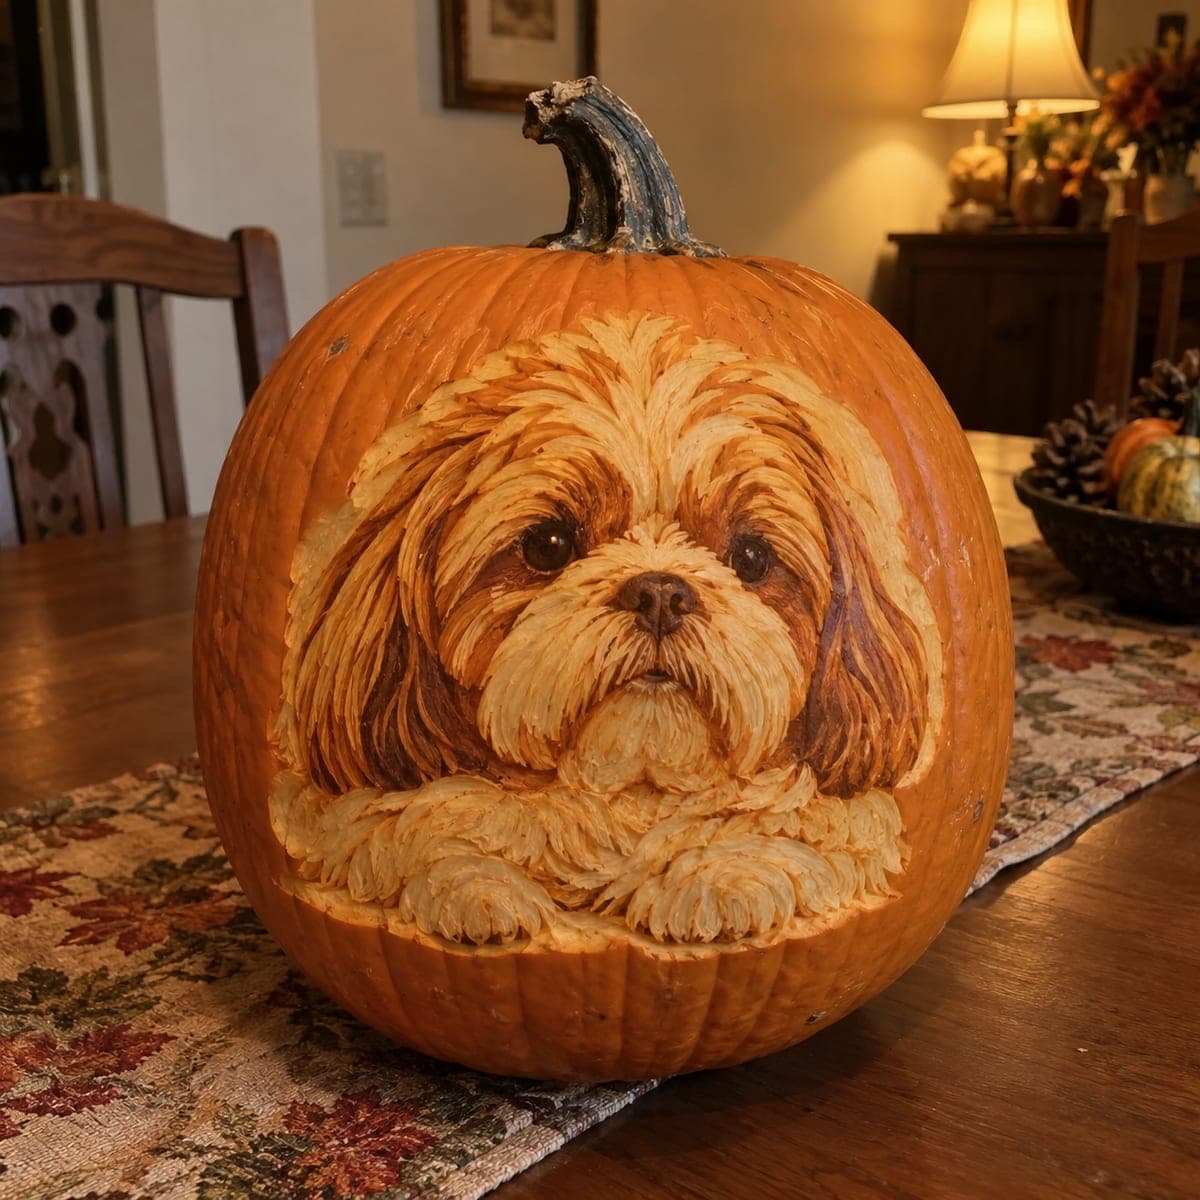
Halloween Pumpkin Carving Contest · Starts October 1st · $500 in prizes
← Back to ideas
@ai_concepts
Jul 30, 2026
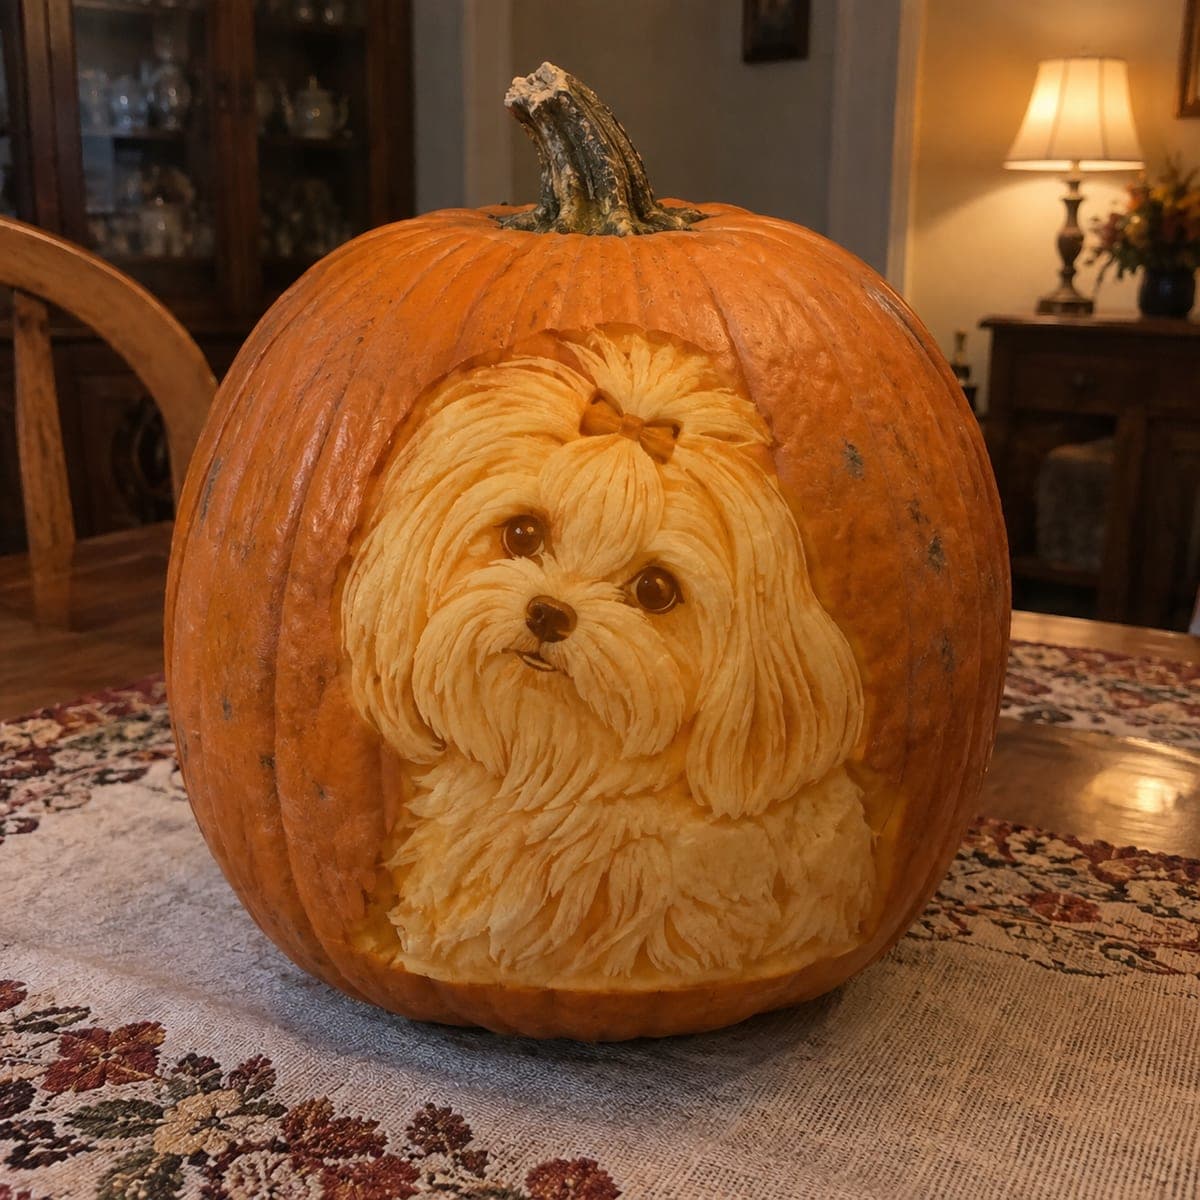
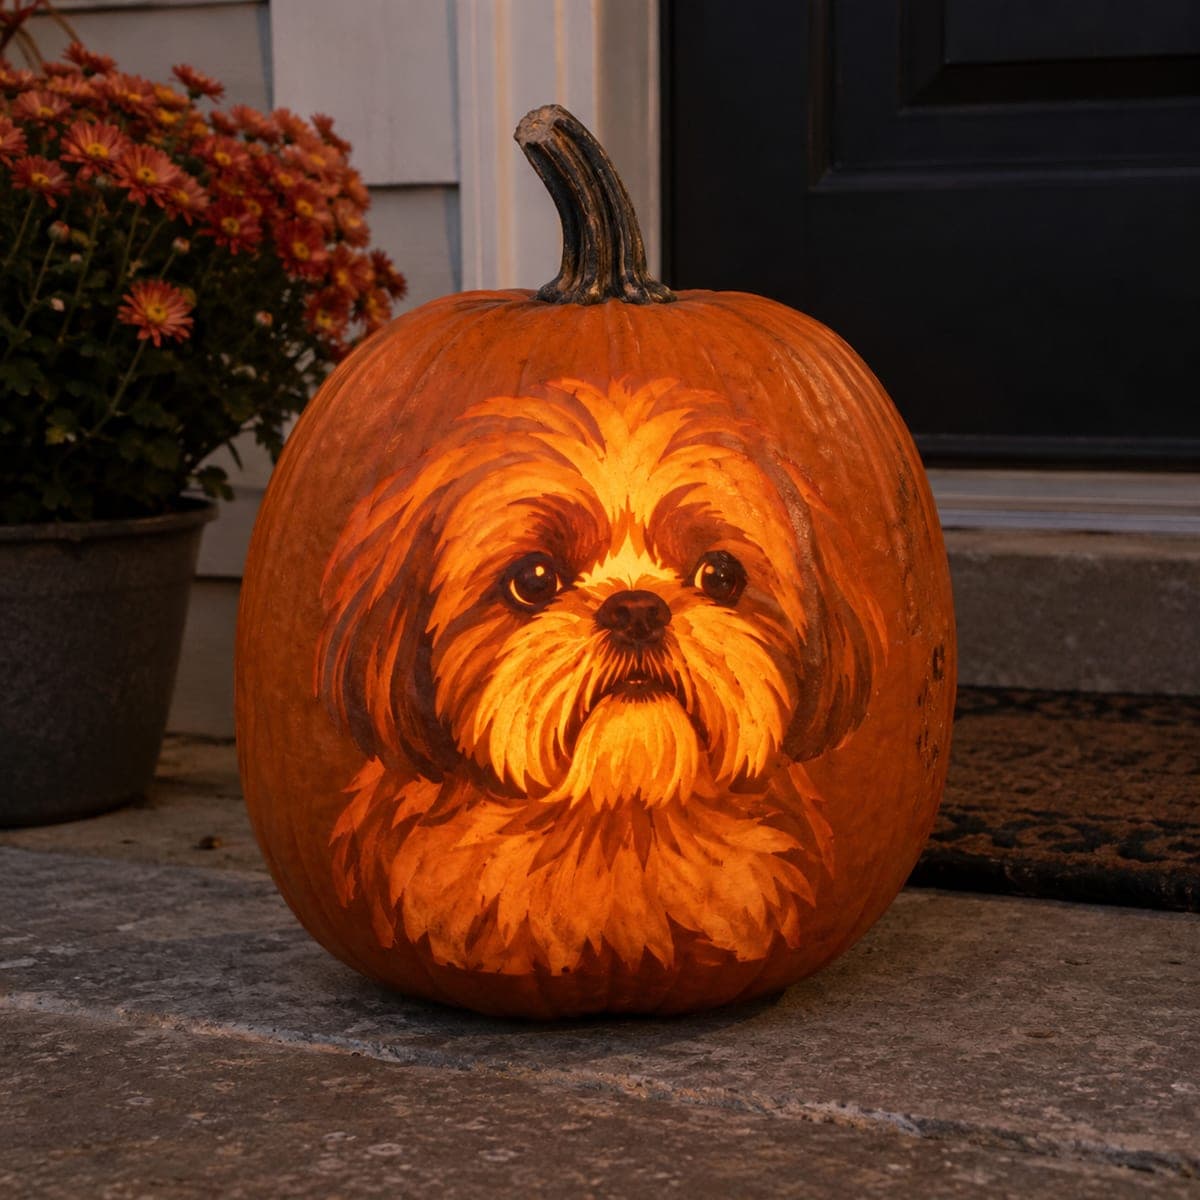
Shih Tzu Puppy Sculpted Pumpkin Relief PortraitAI
0

Shih Tzu Puppy Sculpted Pumpkin Relief Portrait

This deep-relief pumpkin sculpture renders a long-haired Shih Tzu puppy with a topknot bow, every strand of silky fur carved into the flesh in flowing three-dimensional ribbons. Unlike flat etching, the face is fully modeled, with the muzzle and cheeks pushed forward from the background panel. Use clay loop tools to rough out the head planes before detailing fur, and mist the finished carving with water and lemon juice to slow browning.

This is an AI-generated concept image: a realistic, carvable design idea rather than a photo of a finished carve. AI concepts are always labeled and sit out the leaderboard and the contest.

No ratings yet · Sign in to rate
Comments (0)

  • No comments yet — be the first.

Save without an account. Sign in to like or comment.

Our tips for carving a similar design

The whole trick here is depth without holes: the puppy is a shaded relief where the face is pushed forward and the background is carved deeper to fall into shadow. You build up glow by peeling the skin at different thicknesses rather than cutting all the way through. Rough out the head planes first with loop tools, then carve flowing fur strands last so the fine texture stays crisp.

Written by PumpkinCarvingIdeas.com, inspired by the image above. These are our suggestions, not instructions from the uploader. This approach to the AI concept has not been tested on a real pumpkin.

From pumpkin to porch

  1. Prep and transfer the portrait

    Pick a large, tall pumpkin with a smooth flat front panel and scoop the inside wall down to about one inch on the carving side. Print or sketch the Shih Tzu at final size and tape it to the front. Poke the main outlines with a pin tool: the head shape, the topknot bow, the eyes, the muzzle, and where the body fur ends. Remove the paper and connect the dots with a light scored line so you have a road map before removing any flesh.

  2. Rough out the relief planes

    Use a clay loop tool to shave the background around the dog down about a quarter inch so the head visibly stands proud. Keep the muzzle and cheeks as the highest points and slope the fur back from there. Work in broad passes and check your shadows under a light as you go. Do not chase detail yet, just establish which areas are near and which are far.

  3. Model the face and eyes

    Round the muzzle and cheeks so they curve forward, then carve shallow sockets so the eyes sit slightly recessed and catch light. For the glossy eyes, peel the skin thin in small domes and leave a tiny uncarved dot of dark skin as a highlight. Shape the nose as a smooth raised bump and define the mouth with a fine V line. Take your time here since the face carries the whole portrait.

  4. Carve the flowing fur

    Switch to a fine detail loop or a small U gouge and pull long, curved strokes outward from the center of the face, following the direction the fur falls. Vary the depth so strands overlap and cast little shadows on each other. Keep the strokes continuous and slightly wavy for that silky look, and let the fur near the edges fade shallow into the background. Leave narrow ridges of flesh between strokes so nothing gets fragile.

  5. Detail the topknot bow

    Carve the bow as a small raised shape above the eyes with two loops and a center knot. Peel its surface a little smoother and shallower than the surrounding fur so it reads as a different material. Add a couple of fine score lines to suggest ribbon folds. Keep the bow attached fully to the flesh underneath rather than cutting it free.

  6. Preserve, light, and photograph

    Mist the finished carving with a mix of water and lemon juice, then wipe gently to slow browning, and repeat if it sits out. Set a warm white LED puck inside so the peeled areas glow and the deep background stays shadowed. Never use a candle, since the thin peeled fur can scorch. Shoot your photo in a dim room at dusk so the relief depth shows.

Gather your supplies

Check things off as you get ready.

Work on a stable surface, keep your free hand out of the cutting path, and have an adult handle sharp tools.

Three levels of light

  • Leave intact

    The outer background field and the tiny dot highlights in the eyes stay as untouched dark skin.

  • Peel & shade

    The fur, muzzle, cheeks, and bow are skin-peeled at varying depths for a soft mid glow that shapes the strands.

  • Cut through

    Keep full cutouts minimal here; if you want a bright accent, cut a thin sliver only at the deepest background edge so the relief stays intact.

Learn the carving basics

Before you start cutting

This is a concept image, so can a real pumpkin actually hold this much fur detail?

Yes, if you treat it as a shaded relief rather than see-through cutouts. The glow comes from peeling the skin to different thicknesses, and leaving ridges of flesh between strands keeps everything strong. Avoid cutting fine fur all the way through, which would make it crumble.

How do I keep the eyes looking glossy and alive?

Carve shallow domes and peel them thin so light passes through evenly. Leave a small round patch of dark uncarved skin on each eye as a catchlight. That contrast between the glowing dome and the dark dot is what makes the eyes read as wet and shiny.

My relief looks flat under the light. What went wrong?

You probably carved the whole area to a similar depth. Push the muzzle and cheeks forward and cut the background noticeably deeper so it drops into shadow. Check often with your LED inside, since the depth difference is what creates the three-dimensional look.

Your take belongs here, too.

Changed a detail? Made it simpler? Share a photo of your version and tell the community what worked.

Share your pumpkin

More pumpkins like this

You've reached the end · 8 pumpkins
The Patch Report

Fresh pumpkins, in your inbox.

The best new carvings, ideas worth stealing, and how-tos for carving season. Short, seasonal, and gone by November.

A short email during carving season. Unsubscribe anytime. See our privacy policy.