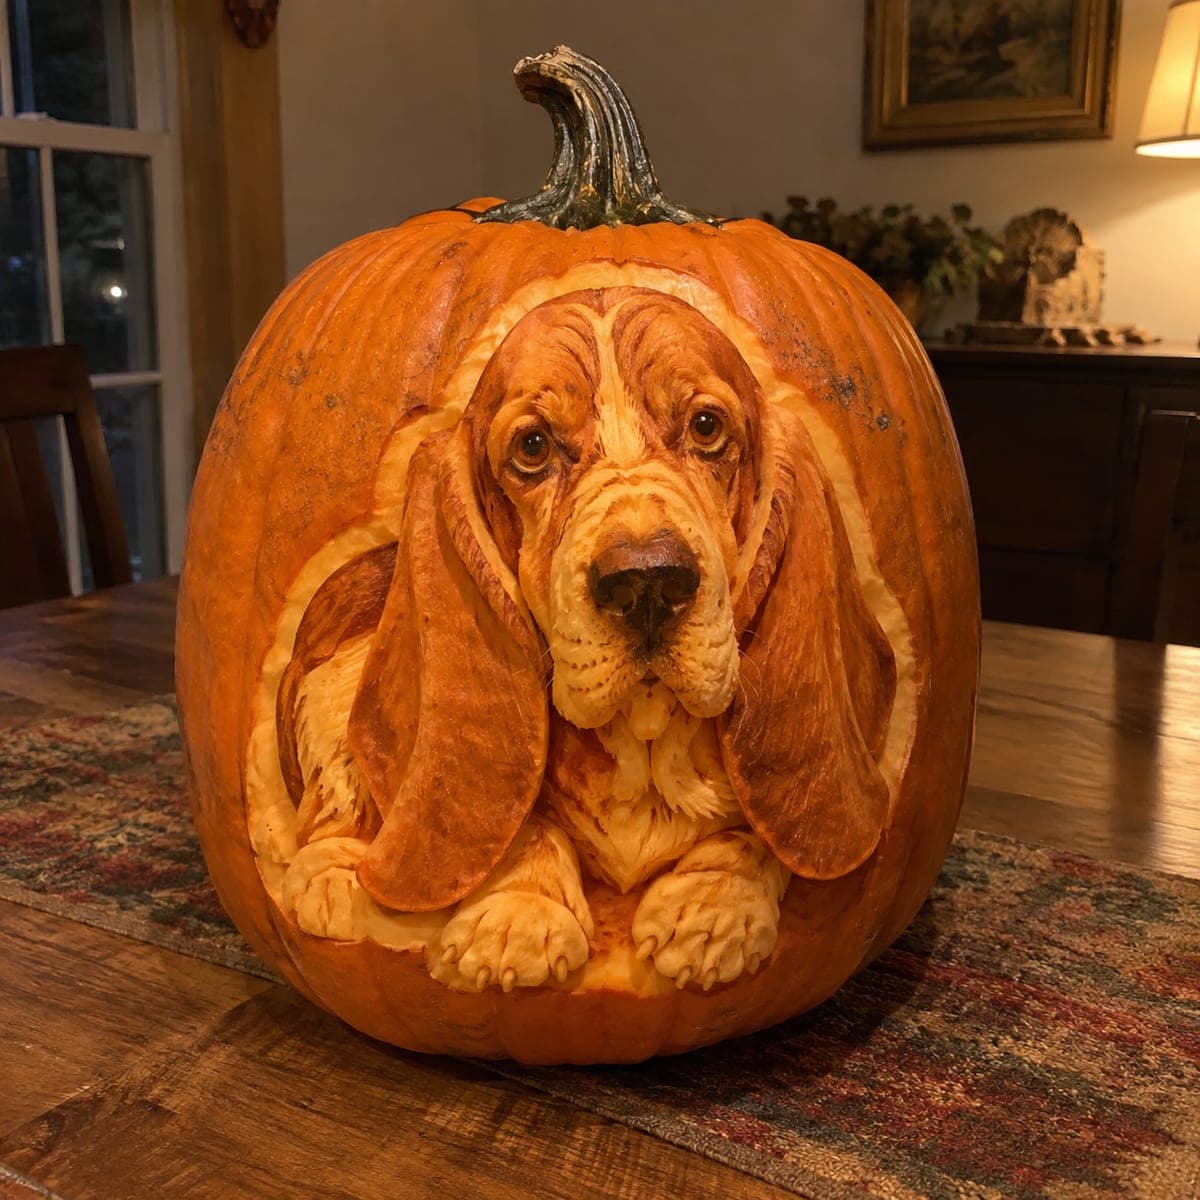
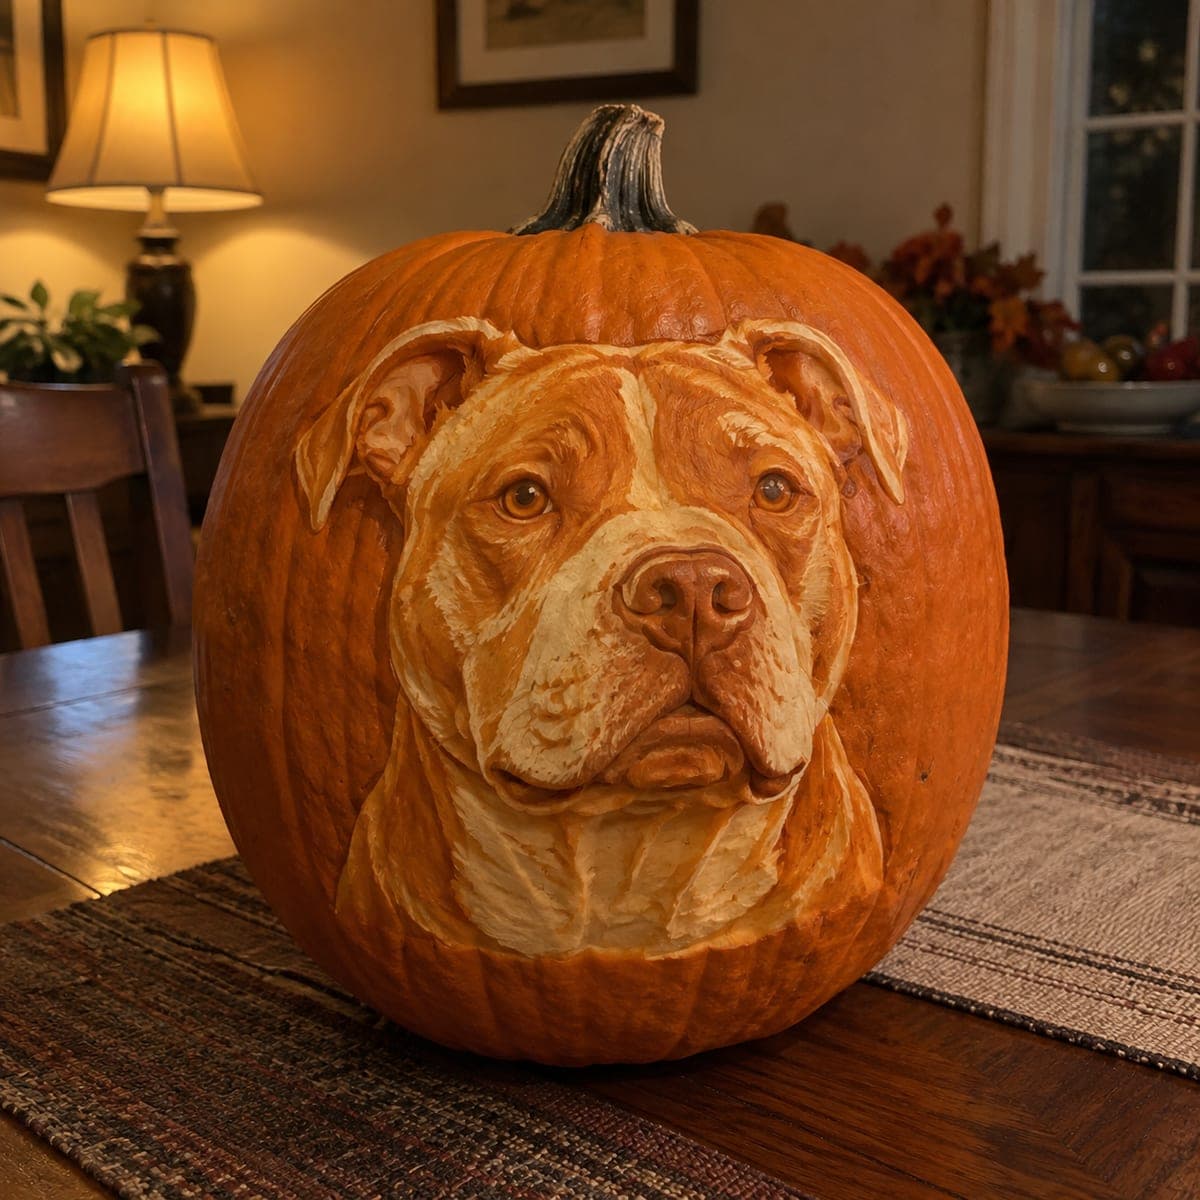
A soulful basset hound emerges from the pumpkin in full sculptural relief, with drooping ears, wrinkled brow, and folded front paws carved in lifelike depth. Work like this calls for clay-sculpting loop tools and ribbon carvers rather than a poke-and-saw kit, building the face in layers from a reference photo. Rough in the big shapes first, then refine the eyes and nose last since they sell the likeness. Mist the finished carving with water to keep the exposed flesh from drying out.
This is an AI-generated concept image: a realistic, carvable design idea rather than a photo of a finished carve. AI concepts are always labeled and sit out the leaderboard and the contest.
The core trick here is 3D relief sculpting, where you carve down into the pumpkin wall rather than cutting all the way through, leaving the dog raised in real depth. You would rough in the big masses first, the ears, muzzle, and paws, then slowly refine toward the eyes and nose that sell the likeness. Nearly all of the effect comes from skin peeling and depth changes, not light punching through.
Written by PumpkinCarvingIdeas.com, inspired by the image above. These are our suggestions, not instructions from the uploader. This approach to the AI concept has not been tested on a real pumpkin.
From pumpkin to porch
1
Pick a firm pumpkin and plan the layout
Choose a tall, fresh pumpkin with a thick wall and a smooth front panel wide enough for the dog's face and drooping ears. Wipe it clean and dry it, then transfer a basset hound reference onto the surface with a washable marker or a light dot pattern. Sketch the outer boundary of the ears, the brow, the muzzle, and the folded front paws first. Keep the eyes and nose marked but do not carve them yet.
2
Open the back and thin the front wall
An adult should cut a hatch in the back or bottom, never the top, so you can reach the LED later and so the stem stays intact. Scoop the inside clean and scrape the front wall down to a workable, even thickness. For deep relief you want enough wall to carve into without breaking through, so aim for a consistent inner surface. Cutting big openings, if any, comes last.
3
Rough in the large shapes
Using a clay loop tool or ribbon carver, remove skin and shallow flesh to establish the highest points, the brow and muzzle, versus the recessed background around the head. Work the long ears as broad, gently curved planes that fall down the sides. Do not chase detail yet. Just get the big forms and their depth relationships right so the face reads from a few feet away.
4
Build the layers and folds
Now carve the wrinkled brow, the loose cheek folds, and the layered fur of the chest and paws by shaving progressively deeper in the shadow areas. Leave raised ridges where fur or skin folds catch light. Add the toes on the folded front paws as rounded bumps with shallow grooves between them. Step back often and compare against your reference.
5
Refine the eyes and nose last
These features carry the whole likeness, so save them for when your hand is warmed up. Carve the eyes as recessed rounded forms with a raised lower lid and a thin rim, keeping them symmetric. Shape the nose as the darkest, deepest sculpted mass with nostrils suggested by two small hollows. Soften every transition so nothing looks cut with a straight blade.
6
Light it, mist it, and photograph
Set a warm LED inside so it grazes across the relief and deepens the shadows in the folds and ears. Mist the exposed flesh with water and refrigerate between viewings to slow drying and browning. Shoot your photo in a dim room fairly soon after finishing, since sculpted flesh will not hold detail for long. A slight side light will emphasize the depth you worked so hard to build.
Gather your supplies
Check things off as you get ready.
Work on a stable surface, keep your free hand out of the cutting path, and have an adult handle sharp tools.
Three levels of light
Leave intact
The uncarved background skin around the dog and the very tip of the nose stay dark and untouched.
Peel & shade
Nearly the entire dog, the ears, brow, muzzle, chest, and paws, gets skin peeled and sculpted to glow warm orange at varying depths.
Cut through
Keep true cutouts minimal here, perhaps a few thin slots at the deepest shadow lines, since this is a relief sculpture and not a punch-through design.
Do I need to cut all the way through the pumpkin for this look?
No, and that is the whole point of relief carving. You remove skin and shallow flesh to shape the dog, but the front wall stays intact so the light glows through the thinned areas. Reserve any true cutouts for a few deep shadow accents, added last.
How do I keep the long droopy ears from looking flat?
Carve them as gently curved planes that step back in depth toward the outer edges, not as flat cutouts. Add a raised ridge along the fold of each ear and shave the surrounding flesh a bit deeper so light catches the ridge. That contrast in depth is what makes the ears read as soft and hanging.
This is an expert design. What is the biggest mistake to avoid?
Chasing the eyes and nose too early. If you detail the face before the big masses are set, you will carve away the depth you need and lose the likeness. Rough in all the large forms first, keep your wall thickness even, and save the eyes and nose for last.
Your take belongs here, too.
Changed a detail? Made it simpler? Share a photo of your version and tell the community what worked.
 AI
AI


Comments (0)