Halloween Pumpkin Carving Contest · Starts October 1st · $500 in prizes
← Back to ideas
@ai_concepts
Aug 30, 2026

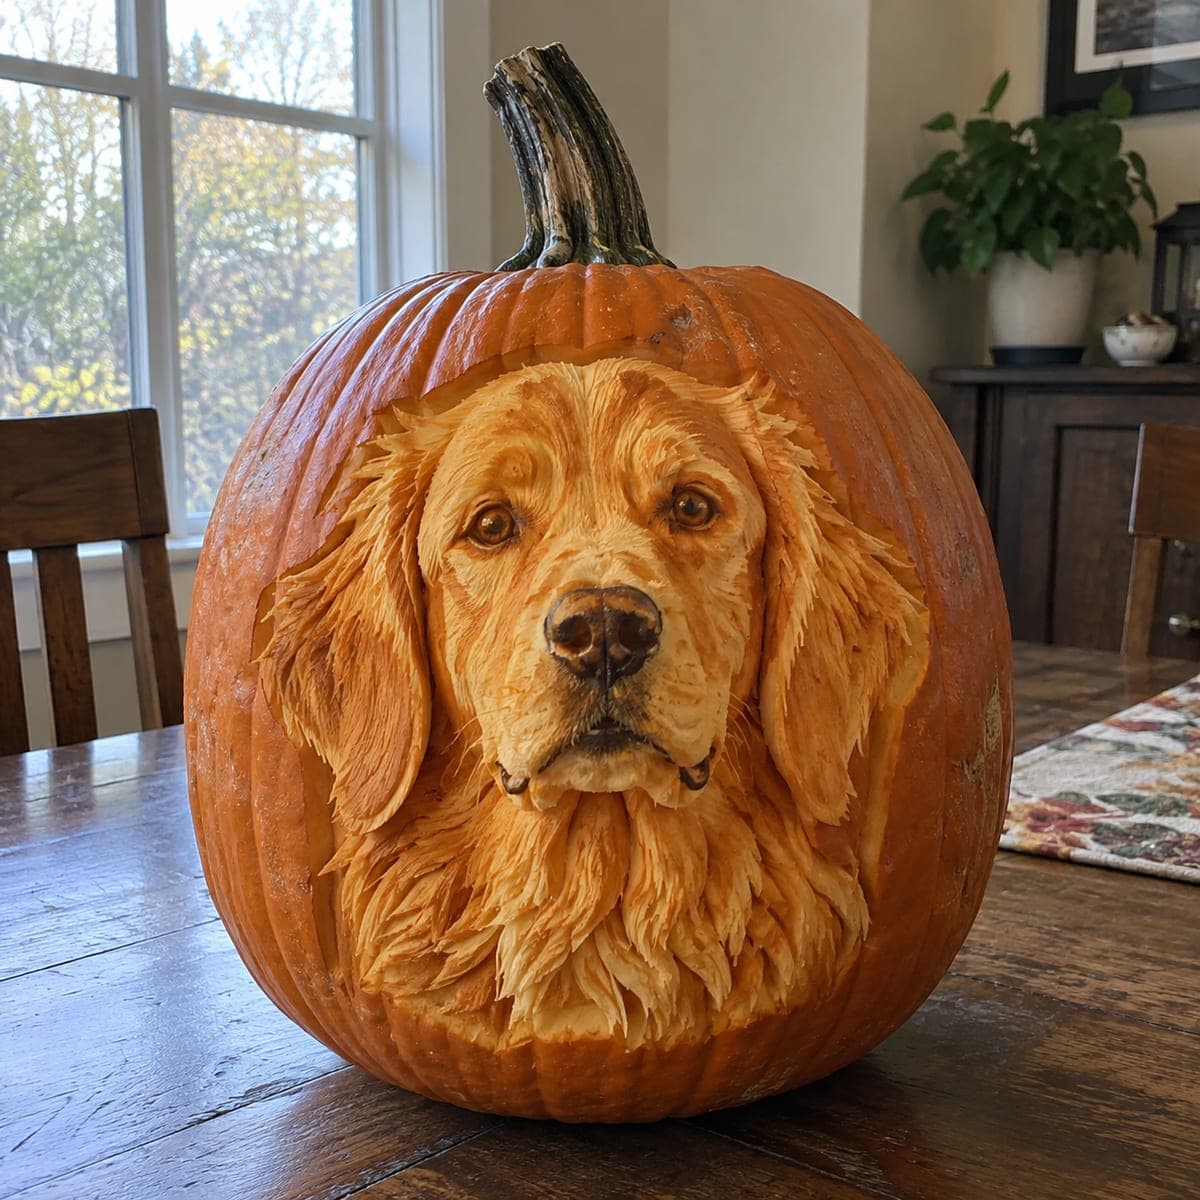
Shaggy Golden Retriever Relief Carved PumpkinAI
0

Shaggy Golden Retriever Relief Carved Pumpkin

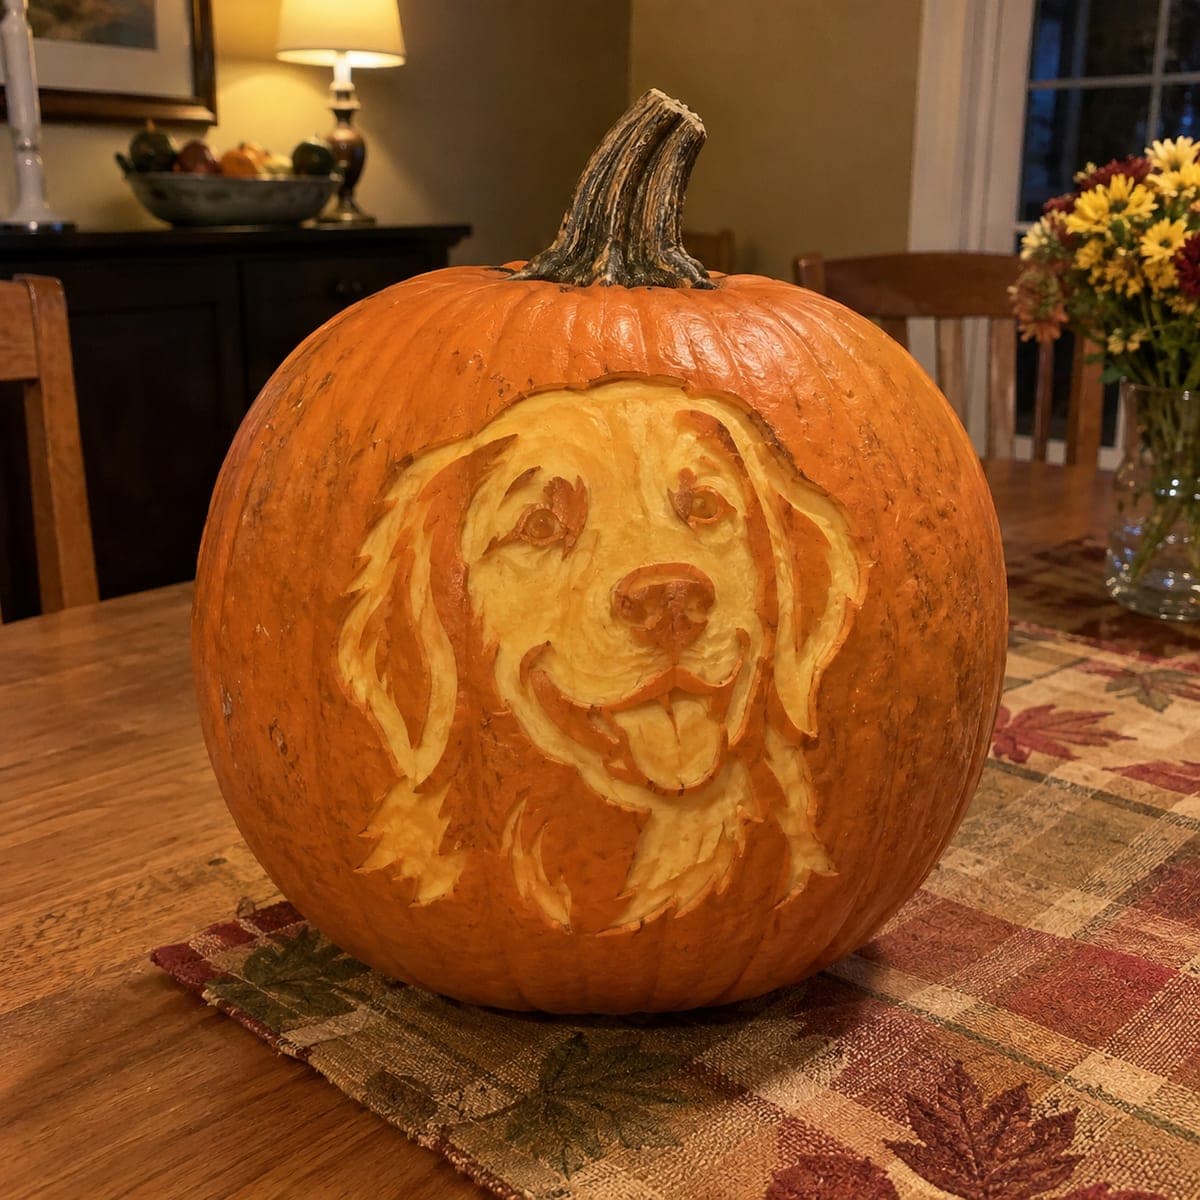
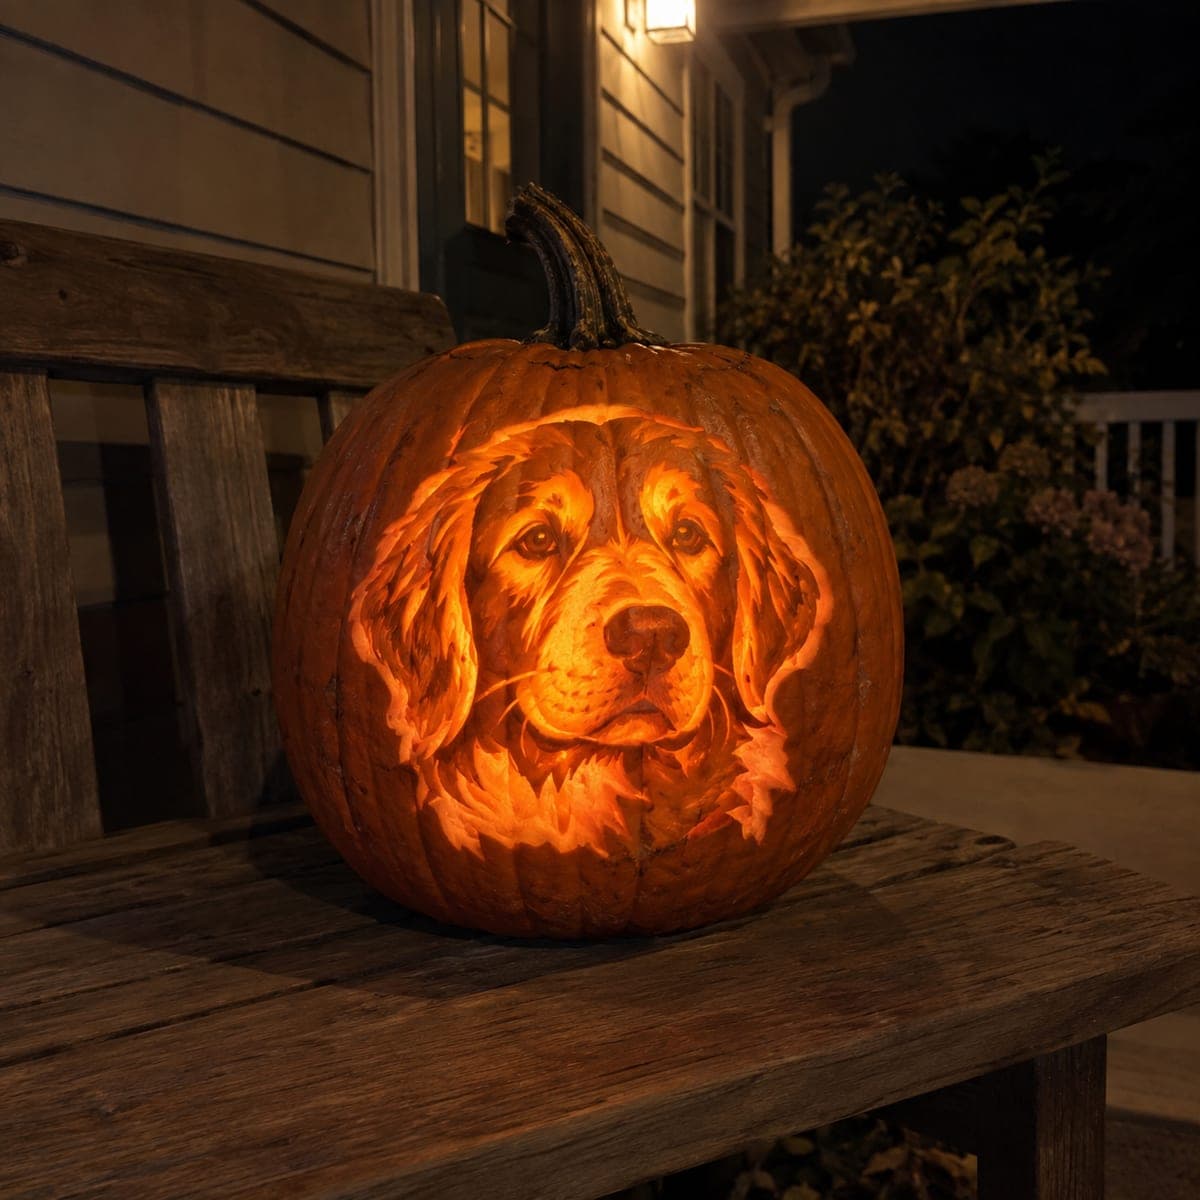
A golden retriever's soulful face is sculpted into this pumpkin in flowing relief, with long feathered fur carved stroke by stroke around gentle brown eyes. Every wave of the coat is a gouge cut, so the portrait reads like carved wood even in plain daylight. Establish the eyes and nose depth first, then let the fur strokes radiate outward from the face. Rub the finished surface with petroleum jelly to slow drying and keep the detail crisp for days.

This is an AI-generated concept image: a realistic, carvable design idea rather than a photo of a finished carve. AI concepts are always labeled and sit out the leaderboard and the contest.

No ratings yet · Sign in to rate
Comments (0)

  • No comments yet — be the first.

Save without an account. Sign in to like or comment.

Our tips for carving a similar design

This design lives entirely in the skin, so no light shines through it. The core trick is relief carving with a loop gouge, shaving away different depths of flesh so the fur reads as carved wood in plain daylight. Set the eyes and nose first as your anchors, then radiate feathery fur strokes outward from the face.

Written by PumpkinCarvingIdeas.com, inspired by the image above. These are our suggestions, not instructions from the uploader. This approach to the AI concept has not been tested on a real pumpkin.

From pumpkin to porch

  1. Transfer the portrait and plan your depths

    Since this is an AI concept with no real pumpkin behind it, start by choosing a large pumpkin with a smooth, pale front and a flat area for the face. Tape a golden retriever stencil in place and poke through the main outlines: the eyes, nose, muzzle, and the outer edge of the fur. Before cutting, mentally map three depth zones so you know where the coat sits highest and where it recedes. Work in good light and keep your reference image nearby.

  2. Establish the eyes and nose first

    Use a small detail gouge to carve the eyes and nose to their deepest points early, since these anchor the whole face. Leave a thin rim of skin around each eye so the brown iris stays a soft glowing tone rather than a hole. Round the nose gently and shave a shallow highlight across its top so it catches light. Getting these features right first keeps the fur strokes from crowding them later.

  3. Shape the muzzle and cheeks

    With a medium loop gouge, scoop the muzzle and cheek planes down a level so the snout sits forward of the surrounding fur. Keep your cuts smooth and shallow here, blending gradually rather than leaving hard edges. Feather the transition where the short muzzle hair meets the longer cheek fur. Step back often to check that the face still reads as three dimensional.

  4. Carve the fur stroke by stroke

    Switch to a narrow V or U gouge and pull long, curved strokes that radiate outward from the face, following the direction the coat naturally falls. Vary the pressure so some strokes are deep and dark and others barely graze the skin. Overlap them slightly to build that layered, shaggy look, and let the longest feathers hang down toward the chest. Take your time, since this texture is where the portrait comes alive.

  5. Refine contrast and edges

    Go back over the darkest recesses, near the eyes, under the ears, and between fur clumps, and deepen them to boost contrast. Where you want brighter fur, scrape the skin thinner so more pale flesh shows. Soften any stray hard lines with a light touch of the gouge. Keep the outer fur edge irregular and wispy rather than a clean border.

  6. Seal it and photograph

    Rub the finished surface with a thin coat of petroleum jelly to slow drying and keep every stroke crisp for days. Because nothing is cut all the way through, you can place a small LED puck nearby or use a raking side light to make the relief pop. Skip candles, since an LED is safer and shows the texture better. Snap your photo at a low angle so the fur casts tiny shadows.

Gather your supplies

Check things off as you get ready.

Work on a stable surface, keep your free hand out of the cutting path, and have an adult handle sharp tools.

Three levels of light

  • Leave intact

    The undisturbed orange skin around the head and the pumpkin body stays darkest, framing the portrait.

  • Peel & shade

    The muzzle, cheeks, and shaded fur recesses get shaved thin for a soft dim glow that gives the face depth.

  • Cut through

    Nothing is cut fully through on this relief, so keep the brightest look to your thinnest scraped highlights on the nose and pale fur.

Learn the carving basics

Before you start cutting

Do I cut any holes all the way through?

No, this is a relief carving, so every cut stays in the skin and outer flesh. The image comes from depth and shadow, not light passing through. That means you light it from the front or side rather than the inside.

How do I keep the eyes looking soft instead of hollow?

Carve the eyes deep but leave a thin translucent layer of flesh rather than punching through. Round the lower lid slightly and leave a tiny raised catchlight of untouched skin. That thin rim glows warm and gives the gentle, soulful look.

What is the best way to get realistic fur direction?

Study your reference and notice that fur flows outward and downward from the center of the face. Pull each gouge stroke in that direction, curving with the cheeks and jaw. Vary the length and depth so it never looks like straight combed lines.

Your take belongs here, too.

Changed a detail? Made it simpler? Share a photo of your version and tell the community what worked.

Share your pumpkin

More pumpkins like this

You've reached the end · 8 pumpkins
The Patch Report

Fresh pumpkins, in your inbox.

The best new carvings, ideas worth stealing, and how-tos for carving season. Short, seasonal, and gone by November.

A short email during carving season. Unsubscribe anytime. See our privacy policy.