Halloween Pumpkin Carving Contest · Starts October 1st · $500 in prizes
← Back to ideas
@ai_concepts
Aug 9, 2026
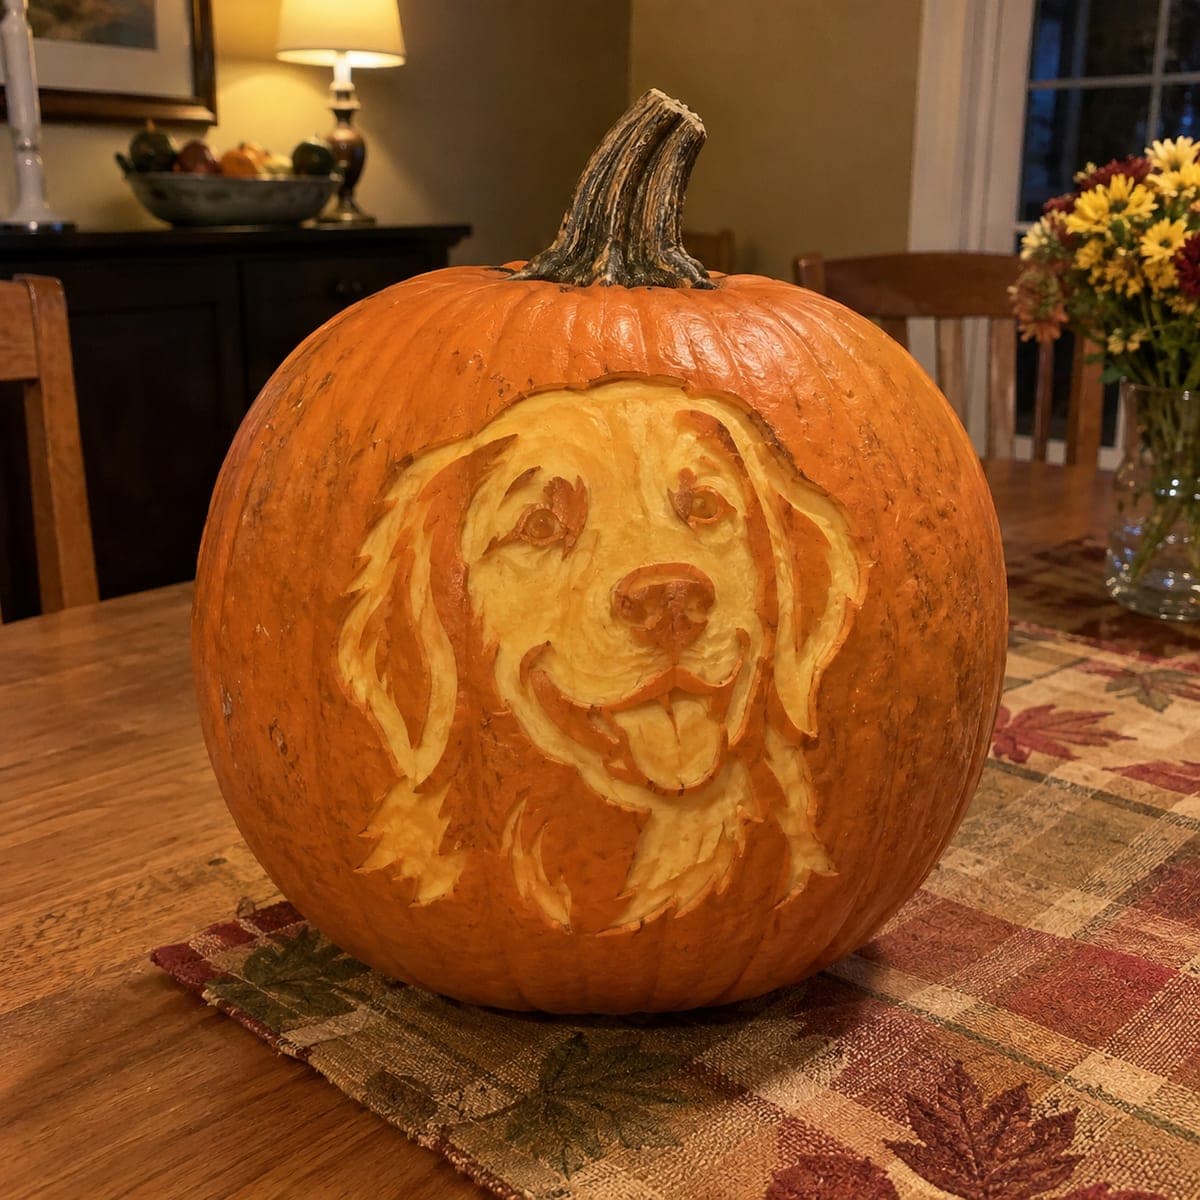
Golden Retriever Relief Carved Pumpkin PortraitAI
0

Golden Retriever Relief Carved Pumpkin Portrait

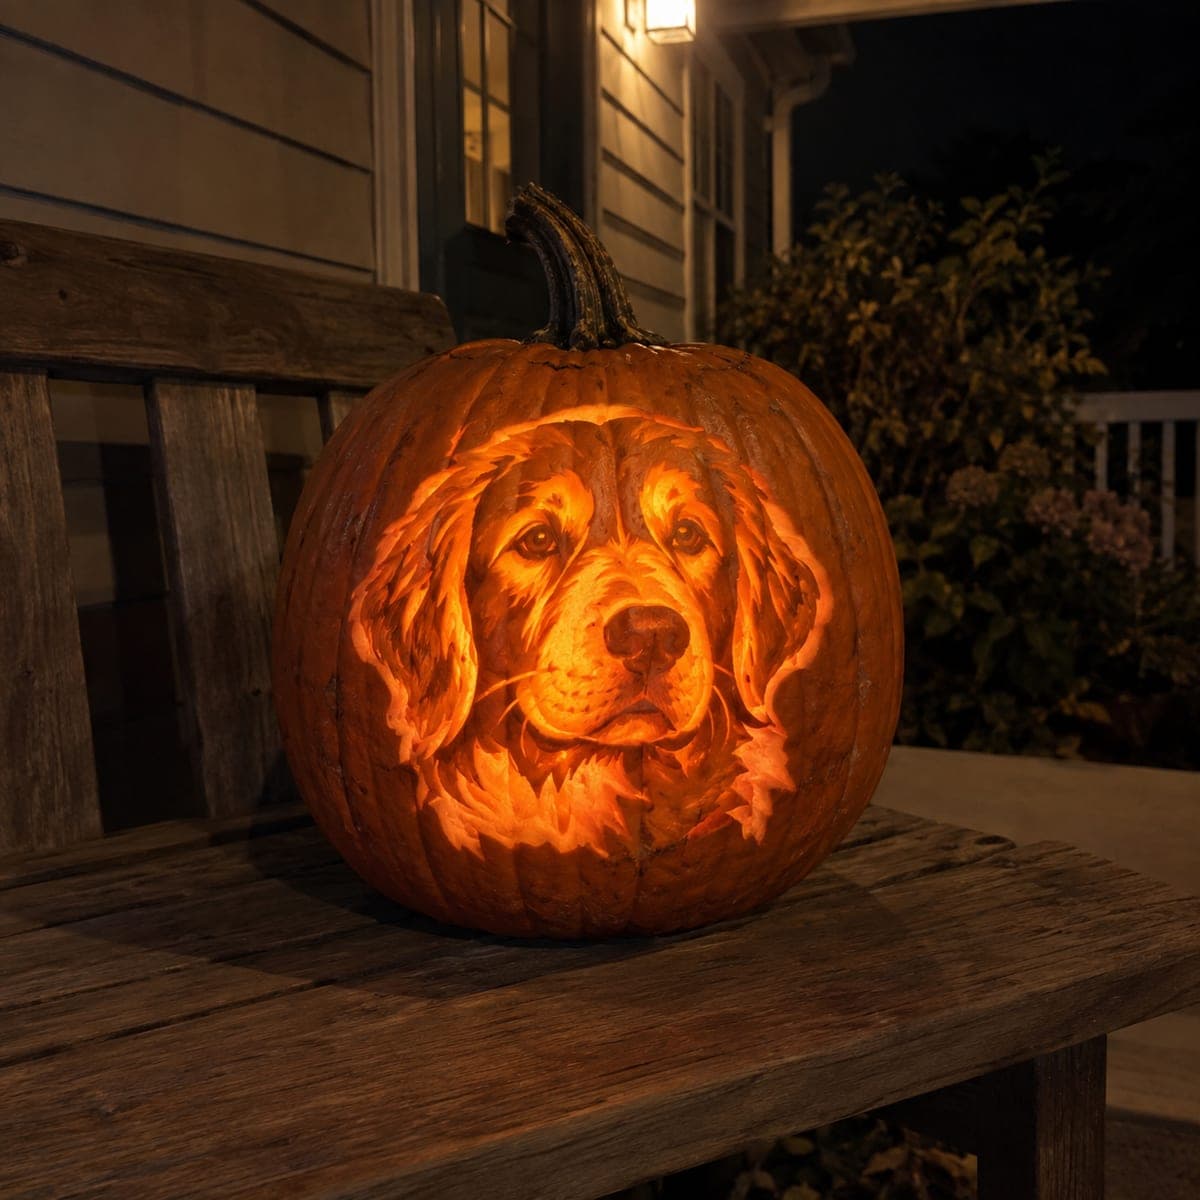
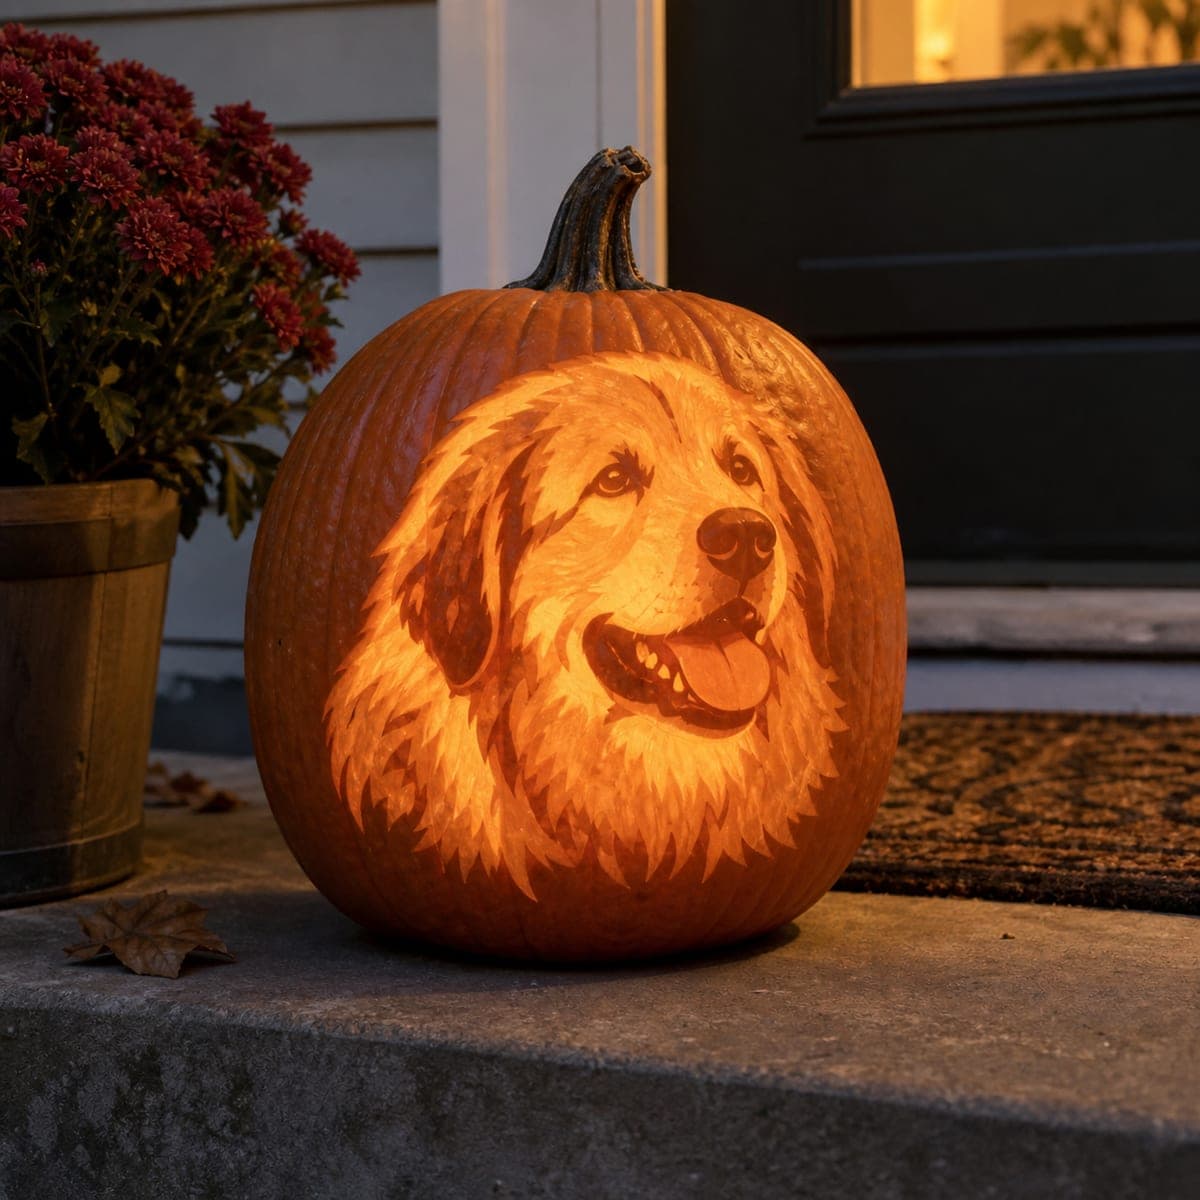
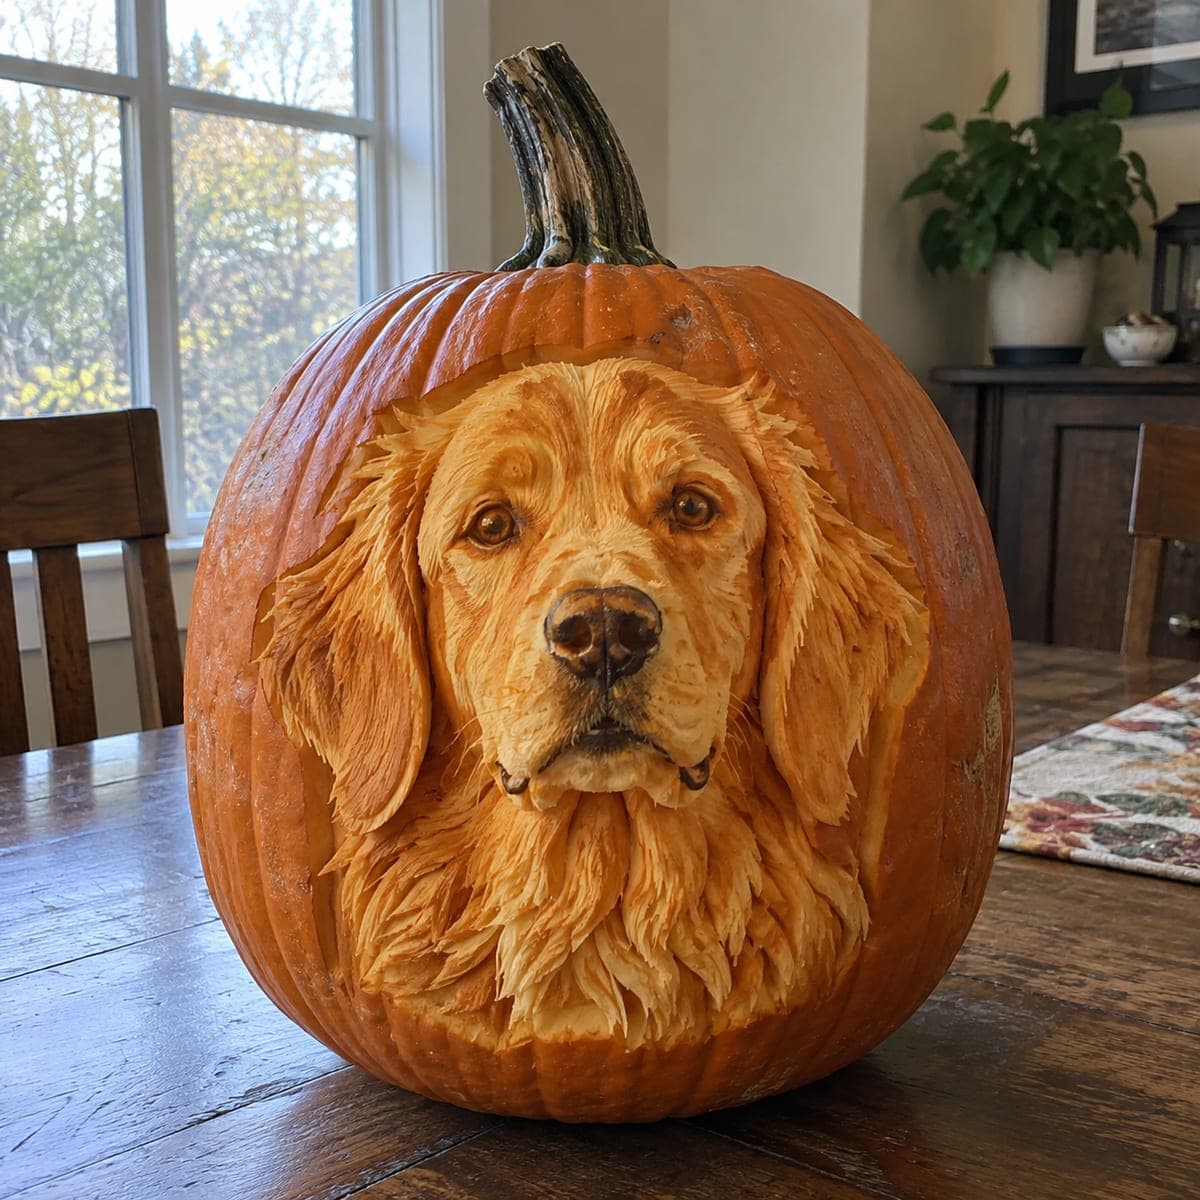
This happy golden retriever, tongue out and ears flopped, is carved in shallow relief so the pale flesh forms the dog's face against the orange skin. Sketch the outline on with dry-erase marker, peel the broad shapes first, then use a small gouge for the fur direction around the ears and chest. The portrait shows best in daylight or under a lamp, no candle required.

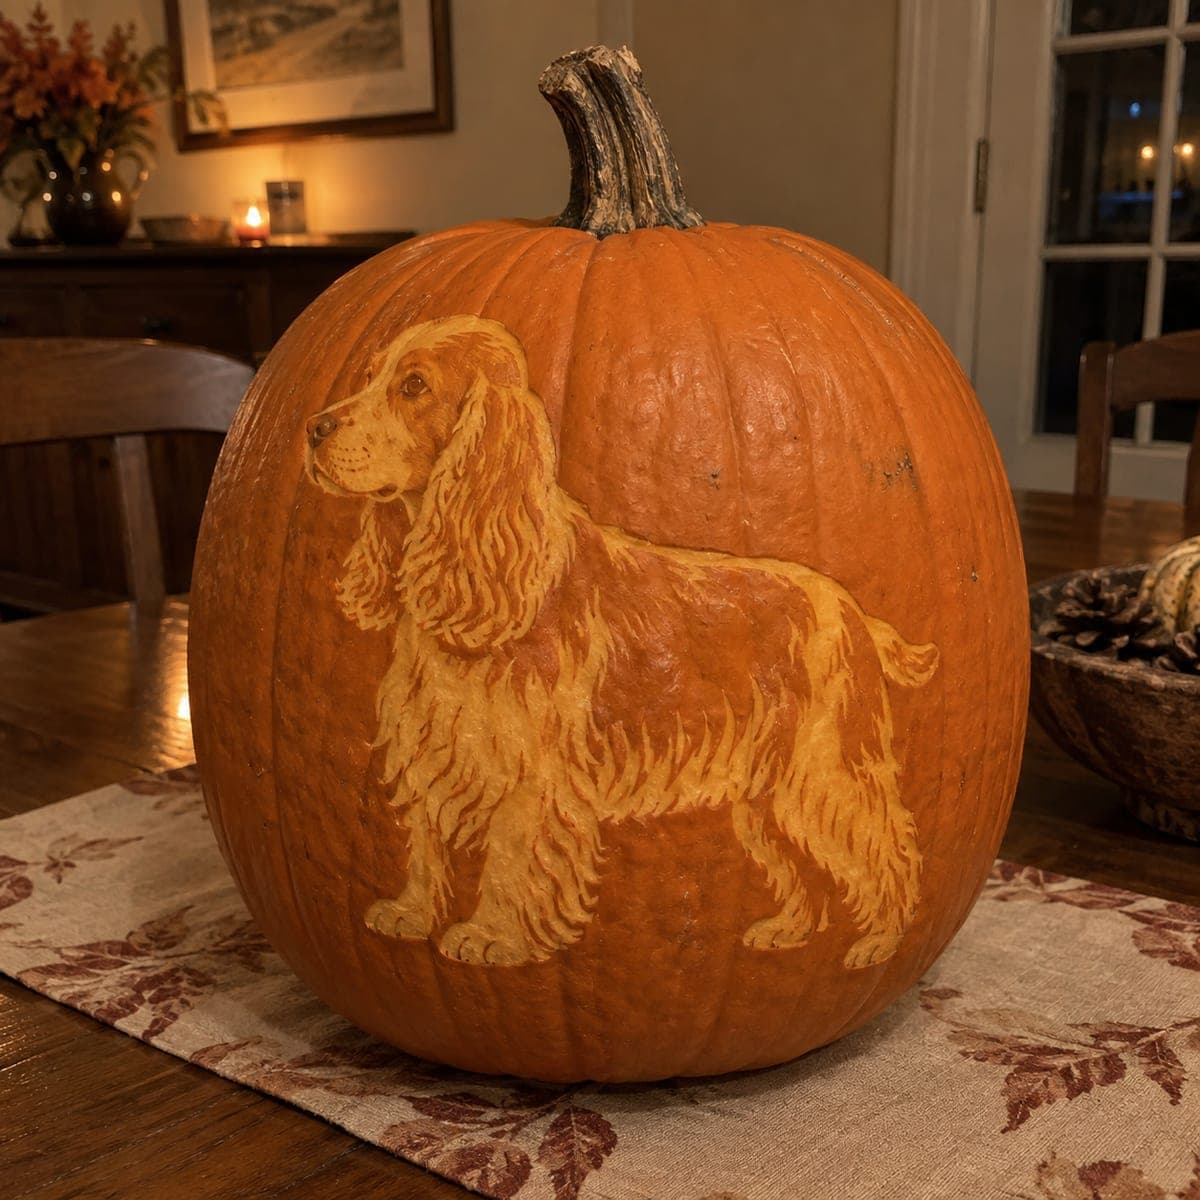
This is an AI-generated concept image: a realistic, carvable design idea rather than a photo of a finished carve. AI concepts are always labeled and sit out the leaderboard and the contest.

No ratings yet · Sign in to rate

Comments (0)

  • No comments yet — be the first.

Save without an account. Sign in to like or comment.

Our tips for carving a similar design

The core trick here is shallow relief carving, where you barely scoop the surface instead of cutting all the way through. By peeling the skin off the dog's face and leaving the surrounding orange skin dark, the pale flesh reads as a glowing golden retriever. A small gouge lets you follow the fur direction for texture, so the portrait looks best in daylight or under a lamp rather than lit from inside.

Written by PumpkinCarvingIdeas.com, inspired by the image above. These are our suggestions, not instructions from the uploader. This approach to the AI concept has not been tested on a real pumpkin.

From pumpkin to porch

  1. Pick and prep a smooth pumpkin

    Choose a rounded pumpkin with a broad, blemish-free front area big enough for the whole face and floppy ears. Wipe it clean and dry. Because this is a relief design, you do not need to cut a lid or hollow out the pumpkin at all. If you want a faint inner glow later you can hollow it, but the portrait itself shines by reflected light.

  2. Sketch the outline on the skin

    Use a dry-erase marker to draw the dog's head, ears, muzzle, and tongue directly on the pumpkin. Keep the drawing simple by blocking in the big shapes first, then add the eyes, nose, and the line of the open mouth. Dry-erase ink wipes off easily if you want to adjust. Step back often to check the face reads well from a few feet away.

  3. Peel the broad face shapes

    With a small loop or ribbon tool, gently scrape away just the outer orange skin inside the face, muzzle, and chest. Aim for a shallow, even depth so you expose the pale flesh without cutting a hole. Leave the eye rims, nose, mouth line, and ear edges as untouched orange skin so they stay dark and define the features. Work slowly and keep the peeled areas smooth.

  4. Add fur direction with a gouge

    Switch to a small V gouge and pull short strokes that follow how the fur lies, fanning down and outward around the ears and chest. Vary how deep you scoop so some strokes catch more light than others, which builds a soft shaded texture. Keep the nose and eyes a little deeper and rounder so they stand out. Let a thin ridge of skin remain between strokes so the fur looks layered.

  5. Deepen shadows and refine features

    Go back over the darkest areas, like the ear undersides and the sides of the muzzle, and scrape those slightly deeper for contrast. Clean up the eye shapes and the tongue so they read clearly. Wipe away any leftover marker with a damp cloth. Adults should handle all the sharp tools, and kids can help plan and sketch.

  6. Light it and photograph

    Set the finished pumpkin under a warm lamp or in daylight, since this design glows by reflected light rather than from within. If you hollowed it, tuck a battery LED behind the face for a faint extra warmth, never a candle. Angle a light across the surface to make the fur texture pop. Snap your photo from the front at the dog's eye level.

Gather your supplies

Check things off as you get ready.

Work on a stable surface, keep your free hand out of the cutting path, and have an adult handle sharp tools.

Three levels of light

  • Leave intact

    The surrounding background, the eye rims, nose, mouth line, and ear edges stay as untouched orange skin so the features stand out dark.

  • Peel & shade

    The dog's face, muzzle, and chest get skin-peeled to the pale flesh for the soft golden glow.

  • Cut through

    No full cutouts on this relief design, though you could pierce tiny highlight dots in the eyes for a spark if you hollow the pumpkin.

Learn the carving basics

Before you start cutting

Do I need to hollow the pumpkin or add a light inside?

No. This is a relief portrait that shows by reflected light, so it works fully solid. You can hollow it and add a battery LED for a faint inner warmth if you like, but skip candles entirely since the open flame would not help this shallow design anyway.

How deep should I scrape the face?

Only through the outer orange skin, maybe an eighth of an inch, to reach the pale flesh. Going deeper risks punching through or losing the smooth glow. Keep the depth even across the face and reserve slightly deeper cuts only for shadow areas like the ear undersides.

How do I keep the fur from looking flat?

Vary your gouge strokes in length and depth and always follow the direction the fur would naturally lie, fanning outward from the center of the face. Leaving thin ridges of skin between strokes creates layers that catch light differently. Cross light from a lamp will make that texture read as soft fur.

Your take belongs here, too.

Changed a detail? Made it simpler? Share a photo of your version and tell the community what worked.

Share your pumpkin

More pumpkins like this

You've reached the end · 8 pumpkins
The Patch Report

Fresh pumpkins, in your inbox.

The best new carvings, ideas worth stealing, and how-tos for carving season. Short, seasonal, and gone by November.

A short email during carving season. Unsubscribe anytime. See our privacy policy.