Halloween Pumpkin Carving Contest · Starts October 1st · $500 in prizes
← Back to ideas
@ai_concepts
Sep 10, 2026
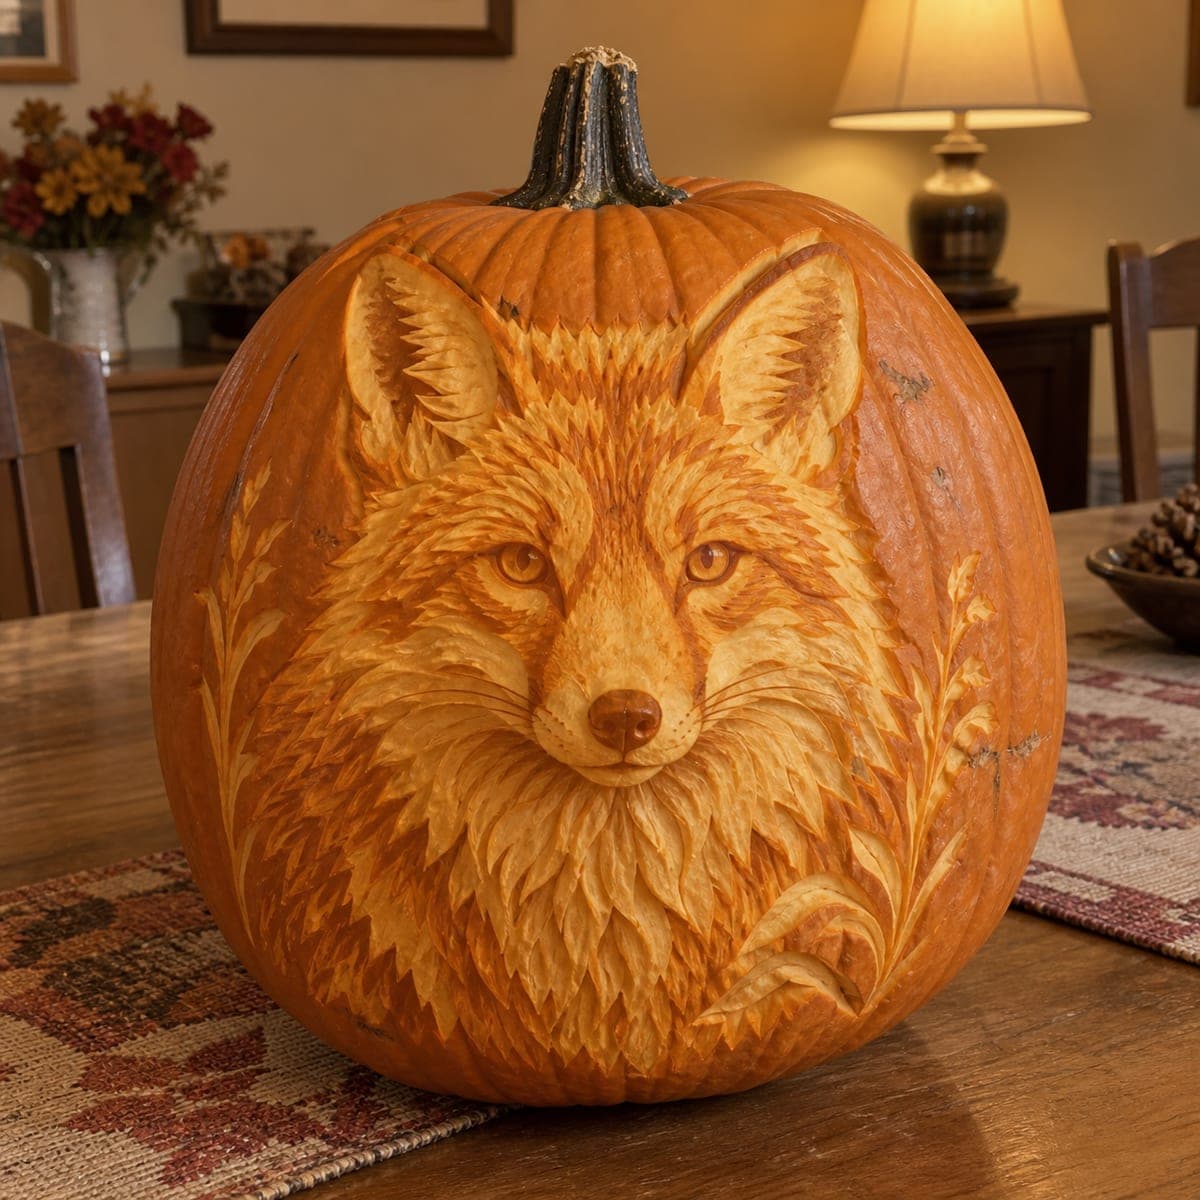
Woodland Badger Relief Carved Pumpkin IdeaAI
0

Woodland Badger Relief Carved Pumpkin Idea

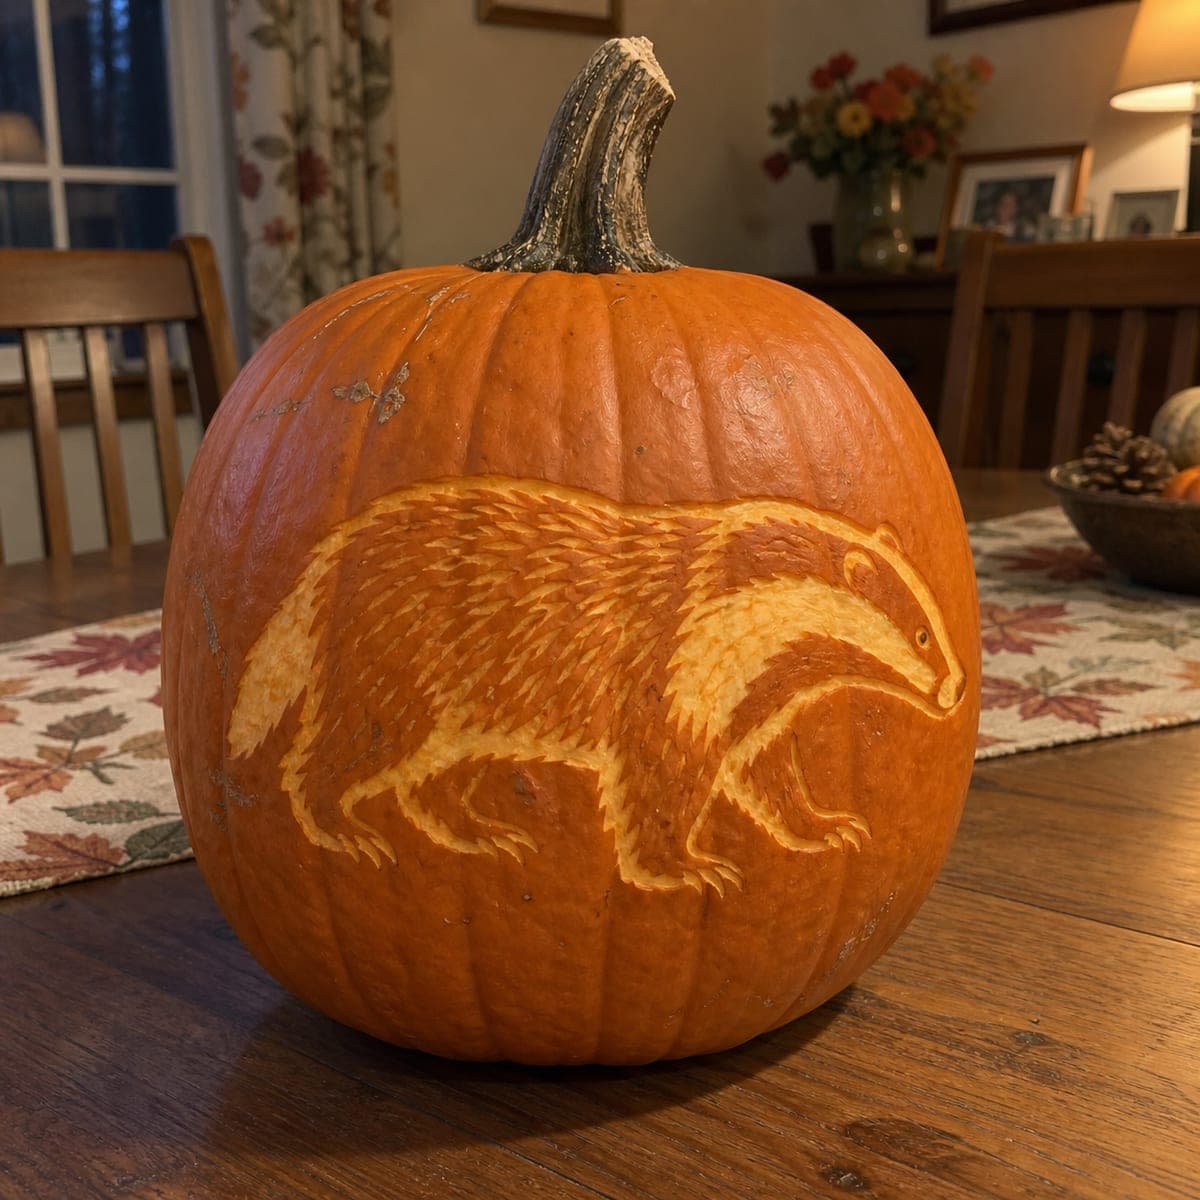
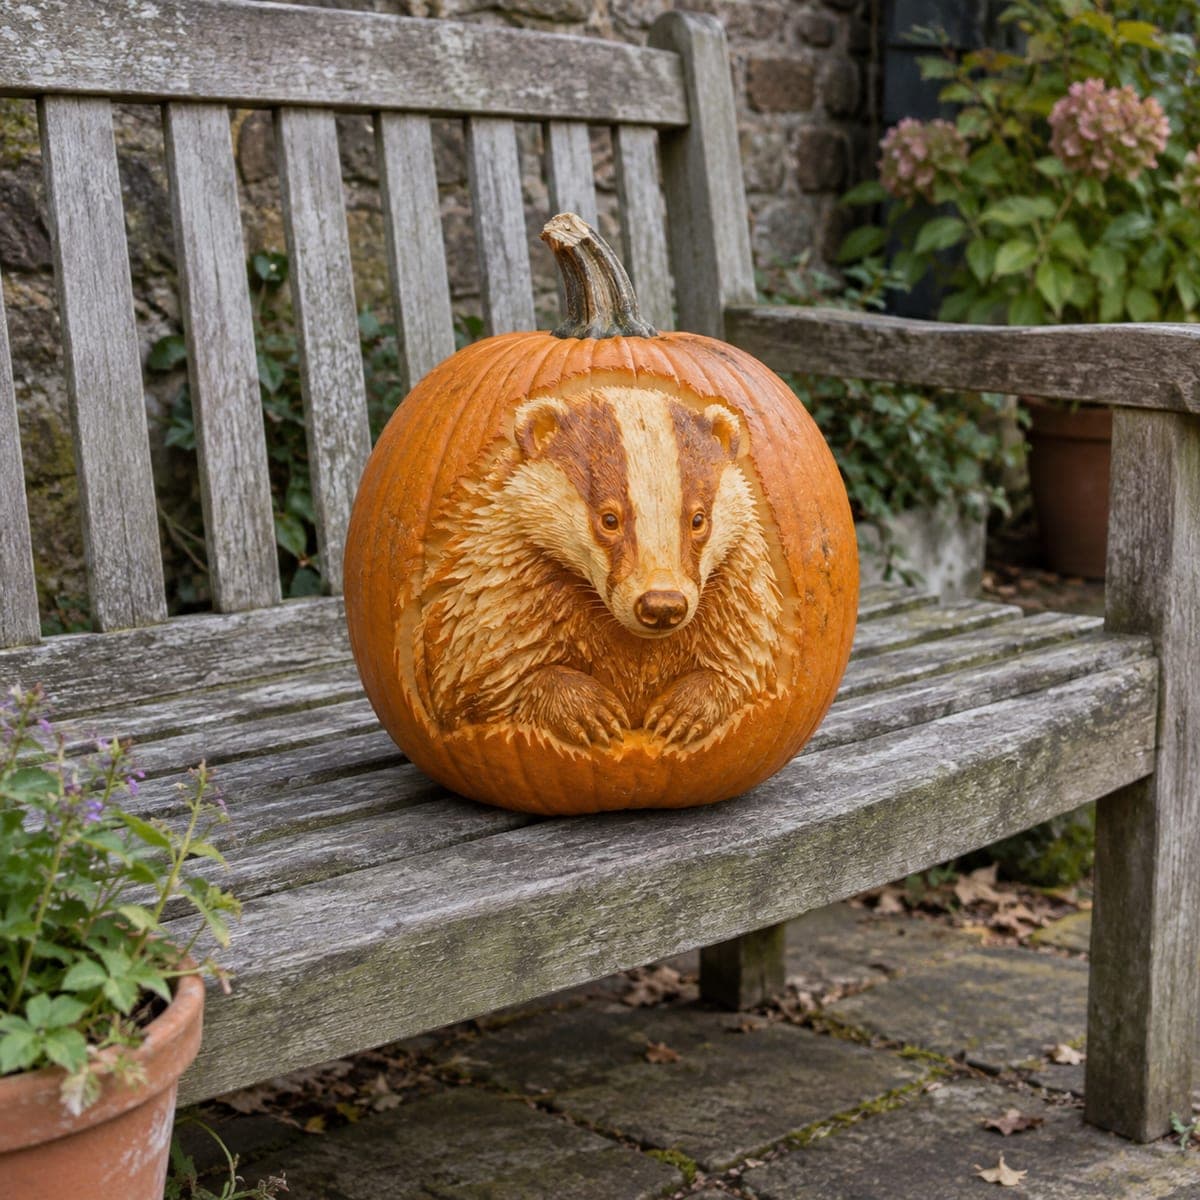
A badger peers over its crossed front paws in this charming woodland relief pumpkin, its striped face framed by a shaggy sculpted coat. The famous black-and-white head stripes come from alternating untouched skin with peeled flesh, while the body fur is built from long overlapping gouge strokes. Set it on a garden bench among potted mums, where the earthy carving fits an autumn cottage look.

This is an AI-generated concept image: a realistic, carvable design idea rather than a photo of a finished carve. AI concepts are always labeled and sit out the leaderboard and the contest.

No ratings yet · Sign in to rate
Comments (0)

  • No comments yet — be the first.

Save without an account. Sign in to like or comment.

Our tips for carving a similar design

This is a relief carving, so almost nothing is cut all the way through. The core trick is contrast on the surface: leave dark skin for the badger's black facial stripes, peel back the skin to a dim orange for the pale cheeks and muzzle, and build the shaggy coat from hundreds of overlapping gouge strokes at different depths. Plan it as a portrait framed by fur, working from the face outward so your reference stays visible the whole time.

Written by PumpkinCarvingIdeas.com, inspired by the image above. These are our suggestions, not instructions from the uploader. This approach to the AI concept has not been tested on a real pumpkin.

From pumpkin to porch

  1. Pick a tall pumpkin and map the badger

    Choose a large pumpkin with a broad, smooth flat face and few ribs so the relief reads cleanly. Because this is a shading project, you do not need to cut a lid or gut it fully, but scrape a small access hole in the back for an LED later. Tape your printed badger stencil to the front and transfer the outline with a poking tool, marking the head stripes, eyes, muzzle, and paw line. Step back and check the badger sits centered before you cut anything.

  2. Skin the whole portrait area first

    Use a ribbon or lino gouge to remove just the top waxy skin across the entire badger shape, leaving the orange flesh exposed. Keep the stripe zones you want dark untouched so they stay as skin. This gives you a shallow raised panel to sculpt into and instantly separates the badger from the background. Work slowly and keep your bracing hand behind the blade at all times.

  3. Establish the striped face

    The classic badger look comes from alternating tones, so leave the two black eye stripes and the dark ears as untouched skin. Peel the white center blaze, cheeks, and muzzle down a little deeper so they glow a lighter shade. Round the muzzle by carving its edges lower than its center to fake a three dimensional snout. Carve the eyes as small recessed ovals and leave a tiny skin dot in each for a catchlight.

  4. Build the shaggy coat

    Switch to a small V gouge and pull long, slightly curved strokes outward from the face to suggest fur direction. Overlap the strokes in rows and vary their depth so some catch more light than others. Let the fur ends feather into the background instead of stopping at a hard line. This is the slowest part, so take breaks and keep comparing to your reference photo.

  5. Deepen the paws and shadows

    Carve the two crossed front paws a touch deeper than the chest so they sit forward, and add short claw lines with the V gouge. Go back into the recesses around the ears, under the chin, and between the paws to deepen your darkest shadows for contrast. Only now consider cutting one or two small full openings if you want bright accents, and keep them tiny so the relief stays strong. Save any through cuts for last so the surface stays firm while you sculpt.

  6. Light it and stage the photo

    Drop a battery LED into the back hole and test in a dark room; the peeled areas should glow soft orange while the skin stripes stay dark. Mist the carving with water and keep it cool between viewings to slow drying and browning. Set it on a garden bench among potted mums for that autumn cottage look. Shoot photos at dusk when the ambient light still shows the fur texture.

Gather your supplies

Check things off as you get ready.

Work on a stable surface, keep your free hand out of the cutting path, and have an adult handle sharp tools.

Three levels of light

  • Leave intact

    The black eye stripes, dark ears, and darkest fur shadows stay as untouched skin.

  • Peel & shade

    The white face blaze, cheeks, muzzle, and the shaggy coat are skin-peeled for a dim orange glow.

  • Cut through

    Only a few optional tiny accent openings are cut fully through, kept small so the relief holds together.

Learn the carving basics

Before you start cutting

Do I need to hollow out the whole pumpkin for a relief like this?

Not fully. Relief carving lives on the surface, so you mainly need a small access hole in the back for a light. Thinning the front wall slightly from inside can help the peeled areas glow, but keep the wall thick enough to support all that fur detail.

How do I keep the badger's face from looking flat?

Work in tone layers. Leave the dark stripes as skin, peel the pale areas, and carve the muzzle and eye sockets deeper than the surrounding fur. Varying depth is what creates the illusion of a rounded snout and a face peering forward over the paws.

This is shown as a concept image, so is it actually carvable?

No real pumpkin was carved for this picture, but a similar badger relief is achievable by a patient carver. Keep the fur strokes shallow and attached rather than cutting fine hairs all the way through, and the detail will hold up. Budget a few hours and good gouges rather than expecting a quick jack-o-lantern.

Your take belongs here, too.

Changed a detail? Made it simpler? Share a photo of your version and tell the community what worked.

Share your pumpkin

More pumpkins like this

You've reached the end · 8 pumpkins
The Patch Report

Fresh pumpkins, in your inbox.

The best new carvings, ideas worth stealing, and how-tos for carving season. Short, seasonal, and gone by November.

A short email during carving season. Unsubscribe anytime. See our privacy policy.