Halloween Pumpkin Carving Contest · Starts October 1st · $500 in prizes
← Back to ideas
@ai_concepts
Aug 14, 2026
Wrapped Mummy No-Carve Bandage PumpkinAI
0

Wrapped Mummy No-Carve Bandage Pumpkin

Horizontal white bandage strips wrap around this pumpkin from top to bottom, broken only by two small black button eyes peeking out from the center, for a simple and effective mummy no-carve pumpkin idea. White ribbon, fabric strips, or wide adhesive tape can replicate the look without paint, and takes under 20 minutes to assemble. Start at the bottom and wrap upward in overlapping horizontal passes, leaving a gap in the middle where the eyes will be glued or drawn. The design is lightweight, mess-free, and perfectly suitable for toddlers to help with during family decorating.

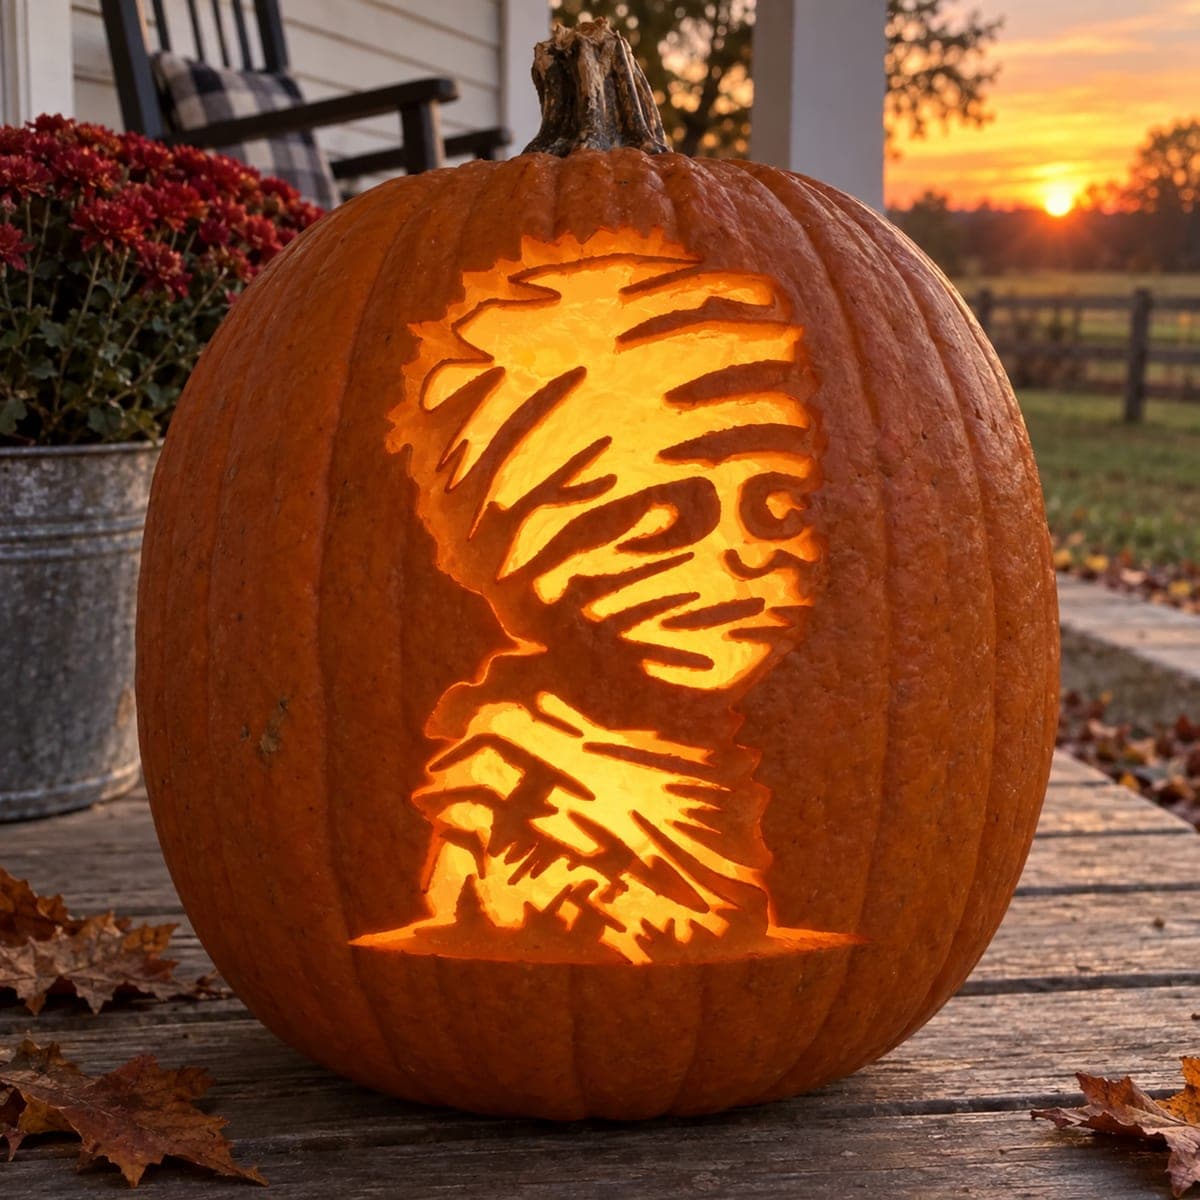
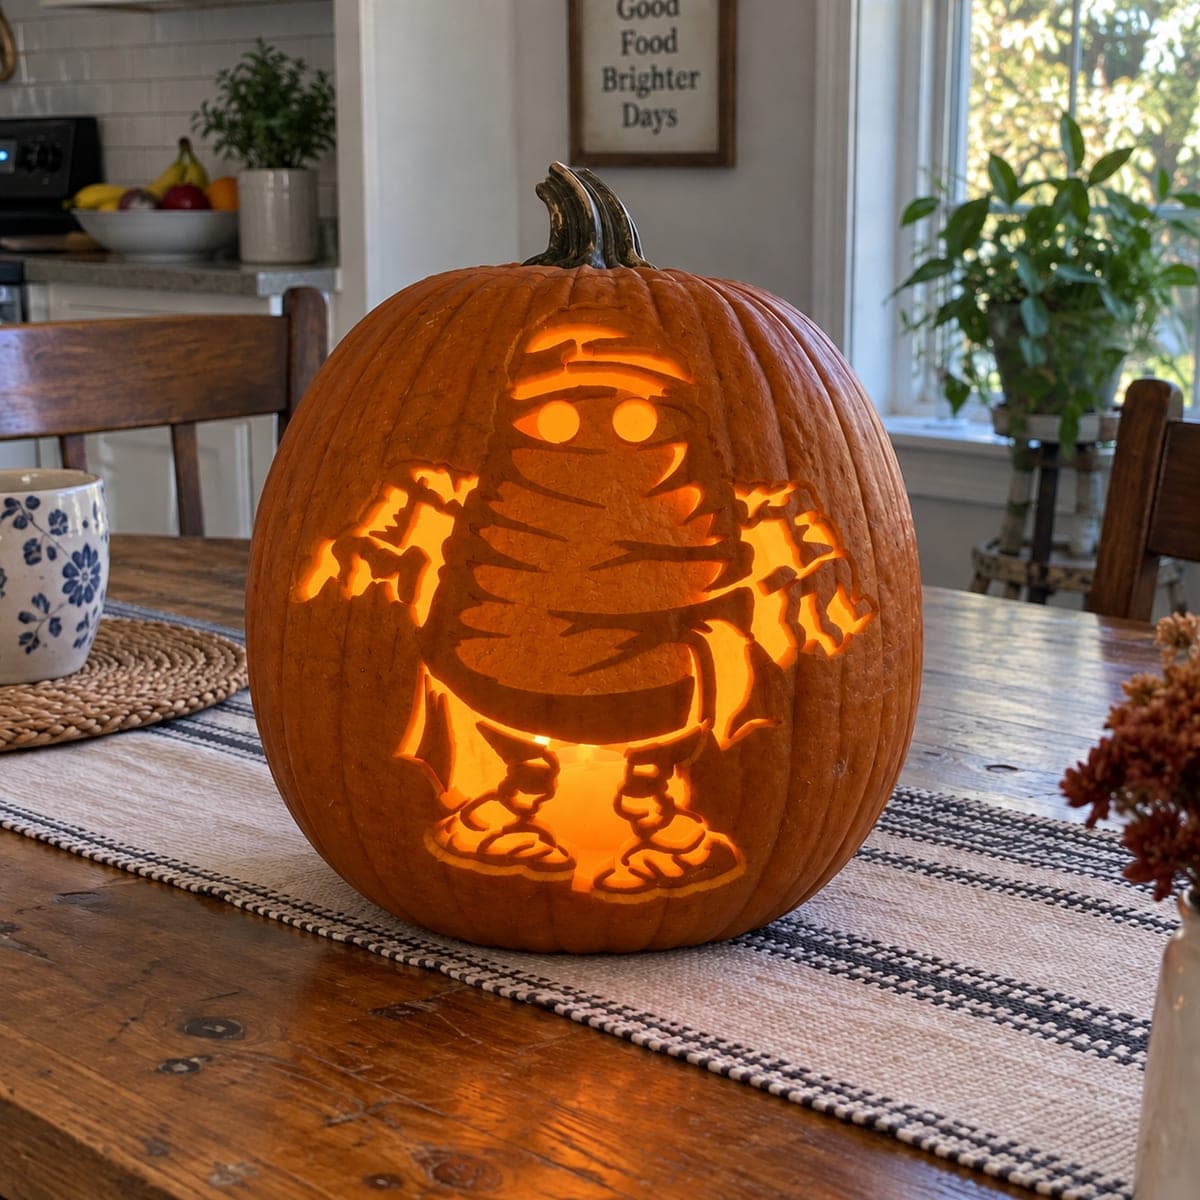
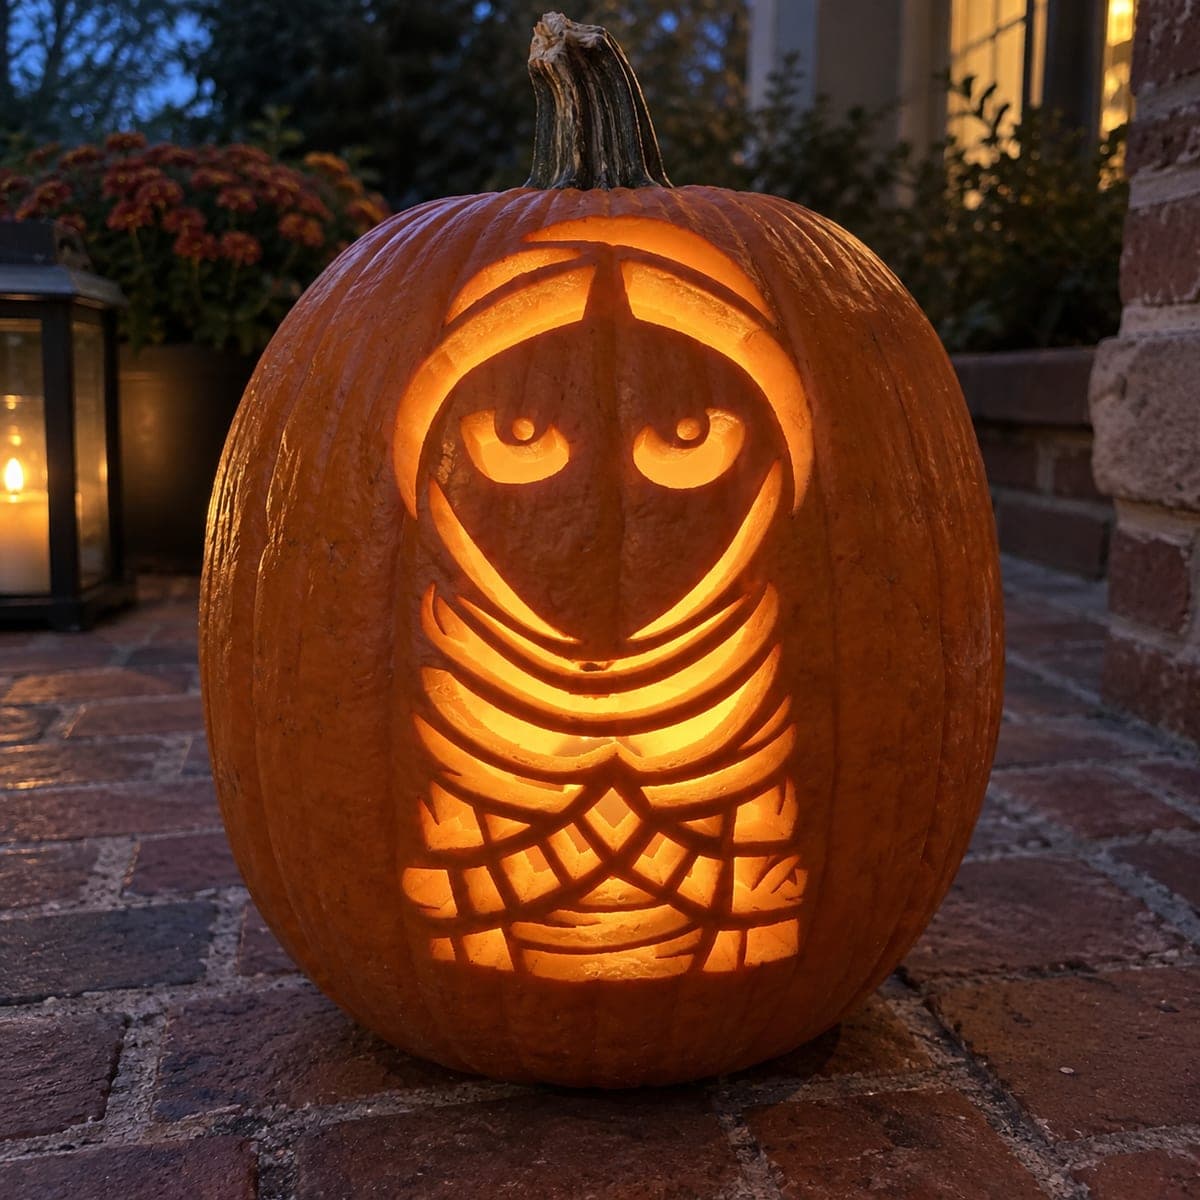
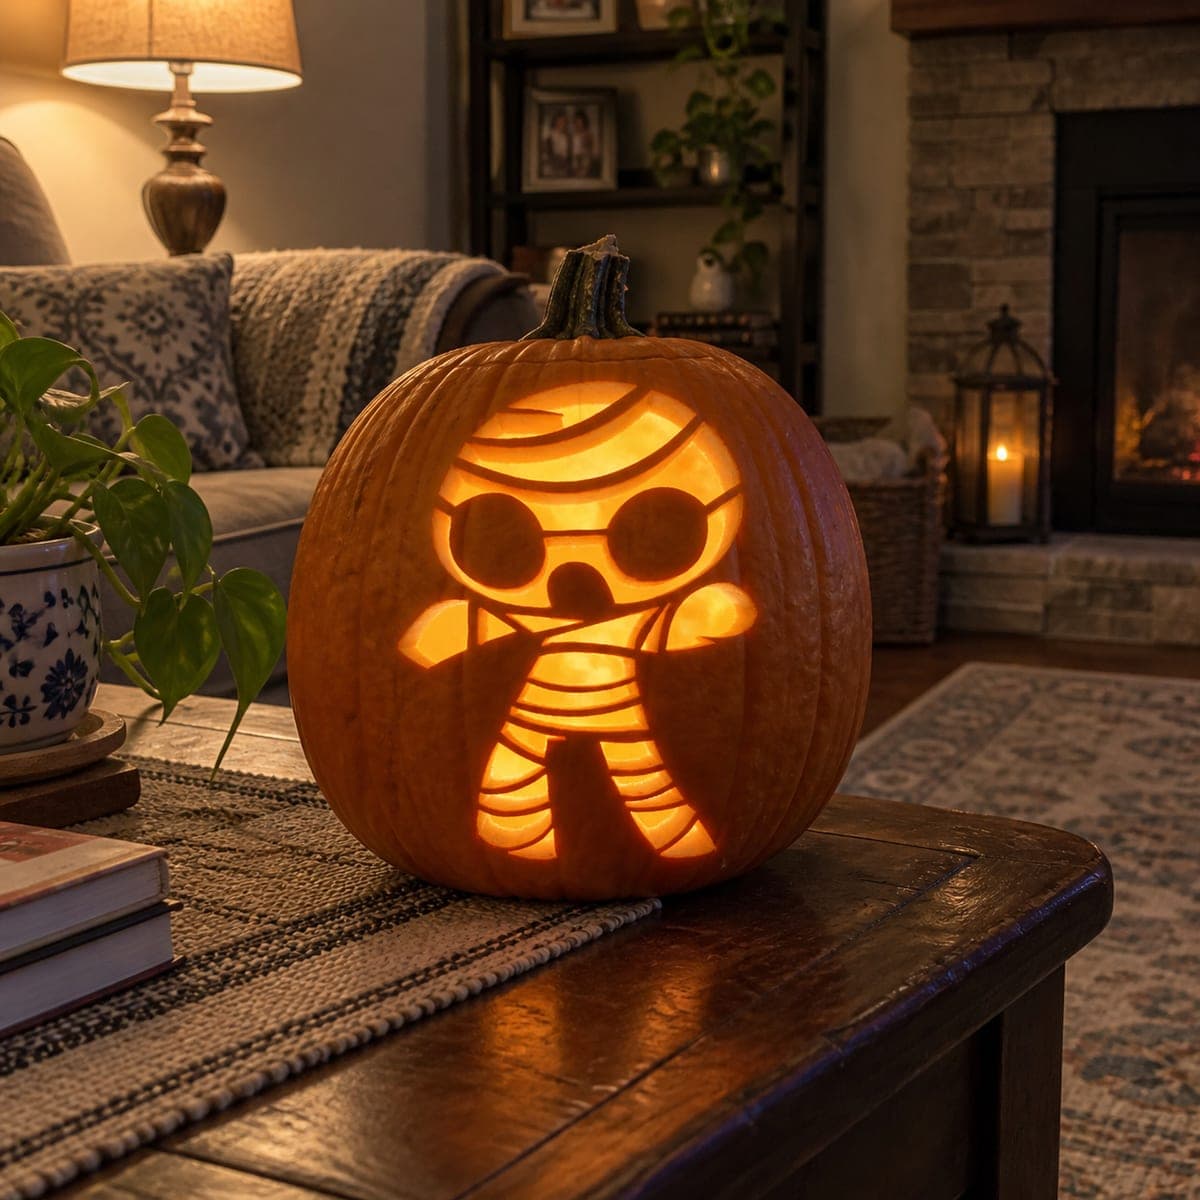
This is an AI-generated concept image: a realistic, carvable design idea rather than a photo of a finished carve. AI concepts are always labeled and sit out the leaderboard and the contest.
No ratings yet · Sign in to rate

Comments (0)

  • No comments yet — be the first.

Save without an account. Sign in to like or comment.

Our tips for carving a similar design

The whole trick here is horizontal white bandage strips wrapping the pumpkin from top to bottom, with one gap left open in the middle for two small black eyes. Because nothing is cut, you build the mummy entirely on the surface using ribbon, fabric strips, or wide tape, then add the eyes last. This one COULD be assembled with kids helping since there are no sharp tools involved.

Written by PumpkinCarvingIdeas.com, inspired by the image above. These are our suggestions, not instructions from the uploader. This approach to the AI concept has not been tested on a real pumpkin.

From pumpkin to porch

  1. Clean and dry the pumpkin

    Wipe the pumpkin down with a dry cloth so tape or glue will stick. Pick a pumpkin with a fairly round, even shape, since the stripes read best on a smooth surface. Leave the stem on for the classic look. Set it on a table at a comfortable height before you start wrapping.

  2. Plan your stripe spacing

    Decide how wide your bandage strips will be and how much orange you want to show between them. Lightly mark two eye spots near the center with a washable pencil so you remember to leave that band open. Even spacing top to bottom keeps the mummy looking tidy. Aim for six or seven horizontal passes depending on pumpkin size.

  3. Wrap from the bottom up

    Start at the base and lay your first white strip horizontally all the way around, overlapping the ends slightly so it stays put. Work upward in overlapping passes, pressing each strip down as you go. Let the strips wrinkle and sag a little, since that uneven texture is what makes it look like real bandages. Skip the band that crosses your marked eye zone.

  4. Leave the eye gap open

    When you reach the center band where the eyes will sit, leave a clear strip of bare pumpkin instead of covering it. This exposed orange row is the mummy's peeking face. Keep the strips above and below it snug so the gap stays crisp. Continue wrapping upward until you reach the stem.

  5. Add the button eyes

    Cut two small circles of black felt or paper, or use black stick-on dots, and place them in the open center band. Keep them close together and level for that curious, wide-eyed expression. Press or glue them down firmly. Step back and adjust spacing so the eyes look balanced.

  6. Style and photograph

    Tuck a small LED tea light or fairy lights beside the pumpkin rather than inside, since this is a no-carve build. Set it on a porch step or bench near some mums for a cozy fall scene. Snap your photo in soft evening light so the white stripes glow against the dark. Share it with the community when you are done.

Gather your supplies

Check things off as you get ready.

Work on a stable surface, keep your free hand out of the cutting path, and have an adult handle sharp tools.

Three levels of light

  • Leave intact

    The orange skin between and around the bandage strips stays bare and dark for contrast.

  • Peel & shade

    The open center band of exposed orange reads as the softly glowing face where the eyes sit.

  • Cut through

    No cutouts on this no-carve design, so set an LED beside the pumpkin instead of inside it.

Learn the carving basics

Before you start cutting

Do I have to carve anything for this design?

No, this is a fully no-carve project. The mummy look comes entirely from wrapping white strips around the surface and adding two eyes. That makes it safe for kids to help and easy to take apart later.

What should I use for the bandage strips?

White ribbon, torn fabric strips, gauze, or wide white adhesive tape all work well. Fabric and gauze give the most realistic wrinkled bandage texture. Tape is the fastest and cleanest option if little hands are helping.

How do I keep the eyes looking right?

Cut two small black circles and place them close together and level in the open center band. Keeping them low and near the middle gives that shy, peeking expression. Adjust the spacing before you glue so they look balanced.

Your take belongs here, too.

Changed a detail? Made it simpler? Share a photo of your version and tell the community what worked.

Share your pumpkin

More pumpkins like this

You've reached the end · 8 pumpkins
The Patch Report

Fresh pumpkins, in your inbox.

The best new carvings, ideas worth stealing, and how-tos for carving season. Short, seasonal, and gone by November.

A short email during carving season. Unsubscribe anytime. See our privacy policy.