Similar pumpkin stencils
View all stencils →About this stencil
This free Palm Trees pumpkin stencil is a printable PDF pattern you can print at home, tape to your pumpkin, and trace. Two palm trees of different heights rise from a shared sandy island base in this pumpkin stencil, the taller centered tree and a shorter leaning tree to the left each sporting fronds with individual leaflet-cut fingers spreading wide at the top. The negative space around the trunks and through the frond fingers is cut away, leaving the trunk outlines and leaflet ribs as solid orange bridges so the whole composition glows as a backlit tropical scene. Cut the individual frond leaflet gaps before removing the larger surrounding background so the frond tips never lose support from the pumpkin skin beneath them. Use it as a carving template for your Halloween jack-o'-lantern. It is rated Advanced. Actual time varies with preparation, pumpkin size and experience. Fine details and narrow supports need careful planning. Follow the cutting and shading key in this design’s PDF.
Pumpkin size guide
- 🎃 Small (5 to 7"): print at 80%
- 🎃 Medium (7 to 10"): print at 100% (recommended)
- 🎃 Large (11 to 13"): print at 130%
- 🎃 Giant (14"+): print at 150% on tabloid paper
Frequently asked questions
Can I resize this stencil?▾
Yes. The PDF is vector so it scales cleanly. Print the pattern at 100% for a 7 to 10 inch pumpkin, 130% for 11 to 13 inch, or 150% for a giant. Use your printer's "Fit to page" or "Custom scale" setting.
What kind of paper works best?▾
Standard 20 lb letter or A4 printer paper is fine. Heavier paper is harder to bend around the pumpkin curve. If your printer supports it, set the quality to 'best' so the lines are crisp.
How long will the carved pumpkin last?▾
Usually 5 to 10 days. Coat all cut surfaces with petroleum jelly and store the pumpkin somewhere cool overnight. Avoid direct sun. Battery LED pumpkin lights produce no heat and help it last longer.
Can I sell pumpkins carved with this stencil?▾
Yes, the carved pumpkin you make is yours. The license covers personal and small-scale commercial carving (selling carved pumpkins, photographing them, posting on social). You may not resell the PDF file itself.
What if my printer doesn't print the whole stencil?▾
Set 'Page scaling' to 'Fit' in the print dialog and uncheck 'Auto-rotate'. If it still cuts off, the design includes 0.25" of safe-area margin so a small crop won't ruin it.
How to carve this stencil
- Transfer the stencil and begin with the tallest palm's frond leaflet gaps, cutting each slim finger opening from base to tip.
- Repeat for the shorter left-hand palm's fronds.
- Remove the large open background around the upper trunks and between the two trees.
- Cut the sandy island base opening at the bottom, leaving the trunk bases connected to the solid pumpkin skin below.
- Keep a thin bridge of skin at each trunk base for structural support until the final step, then cut those bridges last.
- A candle set directly below the island base casts the trunk silhouettes upward and illuminates every leaflet gap for a dramatic tropical glow.
Tools you'll need
For a advanced carve like this you'll want a fine-detail pumpkin saw, spoon / scoop, pin transfer tool, and small gouge if the pattern includes shading. Here's the kit we reach for, but start with whatever you already own.

Elmchee Pumpkin Carving Kit
13-piece kit with carrying case
Saws for the larger cutouts, plus a scoop for hollowing. Covers both jobs in one kit.
View on Amazon ↗
HOME MOST LED Pumpkin Lights
4-pack, battery operated, with remote + timer
Orange glow made for jack-o'-lanterns. The remote and timer light the pumpkin every evening without reaching inside.
View on Amazon ↗
Speedball 4131 Lino Cutter Set
Handle + 5 interchangeable cutters
Interchangeable cutters for peeling and shading the face. Useful for the finer details.
View on Amazon ↗
Reviews from carvers
Every rating comes from a written review by someone who downloaded this stencil.
Carved this one?
Reviews are open to carvers who downloaded the stencil. Grab the free PDF, then come back and tell everyone how it went.
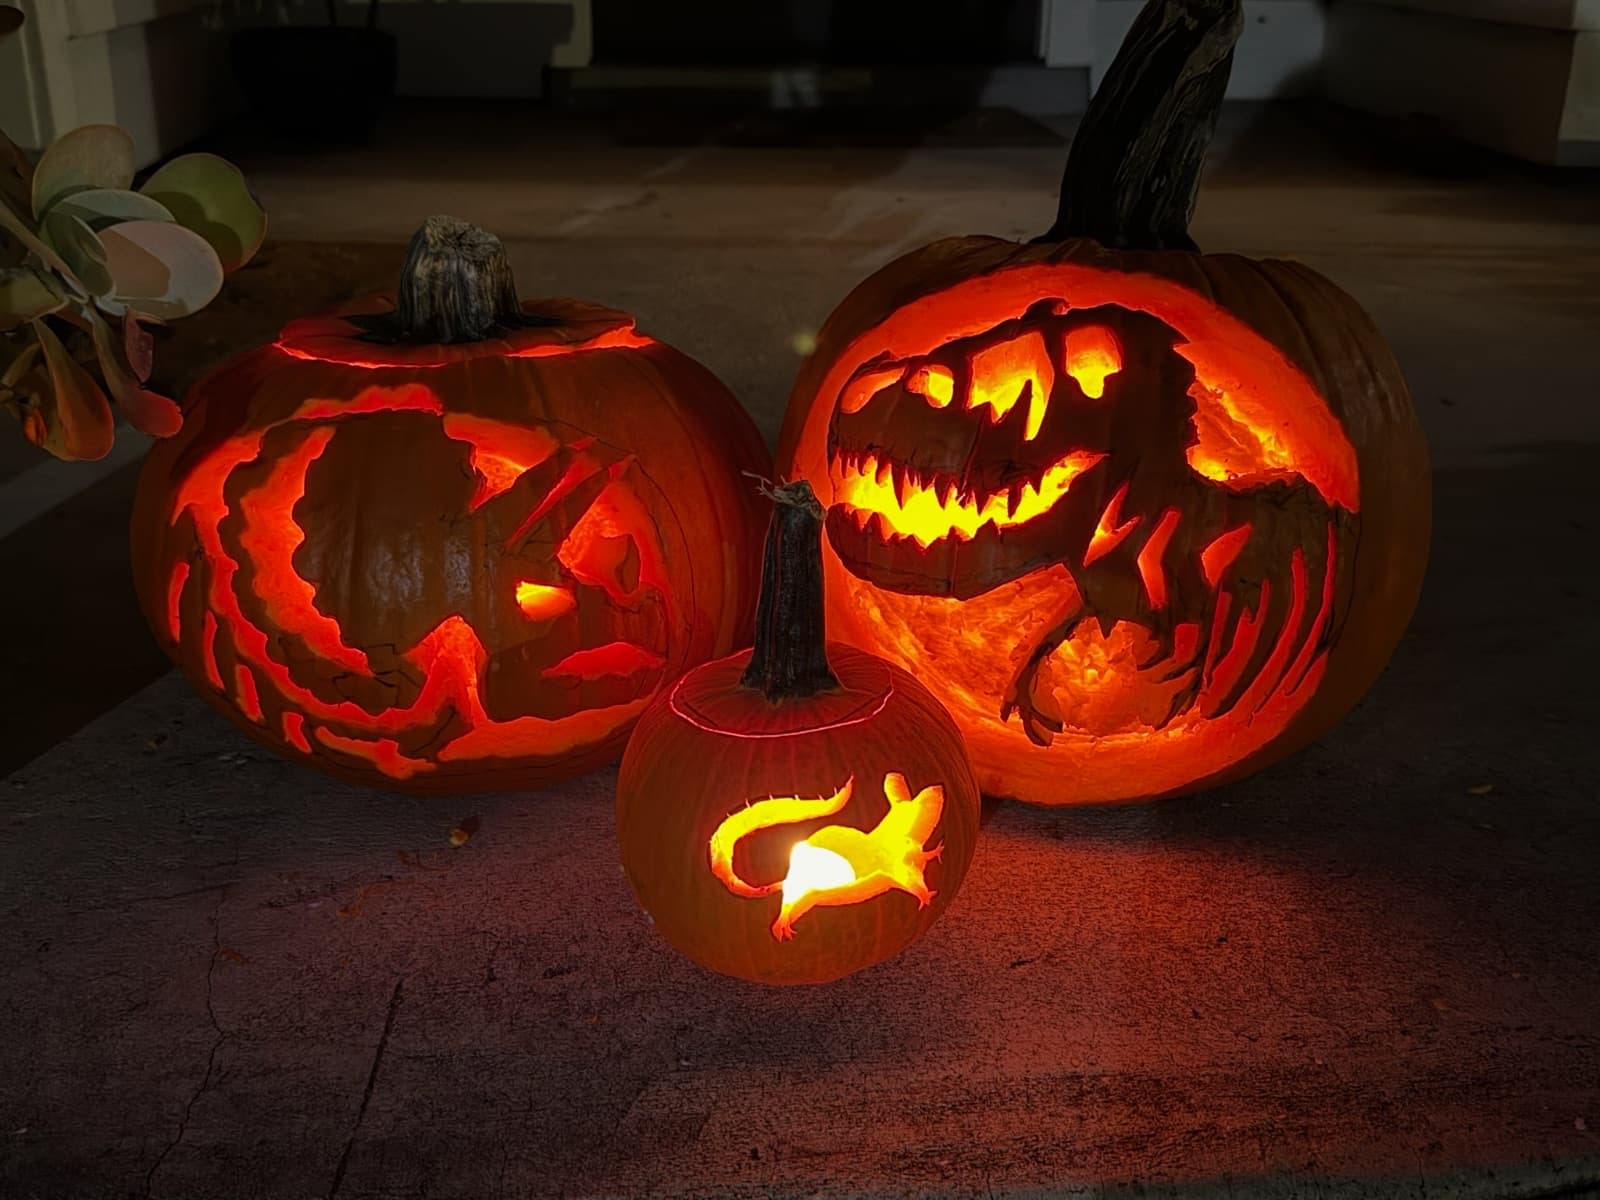
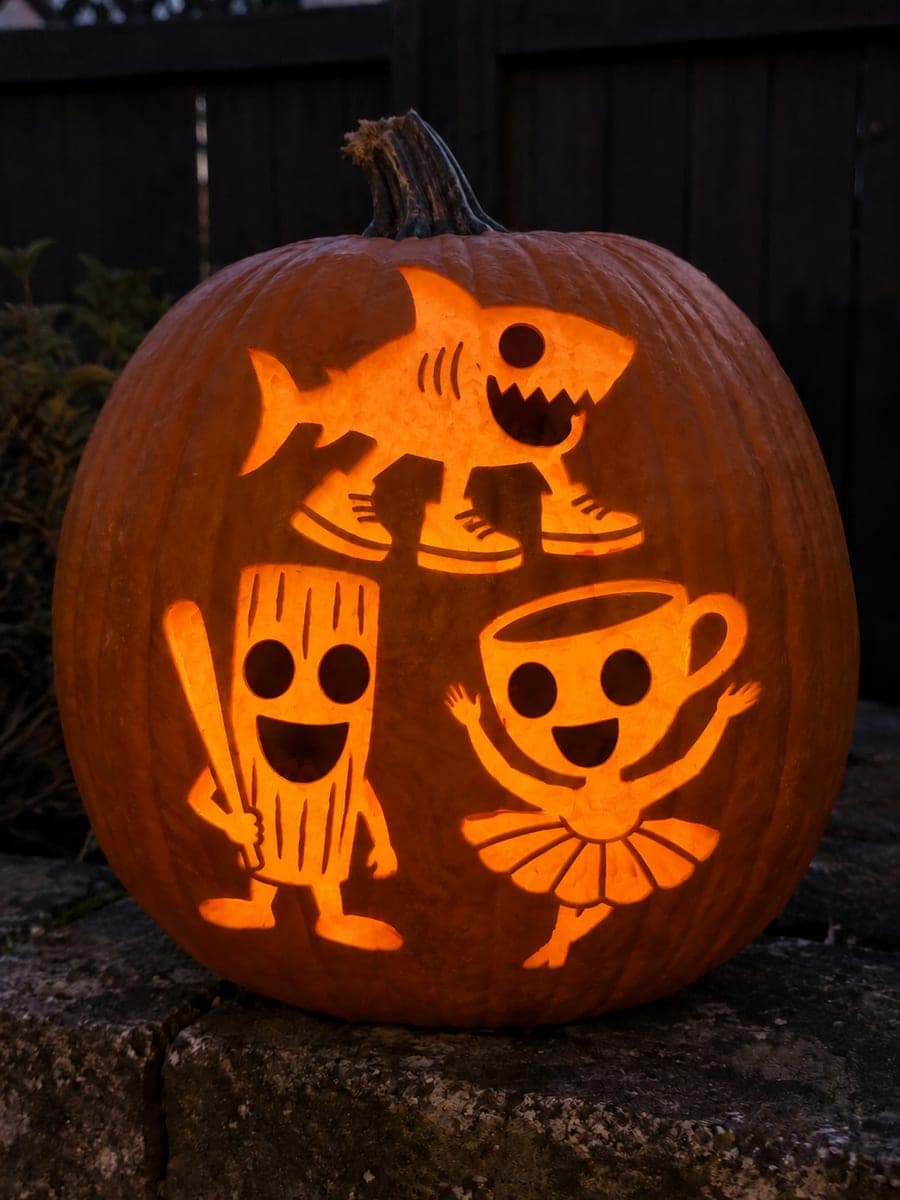
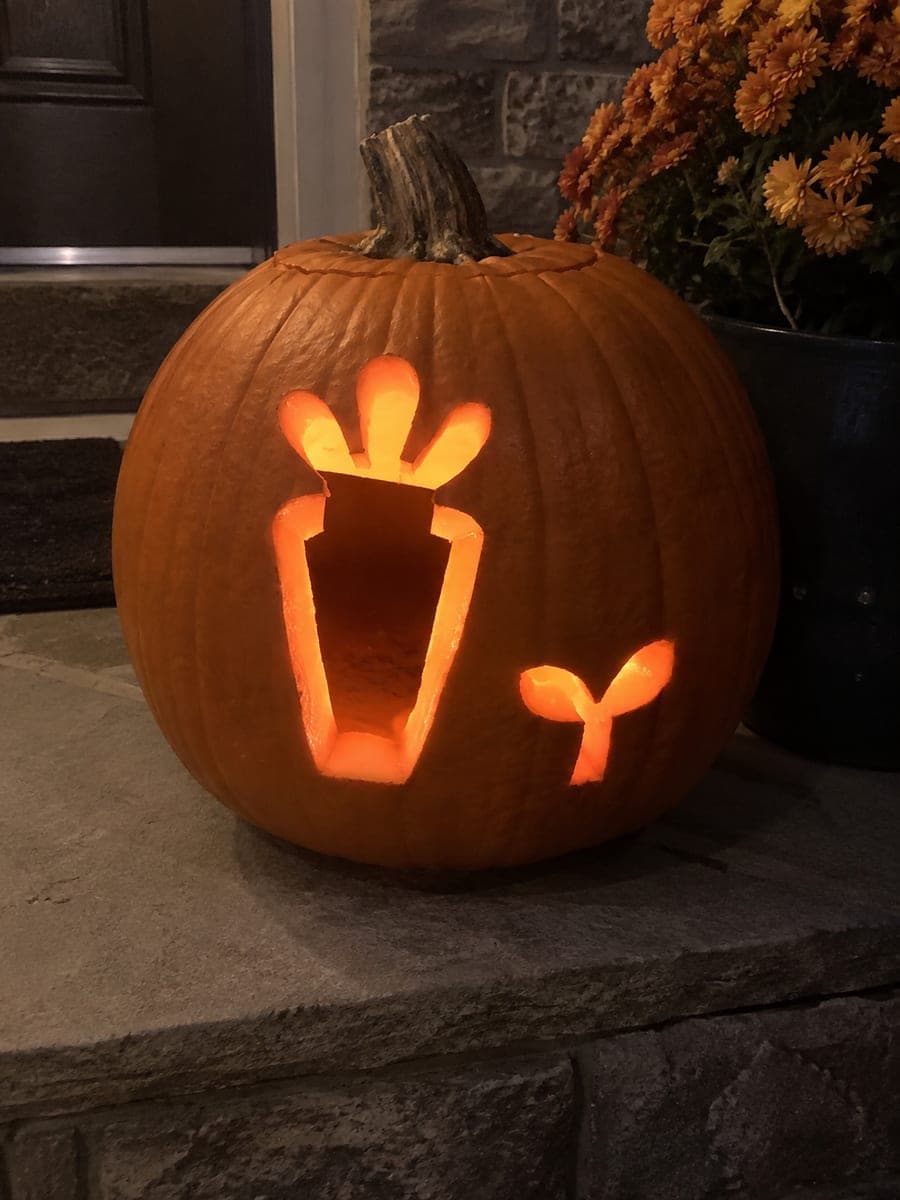
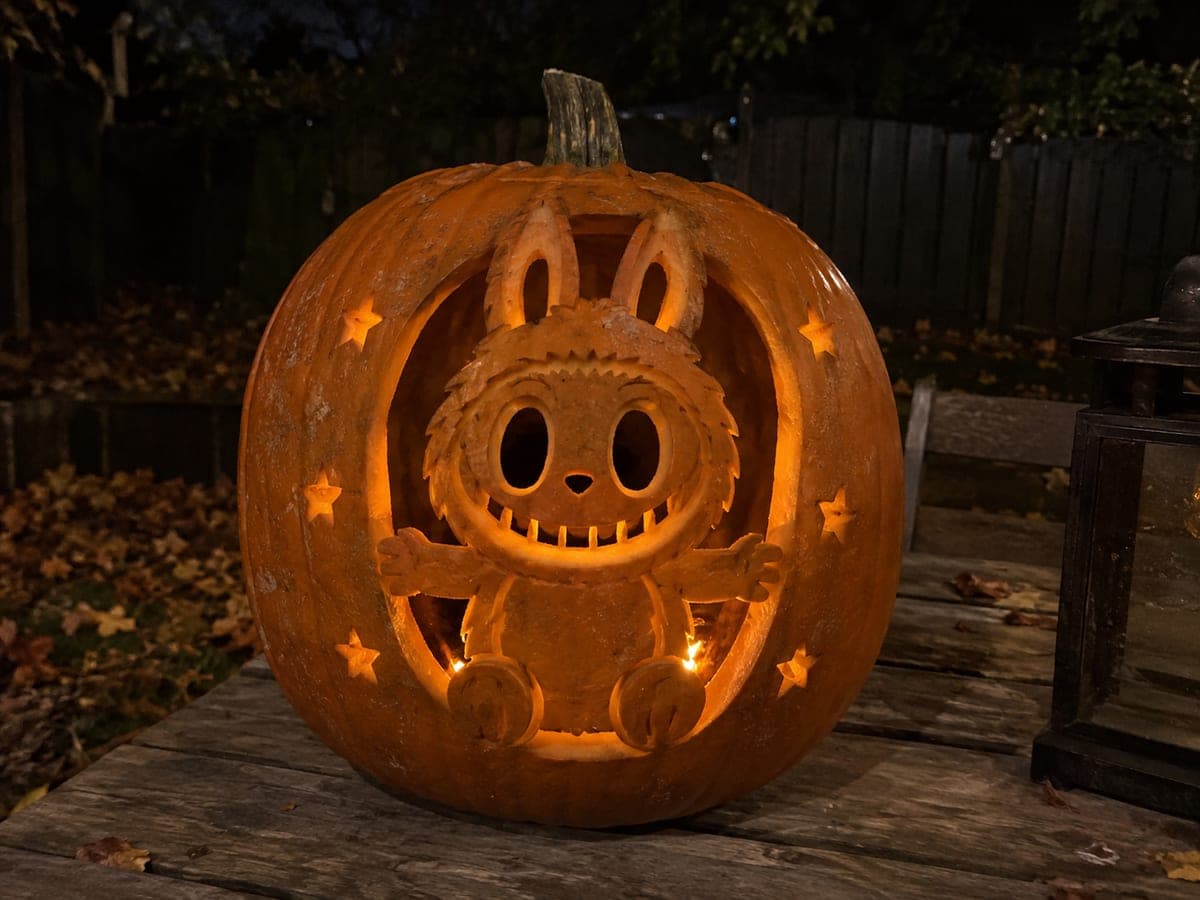
Community Pumpkin Carving Ideas
Carving ideas that use stencils like this one.
Related stencils
More patterns with a related subject. Compare their skill levels before you choose.
 Advanced
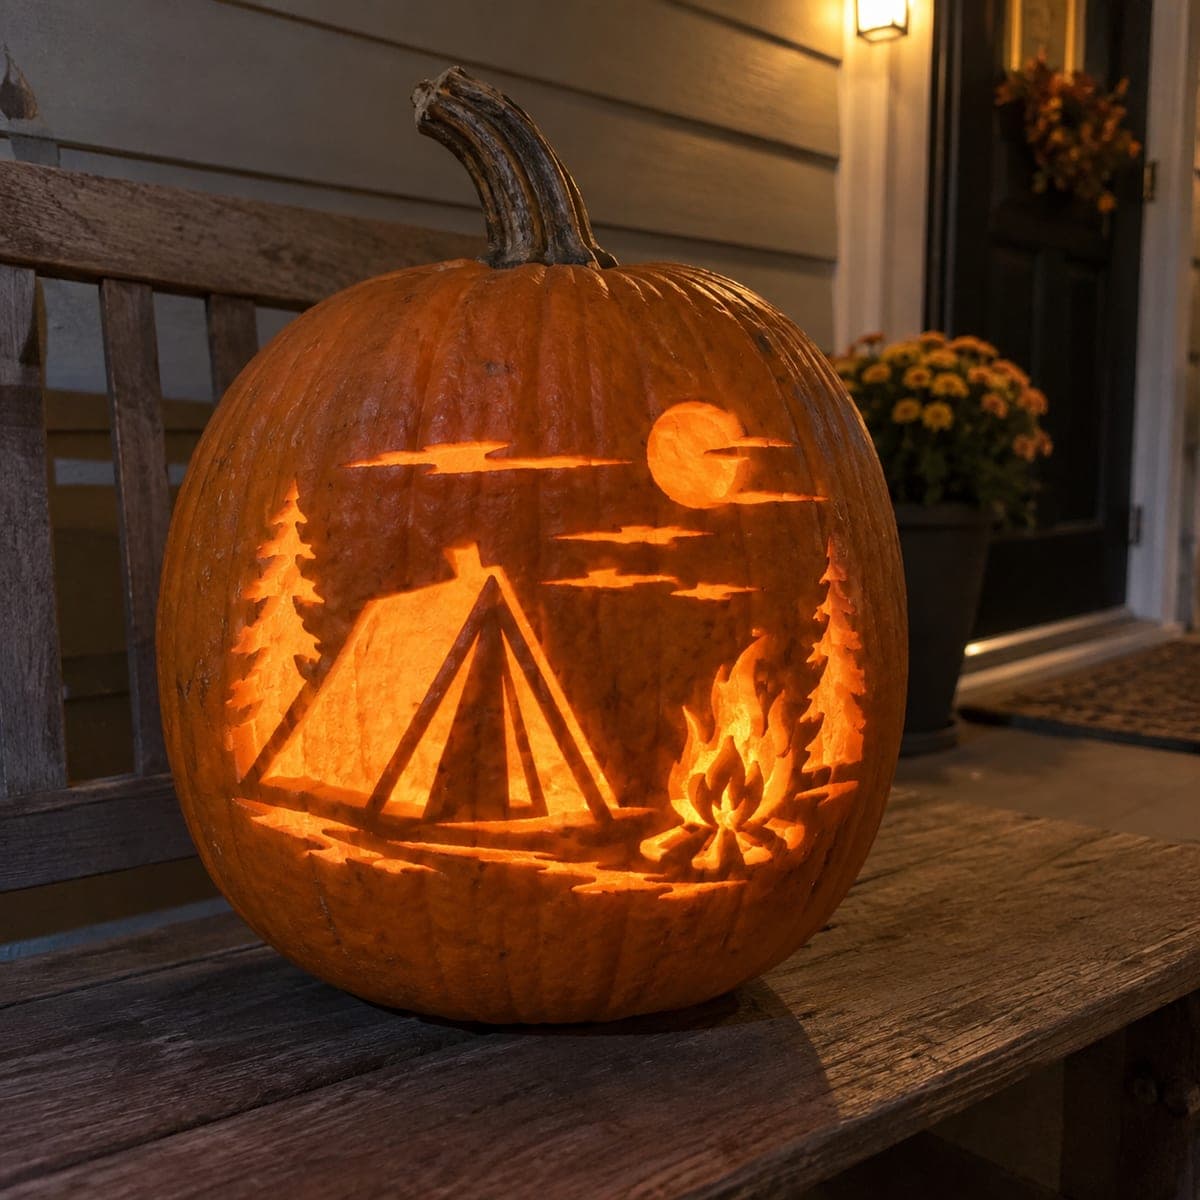
Cloudy Moon Campsite
A cozy campsite spreads across the pumpkin: a striped A-frame tent between pine trees, a crackling campfire, and a full moon drifting behind wispy clouds. The scene is shaved into the skin rather than pierced, so light glows softly through the thinned areas at different strengths. For this hard shading job, carve the brightest spots like the fire and moon deepest, and keep the trees and clouds shallower to build a layered nighttime look.
 Advanced
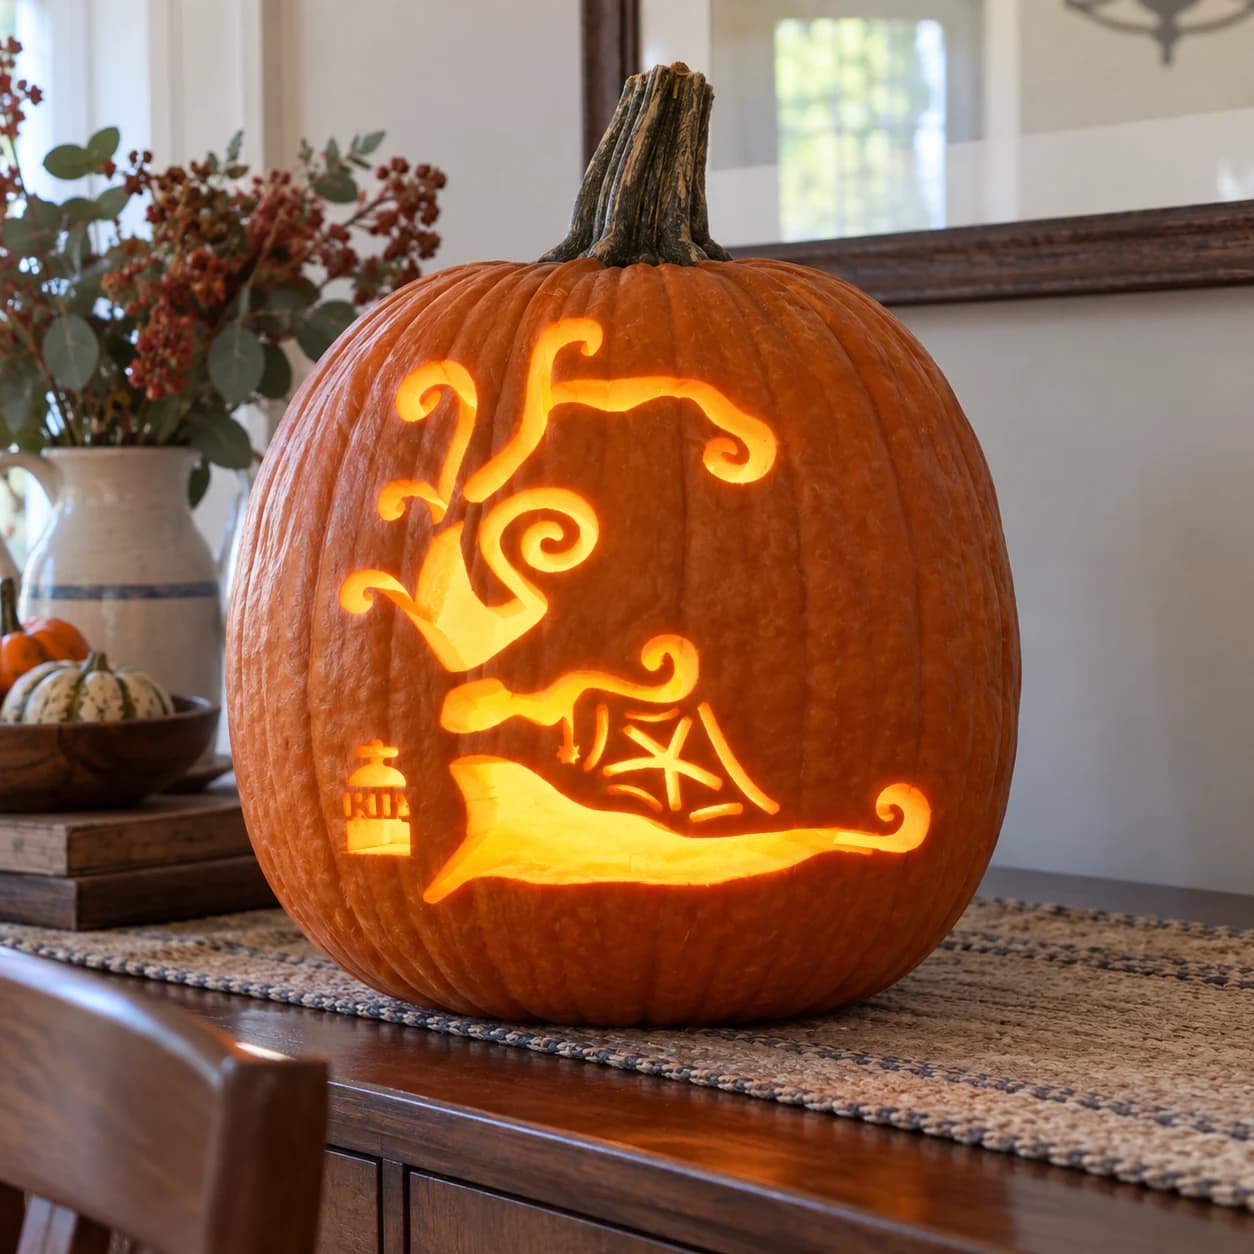
Haunted Tree Pumpkin Stencil
A gnarled, wind-blown tree trunk splits into wildly curling branches with spiral tips in this hard-rated pumpkin stencil, the entire tree canopy forming a large negative-space cut-out against a small RIP gravestone and a spider-web accent that remain solid. The swirling branch tips are the most delicate cuts in this design; save them for last and use a thin-tipped blade, approaching each spiral from the outside inward so you never cut across a completed curl.
 Expert / Pro
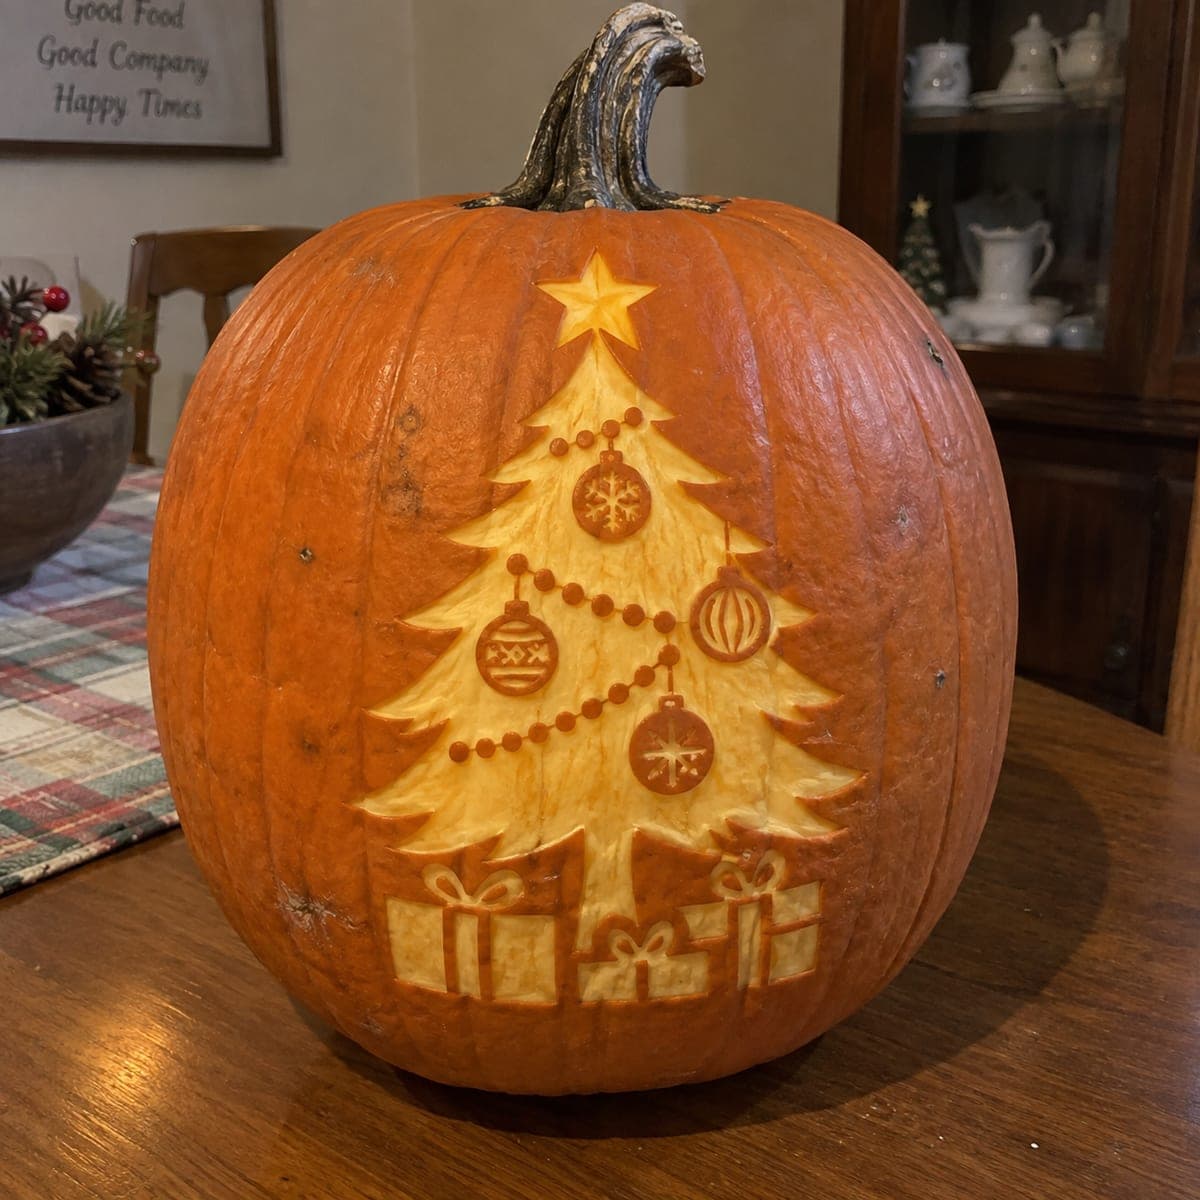
Christmas Morning Glow Pumpkin Stencil
A fully decorated Christmas tree rises from a cluster of wrapped presents, complete with beaded garland swags, patterned ornaments, and a star on top. The entire scene is skin-shave shading with no pierced openings; the tree and gifts are peeled pale while the garland beads and ornament patterns stay dark and raised. Shave the broad tree tiers first, then switch to a fine tool for the garland dots and bows.
 Expert / Pro
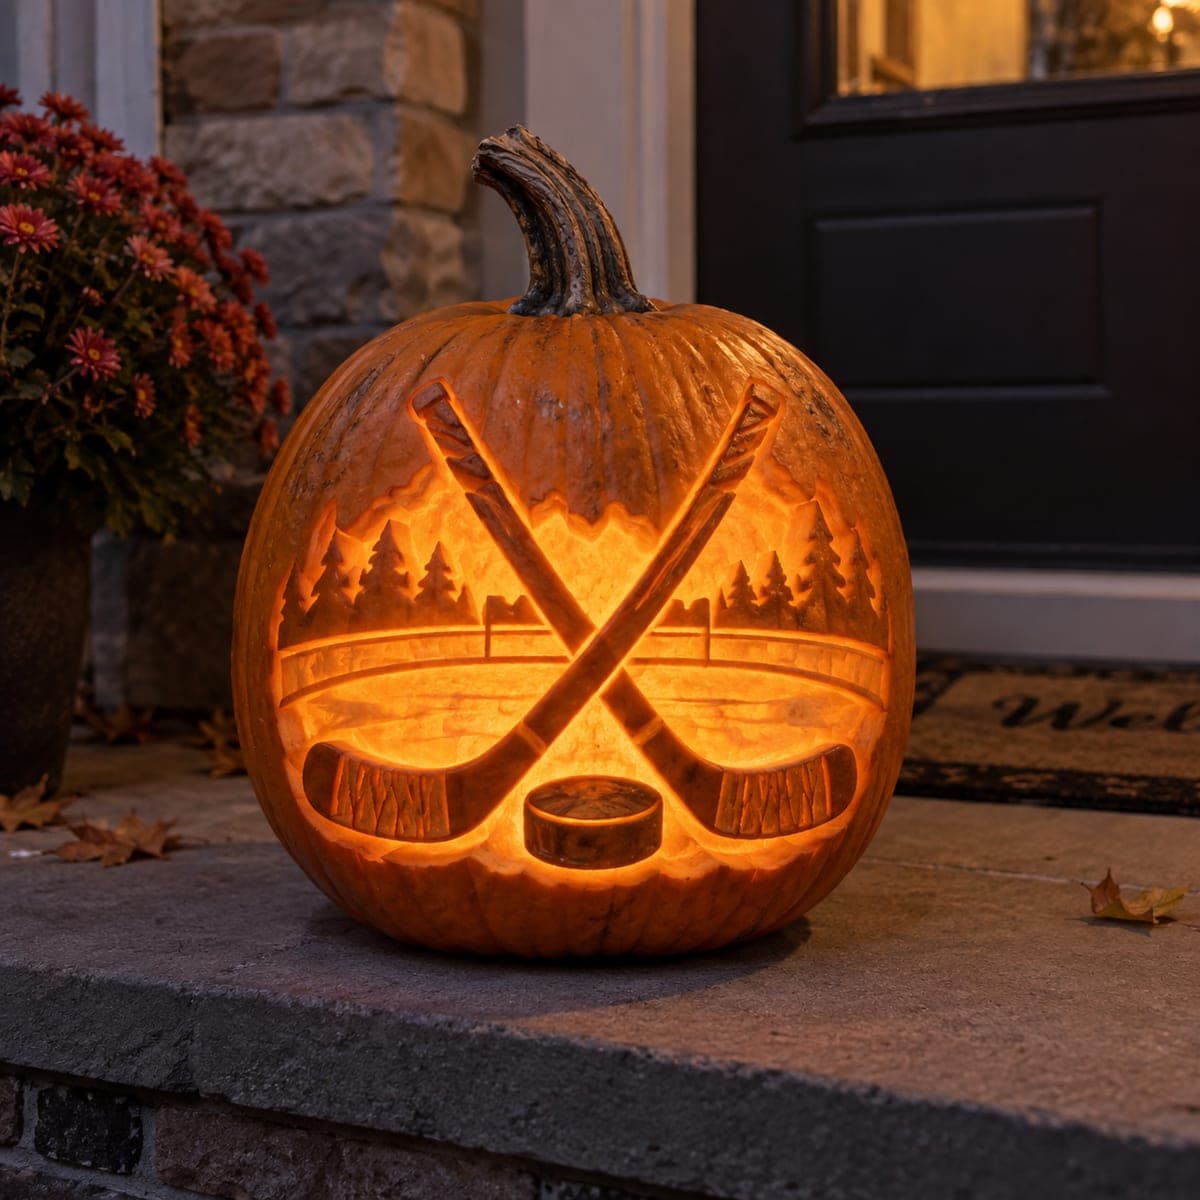
Pond Hockey Night Pumpkin Stencil
Two crossed hockey sticks with taped blades dominate a full outdoor rink scene, complete with a puck at center ice, board fencing, evergreen trees, and distant peaks behind. It is carved entirely by shading: skin is shaved to different depths so the sticks, boards, and treeline glow in layered tones with no pierced holes. Map out three depth levels before you start and shave the brightest areas thinnest, checking often with a light inside.
 Expert / Pro
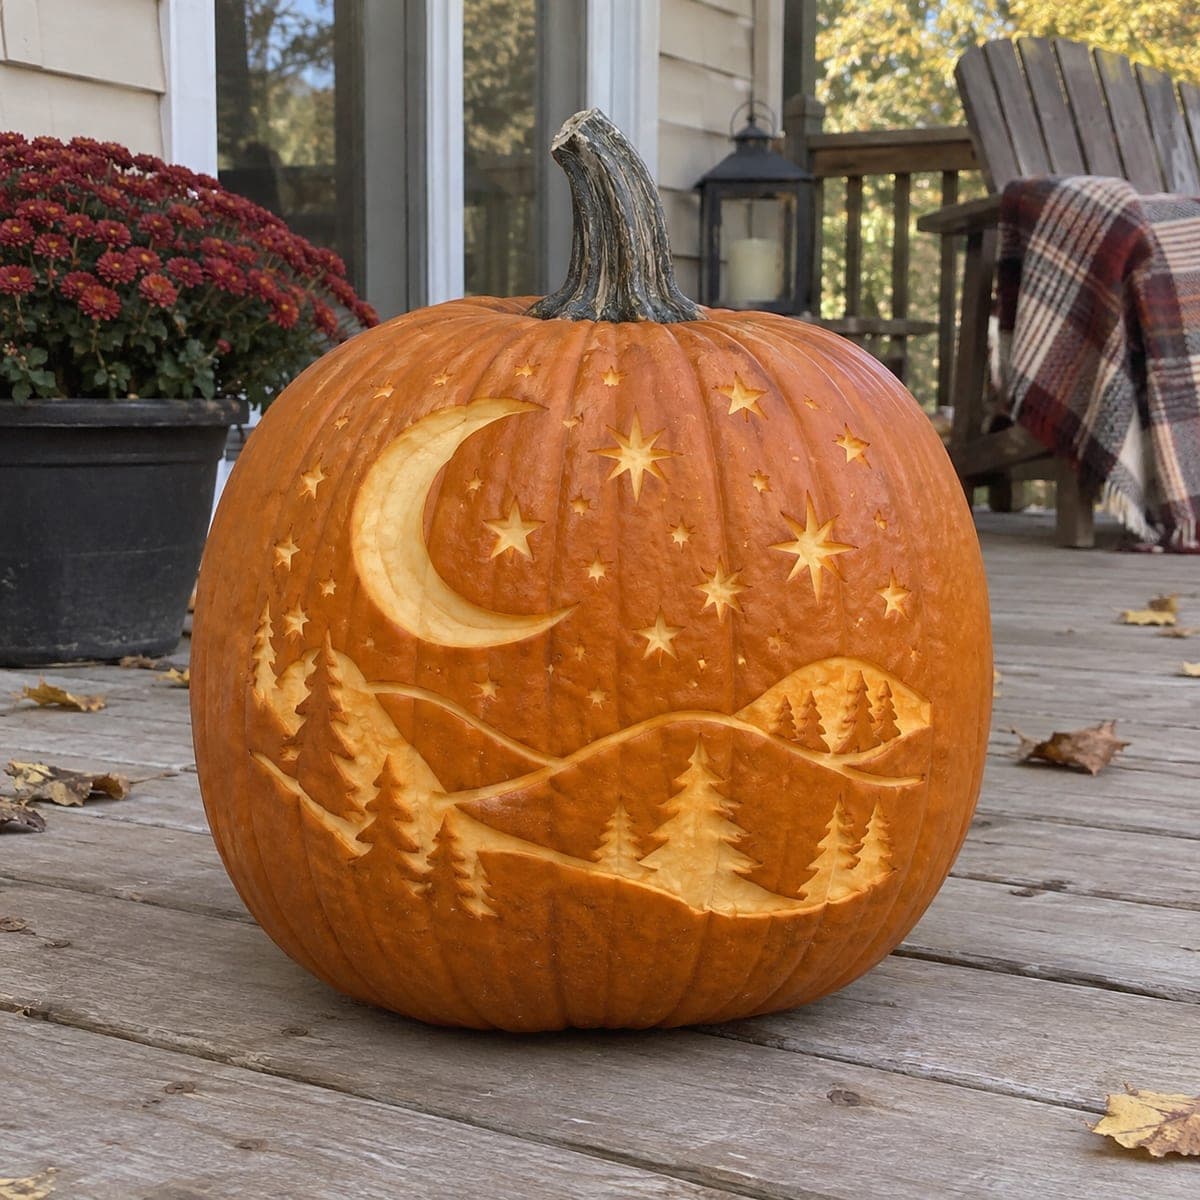
Starlight Ridge Pumpkin Stencil
A crescent moon hangs over rolling hills dotted with pine trees, while dozens of stars and pinprick lights scatter across the sky above the treeline. The entire scene is shaved at varying depths into the pumpkin wall, with the moon and hilltops thinned the most so they glow brightest, and the trees left as dark raised skin. Rough in the hills first, then refine tree silhouettes, and finish with the star pricks last.
 Expert / Pro
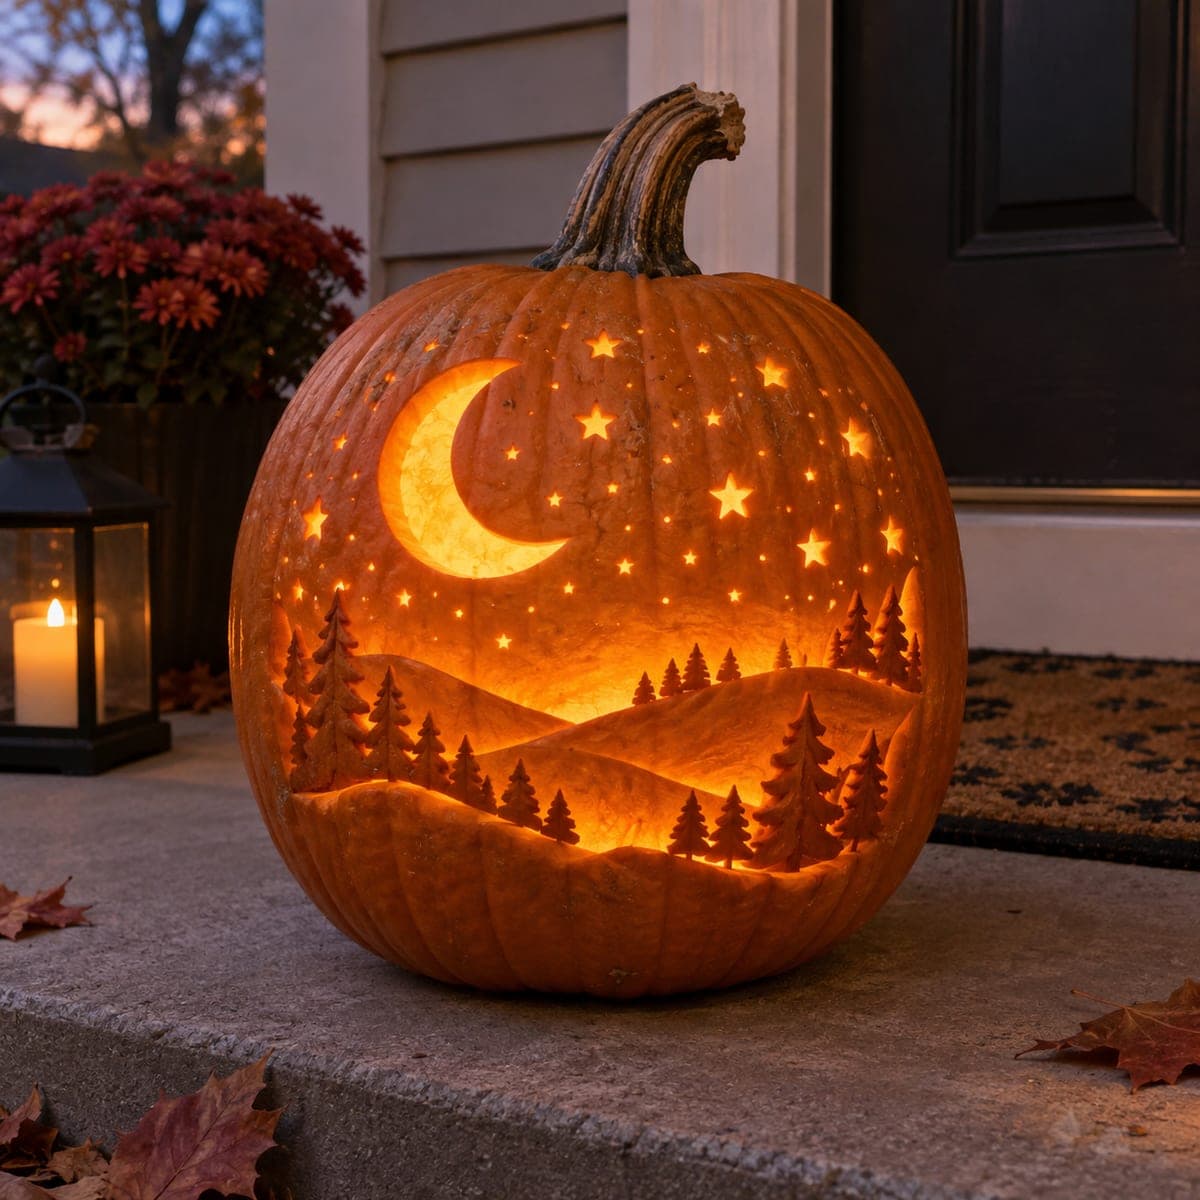
Moonlit Pines Pumpkin Stencil
A dreamy night landscape wraps the pumpkin: a large crescent moon and a sky full of four-point stars shine above rolling wooded hills dotted with pine trees. The whole scene is skin-shave shading with no pierced holes, so moon, stars, ridgelines, and trees glow at different intensities depending on how deep you scrape. As an expert design, map your depths first: carve the moon deepest for the brightest glow, the hills shallowest for a soft dusk.